
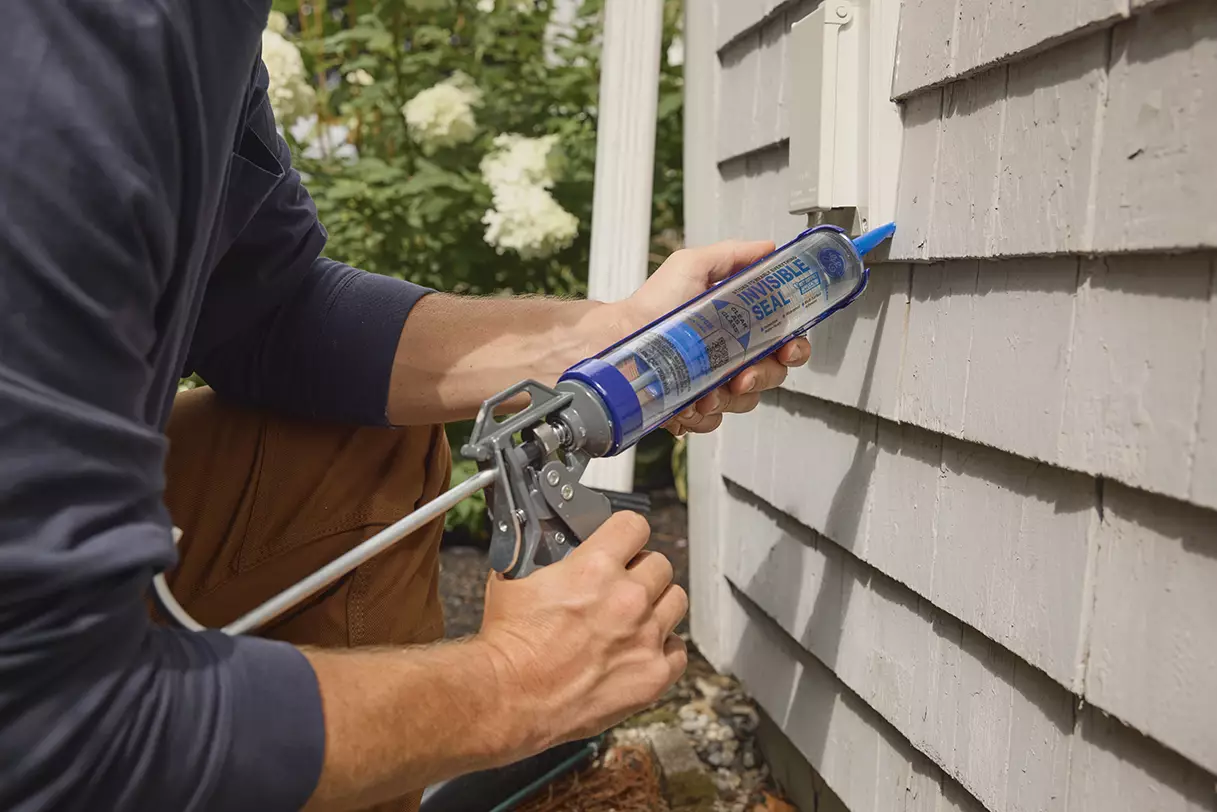
NOTHING TO SEE HERE. OR HERE. OR HERE.
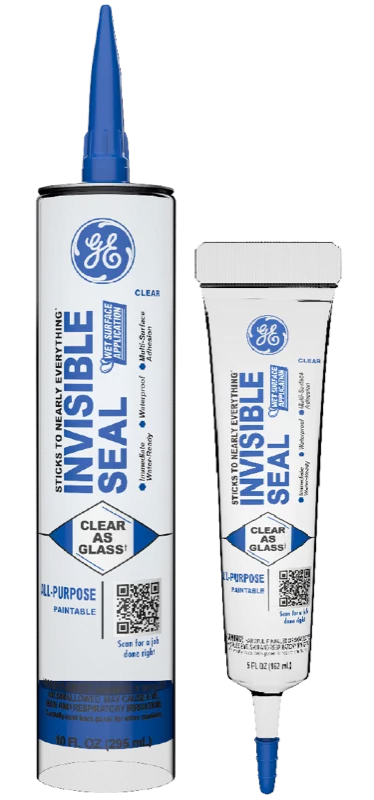
The Smarter Choice for Clear.
BEST USES
-
SEAL HEREWindows & Doors -
PAINT HERESiding & Trim -
PROTECT HERERoofing & Gutters -
APPLY HEREFiber-cement
HOW TO USE
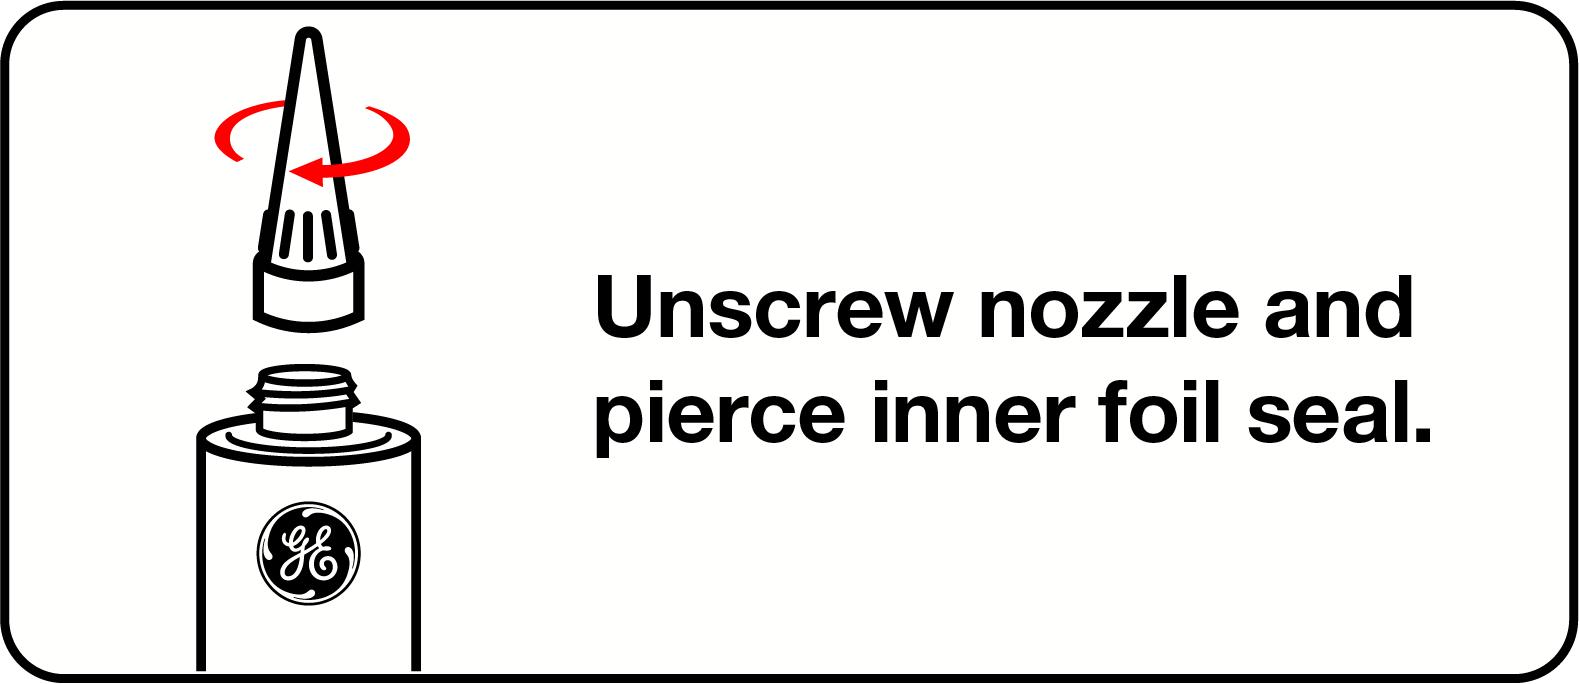
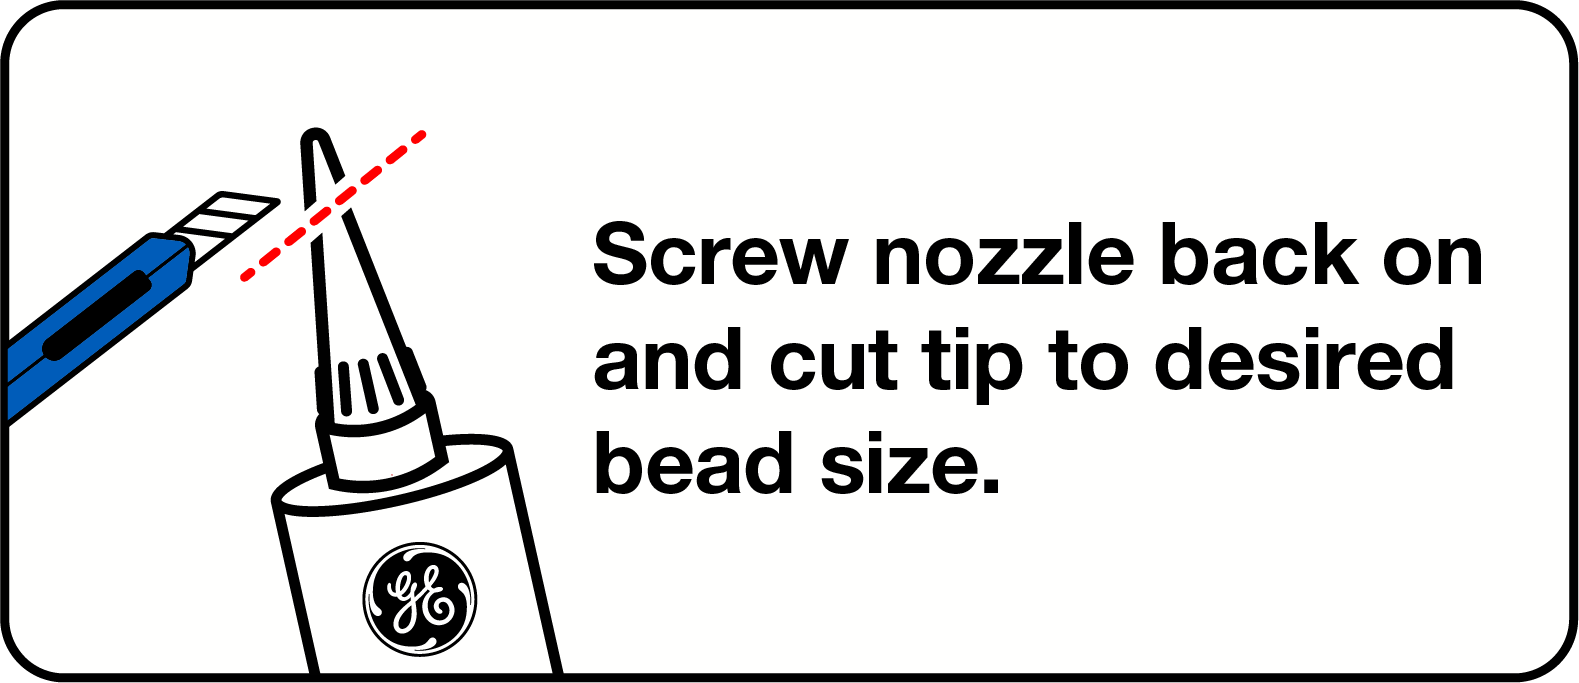
STEP 1
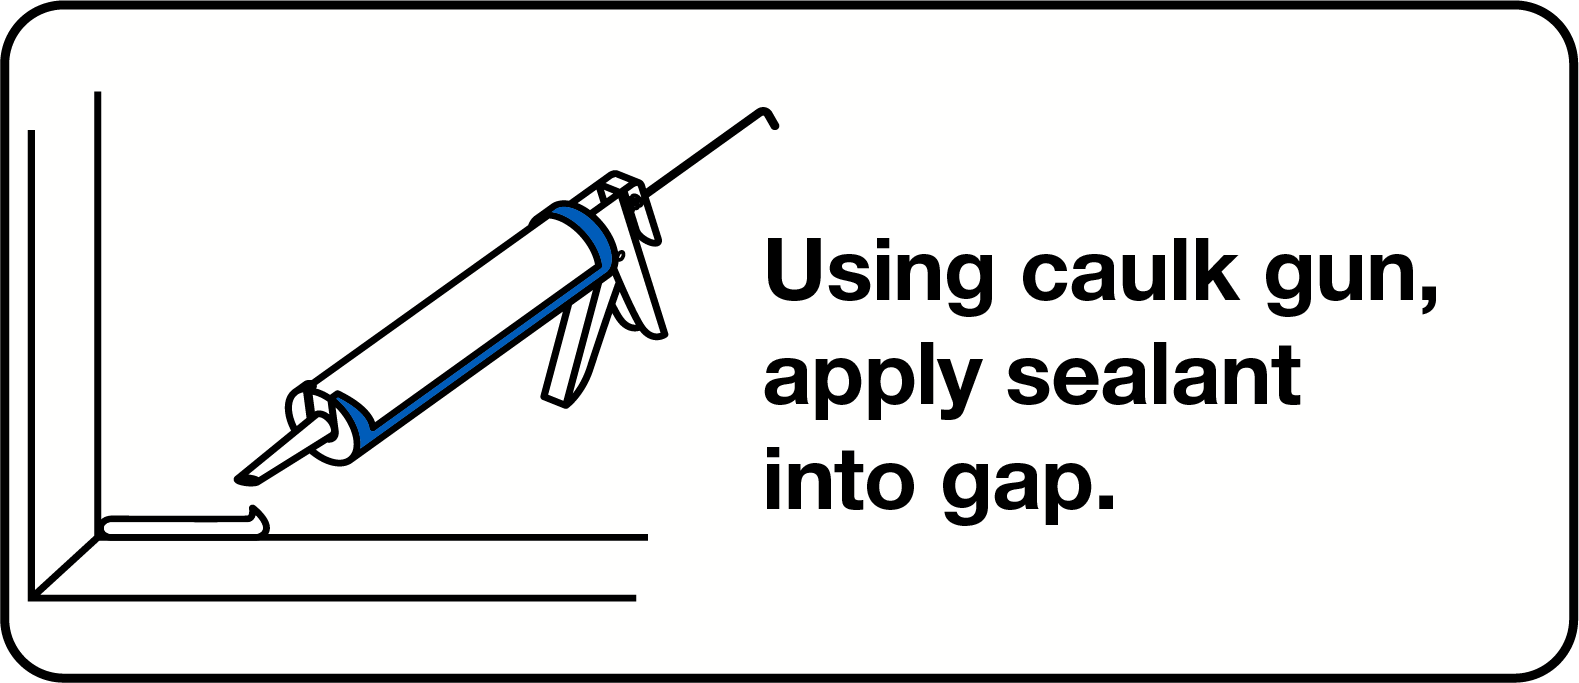
STEP 2
STEP 3
PRO TIPS: Get the Most Out of Invisible Seal
This professional-grade solvent formula performs differently than standard caulk. Here's what the pros know before they start.
Tip 1: Ventilate Before You Apply
This formula is solvent-based and produces strong fumes during application and curing. Open windows and doors before applying. For enclosed spaces, run a fan and allow the area to ventilate until the sealant has fully cured.
Tip 2: It Goes on Cloudy, Dries Clear
Don't mistake the initial appearance for the final result. The sealant may appear white or cloudy when applied. This is normal. Full clarity develops as the product cures.
Tip 3: Don't Rush the Cure
Skin-over time and full cure time are not the same. The surface may skin over quickly, but full cure can take much longer. Wait the recommended cure time before exposing the sealant to water or heavy use.
Tip 4: Clean Up Immediately
Removal becomes much harder after curing. Wipe away excess product while it's still wet using mineral spirits. Once cured, the sealant can be extremely difficult to remove.
Tip 5: Tape Off Before You Start
This formula is designed to stick aggressively. Apply painter's tape along both sides of the joint before caulking. Tool the bead and remove the tape immediately for the cleanest finish.
Tip 6: Damp Is Okay. Dripping Is Not.
Proper surface preparation still matters. A damp surface is acceptable, but standing or actively dripping water can prevent proper adhesion. Wipe surfaces as dry as possible before application.
Real projects. Step-by-step.