Note: This DIY article is provided as a general guide only and is not intended to take the place of product-specific installation procedures; always follow applicable manufacturers’ instructions. Depending on your home’s age and condition, location within the home, and other potential factors, repairs and/or upgrades or other services may be necessary prior to the beginning and/or completion of your project that may involve the services of a home improvement professional. This article does not include advice pertaining to local building codes and/or any related inspections.
This blog provides guidance on the best practices for air-sealing electrical boxes, outlining key tips and recommending reliable products suited for the job. With the right materials and techniques, you can effectively air-seal electrical boxes and minimize air leakage.
Common air leakage issues in electrical boxes
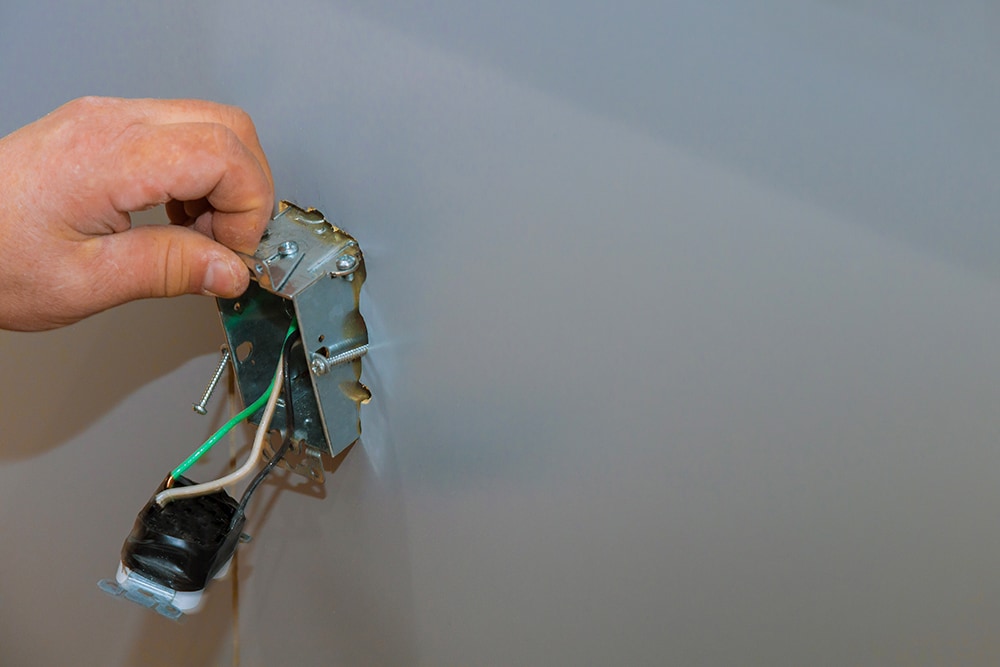
Air leakage from electrical boxes, outlets, and wiring is a common cause of energy loss in commercial buildings. Air leaks from these areas can significantly drive up heating and cooling costs, and compromise the integrity of fire-rated assemblies. As such, air-sealing electrical boxes and related assemblies is an important part of maintaining efficiency and safety in commercial buildings.
Air leaks often occur around the edges of electrical assembly boxes, where gaps in the drywall or improper sealing allow air to flow through. This kind of leak is particularly problematic in exterior walls, ceilings, and high-traffic areas where air pressure differentials can exacerbate the leakage.
Also, leaks can impact indoor air quality by allowing contaminants from outside or unconditioned spaces to enter inhabited parts of the building. Understanding these common issues allows professionals to take proactive steps in addressing air leaks.
Leaks can impact indoor air quality by allowing contaminants from outside or unconditioned spaces to enter inhabited parts of the building.
Tips for air-sealing electrical boxes
Once you’ve identified potential air leaks in your building, follow these steps to ensure you apply effective seals.
-
Choose the right materials
Selecting the appropriate materials is key to effectively air-sealing electrical boxes. Various products are available, each suited for different scenarios. Foams are commonly used for sealing gaps around electrical boxes. For small gaps, we recommend a high-quality insulating foam like Gaps & Cracks. This foam provides excellent durability and adheres well to both electrical boxes and surrounding drywall. Additionally, Gaps & Cracks offers a 30-minute rain-ready formula and 10-year mold-free product protection.
For larger gaps or areas where more expansion is needed, low-expanding spray foam like Big Gaps & Cracks is an ideal option. It effectively fills voids without exerting too much pressure on the surrounding materials, maintaining an airtight seal.
-
Prepare surfaces
Begin by cleaning the surface around the electrical box, and remove dust, debris, and any old sealants or foams to allow proper adhesion of the new foam.
-
Tape for precision
Apply painter’s tape around the edges of the area to be sealed. Tape helps create cleaner lines and prevents excess foam from spreading onto unintended surfaces.
-
Apply in dry conditions
In commercial buildings, many of the electrical boxes and assemblies you’ll need to seal will be on the exterior or exposed to areas without climate control. As moisture prevents proper adhesion, you’ll want to either wait for dry weather or cover working areas in advance.
-
Apply evenly
Apply the foam evenly to provide consistent coverage without gaps.
-
Control foam application
When using low-expansion foam, apply slowly and observe the expansion rate. Applying too much expanding foam in tight areas causes over-expansion and can distort the seal or damage surrounding materials. If you’re unfamiliar with expanding foams, apply a small bead to a test surface and note its expansion over a few minutes.
-
Trim excess foam
After it has fully cured, use a utility knife to cut off any excess foam that has expanded beyond the gap. You can also use sandpaper to smooth it out if necessary.
-
Allow sufficient curing time
Follow manufacturer instructions for curing times. Many foams have both a drying time — after the surface of the material is set — and a longer curing time for the interior material to harden. Allow the foam to set fully — typically 24-48 hours — before exposing it to environmental factors like temperature changes or moisture.
-
Seal large gaps in layers
For larger gaps, apply foam in layers, allowing each layer to partially cure before applying the next.
-
Take care to air-seal ceiling electrical boxes
Air-sealing ceiling electrical boxes are more challenging compared to wall boxes because they are often surrounded by insulation or located in attic spaces. Any air leaks here can bypass the building’s insulation, allowing conditioned air to escape directly into unconditioned spaces. Additionally, gaps in ceiling electrical boxes contribute to the stack effect — the natural movement of heat into higher areas — in multistory buildings.
-
Use expanding foam for sealing around wiring housings
Before sealing wiring housings, ensure the wires are neatly bundled together. Apply expanding foam around the wiring penetrations to create an airtight and insulating barrier. As the foam expands, it will fill gaps effectively and provide insulation. Once cured, it will maintain its shape, providing a long-lasting seal that also offers some flexibility if the wires shift slightly over time. Just be careful to avoid overfilling, as the foam expands considerably.
-
Enhance outlet seals with airtight outlet covers
For added protection, consider using airtight outlet covers designed to minimize airflow through outlets, especially in high-traffic or high-exposure areas.

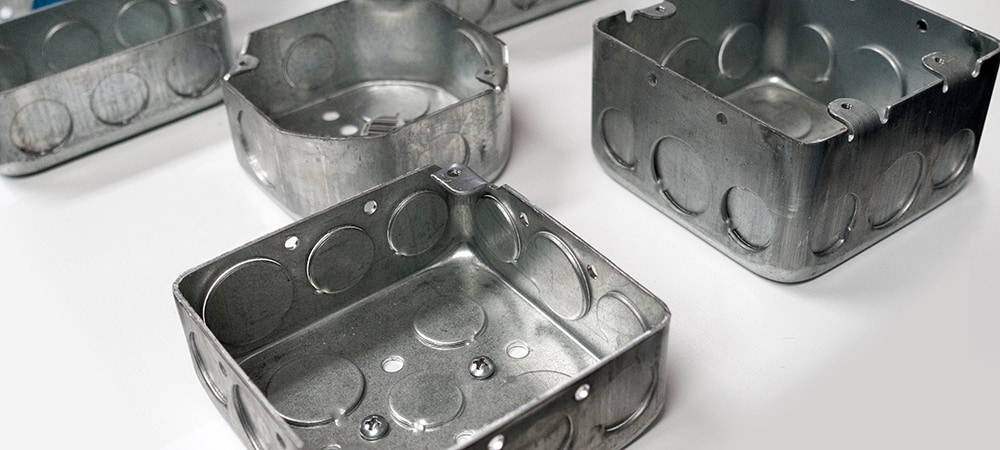
A photo of ceiling electrical boxes in a commercial setting
GE Sealants offers a wide range of insulating foams for effectively air-sealing electrical boxes, outlets, and wiring. Whether you’re addressing climate challenges or the stack effect in taller buildings, GE’s range of foams provides long-lasting protection for your installations. Explore the right tools for your air-sealing needs with GE Sealants for dependable results.
To get GE Sealants’ products for your commercial building, visit these fine retailers.


