

Note: This DIY article is provided as a general guide only and is not intended to take the place of product-specific installation procedures; always follow applicable manufacturers’ instructions. Depending on your home’s age and condition, location within the home, and other potential factors, repairs and/or upgrades or other services may be necessary prior to the beginning and/or completion of your project that may involve the services of a home improvement professional. This article does not include advice pertaining to local building codes and/or any related inspections.
Greenhouse insulation depends on more than the panels alone. Even a well-built structure can lose heat through small gaps around doors, vents, panel joints, frame connections, and utility penetrations, inviting drafts, condensation, and less stable growing conditions. This guide explains where greenhouse sealing matters most and how silicone sealants and insulating foam can help reduce heat loss and improve efficiency.
For greenhouse sealing, the first question is whether gaps are exposed or hidden. Silicone sealant, like GE Advanced Silicone Window & Door, is best for exposed joints and panel edges that need a flexible, weather-resistant, waterproof seal, while GE Multipurpose Foam can help fill hidden openings and gaps more completely.
Why greenhouse insulation depends on good sealing
Good greenhouse insulation depends on sealing because even a well-built structure can lose heat through small air leaks. Gaps around frames, panel joints, vents, doors, and utility penetrations let warm air escape and allow colder outside air to enter, which makes temperatures harder to control.
These leaks can also increase condensation by allowing moist air to collect on cooler surfaces, creating conditions that can stress plants and encourage mold or mildew. Over time, that kind of uncontrolled air movement can raise heating demands and make the growing environment less consistent. Sealing the right joints and openings helps the greenhouse hold heat more effectively and maintain steadier conditions for plants.
Where greenhouses commonly lose heat and air
Most greenhouse heat loss happens at the small joints and edges that are easy to overlook. Door edges and thresholds are common problem spots because they open and close often, which can loosen the fit over time. Vent frames can also develop small gaps that let warm air escape when the greenhouse should be holding a stable temperature.
Other common leak points include:
- Panel joints
- Glazing-to-frame connections
- Corners
- Roof transitions
- Small openings around anchors or utility penetrations
These are the areas where greenhouse air sealing usually makes the biggest difference. Maintaining a consistent approach to greenhouse sealing will help reduce drafts, limit unwanted moisture movement, and make your greenhouse easier to heat efficiently.
How to inspect a greenhouse before sealing
Start with a slow visual check of the entire structure. Look for visible gaps, loose panels, cracked or failed sealant, daylight at joints, moisture streaks, and signs that doors or vents are no longer closing tightly. Then check around panel edges, frame connections, roof transitions, anchors, and any utility penetrations.
On a windy day, or after a noticeable temperature swing, pay attention to drafty spots and areas where condensation tends to collect. To locate drafts from the inside, you can observe the flow of smoke from a candle. Mark each problem area before you begin so you can clean, seal, and recheck the greenhouse in a more organized way.
When to use silicone sealant and when to use insulating foam
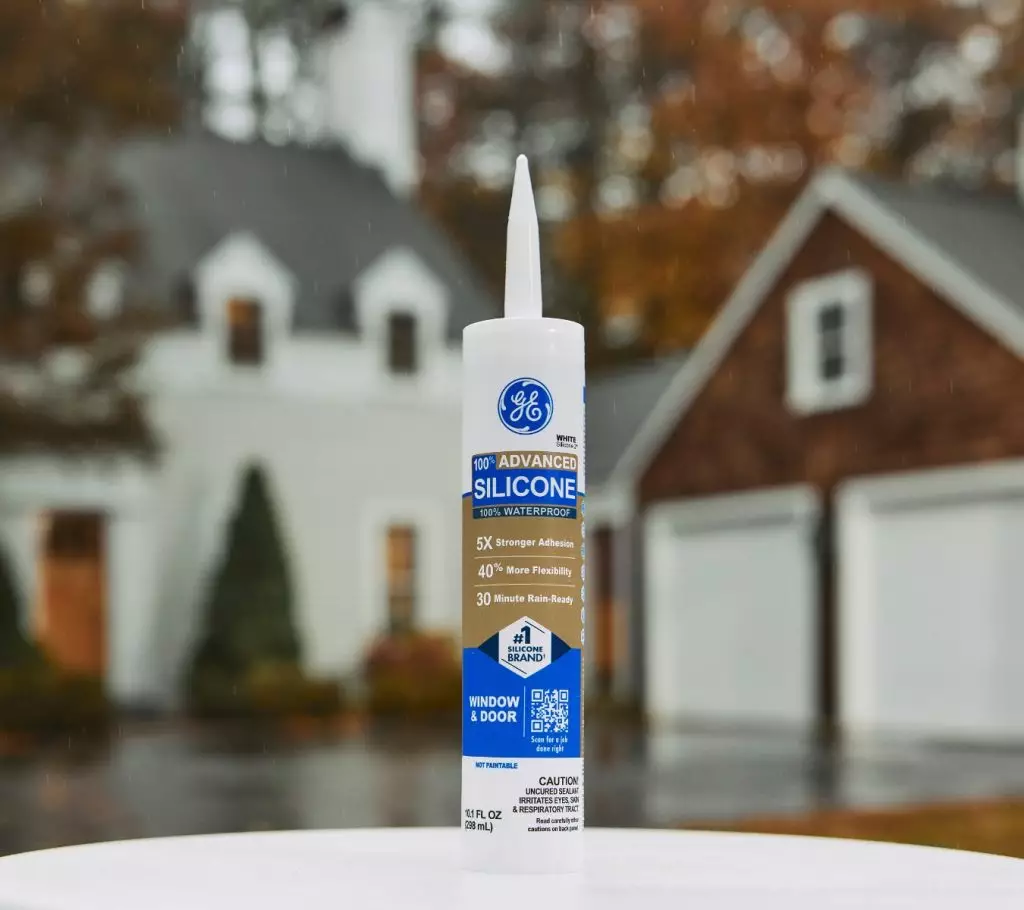
If you are figuring out how to insulate a greenhouse, the first question is whether the gap is exposed or hidden. Silicone sealant is the better choice for exposed joints and panel edges that need a flexible, weather-resistant, waterproof seal. This is especially true around doors, vents, glazing-to-frame connections, and other perimeter joints. For those areas, GE Advanced Silicone Window & Door is a strong option for general greenhouse perimeter sealing.
Insulating foam is better for deeper concealed gaps around framing, anchors, or utility penetrations where air can leak through irregular voids behind the visible structure. In those cases, GE Multipurpose Foam can help fill hidden openings and gaps more completely, while silicone sealant handles the exposed edge that still needs a clean, durable finish.
Step-by-step greenhouse sealing process

Once you’ve identified areas to seal, remove old or failed material and clear away dirt, dust, and loose debris. The GE Sealant Remover Tool can help make this step cleaner and more controlled, especially around narrow joints and edges.
When the old material is gone, clean and dry the surfaces fully. Sealant and foam both perform better when they are applied to clean, dry substrates. For deeper concealed gaps around framing or penetrations, add insulating foam where appropriate before sealing the exposed edge. This helps close hidden voids that silicone alone may not fill effectively.
Then apply silicone sealant at exposed joints, panel seams, door frames, vent frames, and other perimeter connections. Use the GE Sealant Smoothing Tool or a putty knife to help smooth the bead into place. After application, allow the sealant to cure fully before exposing the joint to regular weather, watering, or repeated vent and door movement.
Insulated greenhouses: tips for sealing polycarbonate panels, vents, and doors
Greenhouse sealing should improve efficiency without creating new drainage or ventilation problems elsewhere. When sealing polycarbonate panels, focus on the joints and edges that are actually leaking, but do not block weep paths or other designed drainage points that help water escape.
Around vents, keep the seal limited to the frame and surrounding gaps so the vent can still open, close, and move as intended. Doors need the same restraint. Seal the perimeter gaps, but do not apply material where it will interfere with the swing, latch, or threshold fit.
Silicone’s flexibility is key here because greenhouse materials expand and contract with heat, sun exposure, and seasonal temperature changes. A rigid or poorly placed seal can crack, pull away, or create stress on panels and frames. The goal is a tighter greenhouse, not a sealed-shut assembly that traps water or limits function.
To get GE Sealants’ products for your home improvement project, visit these fine retailers in the U.S. or Canada.


