

Note: This DIY article is provided as a general guide only and is not intended to take the place of product-specific installation procedures; always follow applicable manufacturers’ instructions. Depending on your home’s age and condition, location within the home, and other potential factors, repairs and/or upgrades or other services may be necessary prior to the beginning and/or completion of your project that may involve the services of a home improvement professional. This article does not include advice pertaining to local building codes and/or any related inspections.
Sealing your windows is one of the simplest and most effective ways to improve home insulation and reduce energy costs. Even small gaps can let cold air in and warm air out, forcing your heating system to work harder. With the right approach and a reliable product like GE Pro Seal Max Window & Door, you can block drafts, boost comfort, and keep your home more energy efficient all season long.
How to seal windows: 7 tips for improving energy efficiency and home insulation
Follow these seven tips to weatherproof your windows.
Sealing around your windows is the first line of defense against wind, rain, and temperature changes. GE Pro Seal Max Window & Door creates a durable, flexible barrier that seals out drafts and moisture, helping protect your home year-round.
-
Inspect your windows for signs of air leaks
Before you can seal your windows effectively, you need to identify where air is escaping. Start by looking for visible signs such as cracked or peeling sealant, gaps between the frame and wall, or daylight showing through seams. On windy days, slowly run your hand around the edges of the frame to feel for drafts.
Another option is the candle or incense test. Hold a lit candle or incense stick near the frame and watch for flickering or smoke movement, which indicates air leakage. Be sure to check both the interior and exterior sides of each window, as leaks can occur in either location. Pay special attention to older windows or those exposed to direct sunlight and weather, since these areas tend to wear out faster.
-
Clean and prep surfaces
A clean, dry surface is essential for creating a strong, lasting seal. Begin by removing any loose paint, dirt, or debris from the window frame and surrounding trim. If old sealant is cracked or peeling, use GE’s Sealant Remover Tool or a putty knife to scrape it away carefully without damaging the surface.
Once the old material is gone, wipe the area with a damp cloth to remove dust and residue, then allow it to dry completely. Moisture or grime left behind often prevents new sealant from bonding properly, reducing its effectiveness. For stubborn buildup, a mild detergent solution can help, but be sure to rinse and dry thoroughly afterward.
-
Choose the best window sealant for the job
For exterior applications, GE Pro Seal Max Window & Door is an excellent choice. This advanced paintable sealant offers strong adhesion to materials like:
- Wood
- Vinyl
- Aluminum
- Fiber cement
Remaining flexible through temperature swings, it is designed to resist cracking, shrinking, and UV damage, making it ideal for year-round exposure.
GE Advanced Silicone Window & Door Sealant. For interior sealing, consider a paintable silicone or colored sealant that blends seamlessly with your décor while providing moisture and mildew resistance. While not paintable, GE’s Advanced Silicone Window & Door Sealant fits the bill and comes in six different shades to match a variety of home interiors. This sealant will create a continuous barrier against both air and water, improving home insulation and energy efficiency. Always check the product label for recommended temperature ranges and surface compatibility before you begin.
-
Seal the exterior to block water and drafts
The exterior side of your windows is the first line of defense against wind, rain, and temperature changes. Using GE Pro Seal Max Window & Door, apply a continuous bead of sealant around the outer frame where it meets the siding or trim. Hold the caulk gun at a consistent 45-degree angle and move smoothly to avoid gaps or bubbles.
For best results, apply on a dry day when temperatures are between 40°F and 90°F. After applying the bead, use a gloved finger or GE’s Sealant Smoothing Tool to create a clean, even seal. Pay extra attention to common leak points such as corners and joints. A properly sealed exterior prevents moisture from entering and stops cold drafts before they can reach your home’s interior, improving energy efficiency throughout the house.
-
Seal the interior for added home insulation
Sealing the interior side of your windows adds another layer of protection against drafts and heat loss. Focus on the seams where the window frame meets the wall or trim, as well as any visible gaps around the sash. For this step, use a product suited for indoor applications such as GE Advanced Silicone Window & Door Sealant.
This sealant offers strong adhesion and resists mold and mildew. Apply a smooth, continuous bead along each gap, holding the caulk gun at a steady angle for even coverage. Use painter’s tape if you want crisp, straight edges, and smooth the bead immediately after applying for a clean finish.
-
Don’t forget the glass-to-frame seal
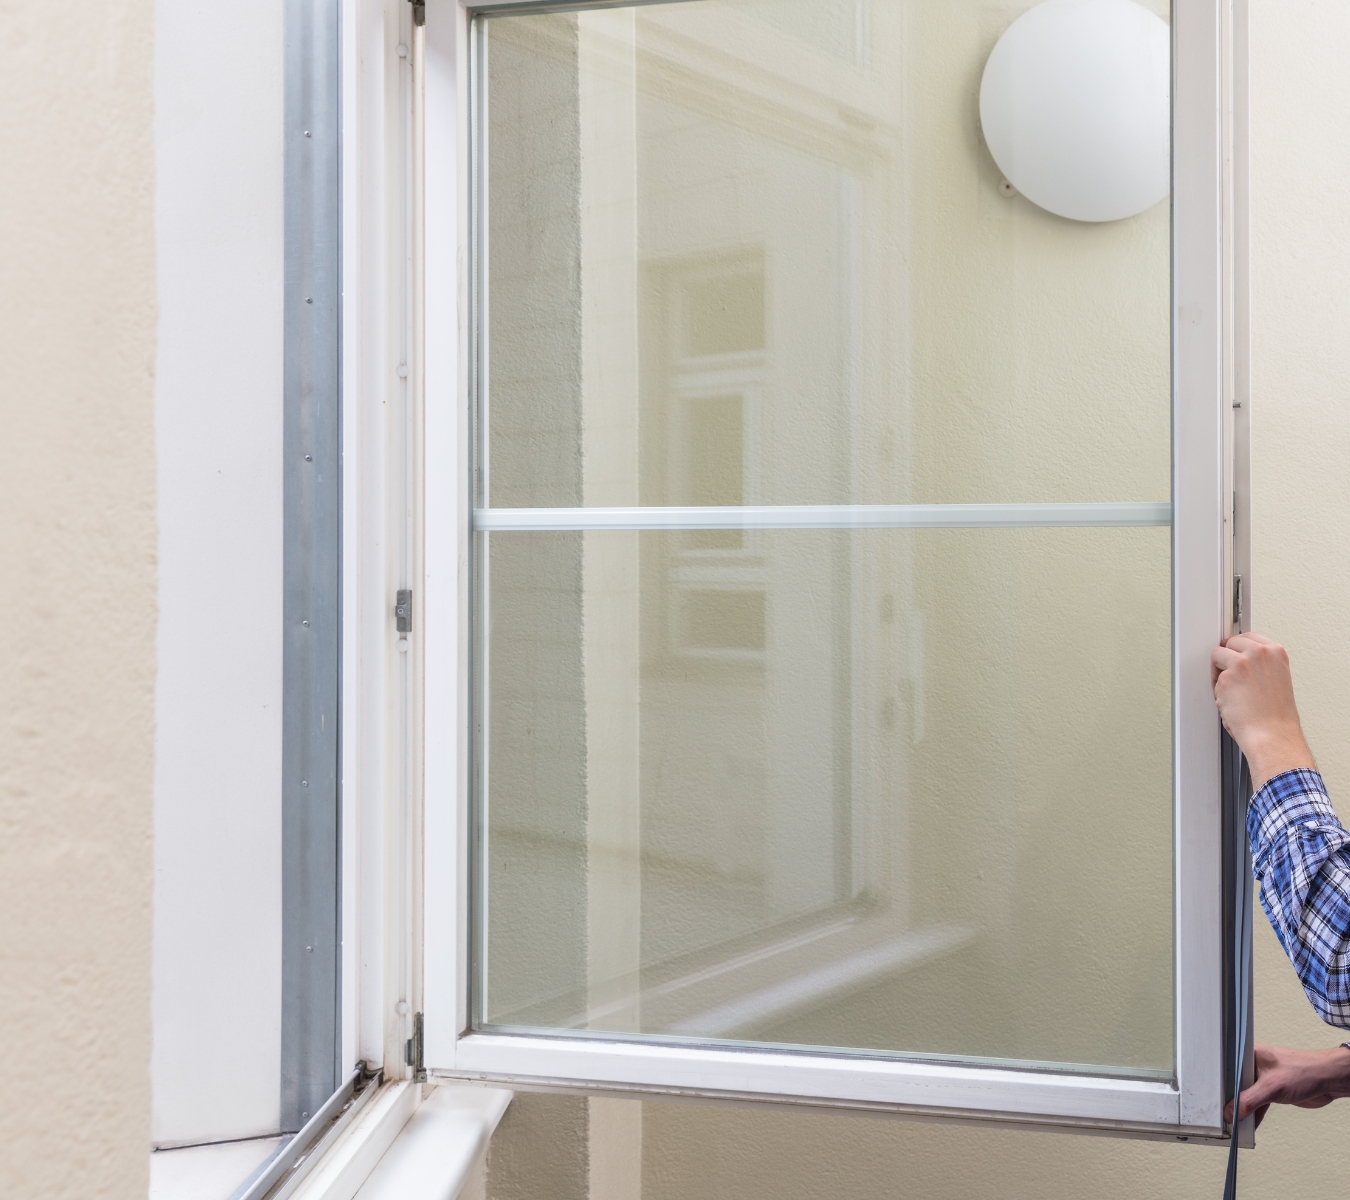
A separated frame-to-glass seal on a home window. The seal where the glass meets the window frame is often overlooked, yet it plays a major role in keeping air and moisture out. Over time, glazing compound or factory seals can crack, shrink, or separate from the glass, especially in older windows. Inspect these areas closely for any gaps or deterioration.
If the glazing is damaged, it may need to be replaced or resealed to restore the barrier. For small gaps or minor separation, you can apply a thin bead of a compatible sealant such as GE Pro Seal Max Window & Door around the glass-to-frame joint. Make sure the surface is clean and dry before application, and smooth the bead for a neat finish.
-
Check your work and let it cure
Once you’ve finished sealing, carefully inspect each window for missed spots, uneven beads, or gaps. Touch up any areas as needed to maintain a continuous barrier. Follow the curing instructions on your sealant’s label. GE Pro Seal Max Window & Door is rain-ready upon application, but full curing takes 24 hours.


To get GE Sealants’ products for your home improvement project, visit these fine retailers in the U.S. or Canada.


