

Cold weather does not have to stop professionals from working with silicone sealant. But it does change how the material behaves on site. Temperature affects viscosity, adhesion, and curing time, which means winter applications require a slightly different approach than in warmer weather. With the right preparation and techniques, silicone sealant can still deliver reliable, long-lasting performance throughout the winter season.
For winter silicone caulking, timing matters. Midday often provides the best conditions because surfaces have had time to warm and moisture from overnight dew or frost has evaporated. Shaded elevations, north-facing walls, and metal frames tend to stay colder longer and should be checked carefully before application.
How cold weather affects silicone sealant
Cold temperatures affect both the handling and curing behavior of silicone sealant. As the material cools, it becomes thicker and more resistant to flow, making it harder to dispense evenly from the cartridge and more difficult to tool into clean joints, which can often lead to inconsistent beads, air pockets, or poor surface contact.
Curing also slows down in cold conditions. Silicone relies on moisture in the air to cure, and winter air is typically drier, which extends cure times and delays the sealant reaching full performance. In extreme cold, curing may stall altogether.
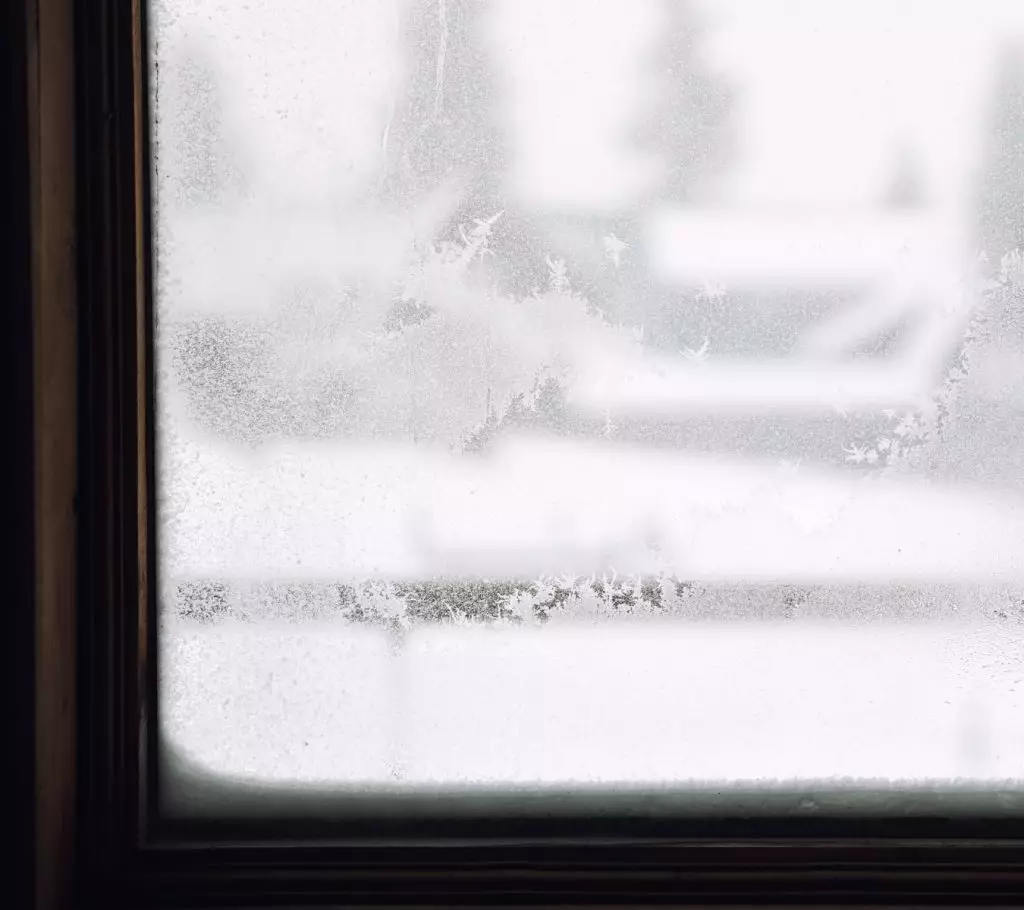
Surface conditions matter as well. Cold substrates can cause condensation to form, especially on metal or glass, which interferes with adhesion. If sealant is applied over a damp or chilled surface, bond strength can be reduced, and early failure becomes more likely.
Minimum temperature guidelines and site planning
Most silicone products are rated for application above a specific minimum temperature, typically falling between 40°F and 50°F, depending on the formulation. That rating applies not just to the air temperature but also to the surface being sealed and the temperature of the sealant itself. Applying silicone sealant to a cold substrate can reduce wetting and compromise adhesion even if the ambient air feels mild.
For winter silicone caulking, timing matters. Midday often provides the best conditions because surfaces have had time to warm and moisture from overnight dew or frost has evaporated. Shaded elevations, north-facing walls, and metal frames tend to stay colder longer and should be checked carefully before application. Verifying surface temperature, avoiding early morning installs, and sequencing tasks so sealing happens during the warmest part of the day all improve consistency and long-term performance.
On-site warming techniques for silicone sealant
Keeping silicone sealant at a workable temperature is one of the easiest ways to improve winter application results. Cold cartridges are harder to dispense, harder to tool, and more likely to create uneven beads. The simplest solution is to store sealant indoors or in a heated vehicle overnight, so it starts the day at room temperature.
On site, insulated tool bags or storage bins help maintain warmth between applications. If cartridges cool down during the day, they can be gently warmed by placing them in a bucket of lukewarm water for a few minutes. The water should feel warm to the touch, not hot. Excessive heat can damage the cartridge or alter the formulation. Direct heat sources such as open flames, space heaters, or heat guns should never be used on sealant tubes.
Warming also applies to the substrate. If possible, allow window frames, trim, or other surfaces to warm naturally in the sun before sealing. In enclosed areas, temporary heaters can help raise surface temperature, but only if condensation is controlled. Keeping both the sealant and the work surface within the recommended temperature range improves flow, adhesion, and final seal quality.
Proper surface preparation for applying sealant in cold conditions
Before applying sealant, confirm that the joint is clean, dry, and free of frost, condensation, or dust. Even a thin film of moisture can prevent silicone from bonding properly, especially on non-porous glass, metal, or vinyl surfaces that cool quickly.
Old or failing sealant should be removed completely rather than sealed over. Brittle winter-aged beads often crack beneath new material, which leads to early failure. Using GE’s Sealant Remover Tool allows installers to lift old sealant cleanly without damaging surrounding surfaces or leaving residue behind.
After removal, wipe the joint with a clean, lint-free cloth and allow it to dry fully. If the surface is cold, give it time to warm before applying new material. Rushing this step often results in weak bonds that fail once temperatures fluctuate again. Clean, dry, properly conditioned surfaces are the foundation for reliable winter sealing performance.
Applying and tooling silicone sealant before skin-over
In cold weather, silicone sealant often has a longer skin-over time (the amount of time after application a sealant remains workable on the surface before it starts forming a thin film or “skin”). However, that does not mean tooling can be delayed indefinitely. The goal is still to shape and press the bead into the joint while the surface is fresh enough to respond. Waiting too long can lead to uneven edges, surface defects, or poor contact with the joint walls.
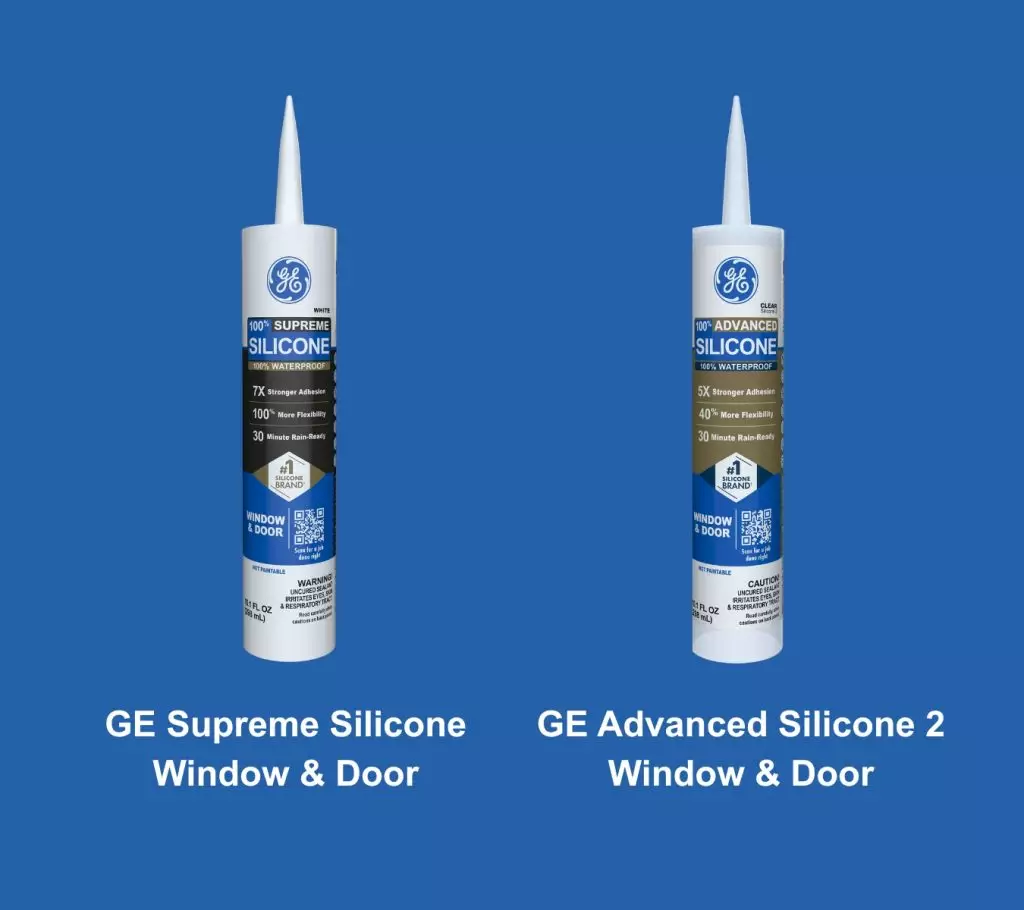
Apply sealant in steady, continuous passes to avoid trapping air pockets or creating thin spots. Work in manageable sections so each bead can be tooled consistently before it begins to set. For exterior joints, products like GE Supreme Silicone Window & Door Sealant provide strong adhesion and flexibility in fluctuating winter temperatures, while multi-shade GE Advanced Silicone Window & Door Sealant is well-suited for interior work where appearance and color matching matter more.
Using GE’s Sealant Smoothing Tool helps press the sealant firmly into the joint while shaping a uniform bead that maintains full contact with both sides of the joint. Avoid over-tooling, as you can easily thin the bead or pull sealant away from the surface. A single, controlled pass is usually sufficient to achieve a clean finish and a reliable seal that will perform well through winter conditions.
To get GE Sealants’ products for your home improvement project, visit these fine retailers in the U.S. or Canada.


