

Clean trim work often comes down to the details, and paintable caulk plays a bigger role than many contractors expect. When you use the right paintable sealant, you get smoother lines, better paint adhesion, and a finish that holds up over time. This guide breaks down how to choose and apply paintable sealant around windows and doors for sharp-looking, lasting results.
The GE Pro Seal Max range is designed specifically for applications where paintability and durability need to work together. Its hybrid formula delivers the strength and flexibility of silicone while remaining fully paintable, allowing contractors to achieve a clean, uniform finish without compromising performance.
Why finish quality around trim matters to clients
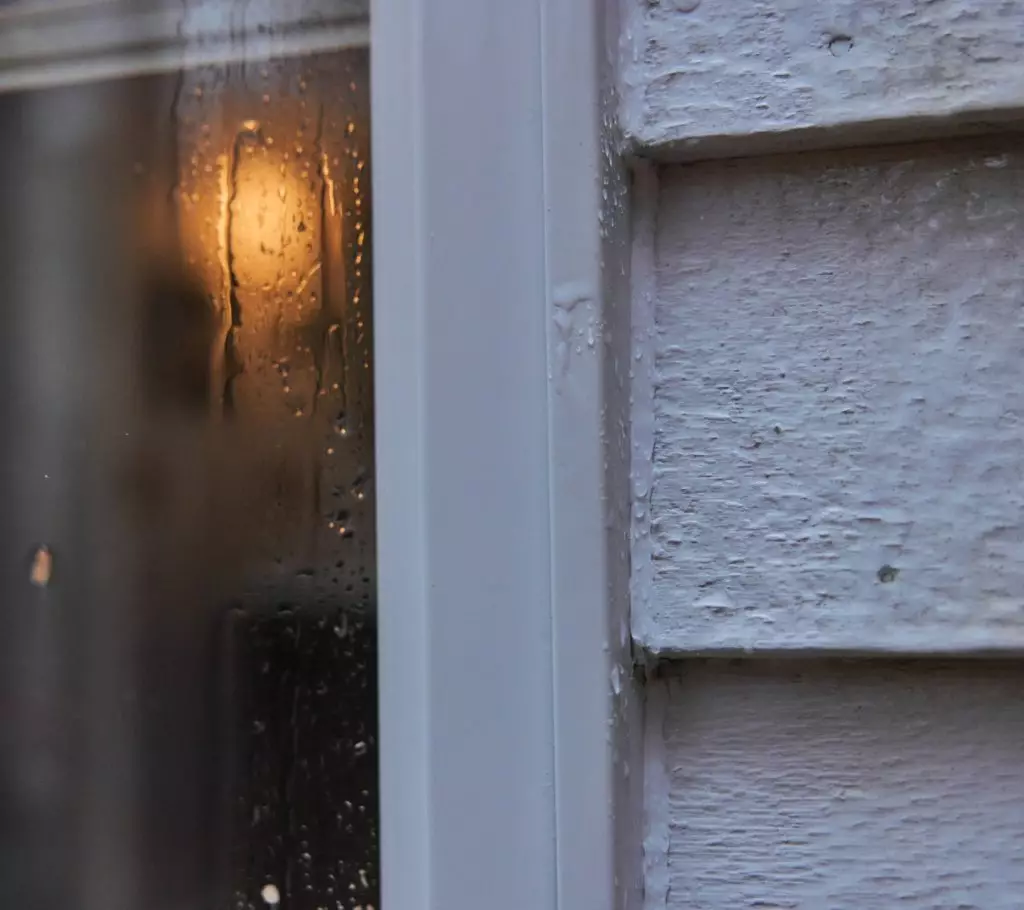
Trim work around windows and doors is one of the first details clients notice once a project is complete. Clean, straight lines and a smooth painted surface convey attention to detail, while uneven caulk lines or visible gaps can make even high-quality work look rushed. Because these areas sit at eye level and frame key features of a room, small imperfections tend to stand out.
The finish quality also affects how the project holds up over time. Poorly applied or mismatched sealant can shrink, crack, or separate, creating visible lines under paint. Using a consistent, well-applied paintable sealant helps create a uniform surface for painting and reduces the risk of defects showing through later. For contractors, getting this step right adds to both immediate presentation and long-term customer satisfaction.
Why standard sealants can create finish problems
Not all sealants are intended for use in visible, paint-ready joints, and using the wrong product can lead to noticeable finish issues. Most standard silicone sealants are classified as non-paintable, which means paint will not adhere properly or will begin to peel. Afterward, previously neat work will show uneven coverage, visible lines, or areas where the paint has beaded up instead of forming a smooth surface.
Even when adhesion is not an issue, some sealants simply shrink or change shape as they cure. This can create slight depressions or edge lines that become more obvious once painted. Texture also matters. A bead that does not tool smoothly can leave ridges or inconsistencies showing through the topcoat. For trim work, these issues are hard to hide and often lead to touchups or callbacks. Choosing a paintable sealant helps create a cleaner base for finishing and leaves a more consistent final appearance.
What contractors should look for in a paintable sealant
The right paintable caulk for the job depends mostly on how it performs during application and how it looks after painting. A quality paintable sealant should accept paint evenly without beading or separating, allowing the finish to blend cleanly with surrounding trim. Smooth tooling is also important, since a consistent bead helps create straight, professional-looking lines before the first coat goes on.
Contractors should also consider shrinkage and flexibility. A sealant that holds its shape consistently as it cures helps prevent visible gaps or edge lines from forming under paint. At the same time, it needs enough flexibility to handle normal movement around windows and doors without cracking.
Strong adhesion across common trim materials is another key factor, especially in places where wood, drywall, and composite surfaces meet. The goal is a sealant that provides both immediate finish quality and long-term appearance, reducing the need for touchups after the job is complete.
Best uses for paintable caulk
Paintable caulk is best suited for interior trim areas where appearance matters as much as performance. Around window casings, it helps close small gaps between the trim and wall, creating a smooth transition that blends cleanly once painted. The same applies to door casings, where even slight inconsistencies often stand out after finishing.
It also works well at joints where different materials meet, such as wood trim against drywall or composite surfaces. These transitions benefit from a paintable sealant that can unify the surface and create a consistent look across the entire assembly.
In areas that will be fully painted, using a paintable caulk helps avoid visible lines or mismatched textures. For exterior joints or locations exposed to heavy moisture, a non-paintable silicone may still be the better choice. But for interior trim work, paintable caulk provides the cleanest, most professional-looking results.
GE Pro Seal Max and other paintable sealant options for trim work
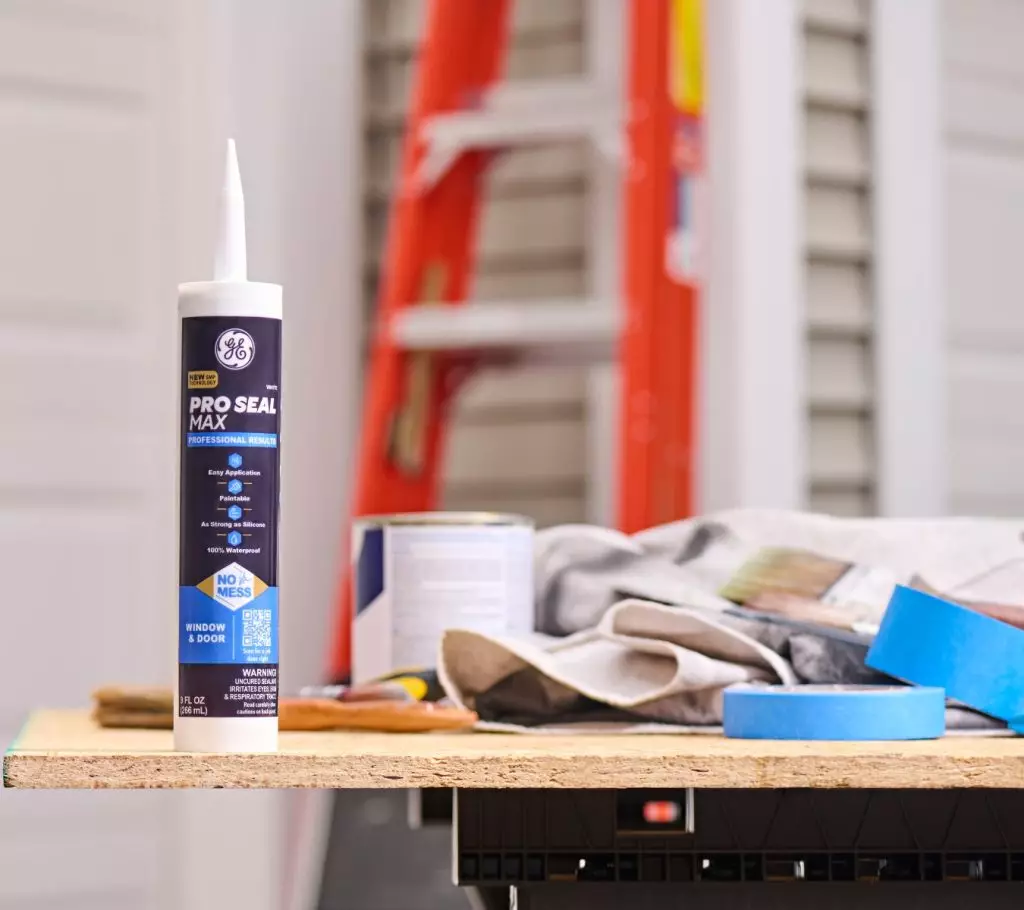
The GE Pro Seal Max range is designed specifically for applications where paintability and durability need to work together. Its hybrid formula delivers the strength and flexibility of silicone while remaining fully paintable, allowing contractors to achieve a clean, uniform finish without compromising performance. However, for projects where maximum weather resistance matters more than paintability, GE Supreme Silicone Window & Door Sealant is a strong companion option for exterior joints and other exposed areas.
Pro Seal Max also tools smoothly and holds its shape, which helps prevent shrinkage lines or edge definition from showing through paint. It bonds well across common trim materials and can be painted relatively quickly, supporting tighter project timelines.
Other paintable options can work for basic trim applications, but they may not offer the same balance of flexibility, adhesion, and long-term appearance. Some products are easier to paint but may shrink or crack over time, while others perform well structurally but do not finish as cleanly under paint.
Application tips for a cleaner painted finish
Clean results depend as much on technique as product choice. First, remove any old sealant from the area with the GE Sealant Remover Tool or a putty knife. Then apply paintable sealant in a steady, consistent bead sized to the joint, not larger. Overfilling creates more cleanup and increases the chance of visible edge lines after painting. Tool the bead once, lightly, with either your GE Sealant Smoothing Tool or a gloved finger to press it into the joint and create a uniform finish. Most importantly, allow the sealant to cure as directed before painting. Rushing that step can compromise adhesion, texture, and the final appearance of the finished trim.
To get GE Sealants’ products for your home improvement project, visit these fine retailers in the U.S. or Canada.


