

Note: This DIY article is provided as a general guide only and is not intended to take the place of product-specific installation procedures; always follow applicable manufacturers’ instructions. Depending on your home’s age and condition, location within the home, and other potential factors, repairs and/or upgrades or other services may be necessary prior to the beginning and/or completion of your project that may involve the services of a home improvement professional. This article does not include advice pertaining to local building codes and/or any related inspections.
Wainscoting is one of the easiest ways to give a room a more polished, custom appearance without a full renovation. From dining rooms and hallways to bathrooms and entryways, decorative wall paneling adds texture, depth, and timeless style to almost any space. If you’re a DIYer, this guide shares how to install wainscoting with silicone and a few beginner-friendly tools to achieve a seamless look.
After applying wainscoting panels to the wall, you may notice some small gaps. DIYers often install wainscoting with silicone, acrylic caulk, or a hybrid sealant to conceal gaps and achieve a seamless finish.
Why wainscoting is a popular DIY upgrade
Wainscoting instantly enhances plain walls and helps create a more finished, upscale look throughout a home. Depending on the style you choose, a space can feel traditional, modern, farmhouse-inspired, or elegant.
Many homeowners choose to install wainscoting because it:
- Adds visual interest to blank walls
- Creates architectural detail on a budget
- Increases perceived home value
- Can be painted to match your design style
While the finished result looks high-end, installation methods make the process much more approachable for beginners.
Why use silicone during wainscoting installation?
After applying wainscoting panels to the wall, you may notice some small gaps. DIYers often install wainscoting with silicone, acrylic caulk, or a hybrid sealant to conceal gaps and achieve a seamless finish.
Using sealant can help:
- Fill small gaps and seams
- Reduce visible cracking over time
- Improve flexibility as walls expand and contract
- Create smoother transitions before painting
For finishing interior wall projects, there are a few options to consider. Many professionals recommend an acrylic caulk, such as GE Painter’s Pro Siliconized Acrylic Caulk. The main benefit of caulk is that it can be easily painted, so it blends in with the wainscoting.
However, silicone and hybrid sealants offer greater flexibility and long-term durability. Silicone can’t be painted, so you’d want to choose one that matches your paint color. GE All Purpose Silicone Sealant comes in white and clear. Alternatively, a hybrid sealant like GE Pro Seal Max Window & Door can be painted, making it a great choice for decorative trim and paneling projects where appearance matters.
How to effortlessly install wainscoting with silicone
Before you begin your wainscoting installation, gather the following materials:
- Wainscoting panels or trim boards
- Paintable hybrid sealant or silicone-based sealant
- Caulk gun
- Level
- Measuring tape
- Pencil
- Miter saw, or hand saw
- Nail gun or finishing nails
- Painter’s tape
- Sandpaper
- Primer and paint
- GE Sealant Smoothing Tool
Having all these tools on hand will help the following steps go much more smoothly.
1. Plan your wainscoting layout
Before cutting or attaching anything, plan your layout carefully.
Measure the walls and determine:
- The height of the wainscoting
- Spacing between trim pieces
- Placement of chair rails or top molding
- Locations of outlets or switches
Use a pencil and a level to lightly mark guidelines on the wall. Taking time during this stage helps prevent uneven spacing later. For beginners, simple box molding or board-and-batten designs are often the easiest styles to install wainscoting successfully.
2. Prep the wall surface
Clean walls help improve adhesion and create a smoother finished result. Wipe down the wall with a damp rag to remove any dust, grease, and dirt.
Then, patch any large holes or imperfections before installation.
3. Cut and dry-fit the panels
Measure carefully and cut your trim panels to size.
Before reaching for your nail gun, dry-fit each piece against the wall to confirm proper spacing, straight alignment, clean corner joints, and consistent sizing. This helps catch mistakes early and reduces frustration during installation.
4. Apply the wainscoting
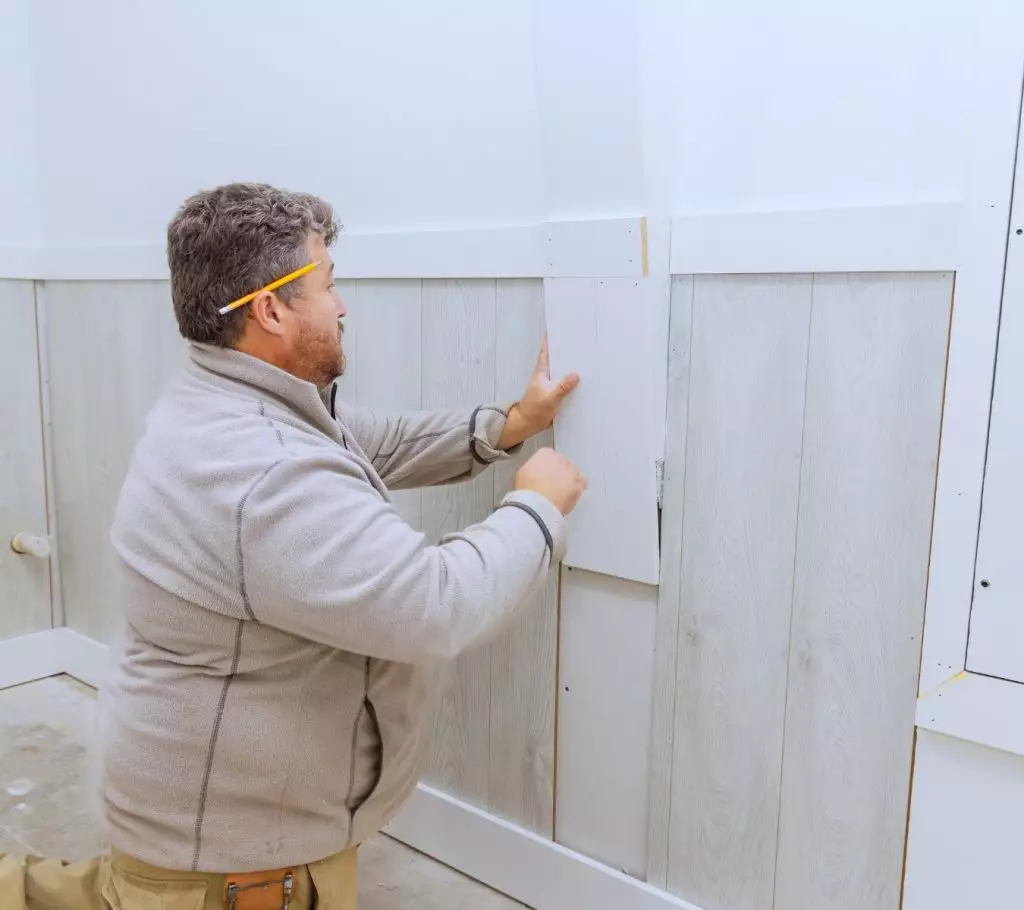
Using a nail gun, carefully apply the wainscoting to the walls.
5. Fill seams and gaps
This step is one of the most important parts of achieving a professional-looking finish.
Even carefully installed trim can leave small gaps:
- Between molding pieces
- Along corners
- Where trim meets the wall
- Around panel edges
To properly install wainscoting with caulk, apply a thin bead of your preferred sealant along these seams. This helps hide imperfections, create seamless transitions, and prevent visible cracking later.
6. Smooth the sealant lines
Once the sealant is applied, smooth the lines immediately before the product begins to skin over.
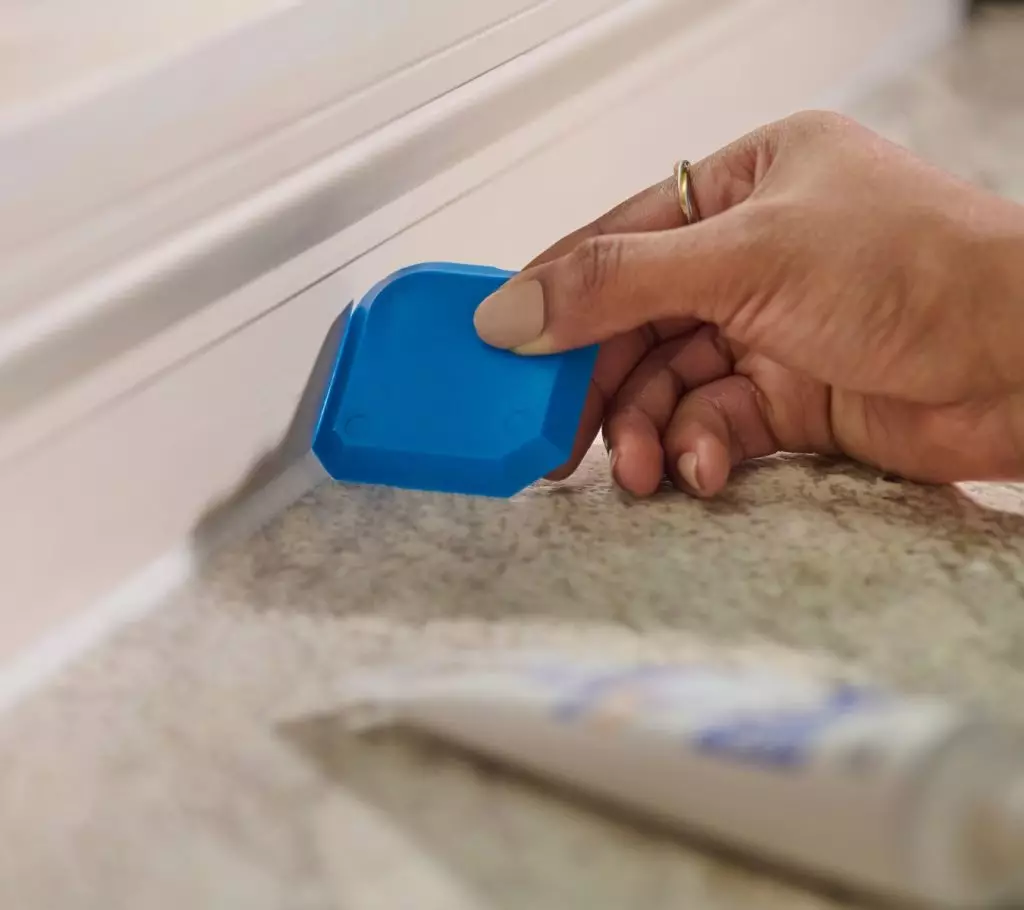
While some DIYers use a finger, the GE Sealant Smoothing Tool can dramatically improve the final look. For beginners in particular, smoothing tools make it much easier to achieve consistent results throughout the project.
To use one, run the tool gently along each seam using light pressure. Wipe the tool clean frequently to avoid spreading excess sealant. This simple step can make your finished wainscoting installation look significantly more professional.
7. Let everything cure
Allow the sealant to cure according to the manufacturer’s instructions before painting. While many sealants dry relatively quickly, full curing may still take several hours or longer. Ideally, wait 24 hours before moving on to the next step.
8. Prime and paint
Once the sealant has fully cured, lightly sand any rough spots if needed.
Apply primer first, then paint the wainscoting in your desired color. Semi-gloss and satin finishes are popular choices since they clean easily. Properly sealing all joints beforehand creates a much smoother painted appearance with fewer visible joints.
Beginner wainscoting installation tips for better results
If this is your first time attempting wainscoting installation, these tips can help make the project easier:
- Measure twice before cutting: Small measurement mistakes become very noticeable with decorative trim like crown molding and wainscoting.
- Work slowly around corners: Corners often require the most precision. Take your time checking alignment.
- Use less sealant than you think: Applying too much product creates messy seams and extra cleanup.
- Smooth sealant immediately: Don’t wait too long before using your Sealant Smoothing Tool. Fresh sealant makes it much easier to shape the bead cleanly.
- Check your work under different lighting conditions: Varying angles can reveal uneven seams or missed gaps before painting.
Taking extra time and care during installation and the finishing stages often makes the biggest difference in the final result.
FAQ
What is the best sealant for wainscoting installation?
A paintable hybrid sealant is often the best choice because it combines the flexibility of silicone with the paintability of acrylic. This helps reduce cracking while creating a smooth finished appearance.
How do you hide seams in wainscoting?
Applying a thin bead of sealant along joints and smoothing it with the GE Sealant Smoothing Tool helps hide seams and create cleaner transitions before painting.
Should you caulk wainscoting before painting?
Yes, sealing gaps and seams before painting helps create a more polished and professional-looking finish.
Looking for the best GE products to use around the home? Find a retailer nearest you in the U.S. or Canada.


