Note: This DIY article is provided as a general guide only and is not intended to take the place of product-specific installation procedures; always follow applicable manufacturers’ instructions. Depending on your home’s age and condition, location within the home, and other potential factors, repairs and/or upgrades or other services may be necessary prior to the beginning and/or completion of your project that may involve the services of a home improvement professional. This article does not include advice pertaining to local building codes and/or any related inspections.
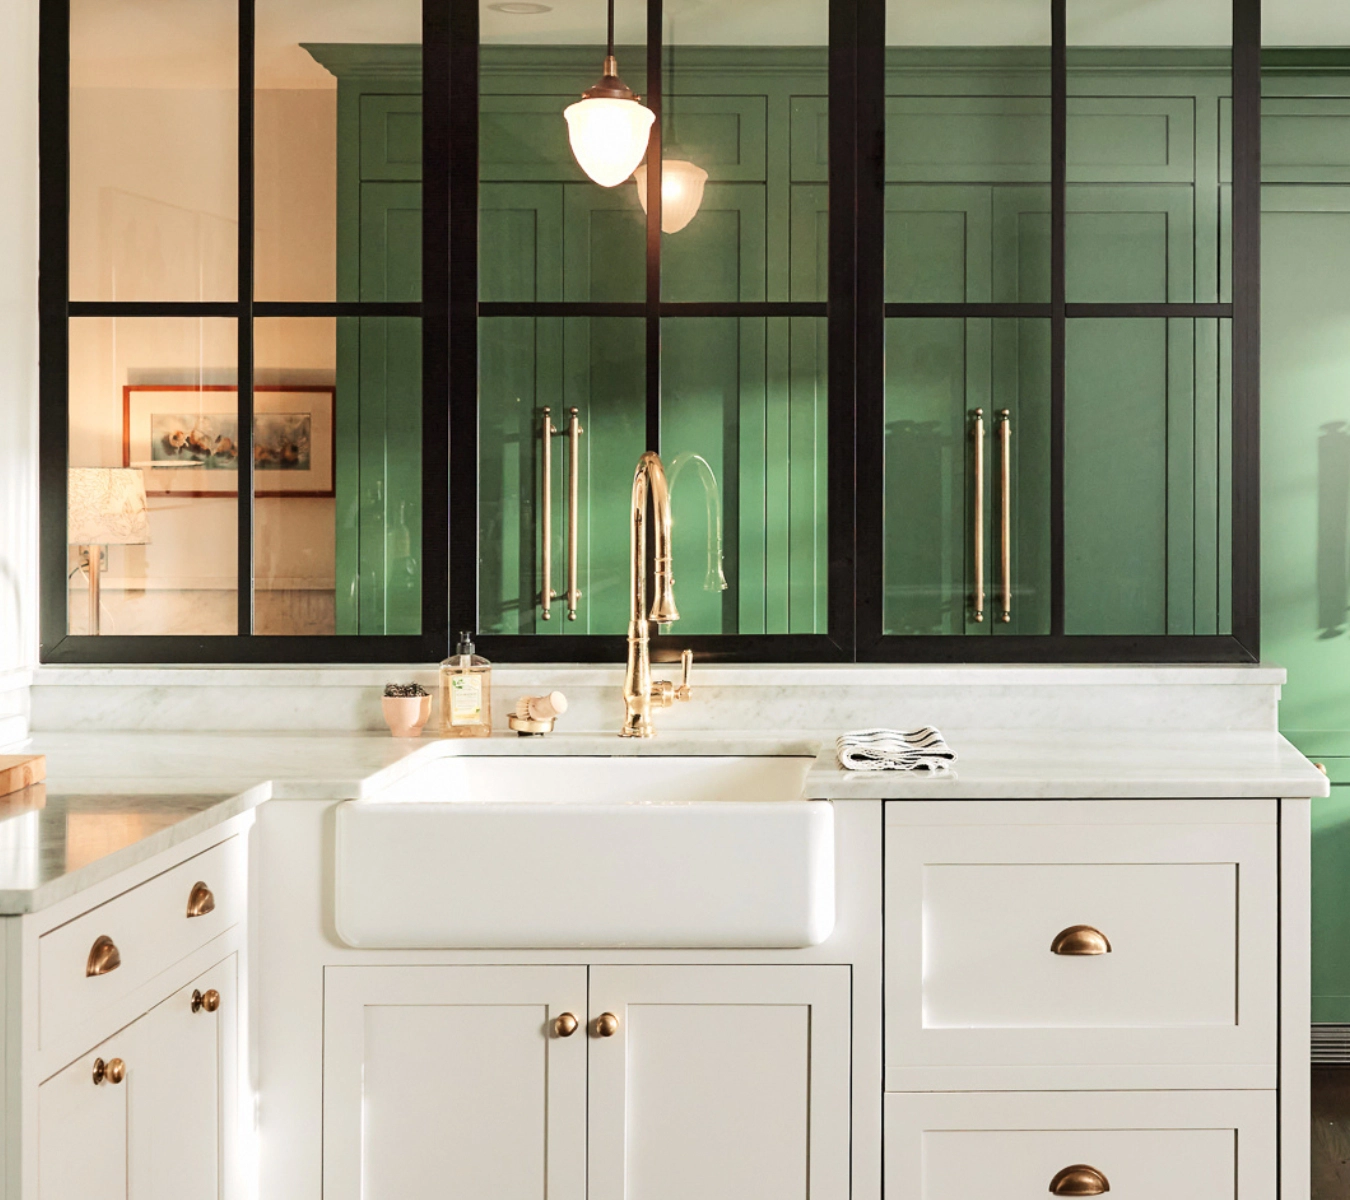
Your kitchen backsplash does more than add visual interest to your home. It’s your first line of defense against water, grease, and everyday messes. But without proper sealing, even the most beautiful backsplash can fall victim to moisture damage. Whether installing a new backsplash or finishing a renovation, understanding backsplash sealing and knowing which materials to use can make all the difference.
There’s no denying that your kitchen backsplash was an investment. You want to ensure it looks great and will last for years. Sealant is a great way to seal and protect your backsplash.
Why you should seal your backsplash
Grout may seem like enough to keep water out, but it’s porous. That means it can absorb moisture over time, leading to staining, mildew, and even tile damage. Since you likely want your backsplash to look pristine throughout its lifetime, protecting your tile is crucial. This is where sealant comes into play.
Once your grout has fully cured, applying a backsplash sealant creates a waterproof barrier between your tiles and the areas most vulnerable to water, like the space between the kitchen countertop and backsplash, inside corners, and edges near your sink.
The benefits of sealing a kitchen backsplash
There’s no denying that your kitchen backsplash was an investment. You want to ensure it looks great and will last for years. Sealant is a great way to seal and protect your backsplash. Here’s why sealing a kitchen backsplash is a must:
- Waterproof protection: Stops water from seeping behind the tiles or into grout lines.
- Flexible and durable: Silicone expands and contracts with temperature changes, making it ideal for kitchen environments, particularly around the range.
- Mold and mildew resistance: Many silicone sealants are formulated to resist microbial growth.
- Neat finish: It adds a clean, polished look to your backsplash edges.
Backsplash sealing 101: a step-by-step guide
If you’re installing a backsplash for the first time or re-sealing an existing one, follow this step-by-step guide on how to seal a backsplash to get the best result. With these tips, you can save money by doing it yourself instead of hiring a professional.
1. Prepare the surface
Your tiles and grout need to be completely clean and dry before sealing. This ensures the sealant will adhere properly.
- Let grout cure: Wait at least 24-48 hours after applying grout before sealing.
- Clean the surface: Use a mild cleaner or a 1:1 vinegar and water solution to remove grease or dust.
- Dry completely: Moisture can interfere with sealant adhesion, so be sure everything is dry before you begin.
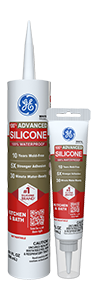
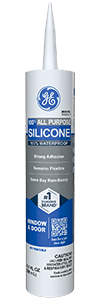
2. Choose the proper silicone sealant
Not all sealants are created equal. For backsplash sealing, use a high-quality, kitchen-grade sealant that’s waterproof, mold-resistant, and formulated for tile and grout.
We recommend our Pro Seal Max Kitchen & Bath sealant. Its hybrid formula is 100% waterproof and is permanently flexible. It’s ideal for interior projects where moisture may be present, making it perfect for countertops, backsplashes, and more. It can be used on various surfaces, including stone/marble, glass, porcelain, and ceramic tile.
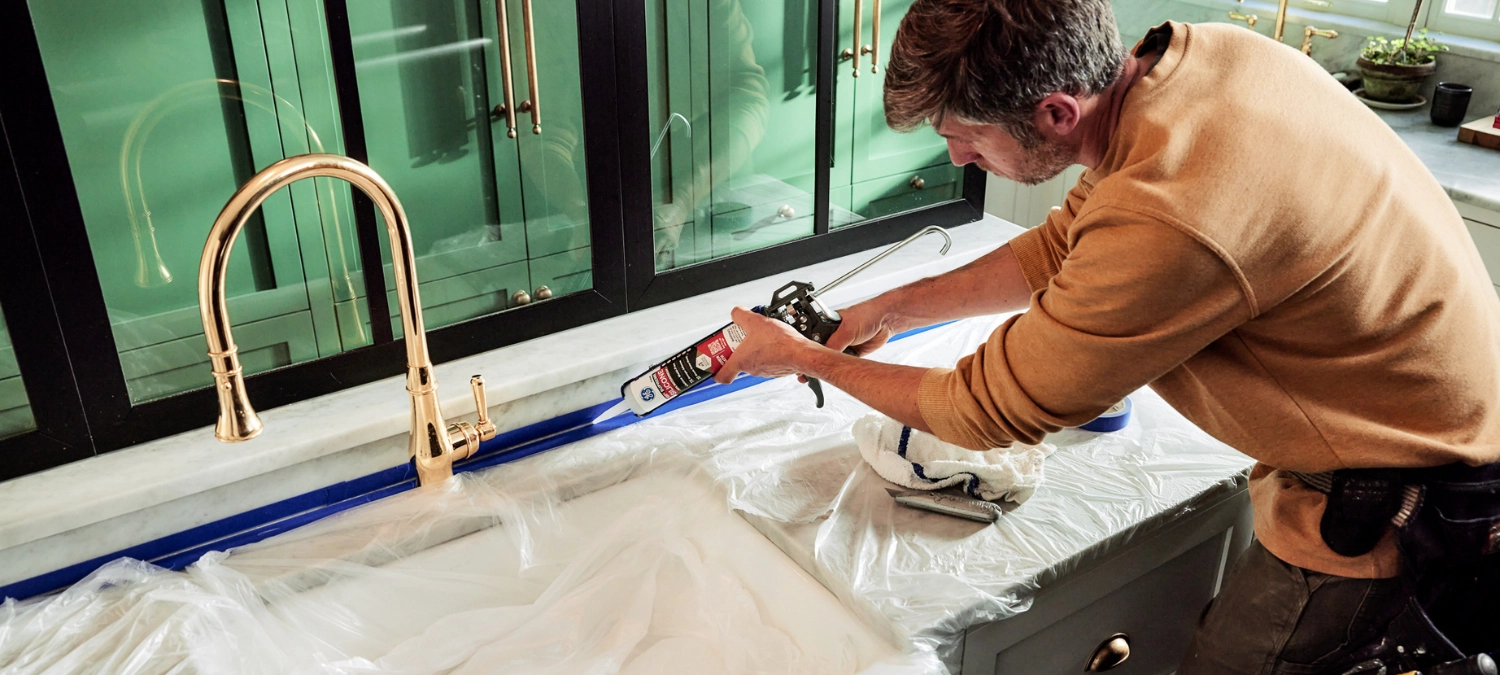
3. Apply the sealant
Now, it’s time to seal! Review the manufacturer’s guidelines and instructions on your sealant of choice to get started. Here’s a simple breakdown of the steps you’ll be completing:
- Cut the nozzle to obtain the desired bead size.
- Load the sealant tube into a caulking gun.
- Apply a steady bead along joints where the backsplash meets the countertop, sink, or corners.
- Smooth it out using a gloved finger or our Smoothing Tool to press the sealant into the gap and create a smooth finish.
- Wipe away excess sealant immediately with a damp cloth or sponge.
- When finished, wipe hands and tools off thoroughly before washing.
4. Let it cure
Curing time varies depending on the product, so check manufacturer guidelines first. Generally, it can take between 24 and 48 hours for a silicone sealant to cure. Please avoid using the area or getting it wet during this time so it can be appropriately set.
Caring for a sealed backsplash
Once your backsplash is sealed, proper care will keep it looking its best for years. Here are a few tips to keep in mind:
- Wipe down regularly with a gentle cleaner to remove grease and mildew.
- Avoid abrasive scrubbing tools that wear down the sealant or scratch the tile.
- Re-seal as needed. Check the sealant frequently for wear, cracking, or mold. If it starts to peel or discolor, it’s time for a refresh.
When to reseal your kitchen backsplash
Sealant is tough but not indestructible. Over time, heat, humidity, and everyday use can cause it to break down. Here are a few signs it’s time to reseal:
- You notice gaps or peeling sealant
- Mold or mildew is forming despite regular cleaning
- Water is pooling along backsplash edges or seams
Resealing is a simple maintenance task that can extend the life of your backsplash and kitchen. Not only will it prolong the life of the tile, but exerting that extra care shows you take pride in your home.
FAQs
Do all backsplashes need sealing?
Yes, especially in areas exposed to moisture, like behind sinks and stovetops. Even if your tiles are non-porous, the grout between them can absorb water unless adequately sealed.
How long should I wait after grouting before sealing my backsplash?
Wait at least 24 hours to allow the grout to cure fully. Applying sealant too soon can trap moisture and cause issues later.
Can I use silicone sealant over old sealant?
It’s best to remove old, damaged sealant first. New sealant won’t adhere well to peeling or dirty material. Use a utility knife or sealant remover for best results.
What’s the difference between grout sealer and silicone sealant?
Grout sealer is usually a penetrating liquid applied to grout lines to prevent staining. Silicone sealant is a flexible, waterproof material applied to edges and seams to prevent water from seeping into gaps.
How often should I reseal my backsplash?
Most silicone sealants last several years, but inspect annually. If you notice cracking, peeling, or mildew, it’s time to reseal.
Backsplash sealing is a simple but essential part of any kitchen tile installation. Knowing how to seal a backsplash correctly and using high-quality sealant helps protect your space, keep it clean, and maintain a polished, professional look.
To find the perfect product for your project, visit a store near you in the U.S. or Canada.