Note: This DIY article is provided as a general guide only and is not intended to take the place of product-specific installation procedures; always follow applicable manufacturers’ instructions. Depending on your home’s age and condition, location within the home, and other potential factors, repairs and/or upgrades or other services may be necessary prior to the beginning and/or completion of your project that may involve the services of a home improvement professional. This article does not include advice pertaining to local building codes and/or any related inspections.
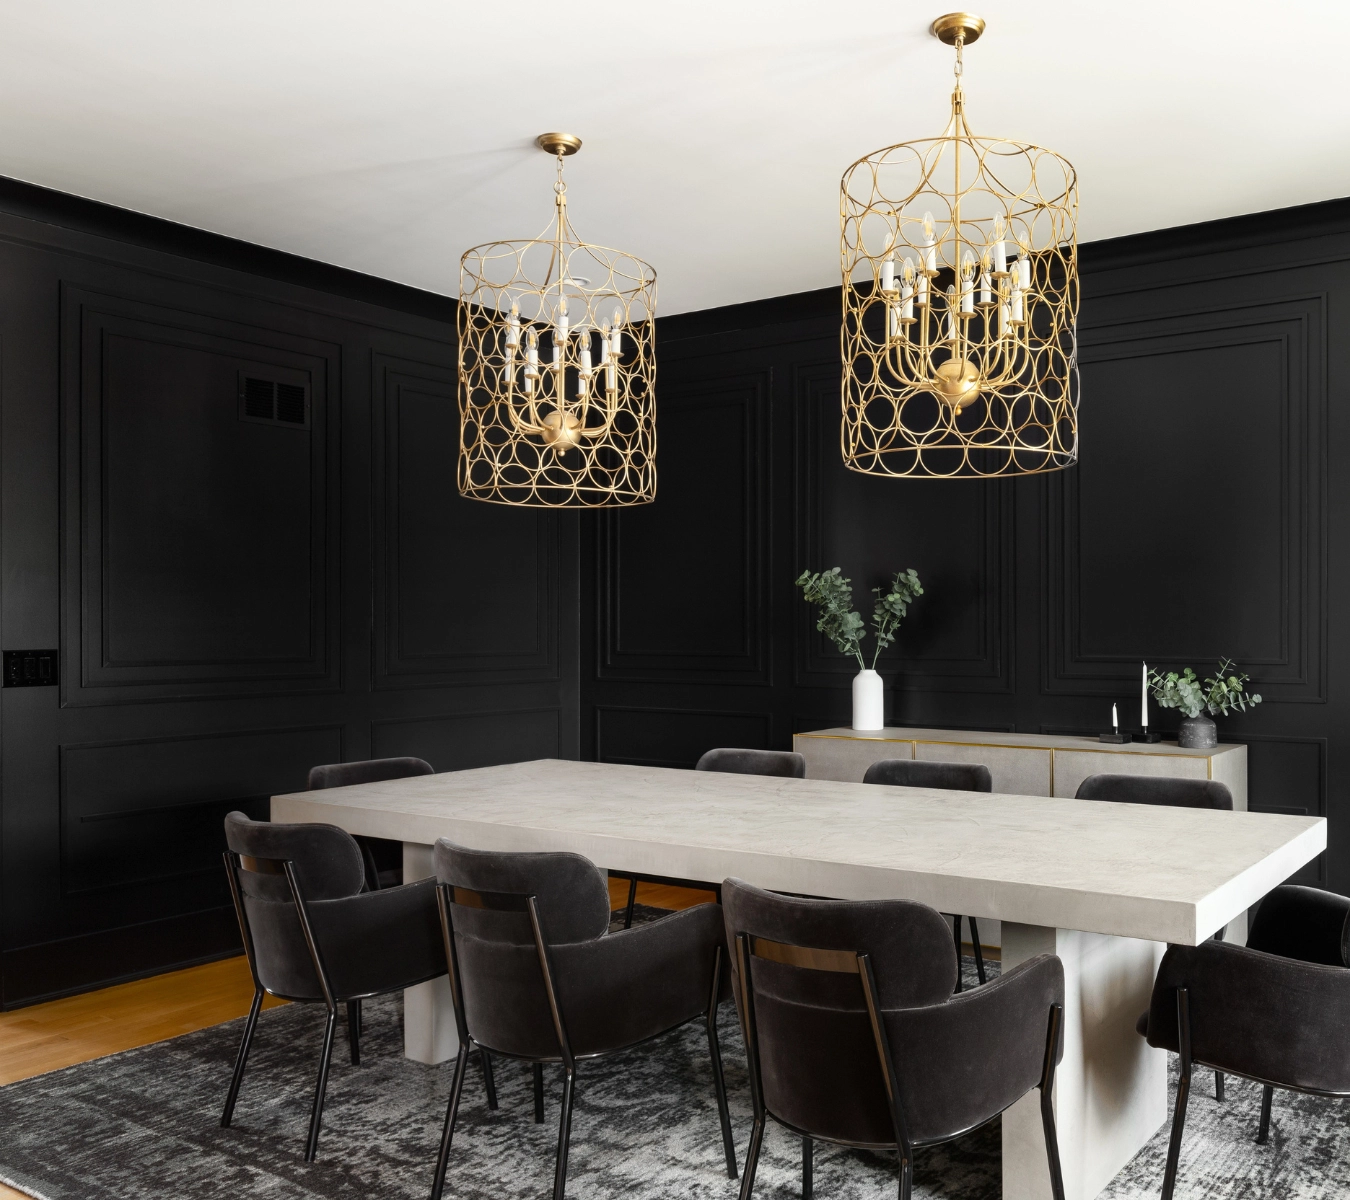
Most board and batten DIY guides focus on trim spacing and paint finish. Few explain how seasonal movement and surface gaps ruin the look over time. This tutorial shows you how to seal it right, so your wall holds up as well as it looks.
Install board and batten: what to know before sealing
Board and batten walls are built from flat panels with narrow battens spaced and nailed vertically to cover the seams. Inside the home, most are made from MDF or pine—cut to fit cleanly, then fastened flush to the wall.
If you’re planning to install board and batten, sealing isn’t a finishing touch. It’s part of the layout. Apply it before painting, while the seams are exposed and easy to reach. It closes hidden gaps, locks the trim in place, and keeps the finished wall looking sharp from the baseboard to the top edge.
What goes wrong without sealing
Skip sealing, and the wall tells on you. Paint lifts where battens meet corners. Cracks show up at the joints. Gaps reopen at the baseboard or along outlet edges—even if everything looked perfect.
This kind of movement starts small. But without a flexible sealant to absorb the shifts, the wall starts to show its age fast. You’ll see bubbling paint. Uneven lines. Shadow gaps where joints once looked seamless. You touch it up, but the flaw keeps coming back.
An accent wall DIY project shouldn’t need fixing twice. Sealing is what keeps the details tight—through every season, and every shift behind the surface.
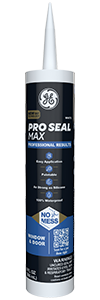
Sealing board and batten seams with a paintable SMP hybrid like GE Paintable Silicone Supreme Window & Door Sealant keeps your wall from cracking, shrinking, or pulling apart.
Use the right sealant for board and batten DIY project
Acrylic caulk might look clean when it dries, but it won’t hold. It shrinks. It cracks. And it pulls away from trim after just a few seasonal changes. The same goes for painter’s caulk. It’s not made for seams that need to flex.
A 100% silicone is more durable and flexible, but it can’t be painted. That leaves visible joints shiny, obvious, and hard to conceal under brush strokes.
If you’re sealing an accent wall DIY project, you need a sealant that does both: holds tight and takes paint. That’s where GE Paintable Silicone Supreme Window & Door Sealant comes in. Built on SMP hybrid technology, it delivers:
- Flexibility like silicone
- Strong adhesion to MDF, wood, and drywall
- No shrinking, cracking, or peeling
- Smooth tooling and easy cleanup
- Paint-ready in 60 minutes
It’s trusted by pros—and built for DIYers who want the job done right the first time.
Install, seal, and paint your accent wall
A clean seal starts with solid prep, steady application, and time to cure. For a long-lasting, pro-level finish from your board and batten DIY project follow these steps.
Prep the wall and battens for sealing
Dry-fit the battens (meaning position them without fasteners) to confirm spacing and alignment. Sand the edges, clean off dust, and check that all seams sit flush against the wall. Sealing only works as well as your prep. The tighter the joints, the longer they’ll hold.
Seal every joint, seam, and corner
Cut the nozzle of your sealant at a 45° angle and load it into a caulking gun. Seal in this order:
- Where battens meet the wall
- Inside corners and vertical seams
- Along baseboards and top edges
- Around outlets or trim intersections
Apply a continuous bead—steady, not thick. Tool it immediately using a gloved finger or caulking tool. Wipe away any excess before it starts to cure.
Don’t skip small seams. Hairline gaps are often the first to flex, crack, or collect dust.
Use GE Paintable Silicone Supreme for this step.
Let the sealant cure before painting
Allow sealed joints to cure for at least 60 minutes before painting—longer if the room is cooler or dry. Standard conditions mean around 65°F and 50% humidity. Rushing the paint step risks adhesion problems or dull, uneven finishes.
Optional: inspect before painting
After curing, run your gloved finger along the seams to check for skips or air bubbles. Add a second bead if needed. This quick pass ensures a smooth finish and saves time on touch ups down the line.
Painting over your sealed board and batten
Once the sealant has cured, you can paint over it like the rest of the wall. Use the same paint on battens and sealed seams for a consistent finish.
With an SMP hybrid like GE Paintable Silicone Supreme, paint lays down clean and even—no bubbling, no texture drag, no patchy results:
- Smooth coverage across joints
- Uniform finish across battens and seams
- No flashing or uneven absorption
If you’re using MDF, apply a quality primer first, or risk blotchy coverage and dull spots where the paint sinks in. You can seal before or after priming, as long as all surfaces are clean and dry.
This final step gives your board and batten DIY project a finish that looks intentional, not just applied.
FAQ
Can I use silicone sealant for a board and batten wall?
No—100% silicone isn’t paintable. Use a paintable SMP hybrid like GE Paintable Silicone Supreme.
Should I seal before or after priming?
Either works. Many pros seal after installation and before the final coats.
What if I already used acrylic caulk?
It might hold short-term, but hybrids last longer, flex better, and won’t crack or peel over time.
Want your board and batten DIY project to stay seamless for years? Get the sealant trusted by pros—and built for projects like yours. Find GE Sealants near you in the U.S. or Canada.