Note: This DIY article is provided as a general guide only and is not intended to take the place of product-specific installation procedures; always follow applicable manufacturers’ instructions. Depending on your home’s age and condition, location within the home, and other potential factors, repairs and/or upgrades or other services may be necessary prior to the beginning and/or completion of your project that may involve the services of a home improvement professional. This article does not include advice pertaining to local building codes and/or any related inspections.
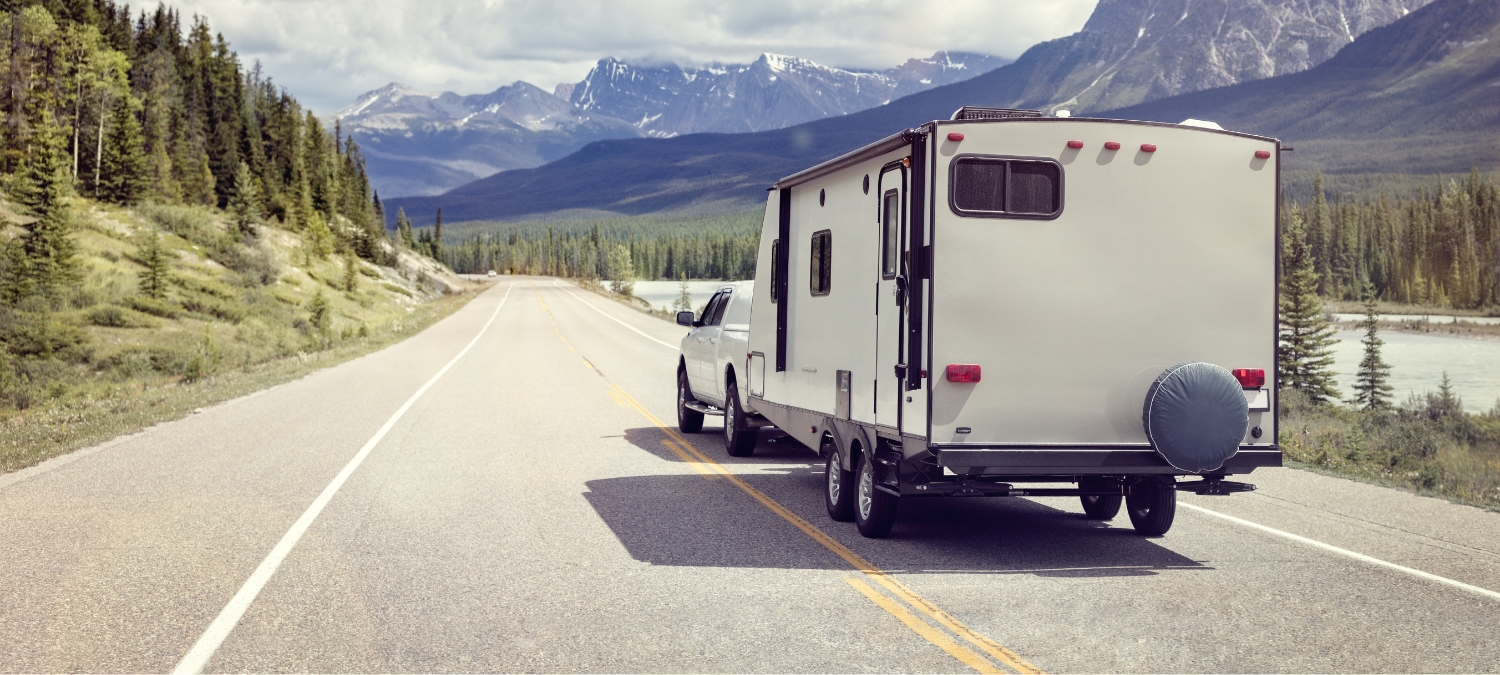
For many RV and camper owners, the end of camping season means one thing: winter storage. After months of road trips, campgrounds, and scenic adventures, it’s time to tuck your RV away until warmer days return. But before you park it for the season, there’s one crucial task that shouldn’t be overlooked: protecting your investment with RV sealant.
You can protect your camper from the freeze-thaw cycle and water damage by carefully inspecting and applying the proper RV sealant to roof vents, windows, trim, and seams.
Why RV sealant matters for winter storage
Unlike a house, your RV or camper is constantly on the move. Vibrations from driving, exposure to sunlight, and seasonal weather changes all take a toll on caulking and seals. Over time, they can shrink, crack, or peel away, leaving small gaps that invite water intrusion.
When you put your RV into storage for the winter, those vulnerabilities can worsen, leading to:
- Freeze-thaw damage: Moisture trapped in cracks expands as it freezes, creating larger gaps.
- Mold and mildew: Water entering through vents or seams can dampen insulation and wall panels.
- Structural deterioration: Rotting wood or rusted frames shorten the lifespan of your RV.
Applying fresh RV sealant before storing your vehicle can prevent minor issues from turning into major springtime headaches.
How to prepare your camper or RV for winter storage
Moisture can creep in through roof vents, windows, trim, or seams without proper sealing. The following steps walk you through how to prepare your RV for winter storage, highlighting where to seal, what to use, and the most crucial camper winterizing tips to keep your home on wheels in top shape.
1. Inspect your RV thoroughly
The first step in winter preparation is inspection. Grab a flashlight, ladder, and notepad, then check every potential entry point for water. This can include:
- Roof vents and skylights: Look for cracked caulk or loose trim.
- Windows and doors: Check both the frame and weatherstripping.
- Exterior seams: Pay special attention to areas where two panels meet.
- Trim and moldings: Inspect the seals around edges and decorative trim.
- Roof edges: The transition between the roof and the sidewalls is a common weak point.
Mark any suspicious areas and record them on your notepad, even if the gap seems small. A tiny opening can allow water to seep in and cause damage over months of storage.
2. Choose the best sealant for RV protection
Not all sealants are created equal, and using the wrong one could do more harm than good. Ideally, you want to use a silicone sealant that offers waterproof and weatherproof protection.
The GE Metal Silicone Sealant is a fantastic choice since it’s designed for use on recreational vehicles, among other surfaces. It’s permanently flexible, shrink and crack-proof, and resists UV degradation. The best part is that it won’t discolor most high-end metal finishes such as chrome, bronze, or nickel.
3. Seal roof vents and skylights
The roof is your RV’s first line of defense against water and one of the most common sources of leaks. Roof vents, air conditioners, and skylights create openings that need reliable sealing.
To protect them:
- Inspect closely: Look for deteriorating sealant around vent frames and skylight domes.
- Clean the area: Remove dirt, debris, and old sealant with a scraper and mild cleaner.
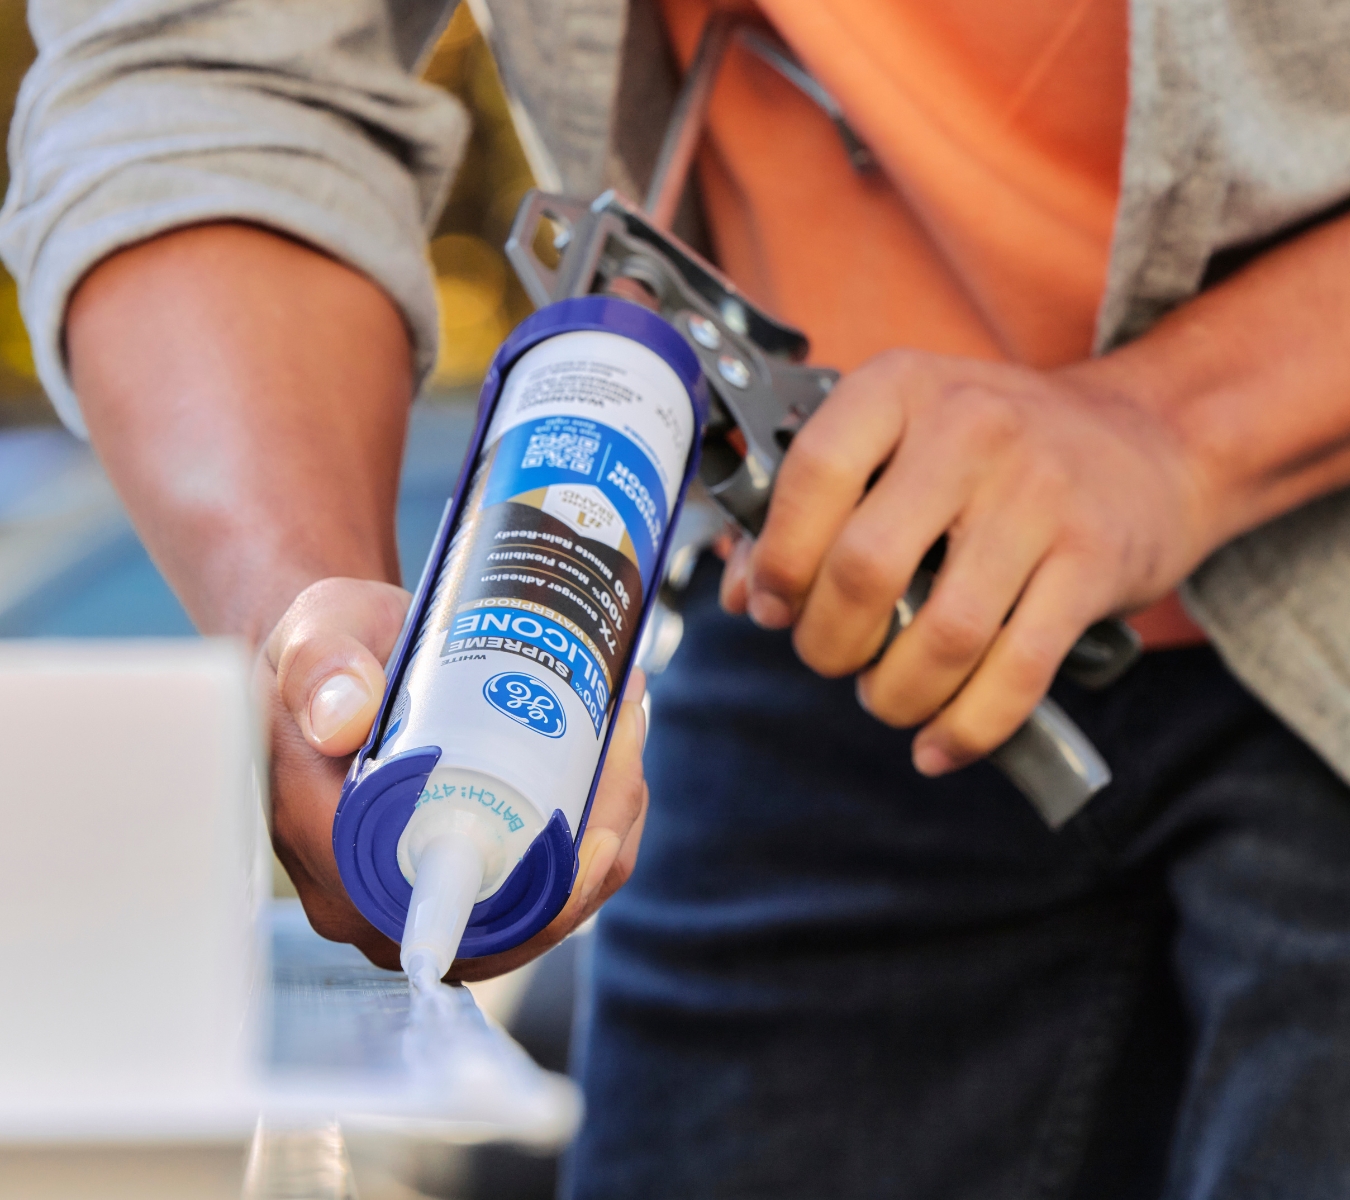
- Apply silicone sealant: Run a steady bead around the base of the vent or skylight. The sealant will settle into gaps and create a smooth, watertight finish.
Reinforcing these areas before storage ensures snow and ice won’t enter your camper during the off-season.
4. Seal windows and doors
Windows and doors are natural weak points in any structure, and RVs are no different. Gaps in window frames or door trims can let water seep inside, leading to swollen wood, mold, or peeling interior finishes.

- Check existing sealant: Look for signs of cracking or shrinkage.
- Replace weatherstripping if needed: Rubber seals lose flexibility over time.
- Apply silicone sealant: Reseal around frames using a product like GE Supreme Silicone Window & Door Sealant.
Taking this step as part of your camper winterizing routine keeps the elements outside where they belong.
5. Reinforce exterior seams and trim
The panels of your RV are joined by seams, often covered by trim or moldings. While these look secure, they’re highly susceptible to gaps from vibration and age. Before putting your RV in storage:
- Inspect all seams: Check along roof edges and corner joints.
- Check under trim: Use a putty knife to see if any areas are lifting.
- Apply RV sealant or butyl tape: Fill gaps and reseal trim to prevent moisture infiltration.
This step is one of the best defenses against hidden water damage, a problem that often isn’t noticed until spring.
6. Don’t forget the undercarriage
While most owners focus on roofs and windows, the undercarriage is also exposed to moisture and road grime. Before storage:
- Inspect underbelly seals: Look for missing or damaged material.
- Check around pipes and wiring: Sealant around penetrations often wears out first.
- Reapply protective coatings if needed: Some RVs use spray-on barriers that may need touch-ups.
Protecting the underside of your RV ensures that melting snow or ice on the ground won’t creep inside.

7. Additional camper winterizing tips
Sealing is a significant part of RV maintenance, but there are other steps you should take to prepare your camper for storage. Here are a few things to do beforehand:
- Drain all water lines: Prevent frozen pipes by flushing systems and adding RV antifreeze.
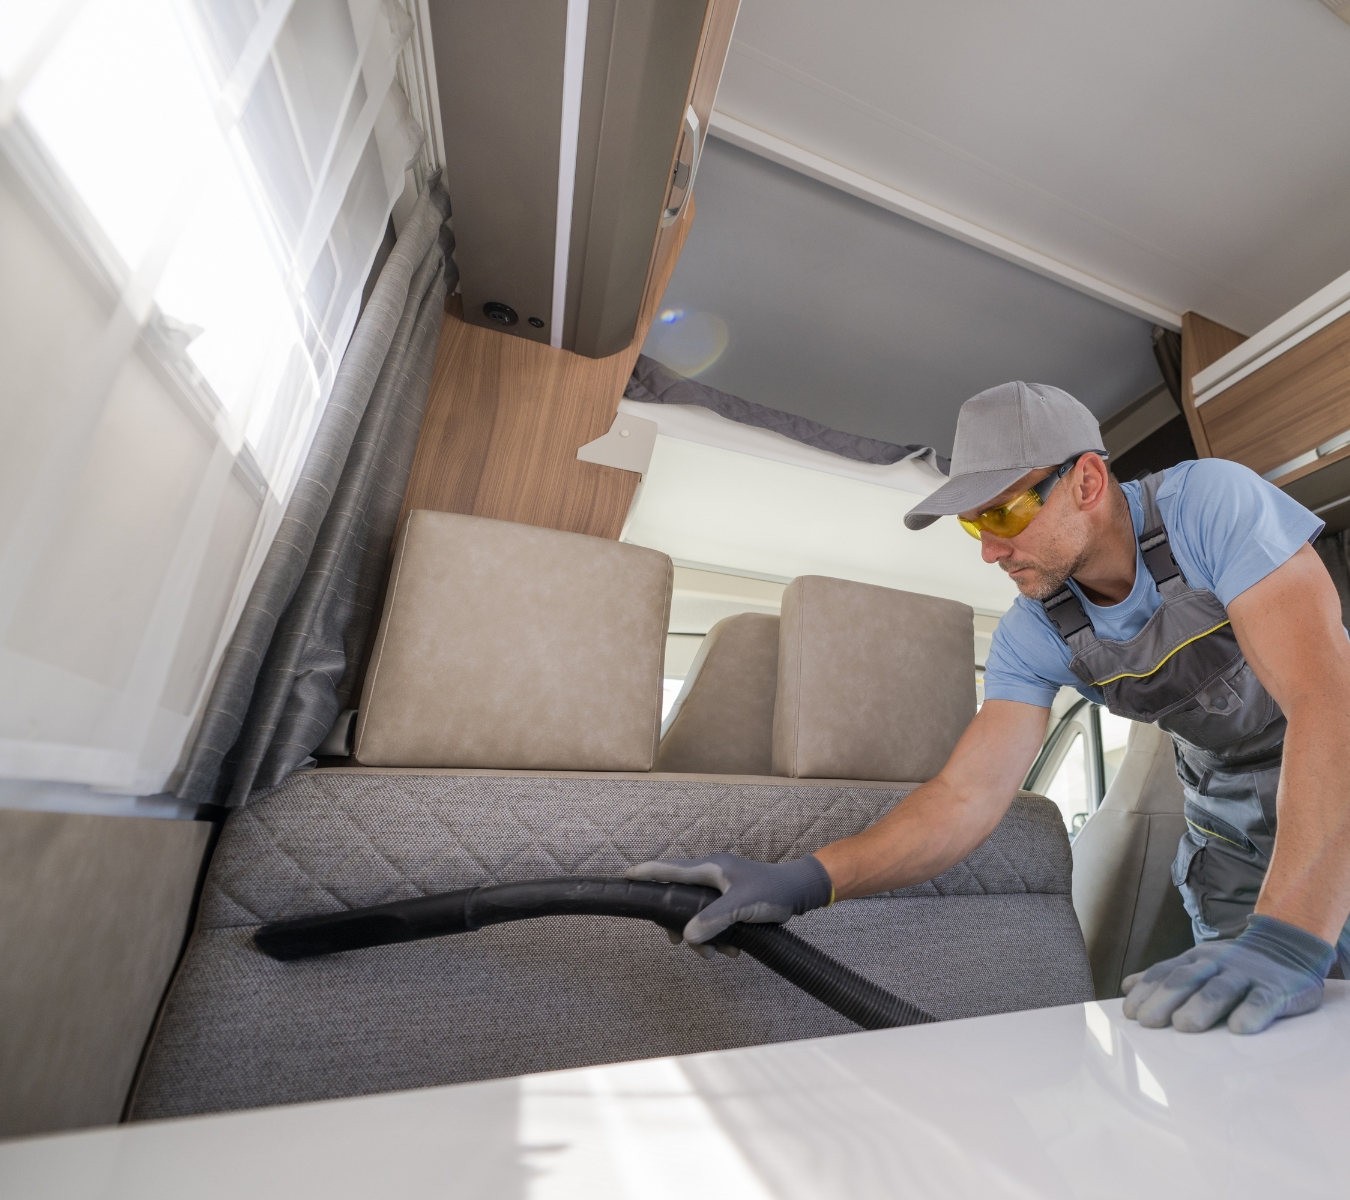
- Clean thoroughly: Crumbs and spills attract pests during storage.
- Cover or store tires off the ground: Protect rubber from cracking in cold weather.
- Use an RV cover: A breathable, waterproof cover shields your camper from snow, ice, and UV rays.
- Disconnect batteries: Store them in a warm place to extend lifespan.
Together, these camper winterizing tips help ensure your RV is ready to roll when camping season returns.
The long-term benefits of sealing and winterizing
Winterizing your RV is a must to protect your investment. By applying the best sealant for RV surfaces and following a seasonal checklist, you can:
- Prevent expensive repairs caused by water damage
- Extend the life of your RV’s roof, windows, and structural components
- Maintain resale value and overall performance
- Enjoy peace of mind knowing your camper is safe in storage
Using camper and RV sealant to prepare for winter
When it comes to off-season storage, sealing is one of the most important steps you can take. You protect your camper from the freeze-thaw cycle and water damage by carefully inspecting and applying the proper RV sealant to roof vents, windows, trim, and seams.
Combine sealing with other RV maintenance practices, and you’ll be confident that your RV will be in excellent shape come spring.
Looking for the best sealant for your RV before winter arrives? Find GE products at a store near you in the U.S. or Canada.


