

Note: This DIY article is provided as a general guide only and is not intended to take the place of product-specific installation procedures; always follow applicable manufacturers’ instructions. Depending on your home’s age and condition, location within the home, and other potential factors, repairs and/or upgrades or other services may be necessary prior to the beginning and/or completion of your project that may involve the services of a home improvement professional. This article does not include advice pertaining to local building codes and/or any related inspections.
Over time, gaps around windows, vents, and seams can allow moisture to seep into your RV or camper, leading to mold, structural deterioration, and costly repairs. Sealing your vehicle with a high-quality silicone sealant helps create a durable, weatherproof barrier that remains flexible through temperature changes. This guide outlines the key areas to seal in your RV or camper and provides step-by-step instructions to keep your vehicle protected for years to come.
Why you should seal your RV or camper
If you’ve invested in an RV or camper, you’re probably keen to take the necessary steps to keep it in good, clean working condition. Over time, exposure to rain, snow, and UV rays can cause cracks or gaps in various RV seams, vents, and window frames. Water infiltration can also lead to mold growth, wood rot, interior damage—and costly repairs.
Having a well-sealed RV also enhances temperature control, by reducing heat loss in the winter and keeping cool air inside during the summer. This helps maintain a comfortable interior environment and lowers energy consumption for heating and cooling.
Additionally, sealing exterior seams and roof joints protects against dust, pests, and road debris, keeping the RV cleaner and in better condition longer. Using a durable, weatherproof silicone sealant ensures a long-lasting, flexible seal that withstands temperature changes, vibration, and outdoor exposure.
Sealing your RV or camper with 100% silicone sealant helps prevent leaks, reduce air drafts, and protect against weather damage. GE Supreme Silicone Window & Door Sealant is ideal for windows, doors, and vents, while GE Metal Silicone 2® Sealant provides a durable, waterproof bond for roofs and seams. These flexible, weatherproof sealants expand and contract with temperature changes, ensuring a long-lasting, airtight seal to keep your RV protected on every journey.
What areas should you seal in your RV or camper?
Sealing critical areas on an RV or camper helps prevent leaks, improve insulation, and protect against weather damage. Pay attention to these areas in your vehicle:
- Windows and doors: Gaps around RV windows and doors can allow rain, dust, and drafts inside, reducing comfort and increasing energy use. Applying silicone sealant around these openings ensures a flexible, weatherproof seal that won’t crack or shrink over time.
- Vents and skylights: These openings are high-risk areas for leaks, especially when exposed to heavy rain or snow. A durable, waterproof silicone sealant prevents moisture from seeping into seams, protecting the interior from water damage.
- Seams and roof joints: RV roofs and exterior seams are prone to water penetration and UV degradation. Using a high-quality silicone roof sealant helps prevent leaks and reinforces weak points in the structure.

Picking the right sealant for your RV or camper
Not all sealing products suitable for RVs or campers are created equal. Finding the right sealant for your RV or camper is essential for long-term protection against leaks, weather damage, and even road vibrations. Unlike standard caulks, 100% silicone sealants offer superior flexibility, waterproofing, and UV resistance. For RV windows and doors, use Advanced Silicone 2® Window & Door Sealant for a durable seal with the flexibility to handle road vibration.
For sealing RV roofs, seams, and metal components, GE Metal Silicone 2® Sealant is a top choice. This 100% waterproof and weatherproof formula bonds to aluminum, steel, and other metals, creating a durable seal that resists cracking, shrinking, and peeling. Its rain-ready formula cures quickly, making it ideal for outdoor applications where exposure to the elements is a concern.
When choosing an RV sealant, look for:
- Strong adhesion
- Permanent flexibility
- Resistance to temperature extremes
A high-quality silicone sealant should also be mold-resistant to prevent mildew buildup in humid conditions.
Step-by-step guide to sealing your RV or camper
Follow these steps to ensure a durable, weatherproof seal on your vehicle’s roofs and seams.
- Inspect for leaks and damageCarefully examine windows, doors, vents, roof seams, and panel joints for cracks, worn-out sealant, or visible gaps. Use a flashlight and a water spray test to identify potential leak points.
- Clean surfacesRemove any old, deteriorated sealant with a scraper or sealant remover. Clean the area with soap and water, then dry completely to ensure proper adhesion.
- Apply silicone sealant
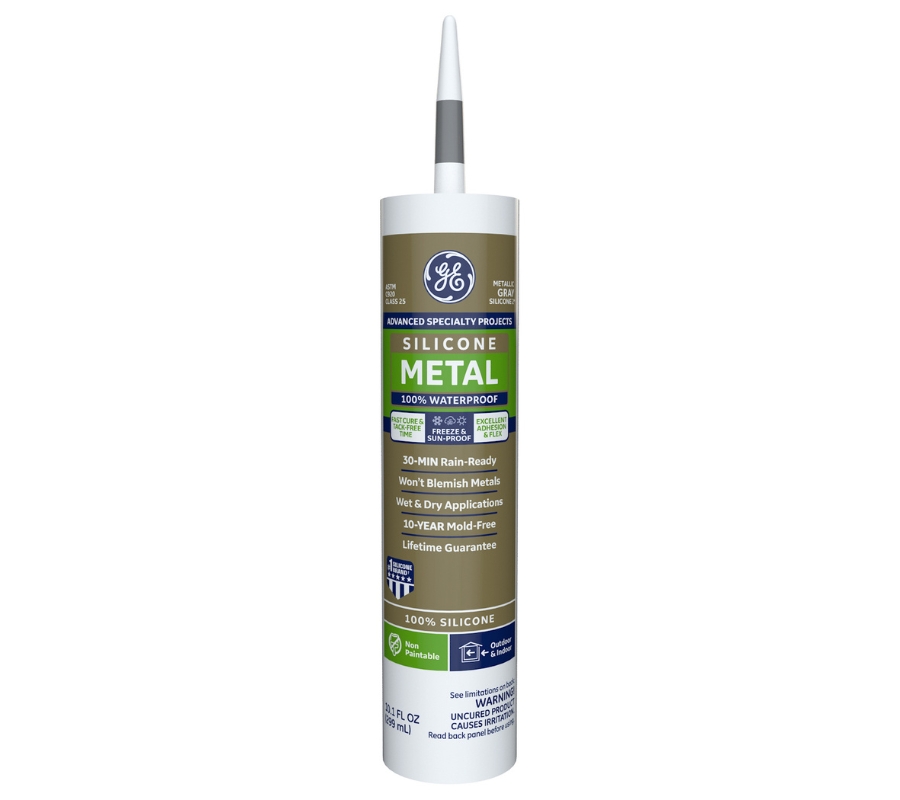
A photo of Metal Silicone 2® Sealant - For windows and doors: Apply GE Supreme Silicone Window & Door Sealant around the edges, ensuring a continuous bead for an airtight, flexible seal.
- For roof seams and metal components: Use GE Metal Silicone 2® Sealant, which bonds securely to aluminum, steel, and other metal surfaces to prevent leaks and withstand UV exposure.
- Smooth and secure the seal Using a caulk smoothing tool or gloved finger, press the sealant into place for even coverage and better adhesion.
- Allow proper curing time GE silicone sealants are rain-ready in 30 minutes, but full curing takes 24 hours. Avoid disturbing the sealant during this period to ensure long-lasting protection.
- Check for effectiveness After the sealant has cured, inspect for gaps, cracks, or missed spots. Perform another water test to confirm all areas are sealed.

Tips for long-term care
To keep your RV or camper sealed, inspect all sealed areas every six months for signs of cracking, peeling, or gaps. Pay close attention to windows, doors, vents, roof seams, and panel joints, as road vibrations and weather exposure can weaken seals over time.
Clean sealed surfaces with mild soap and water to remove dirt and debris, preventing buildup that could break your sealant’s adhesion. If the sealant appears worn or damaged, remove the old layer, clean the area, and reapply a fresh bead of sealant.
To get GE Sealants’ products for your home improvement projects, visit these fine retailers in the U.S. or Canada.

