

Note: This DIY article is provided as a general guide only and is not intended to take the place of product-specific installation procedures; always follow applicable manufacturers’ instructions. Depending on your home’s age and condition, location within the home, and other potential factors, repairs and/or upgrades or other services may be necessary prior to the beginning and/or completion of your project that may involve the services of a home improvement professional. This article does not include advice pertaining to local building codes and/or any related inspections.
Properly sealing your garage helps prevent water damage, reduces drafts, and blocks pests from entering through small gaps. Over time, cracks in the foundation, gaps around garage doors, and unsealed windows can lead to moisture issues, temperature fluctuations, and unwanted bugs and rodents. This guide provides step-by-step instructions for sealing key areas using durable silicone sealants to ensure long-lasting protection.
Why you should seal your garage
Gaps around garage doors, windows, and foundation cracks allow moisture to seep in, leading to mold growth, wood rot, and structural damage over time. During heavy rain or snow, water infiltration can create puddles, slippery floors, and potential long-term foundation issues.
A properly sealed garage reduces drafts and helps maintain a more stable indoor temperature. In cold months, unsealed gaps let in cold air, making garages and adjacent living spaces harder—and more expensive—to heat. In warmer months, hot air can enter, increasing cooling costs. By sealing air leaks, homeowners can enhance energy efficiency and reduce heating and cooling expenses.
Additionally, sealing cracks and openings helps prevent rodents, insects, and other pests from entering. Small gaps at the bottom of garage doors or around windows create easy entry points for mice, spiders, and even larger pests. A weatherproof, flexible silicone sealant like Supreme Silicone Window & Door Sealant effectively blocks these gaps, creating a long-lasting barrier against moisture, drafts, and infestations.
GE Supreme Silicone Window & Door Sealant provides a permanently flexible, weatherproof barrier, ensuring it expands and contracts with temperature changes without cracking or losing adhesion. Its 100% waterproof formula protects garage doors, windows, and foundation cracks from moisture damage, keeping your garage insulated and secure year-round.
Key areas to seal in your garage
Before sealing your garage, identify and plan for these key problem areas to ensure long-term protection and improved energy efficiency.
- Garage doors: Gaps around the garage door frame and along the bottom seal are common entry points for cold air, water, and pests. Over time, weatherstripping can degrade, allowing moisture and drafts inside. Applying silicone along the edges and bottom of the garage door helps create a weatherproof, flexible seal resistant to cracking and peeling.
- Windows: Unsealed garage windows can allow rain, wind, and pests to enter. Using a durable silicone sealant around window frames prevents moisture damage, air leaks, and heat loss, keeping the space more energy-efficient.
- Foundation cracks: Small cracks in the garage floor or walls can allow water seepage, insects, and rodents inside. Filling these cracks with a permanently waterproof silicone sealant helps prevent structural deterioration and pest infestations. Regularly inspecting and sealing these key areas ensures a well-protected, insulated garage year-round.
Choosing the right sealant for your garage
Silicone sealants are typically the best choice for sealing garages because of their flexibility, waterproofing, and resistance to temperature changes. Unlike acrylic or latex-based sealants, silicone remains permanently flexible, preventing cracks or shrinkage that could compromise the seal over time.

For sealing garage doors, windows, and foundation cracks, Advanced Silicone 2® Window & Door Sealant is an ideal option. It offers 100% more flexibility than standard sealants, ensuring it expands and contracts with temperature shifts without breaking down. Its permanently waterproof and weatherproof properties make it highly effective in blocking moisture, air leaks, and pests. Additionally, it features mold-free product protection, preventing mildew buildup in damp conditions.
When choosing a sealant, look for durability, strong adhesion, and compatibility with materials like wood, concrete, metal, and vinyl. Clear or white silicone sealants provide a clean, professional finish that blends with most surfaces.
Step-by-step guide to sealing your garage
Follow these steps to get your garage sealed right with long-lasting protection:
- Inspect for gaps and cracks
Before applying sealant, thoroughly check for gaps around garage doors, windows, and foundation cracks. Use a flashlight to spot small openings and a piece of tissue or paper to detect drafts—if the paper moves, air is leaking through. - Clean the surfaceFor strong adhesion, clean all areas where sealant will be applied. Use a mild detergent and water to remove dirt, dust, and old sealant residue. Let surfaces dry completely before sealing.
- Seal garage door gaps
- Bottom seal: If the garage door has a visible gap at the bottom, apply sealant along the threshold for a flexible, weatherproof seal.
- Side and top gaps: Apply a continuous bead of sealant along the edges where the garage door frame meets the walls. Smooth with a caulking tool or gloved finger for even coverage.
- Seal garage windows
Apply silicone sealant around window frames, ensuring all gaps are covered. As silicone remains flexible and waterproof, it will prevent cracking over time as wooden window frames shift and contract with temperature and moisture changes. - Fill foundation cracks
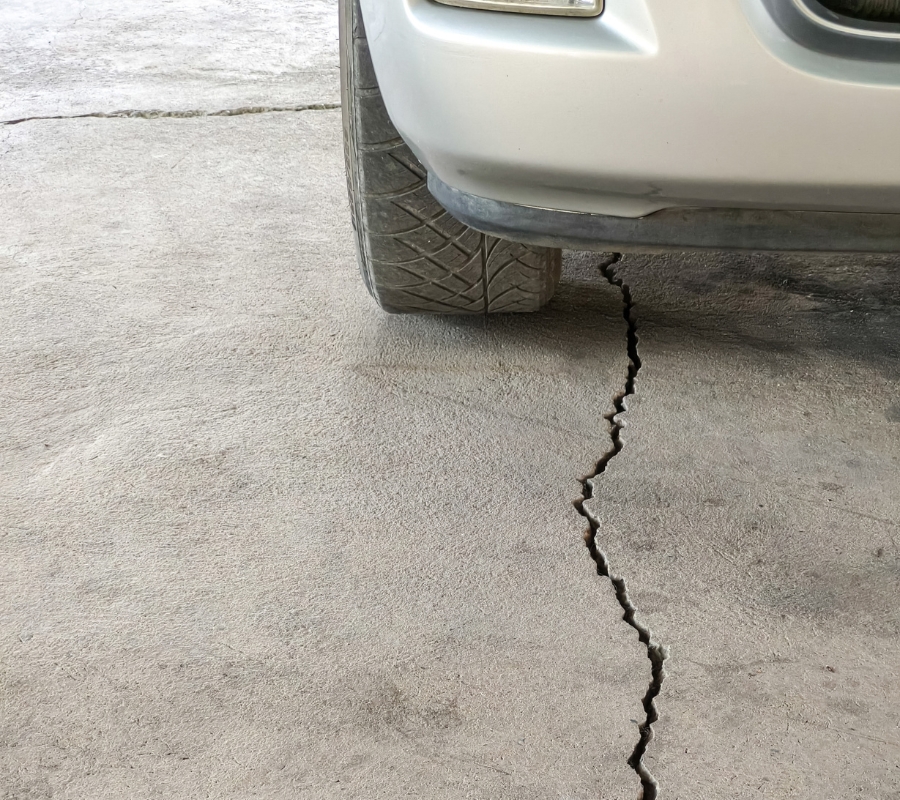
A photo of foundation cracks in a garage. Small cracks in the garage floor or foundation walls can allow water and pests to enter. Fill cracks with sealant, pressing the sealant into place with a putty knife for full coverage.
- Allow proper curing time
GE Silicone Sealants are rain-ready in 30 minutes, but full curing takes 24 hours. Avoid disturbing sealed areas during this period to ensure a strong, long-lasting bond. - Test for effectiveness After curing, check for remaining air leaks or moisture entry points. If needed, apply an additional layer of sealant for enhanced protection.

Long-term care
To maintain an effective seal, inspect your garage every six months for signs of wear, such as cracks, peeling, or gaps in the sealant. Temperature changes and daily use can cause minor shifts, so check areas around garage doors, windows, and foundation cracks regularly.
Clean sealed surfaces with mild soap and water to prevent dirt buildup that could weaken adhesion. If any sealant appears damaged, remove the old layer, clean the area, and reapply a fresh bead of sealant.
To get GE Sealants’ products for your home improvement project, visit these fine retailers in the US and Canada.

