Note: This DIY article is provided as a general guide only and is not intended to take the place of product-specific installation procedures; always follow applicable manufacturers’ instructions. Depending on your home’s age and condition, location within the home, and other potential factors, repairs and/or upgrades or other services may be necessary prior to the beginning and/or completion of your project that may involve the services of a home improvement professional. This article does not include advice pertaining to local building codes and/or any related inspections.
Small gaps in your home’s siding might not look serious, but they can let in moisture that damages walls, insulation, and framing. Rain, humidity, and temperature swings can make these gaps worse over time. With the right tools and weather-resistant sealants from GE Sealants, you can fix them yourself and help prevent costly repairs.
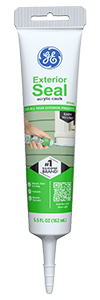
Choosing the right sealant is the first step in getting the job done right. For small gaps in siding, you need a sealant like GE Exterior Seal Acrylic Caulk to stay flexible, resist the elements, and bond firmly to common exterior materials like wood, fiber cement, and vinyl.
How to spot gaps in siding
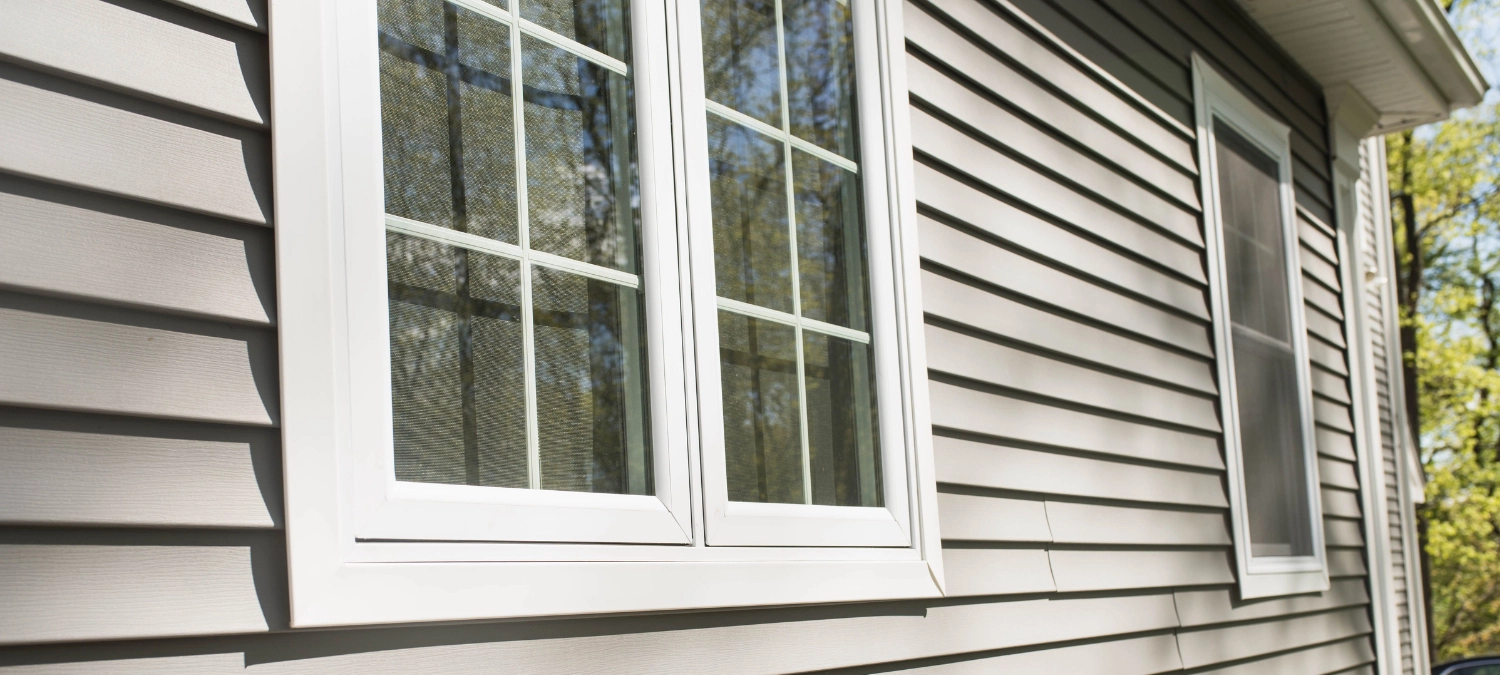
Gaps in siding can appear in several forms and catching them early helps prevent water damage and energy loss. Start by visually inspecting your exterior walls for thin cracks, warped boards, or separations between panels. Pay special attention to corners, where two siding sections meet, and areas around windows, doors, vents, and outdoor faucets. These spots are prone to movement and stress over time.
Also check where siding meets trim or foundations, as shifting or settling can create small openings. Flaking paint, discoloration, or mildew may also signal hidden gaps allowing moisture intrusion. Use a flashlight and gently press on suspect areas to check for movement or soft spots behind the surface. If the siding creaks or gives way, it may indicate a loose panel or underlying water damage. Perform exterior inspections at least once a year, especially before rainy seasons or after extreme weather changes that may have stressed your home.
Choosing the right sealant for the job
Choosing the right sealant is the first step in getting the job done right. For small gaps in siding, you need a sealant that stays flexible, resists the elements, and bonds well to common exterior materials like wood, fiber cement, and vinyl. GE Exterior Seal Acrylic Caulk is a strong choice. It’s paintable, easy to apply, and specially formulated for exterior use. It adheres to a variety of surfaces and provides excellent durability against rain, sun, and seasonal expansion and contraction.
As a general siding repair tip, avoid using interior caulks or standard silicone sealants outdoors, as they may crack, peel, or lose adhesion over time. GE Exterior Seal also cleans up with water, making it beginner-friendly for DIYers. If you need extra flexibility around high-movement joints like windows or doors, consider GE Pro Seal Max Window & Door, which offers advanced stretch and weather protection. Choosing the right product ensures your siding gap repairs hold up through the seasons.
Preparing your surfaces
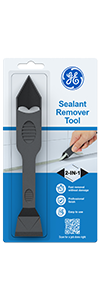
When caulking exterior siding, proper surface prep will guarantee your work lasts as long as it should. Start by removing old sealant, paint flakes, or debris from the gap using a utility knife or GE’s Sealant Remover Tool. For rougher buildup, a wire brush can help clear out residue. Once the area is cleared, wash it with soap and water to remove dust and grime, then allow it to dry completely.
A dry, clean surface ensures the new sealant bonds correctly and performs as expected over time. If the siding is chalky or weathered, lightly sanding the area, with high grit 120-and-up, can improve adhesion. For neater lines, apply painter’s tape along both sides of the gap, especially near trim or painted edges. This not only helps guide the bead but also speeds up cleanup. Skipping surface prep is a common mistake that can lead to early sealant failures. Take the extra time now to make sure your siding repair holds up in changing weather.
How to seal siding gaps: step-by-step
Filling small gaps in siding is a manageable DIY task when you follow the right steps and use the right sealants. We recommend GE Exterior Seal for general siding repairs and GE Pro Seal Max Window & Door for gaps near trim or high-movement areas.
Step 1: Cut the nozzle

Cut the tip of the tube at a 45-degree angle to match the width of the gap. For GE Exterior Seal, use scissors or a utility knife. For Pro Seal Max, you’ll also need to puncture the inner seal.
Step 2: Prepare the tube
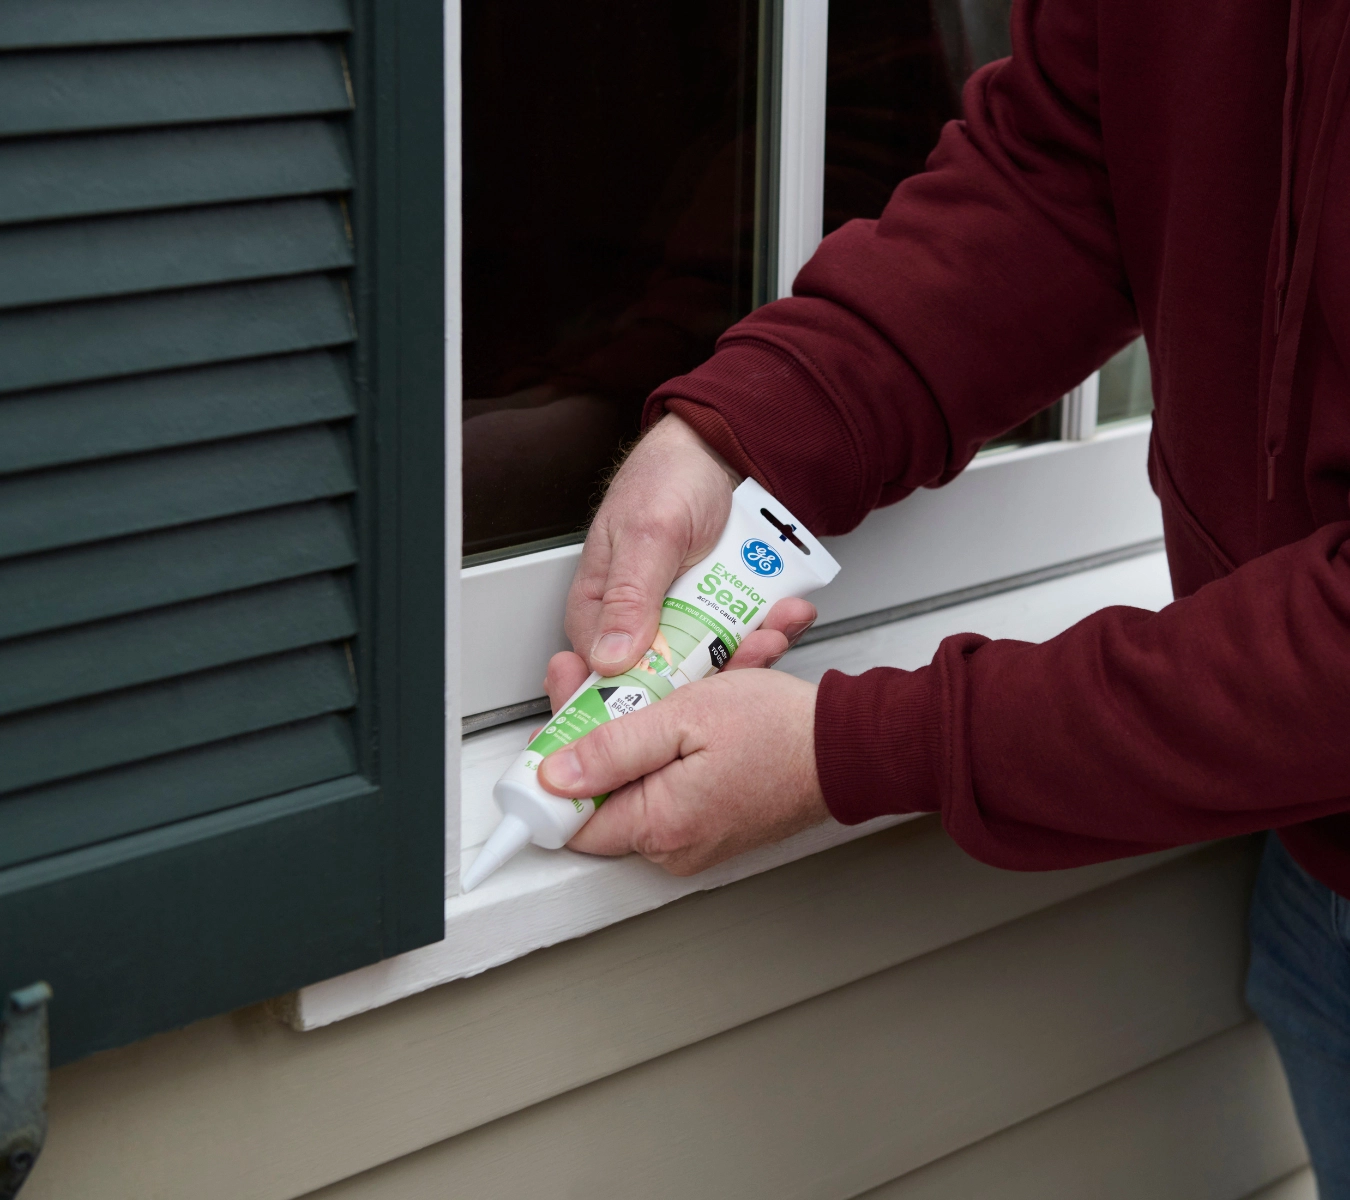
- If using GE Exterior Seal, simply squeeze the tube to apply. It does not require a caulking gun.
- If using GE Pro Seal Max, insert the tube into a standard caulk gun and squeeze the trigger to dispense the sealant.
Step 3: Apply painter’s tape
To keep the bead neat, apply painter’s tape along both sides of the gap before you begin sealing. This is especially helpful near painted surfaces or trim.
Step 4: Apply the sealant
Hold the tube, or caulk gun, at a consistent angle and apply a steady bead into the gap. Use even pressure to avoid air pockets or skips.
Step 5: Tool the bead
Immediately smooth the bead with a gloved finger or or GE’s Sealant Smoothing Tool to press it in and shape it evenly.
Step 6: Remove the tape
While the sealant is still wet, peel off the painter’s tape to maintain crisp, clean lines.
Step 7: Let it cure
Allow the sealant to dry fully per product instructions. GE Exterior Seal is typically paint-ready in about 30 minutes. Check label for exact timing based on weather conditions.
Following these steps helps seal siding gaps before water, pests, or drafts can find their way inside. With good prep, the right sealant, and proper application, your repair will provide durable, weather-resistant protection that blends into your home’s exterior.
Common mistakes to avoid
Always apply sealant in dry conditions with temperatures within the product’s recommended range. Avoid sealing over dirty or damp surfaces, as this weakens adhesion and shortens the life of your repair. Don’t overfill or underfill gaps.
Rather, aim for a smooth, continuous bead that fully seals the opening. Taking a few extra minutes to do it right helps prevent water damage and repeat work later.
To get GE Sealants’ products for your home improvement project, visit these fine retailers in the U.S. or Canada.