Note: This DIY article is provided as a general guide only and is not intended to take the place of product-specific installation procedures; always follow applicable manufacturers’ instructions. Depending on your home’s age and condition, location within the home, and other potential factors, repairs and/or upgrades or other services may be necessary prior to the beginning and/or completion of your project that may involve the services of a home improvement professional. This article does not include advice pertaining to local building codes and/or any related inspections.
A crooked caulk line fails first to the eye, then to water. These five-step caulking tips use GE sealants and tools to provide you with sharp lines in the places that take the most abuse: tub lips, backsplash seams, and inside corners.
Why clean caulk lines matter
A clean caulk line shows how you prepped the surface, how steady your hand was, and how well you read the joint. If you rushed the wipe-down or cut the nozzle too wide, the bead will show it.
When the line fails, it fails fast. Heat lifts it. Water works its way in. The tile edge darkens, and mold sets in the gap. What started as an uneven pull becomes a stained seam, and the repair starts all over again.
But when the edge is sharp, the bead sheds soap, shrugs off scrubbing, and holds form under flex. You tape once, tool once, and move on. The difference is in the prep and the precision.
What you’ll need: silicone sealant and tools
The right silicone sealant tools keep your line straight, clean, and done in one pass, with no detours.
- GE Sealant Remover Tool: Strips out old caulk cleanly without scarring tile or grout.
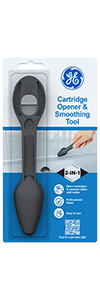
- GE Cartridge Opener & Smoothing Tool: The 2-in-1 tool cuts a crisp 45-degree nozzle and flips to a smoothing tool.
- GE Sealant Smoothing Tool: Profiles the bead in one glide for a consistent, even crown and sharp edges that look factory-finished.
- Sealant selection
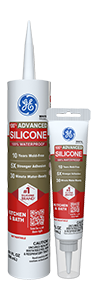
- GE Advanced Silicone Kitchen & Bath: 100% silicone for tubs, sinks, and splash zones. Permanently flexible, waterproof, mold-resistant, and water-ready in 30 minutes.
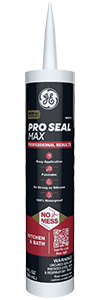
- GE Pro Seal Max Kitchen & Bath: Hybrid formula with silicone-grade performance and paintability. Ideal when you want both moisture protection and a finish that can be painted.
- Prep gear: Isopropyl alcohol for the wipe-down. Painter’s tape for edge control. A caulk gun with a smooth trigger pull to prevent drips and skips.
With these in hand, you’re set.
Prepare the joint
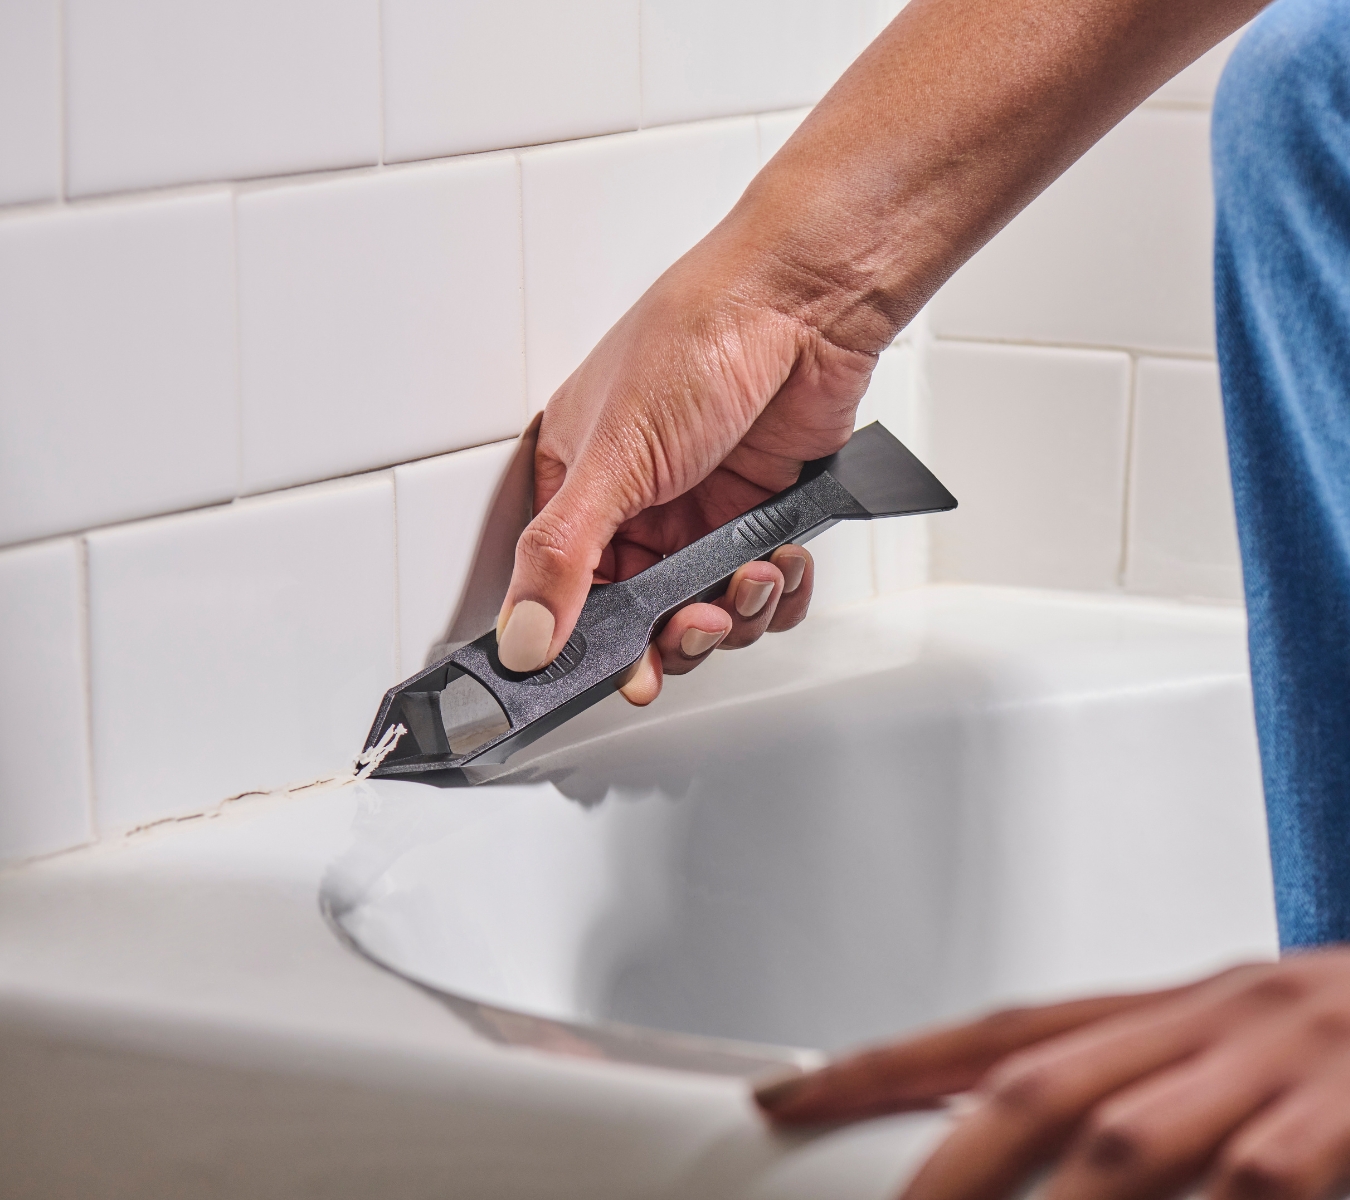
Old caulk leaves behind residue, gaps, and adhesion problems that compromise every bead that follows. A new line needs a bare, dry surface. Anything less, and it pulls off in strips. Follow these five steps to ensure a clean caulk line every time.
1. Remove Sealant
Start by cutting out the old bead with the GE Sealant Remover Tool. Scrape tight to the surface, then run a stiff brush through the channel. Rinse. Wipe down with isopropyl alcohol to remove film, then let it dry.
Now, place painter’s tape on both sides of the joint. Leave a 1/16-inch reveal between the tape edges. This sets the bead path and gives the GE Sealant Smoothing Tool a clean run, without snagging on grout or gloss.
2. Cut the nozzle small and control the flow
The cut you make on the nozzle controls how wide the sealant spreads and how fast you burn through the tube.
Use the angled cutter built into the GE Cartridge Opener & Smoothing Tool. Slice at 45 degrees, close to the tip. Don’t cut deep. A wide tip buries corners, smears edges, and leaves a line that needs rework before it even cures.
And once it’s cut, rotate the nozzle so the angled opening matches the pull direction. This small move keeps the caulk bead shaped, not sprayed.
Remember: when you control the cut, you control the finish.
3. Pull a steady bead at a 45-degree angle
If you pull unevenly or change pace mid-run, the sealant arcs, clumps, or pulls away under steam.
Mount the gun at 45 degrees and pull—don’t push. Let the nozzle lead the sealant into the joint, not dump it on the surface. When the nozzle chases the edge, the bead sits in the gap instead of stacking on top.
Find the sweet spot in speed: slow enough to fill, fast enough to beat skin-over. Don’t hesitate, otherwise a ridge will form. Then again, rush, and you get gaps. Aim for one clean pass per edge.
If the joint widens or narrows, change your pace, not your grip. If you drift off line, stop. Trying to swipe it back only drags that old mess along the edge. Let it set, then slice and relaunch.
This is the best way to apply caulk on visible joints—clean, controlled, inspection-proof.
Tool within five minutes of laying the bead. The GE Sealant Smoothing Tool locks a clean line before skin-over starts, sealing edges against water and mold.
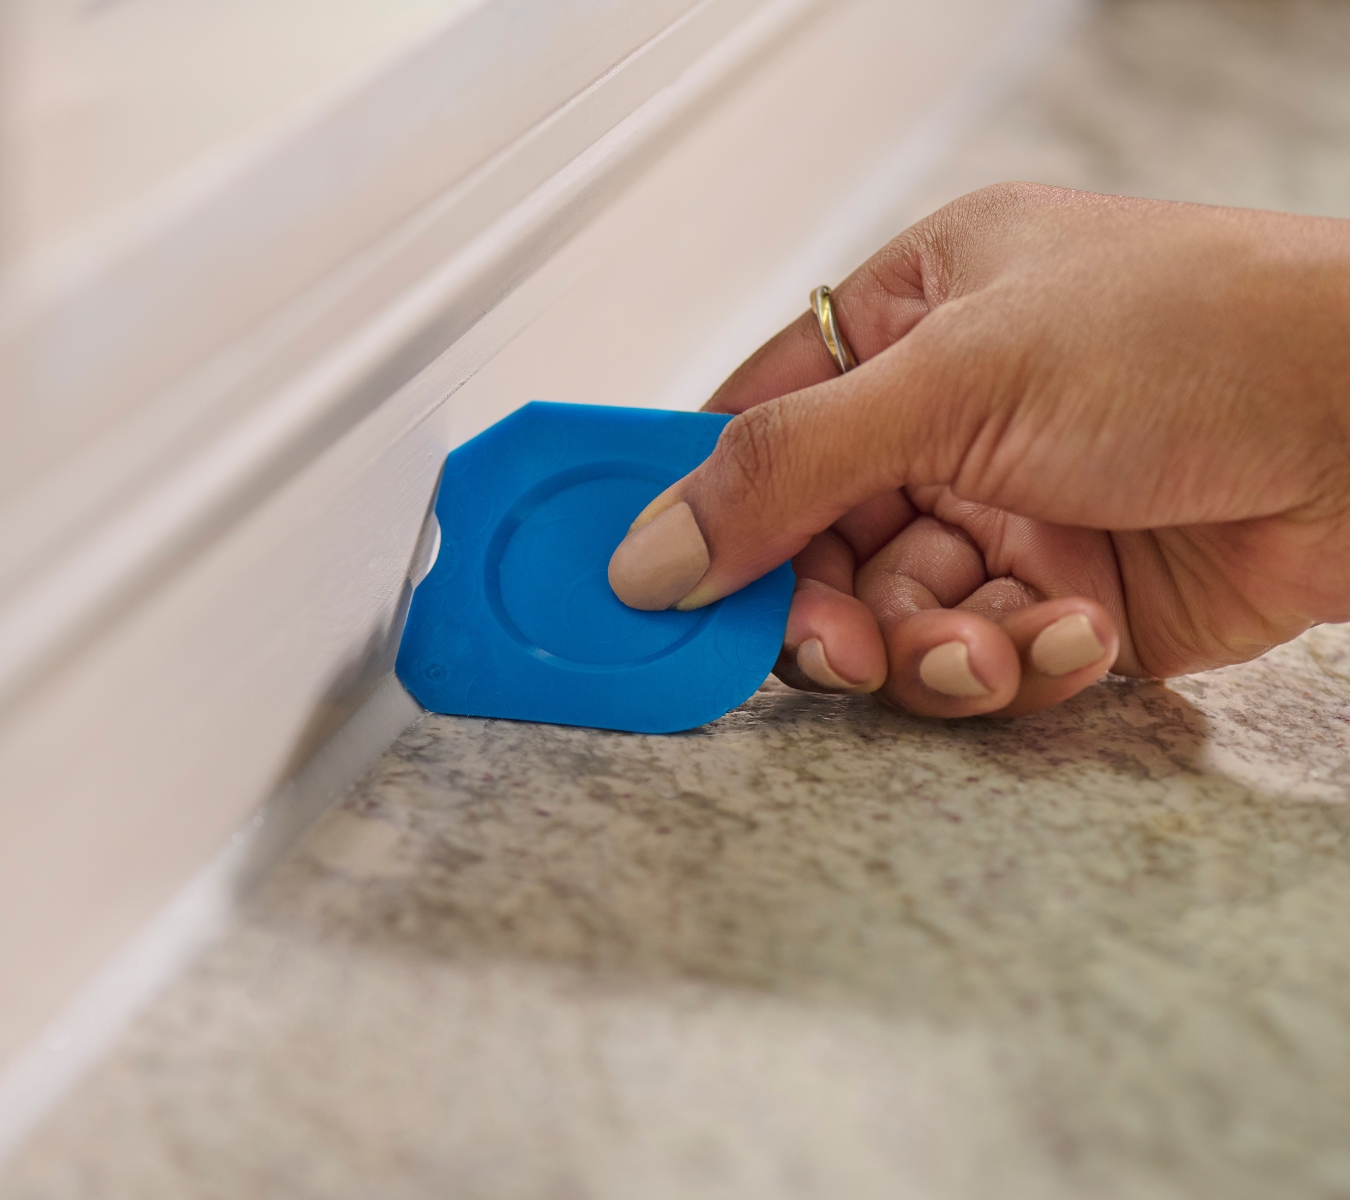
4. Tool the bead: one smooth pull, no second passes
The caulk is in the joint, but it’s not finished until it’s tooled.
Grab your GE Sealant Smoothing Tool. Place it flat against the joint, angled slightly toward your pull. Let the tool glide over the bead, not pressing into it. You’re just shaping the bead, not digging.
The tool forms a smooth line and presses the sealant against both sides of the joint. That pressure matters: it drives out air pockets, forces the bond, and keeps the line from curling once it sets. One pass is best practice—every extra swipe distorts the bead and weakens the edge.
Also, don’t swipe with your finger. It over-spreads the edge, removes too much sealant, and leaves oils behind that can disrupt adhesion.
5. Remove the tape and let it cure
The moment you finish tooling, pull the painter’s tape. If the sealant skins over, it tears when the tape lifts. That’s how edges get frayed and corners pull wide.
Peel back at a 45-degree angle, away from the bead. The edge should release clean, sharp, and flush. Then let the bead rest. GE Advanced Silicone Kitchen & Bath Sealant is water-ready in 30 minutes, but full cure takes 24 hours. GE Pro Seal Max Kitchen & Bath is water-ready immediately, with full cure in 24 to 74 hours, depending on temperature, humidity, porosity of substrate, and thickness of bead applied.
Resist the urge to press, prod, or wipe. Touching too early leaves fingerprints, flattens the bead, or breaks the bond at the edge.
Once cured, inspect the profile in angled light. Step to the side and let the shadow fall across the line. Skips, ridges, and drag marks show up when the light runs across it, not straight at it.
Pro caulking tips: rookie mistakes to avoid
Even one misstep can blow the whole bead. Here are caulking tips that help you avoid where most first-timers lose the line:
- Overfilling the joint. A fat bead might feel safer, but it wastes product and makes tooling a mess. Keep the nozzle tight to the joint.
- Dragging your feet. Work too slowly, and the skin starts to set. You’ll smear the line trying to tool it.
- Skipping surface prep. Silicone sealant won’t stick to dust, soap film, or old caulk. Always clean, dry, and tape first.
- Using the wrong formula. Paintable acrylic can’t flex with tubs. Pure silicone won’t take paint. Know what joint you’re sealing, and what it’s expected to do.
Every shortcut shows up later, in your edge, your texture, or your redo.
The difference between a bead that holds and one that fails comes down to three moves: cut tight, pull steady, and tool once. Use GE Advanced Silicone Kitchen & Bath when you need waterproof, mold-resistant protection in wet zones, or GE Pro Seal Max Kitchen & Bath when the joint needs both flex and a paintable finish.
Find GE Sealants and tools at a retailer near you in the U.S. or Canada.

