Note: This DIY article is provided as a general guide only and is not intended to take the place of product-specific installation procedures; always follow applicable manufacturers’ instructions. Depending on your home’s age and condition, location within the home, and other potential factors, repairs and/or upgrades or other services may be necessary prior to the beginning and/or completion of your project that may involve the services of a home improvement professional. This article does not include advice pertaining to local building codes and/or any related inspections.
Drafty baseboards may seem minor, but they can contribute to significant heat loss and higher energy bills over time. Many homeowners face this issue, especially in older homes or houses with shifting foundations. The good news is that you can stop drafts in the house without tearing your walls apart or embarking on a full-scale renovation.
Caulk is ideal for this job. It remains flexible after curing, resists cracking over time, and is able to be painted to match your trim.
Why drafty baseboards are a problem
Baseboards may seem like purely decorative trim, but they also cover the natural joint between your wall and floor. Over time, slight movements in your home’s structure can create small gaps between the baseboards and the wall or the flooring. These tiny gaps may not seem like much, but they can allow cold air to enter your home and warm air to escape, particularly in colder months.
Unsealed baseboard gaps can:
- Make rooms feel colder and less comfortable
- Increase your heating costs
- Allow dust, allergens, and even pests to sneak in
Fortunately, there’s an easy fix that you can do yourself without the help of a professional. You just need to grab the proper tools and follow along with this helpful guide to make it happen.
The best way to seal drafty baseboards
When sealing baseboard drafts, you aim to close any visible gaps with a durable, flexible material that adheres well to both wood and drywall. Caulk is ideal for this job. It remains flexible after curing, resists cracking over time, and is able to be painted to match your trim.
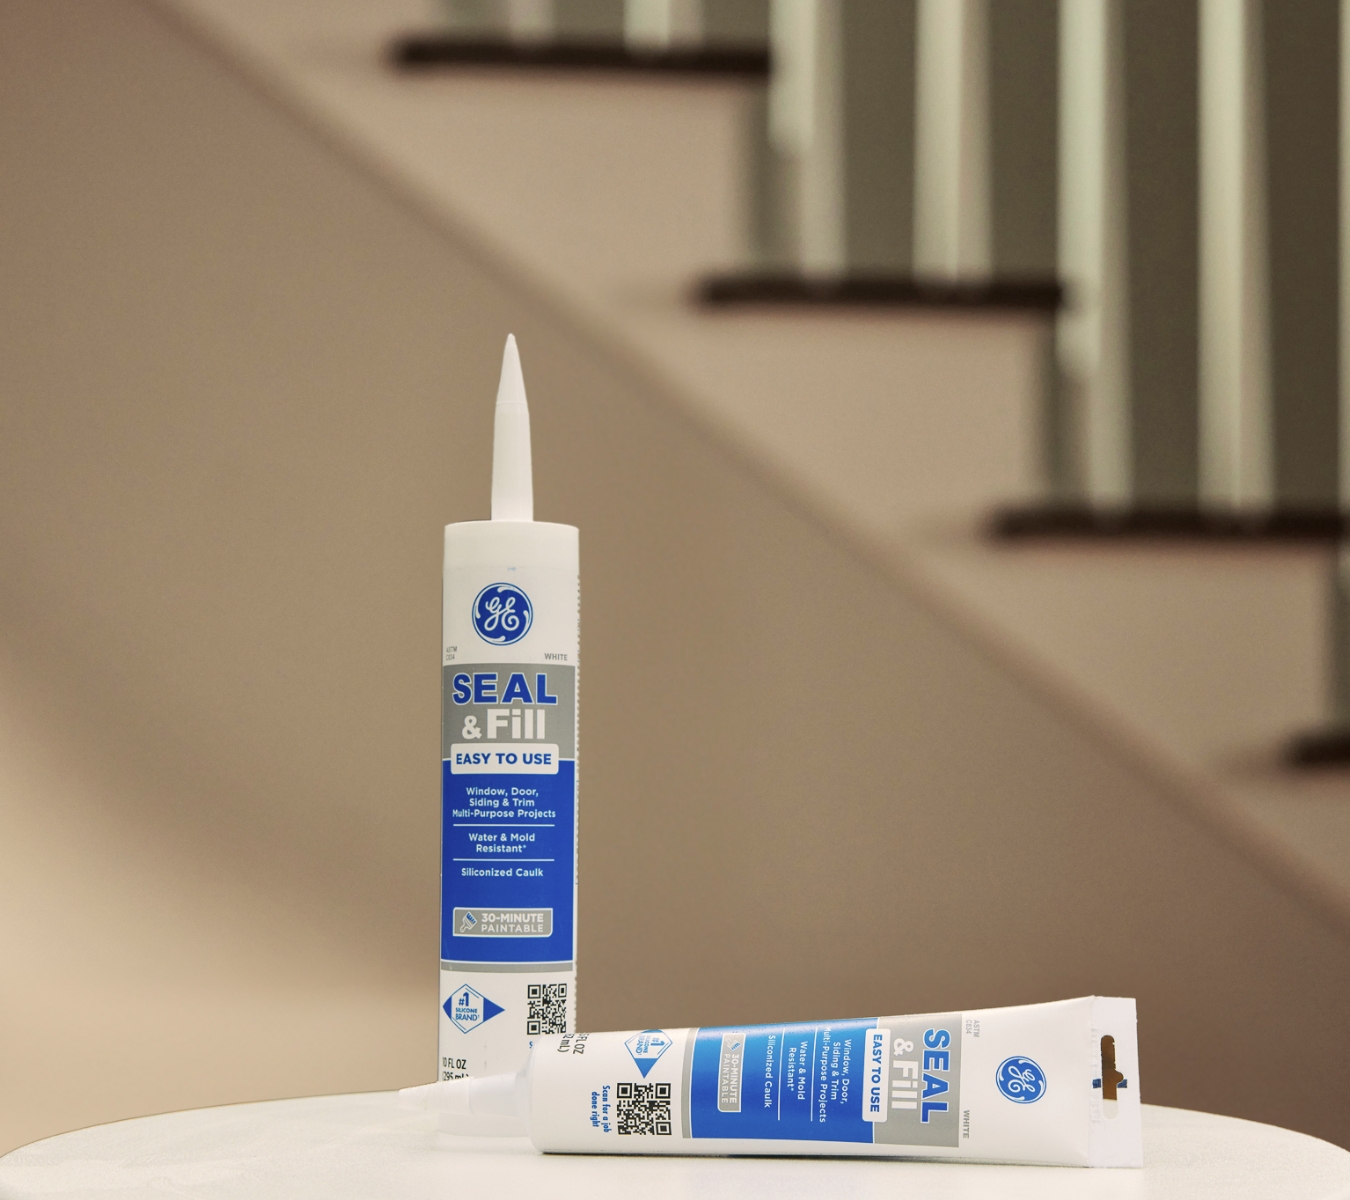
Your best bet? Use the GE Seal and Fill Window & Door Caulk, which comes in both a cartridge and a convenient squeeze tube. The squeeze tube container makes it easy to apply without a caulking gun and is perfect for DIYers who want a mess-free application.

Why advanced grade paintable caulk is a great choice
Paintable caulk maintains flexibility and strong adhesion to materials. It’s also:
- Resistant to moisture with a waterproof seal when cured
- Long-lasting and low-maintenance
- Suitable for indoor applications where paint is needed
Advanced grade caulk bonds well to multiple surfaces, including trim, drywall, baseboards, and hardwood flooring, making it a top choice for sealing baseboard drafts.
A step-by-step guide to sealing baseboard drafts
To get started with this project, we’ve broken the steps down for you in an easy-to-follow guide.
What you’ll need
To stop drafts in the house, you will need:
- GE Seal and Fill Window & Door (white or clear, depending on your need)
- GE Sealant Smoothing Tool
- GE Sealant Remover Tool (for removing old caulk)
- Painter’s tape (optional for clean lines)
- Rags and mild cleaner
1. Inspect the area
Walk around your home and check where your baseboards meet the wall and floor. Look for visible gaps, cracks, or old, deteriorating caulk. Run your hand along the area to feel for drafts.
2. Clean the surface
Use a damp cloth and mild cleaner to wipe down the area. If old caulk is present, use the GE Sealant Remover Tool to gently remove it. Make sure the surface is completely dry before you begin sealing.
3. Apply painter’s tape (optional)
For a cleaner finish, apply painter’s tape above and below the area you’ll seal. This helps create a crisp edge and prevents smudges, allowing you to perfect your sealant application for a professional finish.
4. Apply the caulk
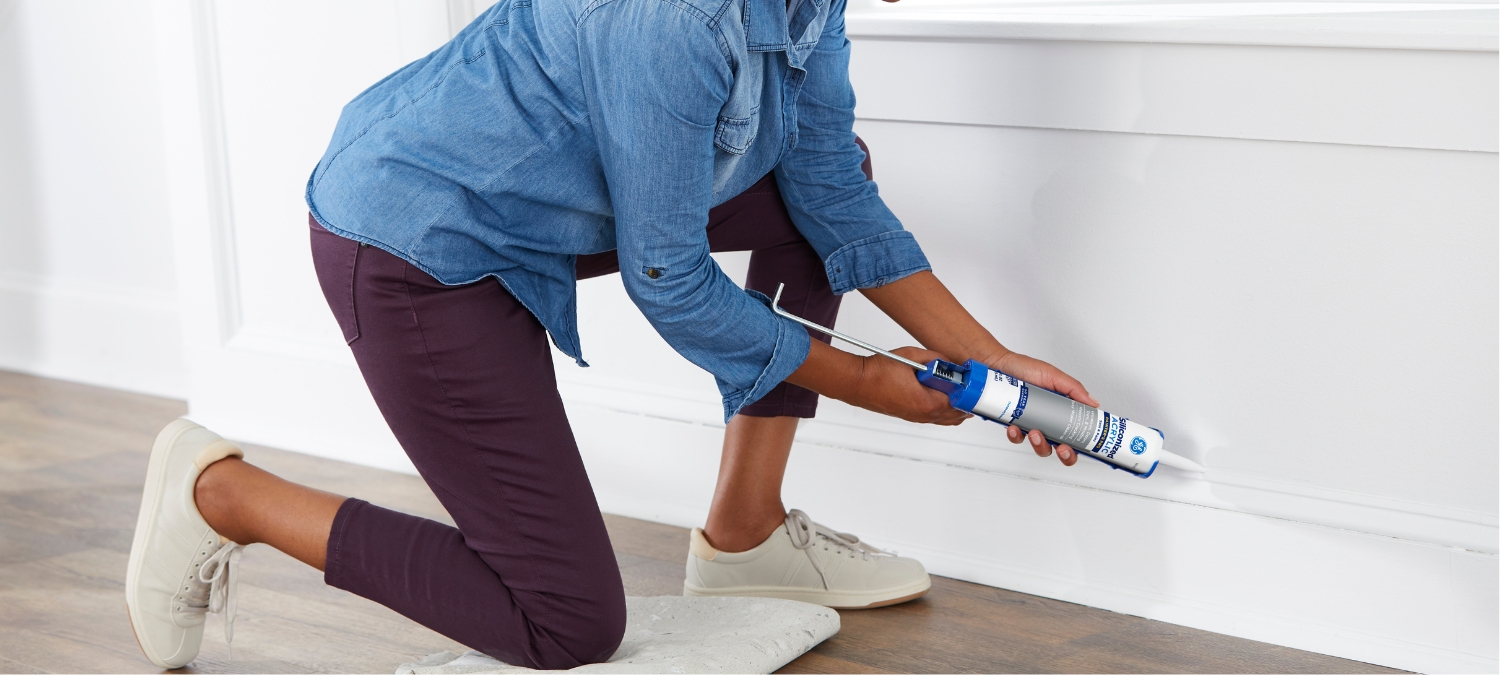
Open your GE Seal and Fill Window & Door squeeze tube. Starting at one end of the gap, gently squeeze a consistent bead of sealant along the gap where the baseboard meets the wall or floor.
If you don’t want to paint, white sealant is excellent for matching painted baseboards, while clear caulk is a subtle option for stained or natural wood finishes.

5. Smooth the bead
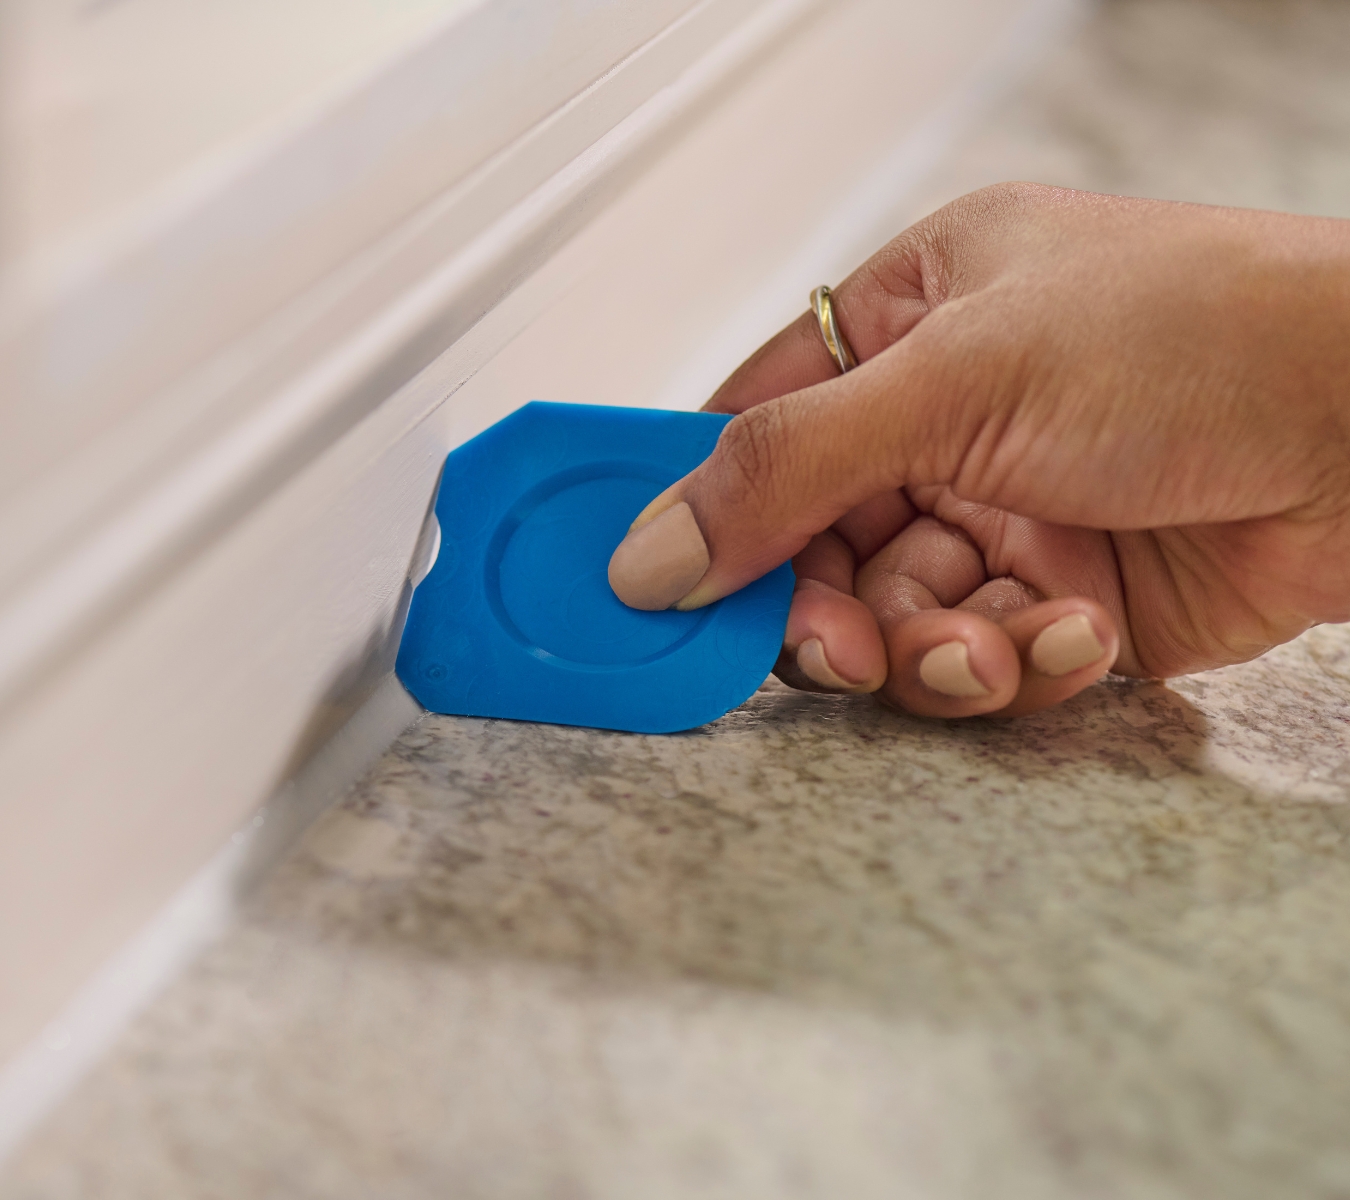
Use the GE Sealant Smoothing Tool to create a neat, even seal. This tool shapes the sealant and presses it into the gap, ensuring strong adhesion and a professional-looking result.
6. Remove the tape and let it cure
Carefully remove the painter’s tape while the caulk is still wet. Allow the caulk to cure according to the manufacturer’s instructions. Typically, it requires 24 hours for a complete cure.
Additional tips for successful baseboard caulking
If tackling this project for the first time, a few extra precautions can help you achieve a cleaner, longer-lasting result. Even though sealing baseboard drafts is a beginner-friendly DIY task, the proper techniques and tools can significantly affect the outcome.
- Use clear sealant in areas with natural wood tones or if you’re unsure which finish matches best. Clear sealant blends subtly and won’t clash with stained or unfinished trim.
- Don’t skip smoothing: A rough or uneven application can lead to visible gaps, reduced adhesion, or an unprofessional look. The GE Sealant Smoothing Tool helps achieve a seamless finish.
- Work in small sections: If you’re sealing a large room, divide the job into manageable segments. This gives you more control and prevents the sealant from drying before you can smooth it.
- Keep a damp cloth handy: If you accidentally apply too much sealant or smudge an area, a damp rag can help you quickly clean it up before it cures.
- Practice on scrap material: If you’re unfamiliar with using caulk, try applying it on a piece of cardboard or wood to get the hang of pressure and smoothing.
- Ventilate the area: While some sealants have a low odor, others can emit a noticeable odor during application and curing. To be safe, open windows and doors or use a fan to ensure proper ventilation.
These small, thoughtful steps ensure your DIY sealing project looks great and performs well over time.
Stop drafts in the house: other places to check
While sealing drafty baseboards can be a great help to your home, don’t forget to check these other common problem areas while you’re at it to weatherproof your house successfully:
- Around windows and doors
- Electrical outlets on exterior walls
- Attic access points
- Floor vents and returns
Pairing baseboard caulking with sealing these areas shows that you don’t need a renovation budget to improve your home’s comfort and energy efficiency. Sealing drafty baseboards and other small areas is a weekend DIY project that pays off long-term. All you need is the right tools, and you can create a clean, professional finish that blends beautifully with your home’s interior.
Looking for the best product for sealing drafty baseboards? Find a store near you in the U.S. or Canada that carries GE products.


