
For large kitchens and multi-unit bath installs, even small inefficiencies can stretch your schedule and shrink margins. This guide shows how to stage mobile tool stations, use no-stall dispensing hacks, run single-pass finishing workflows, and other field-tested tactics to apply silicone sealant faster while meeting ASTM-rated specs.
Why speed and quality can coexist
Quality isn’t optional, but neither is speed. Every minute saved per bead compounds fast: 1,000 beads across a condo block or hotel tower equals 16+ crew-hours you either waste or win back.
The problem? Most callbacks stem from adhesive or cohesive failures—either the bead never bonds or fails to flex under movement. That’s why ASTM C920 ratings matter. They define what quality really means: full adhesion, a continuous seal, and elasticity that matches joint movement.
When you apply silicone sealant without respecting those factors, speed turns into a liability. Respect them with the right tools and chemistry, and speed becomes your competitive edge.
Organize your sealant station
Speed starts before the caulking gun’s even loaded. The fastest crews don’t just know how to apply silicone sealant—they know how to stage for it.
Build a mobile sealant station around a three-zone cart: one for cleaning tools and solvents, one for cutting and prepping cartridges, and one for tooling and finish supplies. Use color-coded cartridges to match room assignments and avoid mix-ups.
Keep cordless and bulk caulking guns at 68°F to 72°F for consistent flow. Note that colder sealant thickens under pressure and stalls bead control. Same goes for spare batteries—rotate them between room temperature and charger banks.
For wet-surface speed and spec-grade reliability, stage Supreme Silicone Kitchen & Bath Sealant. It’s 30-minute water-ready and Class 50 flexible, so it stays tight even on moving surfaces.
ASTM C920 Class 50 silicones stretch ±50%. This is very important when working on large-format shower walls.
Surface readiness checklist
Your bead is only as good as your bond. Before any sealant touches the joint:
- Strip failed material with the GE Sealant Remover Tool (avoid razors that gouge)
- Wipe the surface with isopropyl alcohol and ensure it’s completely dry
- Stage closed-cell backer rods by joint width to avoid mid-application delays
Every missed step here shows up as a callback later.
No-stall dispensing: cartridge & nozzle pro caulking hacks
Bead flow starts at the nozzle. For full control, cut your tip at a 45° angle, depending on the width of the joint. Always purge before your first squeeze to clear air pockets.
Pre-warm cartridges to 75°F to reduce trigger force by up to 20%, especially on cold job sites. The smoother the flow, the less wrist strain and start-stop drag you’ll deal with.
Use the GE Cartridge Opener & Smoothing Tool to cut nozzles, puncture seals, and load cartridges in one move. It replaces two tools with one.
On high-output days (200+ linear feet), switch to pneumatic or battery-assisted guns. Label spare nozzles by colors to prevent mismatches.
These pro caulking hacks save you time on every run.
Backer-rod depth control
Joint prep isn’t just surface work. You must manage what’s underneath to support the bead. For joints wider than 1/4 inch, maintain a 2:1 width-to-depth ratio to avoid overfilling.
Insert a closed-cell polyethylene backer rod to set depth and let the bead flex with the joint. This reduces waste and ensures the sealant bonds only to the joint flanks.
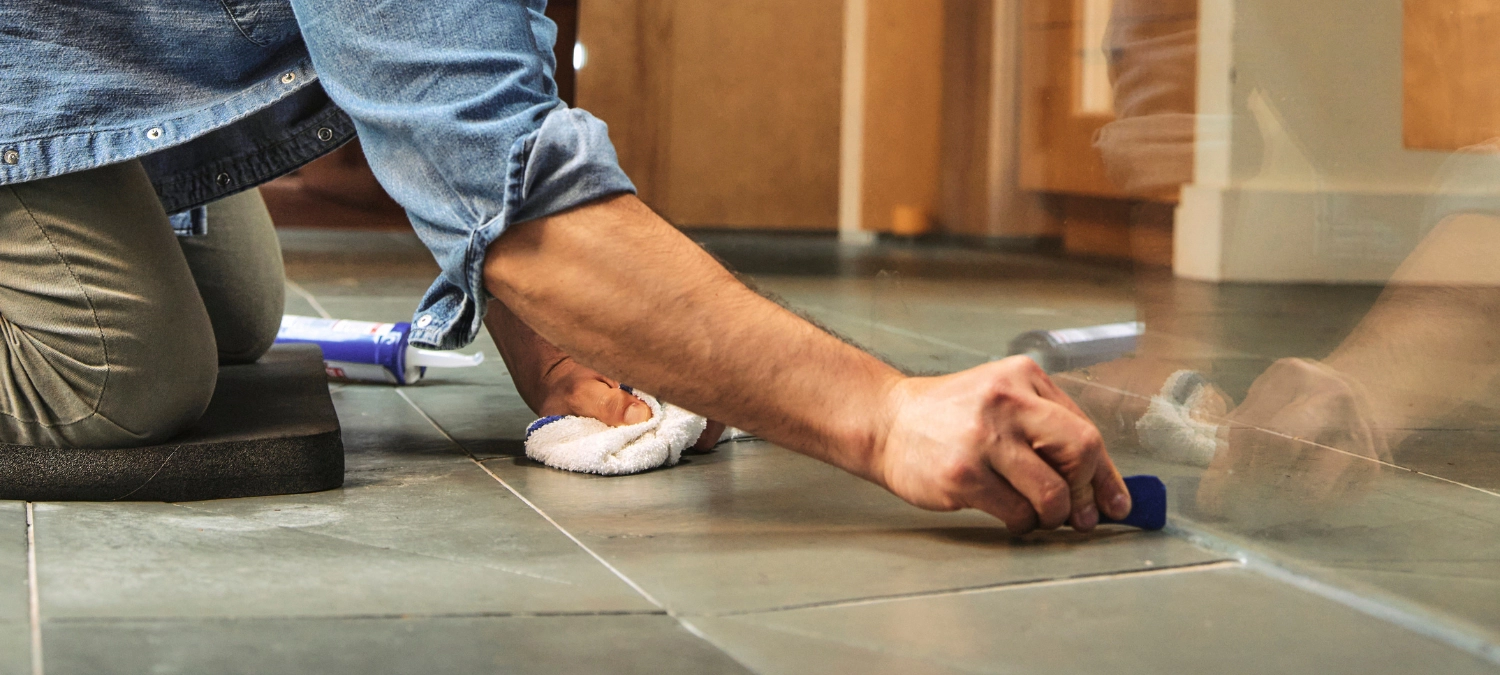
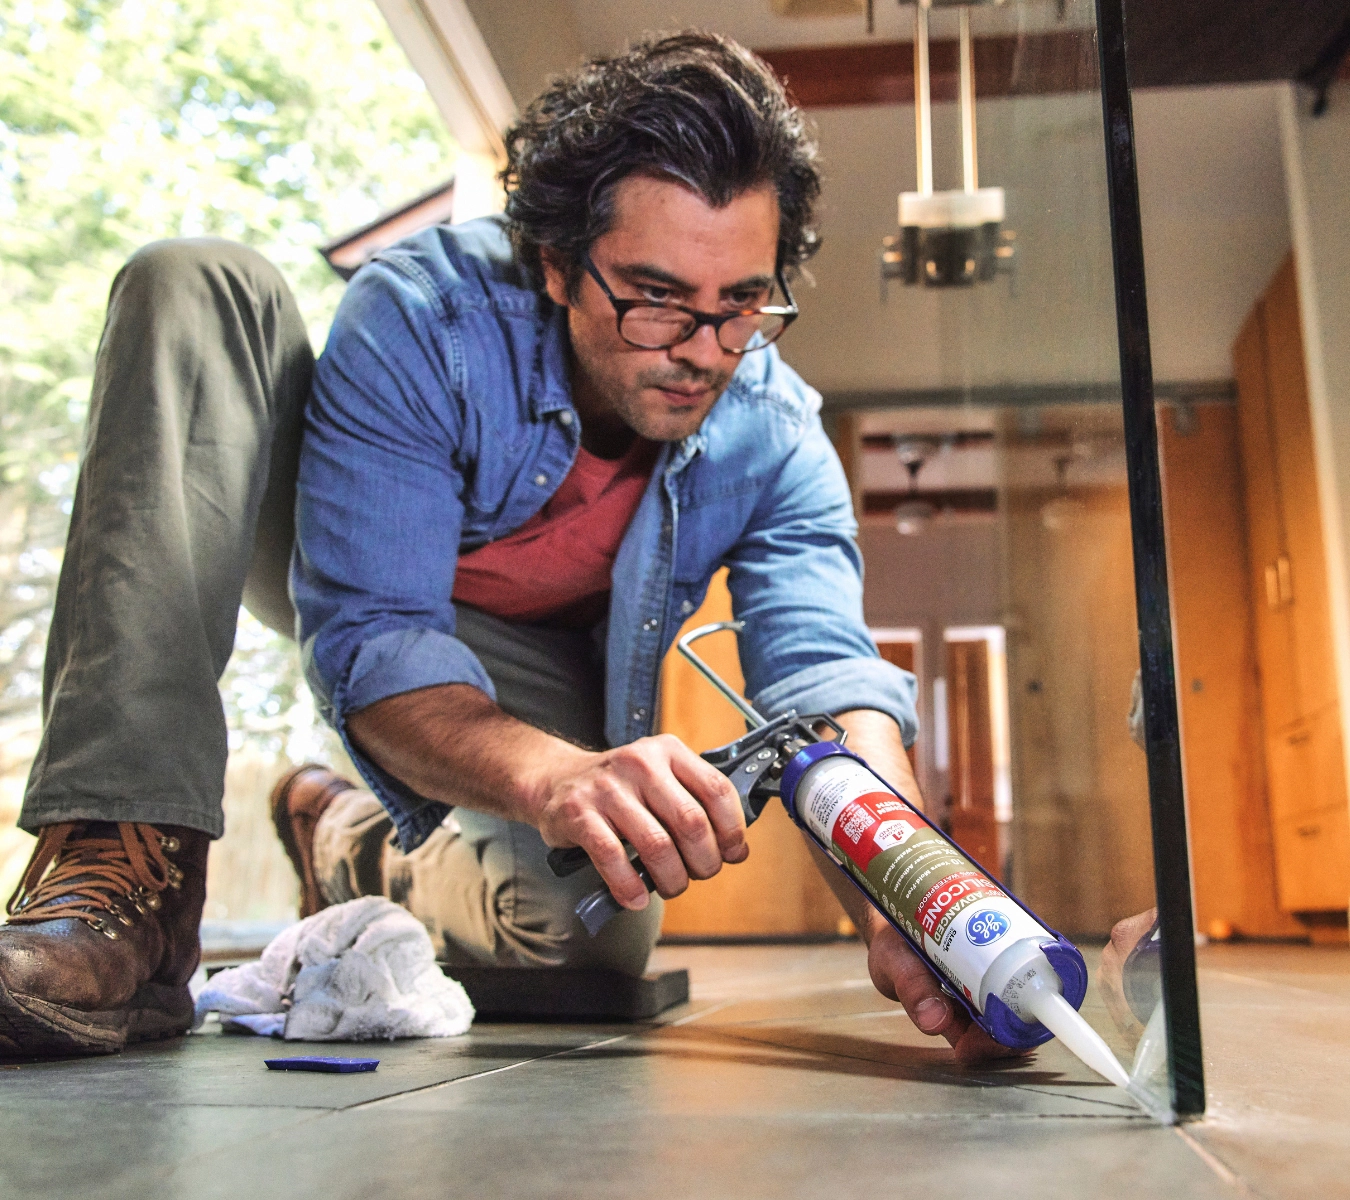
Tooling for perfection when applying silicone sealant
The clock starts the moment the bead hits the joint. GE kitchen-and-bath silicone sealants give you about a 30-minute skin window. Tool within the first 5 to 10 minutes (before the skin starts forming) to prevent drag or adhesion loss.
Apply steady, even pressure while gunning, and shape the bead for maximum joint movement and adhesion. Use the GE Smoothing Tool to seat the bead and carve a clean profile in one smooth pass.
On high-spec work, run a field adhesion test after the sealant has cured according to the product instructions. Beads that flex without pull-away confirm proper surface prep, adhesion, and joint movement performance.
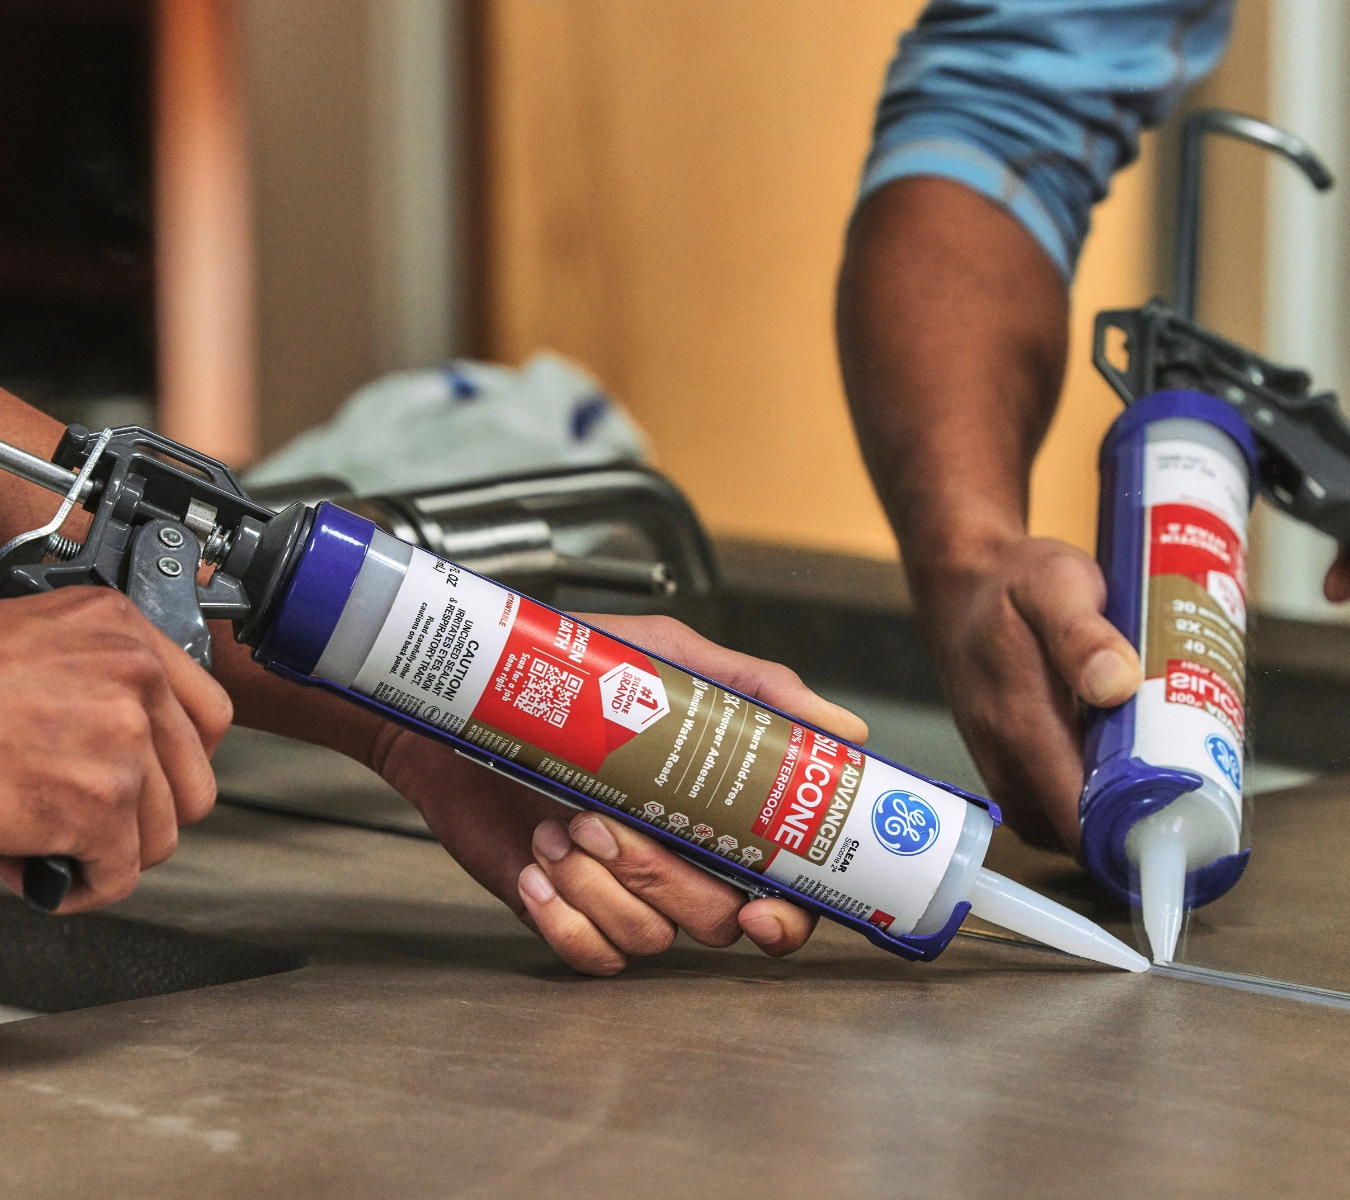
Smart product selection for speed and reliability
Selecting the right sealant drives your install pace and performance. Choose a 100% silicone product where permanent flexibility and water exposure are critical—think tubs, surrounds, and shower pans. Opt for a hybrid when you need fast paint-over on trim and panels.
Here’s the GE ladder built for pros:
- Advanced Silicone Kitchen & Bath Sealant: Entry-level, Class 35 flexibility
- Supreme Silicone Kitchen & Bath Sealant: Water-ready in 30 minutes
- Pro Seal Max Kitchen & Bath Sealant: Hybrid formula, paint-ready in 60 minutes, Class 35 (white), Class 25 (clear)
Choose based on water exposure, paintability, and cure time to guarantee speed and lasting performance.
Sequencing for scale: how crews apply faster across units
Pair off your crew to leapfrog rooms: one technician applies the silicone sealant bead, the other tools one to two rooms behind. This pro caulking hack keeps every bead inside its tooling window and maximizes forward momentum.
Log product lot codes, date, and time per unit for warranty traceability. Additionally, stagger the cure windows so tile or paint crews follow 30 minutes behind without the risk of rework.
On well-coordinated jobs, two pros can seal over 30 tubs in a single shift.
Post-install checks and cleanup
Before your crew rolls out, take one last walk-through and inspect every joint. Confirm a continuous bead.
If you spot smears or ridges, wipe them immediately with a dry lint-free cloth or one lightly moistened with mineral spirits. If needed, retool with the GE Smoothing Tool while the bead is still open.
Always pull masking tape on a wet bead to leave sharp, tear-free edges. A flawless finish here eliminates callbacks.
Common speed-killers when applying silicone sealant and how to avoid them
Even seasoned crews lose time to avoidable missteps. Here are the top culprits on fast-turn jobs:
- Cold cartridges: Store tubes in an insulated box or inside the cab. Cold silicone flows slower and wrecks bead control.
- Over-extrusion waste: Refine your trigger rhythm. Excess sealant means more tooling and cleanup.
- Unclean guns: Dried sealant in the barrel spring causes stop-start ridges. For silicones or hybrid SMPs, wipe guns with a mineral spirits rag (spot-test plastics first).
- Skipped deglossing: Glossy cultured marble kills adhesion. Always prep the glossy surface with isopropyl alcohol or a light mechanical abrasion.
- Cured nozzle plugs: Trim off 1/2 inch of the nozzle and purge to clear partially cured silicone.
- Wrong air pressure: Start pneumatic guns at 70 psi to 80 psi, then test the flow. Too much pressure causes bubbles. Too little stalls the bead.
- Poor lighting: Clamp a 2,000-lumen task light to your work area to catch skips before they cure.
- Unlabeled cartridges: Tape the shoulders of white and clear tubes to prevent mid-job mix-ups.
- Bad bead sequence: Map your route to avoid crossing fresh beads. Maintain a consistent clockwise or counterclockwise path.
These small tweaks result in big time savings, and each one ensures quality while you apply silicone sealant at pace.