A small hole can become a big problem if incorrectly treated. It becomes a doorway for pests, drafts, and moisture. Combat those home invaders with canned insulation spray, which is ideal for those small upkeep tasks to keep all the warmth in while keeping the pests out.
Discover what canned insulating foam is and how to use this spray insulation to protect your home against the elements and pests.
Note: This DIY article is provided as a general guide only and is not intended to take the place of product-specific installation procedures; always follow applicable manufacturers’ instructions. Depending on your home’s age and condition, location within the home, and other potential factors, repairs and/or upgrades or other services may be necessary prior to the beginning and/or completion of your project that may involve the services of a home improvement professional. This article does not include advice pertaining to local building codes and/or any related inspections.
What is insulating foam?
Spray insulating foam comes in an aerosol can. As you apply it, it expands, filling in gaps, cracks, and spaces in walls, ceilings, and other surfaces.
It helps with blocking out noise, pests, drafts, and preparing homes for winter.
After spraying an area, the foam hardens into a durable, insulating material. It works for thermal and sound insulation around a house.
Canned spray foam works best for smaller areas, such as patching holes around windows and doors or where you experience drafts.
Foam insulation protects against drafts, pests, and moisture.
Benefits of spray insulating foam
Spray insulating foam has several benefits that make it a go-to choice for contractors completing small jobs and regular home maintenance:
- Easy to use: Spray insulation is convenient and easy to apply to cracks.
- Saves energy: Applying spray insulation around a home can seal up cracks around windows and doors to save energy and prevent air leaks.
- Adds to current insulation: Spray insulation works well with current insulation, improving its R-value and helping your home retain more warmth.
- Protects against water: Insulating foam can help waterproof your home by sealing up gaps where moisture might otherwise come in.
- Protects against rodents and insects: Sealing gaps also prevent rodents and insects from entering through those holes in your home.

Types of insulating foam
Choose the right insulating foam to do the job. As you look for insulation foam, always check the R-factor to ensure it’s up to code and will pass inspection. GE Sealant insulation foams have an R-5 insulating value for optimal protection.
Gaps and Cracks Insulating Foam
Our gaps and cracks insulating foam can seal up small holes and patch a home’s exterior. It’s great for keeping out rodents, insects, and water. This foam extends up to an inch, ideal for small jobs.
Big Gaps and Cracks Insulating Foam
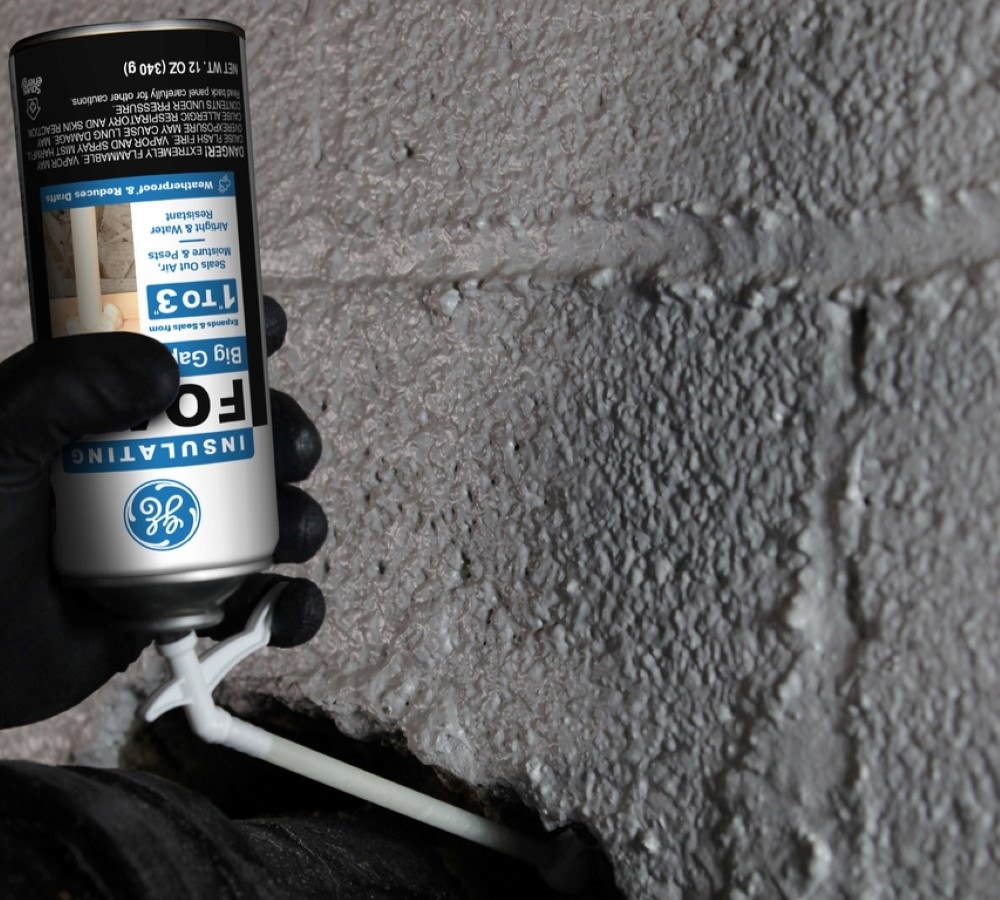
If you work with larger areas, the big gaps and cracks foam will be your best friend. It helps seal up large holes and areas over an inch and up to three inches. It will keep the warmth in and moisture and pests out.
Window and Door Foam
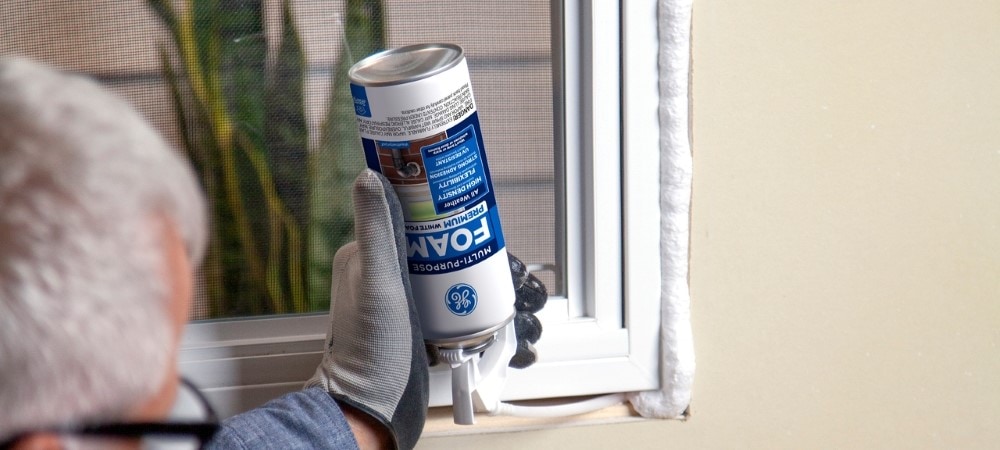
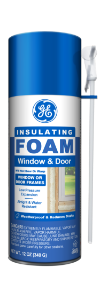
If you want to insulate a home’s windows and doors rather than fill holes, go for window and door foam. This formula protects the wood door frame and window sill to prevent bowing and breaking while keeping out drafts.
Multipurpose Foam
A multipurpose foam works well for odd jobs around the house. It’s flexible and convenient for all your insulating tasks. It works best to fill gaps up to an inch.
6 Tips for properly using do-it-yourself spray foam insulation
Spray foam insulation works best when you follow the can’s instructions. Here are six additional tips to help you master your spray foam insulation.
-
Choose the right foam
There are several different foams for a reason. Not all foams expand the same amount. In some areas, you need a foam that significantly expands, filling up large gaps. However, if you’re insulating around a door or window, a spray that expands too much can cause damage or make the door difficult to use.
Find the one that best fits your job:
- Gaps and cracks insulating foam
- Big gaps and cracks insulating foam
- Window and door foam
- Multipurpose foam
-
Use proper ventilation
Use proper ventilation and safety precautions due to the potential release of chemicals and fumes.
Because spray foam uses an aerosol can, it releases fumes. Once those fumes settle and the insulation hardens, it is safe. However, breathing in those fumes while applying the spray can cause respiratory irritation without proper ventilation and wearing a mask or other safety equipment.
-
Use an extension tube
Some areas can be more challenging to access in your home. You can add a quarter-inch plastic tube to extend your straw. This will help you reach inside walls, up high, and other hard-to-reach areas.
If you have a straw you use with your insulating foam, clean it between uses. This prevents the foam from hardening inside the straw and allows you to reuse it for future projects.
-
Use water in a pinch
Insulation foam is often made from polyurethane. This is what helps it expand when it comes out of the can. The polyurethane reacts with water to fill the space.
If there’s not enough moisture due to a dry climate, you can lightly spray the area with water to help it expand more efficiently. Be careful using this method because if the area is too wet, the foam won’t stick. It’s better to add only a little moisture at a time.
-
Avoid over spraying
Insulation foam expands to fill holes. You only need to fill the gap about halfway and allow the foam to do the rest. If you fill it all the way, when it expands, you risk causing damage to the area after it hardens.
When you use a new spray, test it first to see how far it expands and fill it a little at a time to avoid overfilling.
-
Fix mistakes after it dries
Insulating foam isn’t an exact science, so spraying too much or missing the gap can occur. When accidents do happen, don’t clean up the mess right away. Wiping the foam can spread further across the area, causing a larger mess.
Instead, if you make a mistake, wait for the foam to dry. You can sand it or cut it after it fully dries. It will be easier to clean up and cause much less mess.
Let’s protect your home from drafts, pests, and moisture with foam insulation. Use our canned foam insulation to fill in holes and gaps around your house, doors, and frames for better energy efficiency and to protect against the elements.
Find a location near you to pick up insulation foam.


