

Sealing your home to prevent pests is a proactive measure to protect your property and health. Pests can cause significant damage to your home, ranging from structural harm by termites to potential health risks from rodents and disease-carrying insects. Additionally, ongoing pest control services can add up, with the average cost of service calls ranging from $300 to $900 annually. As such, it’s important to take pest prevention steps before infestations start.
Effective pest prevention involves more than just occasional remedies. Rather, it requires a comprehensive approach to sealing potential entry points and minimizing attractions. These actions contribute to both a healthier living environment and significant savings by avoiding the costs associated with pest eradication and home repair.
Remember, the key to pest prevention lies in diligence and a multi-pronged approach including physical barriers and chemical treatments where necessary. By adopting a comprehensive approach to pest control, homeowners can enjoy peace of mind and a pest-free home.
How to prevent pests: 7 critical steps
For proactive homeowners keen on pest prevention, we’ve compiled 7 ways to effectively seal your home.
-
Locate Potential Entry Points for Bugs and Pests
Conducting a thorough inspection of both the interior and exterior of your home is crucial for identifying potential entry points for pests. This includes examining areas such as:
- Roof trims
- Siding
- Foundation cracks
- Window and door frames
- Utility entrances

Cracks in the foundation are a potential entry point for pests. Sealing these gaps effectively can prevent pests from entering your home. Regular checks and maintenance ensure these defenses remain intact over time.
A potential pest infestation can be prevented by properly closing and sealing off any entry points in your home. Look for cracks in the siding, foundation, windows, and doors.
-
Fill the Gaps with Silicone Sealant and Foam
Using a silicone sealant is an effective way to close off small gaps and cracks that serve as entry points for pests. A silicone sealant is suitable for both interior and exterior applications, offering flexibility and durability against various weather conditions and temperature changes, while <a href=”https://gesealants.com/insulating-foam/?gad_source=1&gclid=CjwKCAiAivGuBhBEEiwAWiFmYUc_A6weLEeFY5UrXtFT7XZAweeUd-yns08rmd2Xw2Y9u_ktvOlqdBoCV-MQAvD_BwE”>Insulating Foam </a>helps seal remaining, stubborn cracks and gaps. It’s particularly effective for gaps smaller than half an inch, providing a long-lasting barrier against pests. This step is essential for creating a physical barrier that pests cannot penetrate, significantly reducing the likelihood of infestations and contributing to the overall pest management approach in your home.
-
Clean the Surface Before Sealing
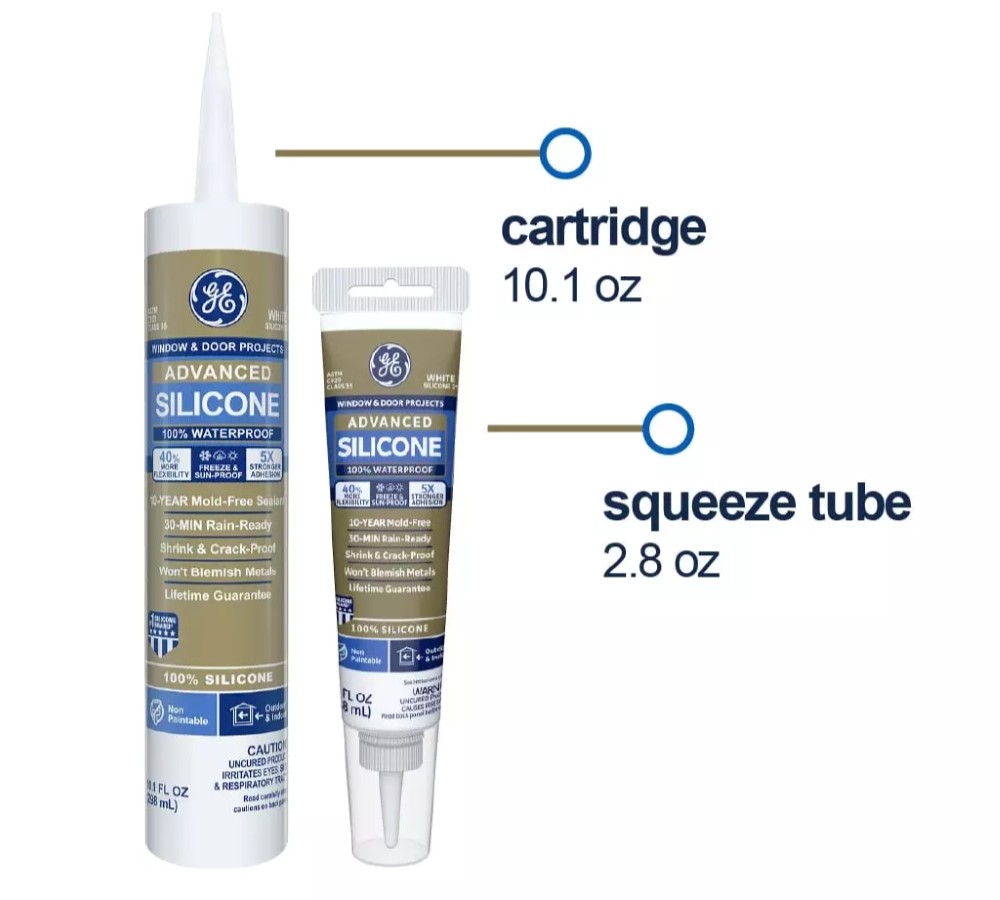
Preparing the surface before applying sealant is key to ensuring the effectiveness of the pest-proofing measure. This involves removing any old sealant, dirt, and debris from the area to be sealed. A clean surface allows the new sealant to adhere properly, creating a more durable and effective barrier against pests. Using a caulk removing tool or wire brushes for tougher surfaces ensures that the area is ready for sealing. Proper preparation prevents future infestations by ensuring that pests have no easy access points into your home. We recommend Advanced Silicone 2*+ Window & Door Sealant to get the job done right.
GE’s Advanced Silicone 2 Window & Door Sealant provides an effective barrier against pests. -
Prepare the Tube and Seal
Properly preparing the sealant tube for application is crucial for achieving a smooth, effective seal. To do so, cut the nozzle at an angle to the desired bead size and pierce the inner seal with a stiff wire or similar object. Some caulk guns have a tool for piercing the seal attached. Loading the cartridge into the caulking gun correctly ensures that the sealant is applied evenly and accurately around the targeted areas.

Properly prepare the sealant to achieve a good seal. -
Clean the Tube and Smooth the Seal before Storing
After applying the sealant, smoothing it out within two to five minutes ensures a clean, professional finish. Use a gloved finger or a wet caulk-smoothing tool to help achieve a seamless seal. After applying caulk, smooth it out by gently dragging a dampened finger or caulk finishing tool along the bead for a neat, professional finish. Cleaning the area around the sealed joint and tools used in the process maintains a tidy work environment and prepares you for the next sealing project. When using silicone sealants ensure you have mineral spirits on hand for clean up.
-
Inspect and Replace Weather Stripping Around Doors and Windows
Regularly checking and replacing weather stripping around doors and windows is important. Weather stripping can wear out over time, creating gaps that are easy for pests to exploit. Replacing old or damaged weather stripping provides a tight seal. This maintenance task contributes to pest prevention and improves energy efficiency by minimizing drafts, leading to lower heating and cooling costs.
-
Install Screens and Meshes over Windows, Doors, and Vent Openings
Installing fine mesh screens over windows, doors, and vent openings is another effective step homeowners can take. This not only blocks common pests from entering but also allows for ventilation and natural light, enhancing indoor comfort while maintaining a pest-free environment, ultimately protecting the home’s integrity and occupants’ health.


GE sealants for effective pest prevention
GE sealants help you keep your home clean and pest-free. If you’re a DIY homeowner looking to stop the unwanted pests in their tracks, look for GE sealants at these retailers.
Looking for more DIY project ideas? Visit our Projects & How To’s page for more.

