Note: This DIY article is provided as a general guide only and is not intended to take the place of product-specific installation procedures; always follow applicable manufacturers’ instructions. Depending on your home’s age and condition, location within the home, and other potential factors, repairs and/or upgrades or other services may be necessary prior to the beginning and/or completion of your project that may involve the services of a home improvement professional. This article does not include advice pertaining to local building codes and/or any related inspections.
Weatherproofing isn’t just a winter job. Heat, rain, wind, and moisture wear down your home year-round. This guide covers the core techniques—sealing, insulating, and reinforcing—that keep your home protected through every season.
Why weatherproofing your home matters year-round
Every season puts different stress on your home. In summer, it’s UV and heat expansion. Winter brings freeze-thaw shifts that turn tiny cracks into bigger problems. Spring and fall push moisture into seams and joints—fueling mold, rust, and rot.
Left alone, those forces wear down your home’s structure, spike your energy use, and break down materials before their time.
The real damage doesn’t start with big failures—it starts at the weak spots. That’s where weatherproofing begins: sealing the joints, gaps, and cutouts that let air and water in. GE weatherproofing sealants help close those entry points for good, blocking moisture, stopping drafts, and easing the load on your HVAC system. Where acrylic caulks shrink and crack, silicone sealants flex, seal, and hold—season after season.
Weather extremes expose your home’s weak spots. Silicone sealants outperform acrylic caulks in flexibility and durability, making them a smarter choice for long-term weatherproofing.
Where your home is most vulnerable—and how to seal it
The weak spots in your home usually aren’t dramatic—they’re quiet gaps that let in water, air, and pests one season at a time. Weatherproofing starts by sealing those problem zones with the right material, in the right place. Here’s where to look and what to use.
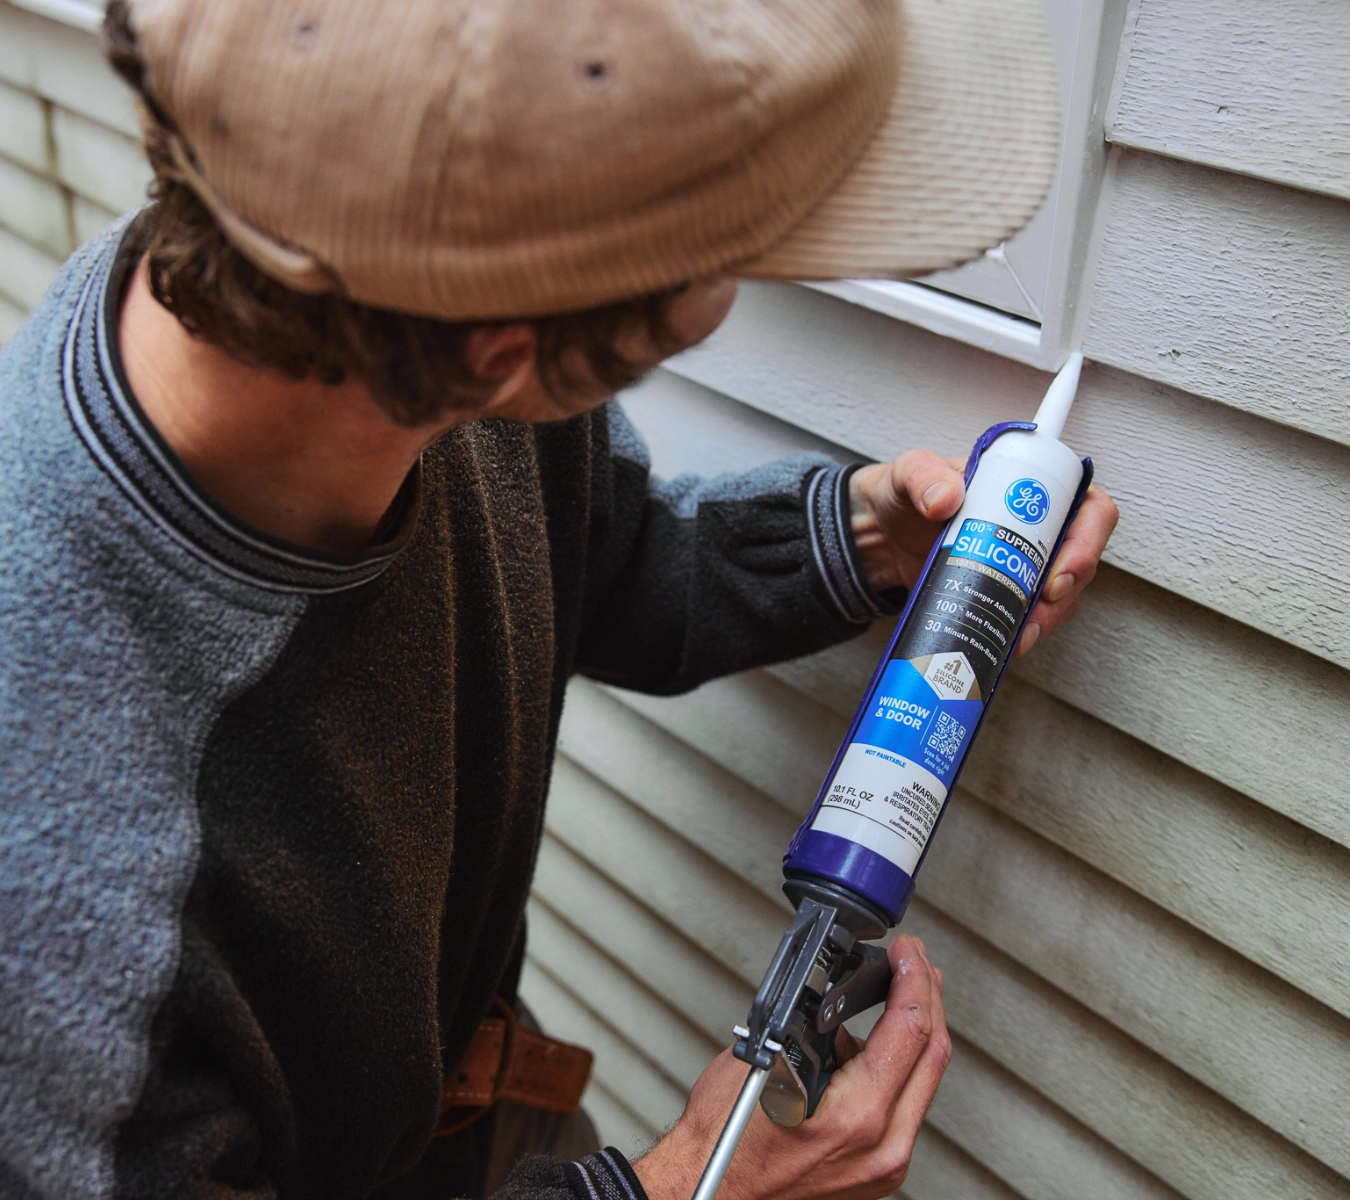
Windows and doors
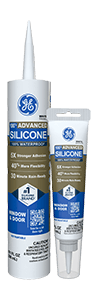
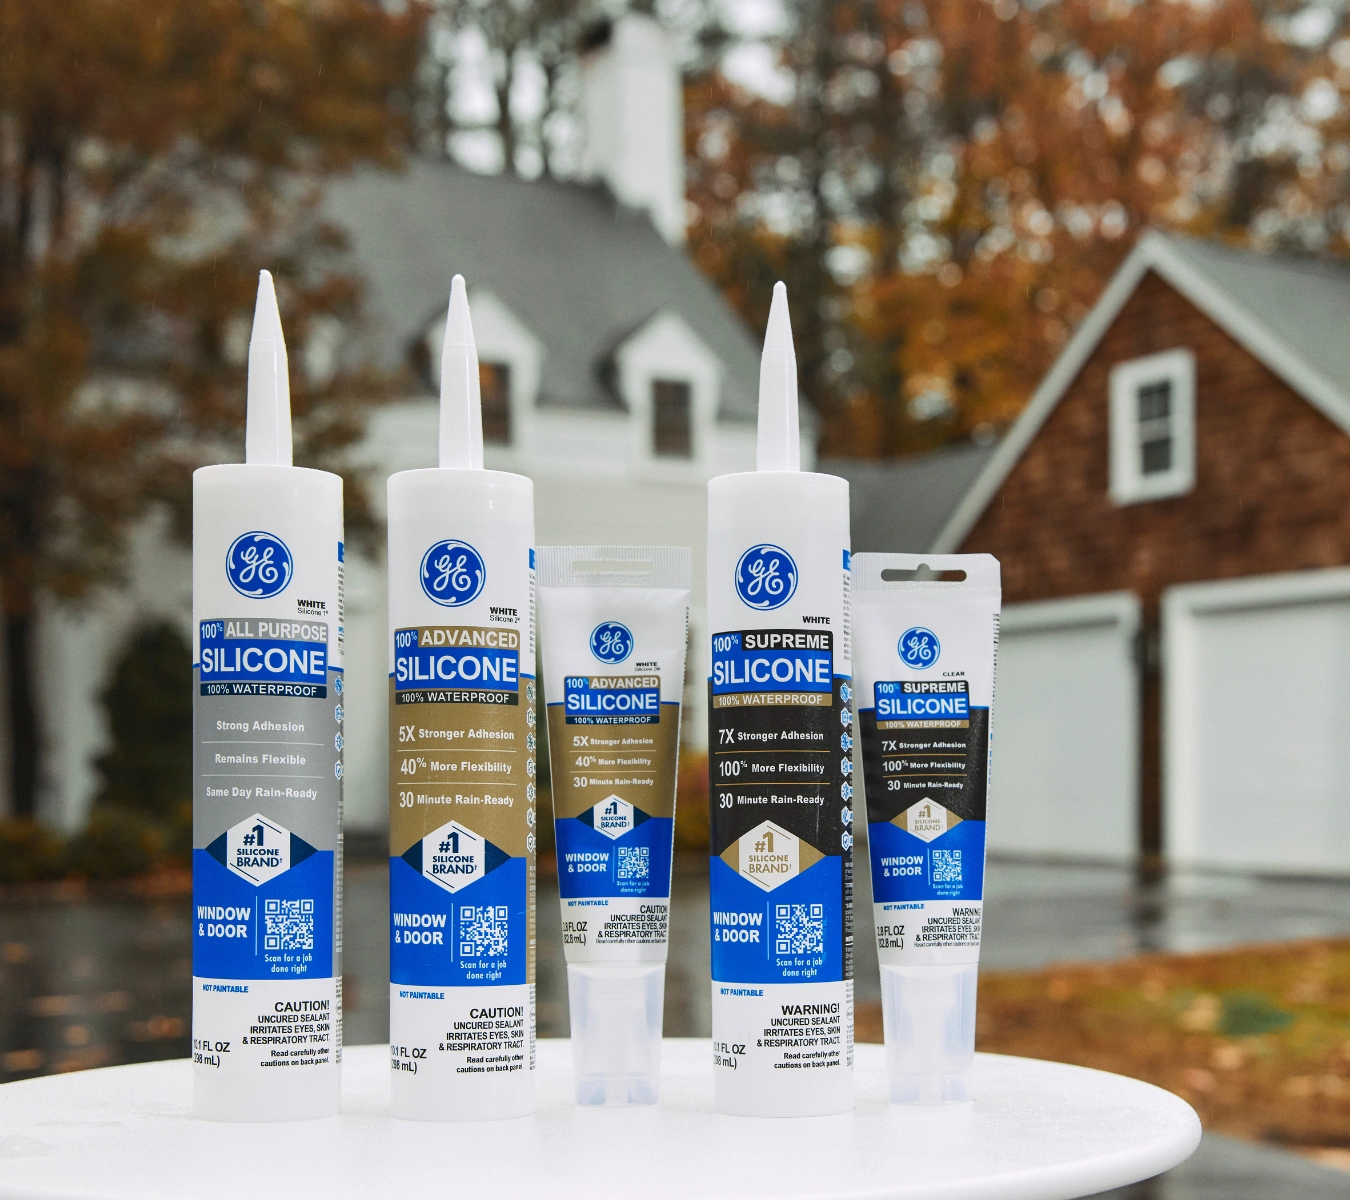
This is where most air leaks and water intrusion start. Check the frames and trim outside—especially where the old sealant is cracked or missing. For these joints, a weatherproofing sealant like GE’s Advanced Silicone Window & Door Sealant holds strong. It’s 100% waterproof, rain-ready in 30 minutes, and stays mold-resistant for a decade.
Foundation cracks and siding gaps
Cold weather expands these cracks. Moisture makes them worse. Use GE’s Supreme Silicone Sealant—a high-performance silicone sealant that sticks to masonry, brick, and concrete without shrinking or pulling away. Its Class 50 joint movement rating means it flexes as your home shifts.
Attics and basements
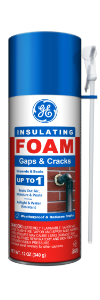
These spots leak energy fast—and that drives up heating and cooling costs. Look for open cavities, rim joists, or cracks around ductwork. Fill them with GE’s Big Gaps & Cracks Insulating Foam. It expands to fit uneven gaps and helps boost your insulation from the inside.
Roof flashing, vents, and chimneys
These high-movement areas involve metal, tile, and mixed surfaces. GE’s Supreme Silicone—or a GE Specialty Silicone Sealant—is built to handle high-movement joints and harsh exposure. These sealants flex with temperature swings and UV stress, creating long-term weatherproof seals that hold up overhead.
How to apply weatherproofing sealants for lasting protection
You’ve identified the trouble spots. Now it’s about getting the seal right. Here’s how to apply a weatherproofing sealant that stays put—and does its job season after season.
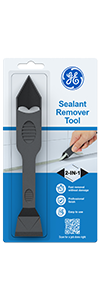
- Prep the surface The old sealant has to be removed. Use a Sealant Remover Tool or utility knife to clear the joint, then clean it with isopropyl alcohol. Let the surface dry fully before sealing.
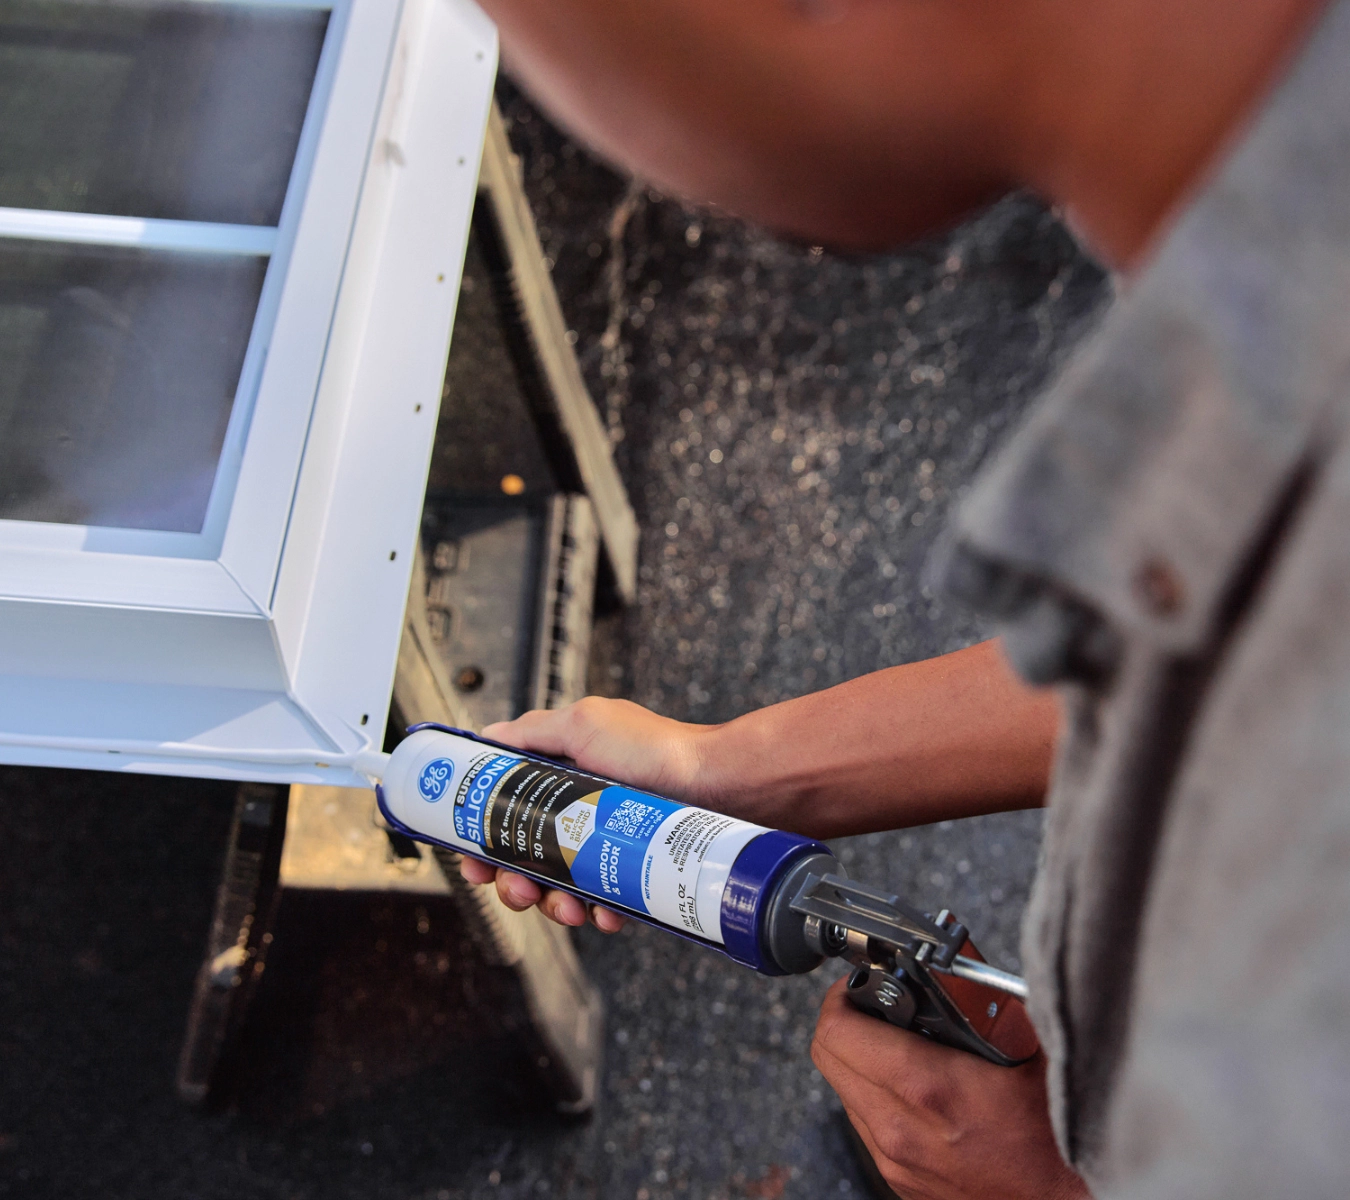
A close-up showing the correct caulking grip, nozzle positioning, and tool use. - Choose the right material Not all joints behave the same. For smooth exterior frames, GE’s Advanced Silicone goes on clean and stays flexible. For masonry, siding, and tougher joints, go with GE’s Supreme Silicone Sealant. Avoid using acrylic caulks anywhere that sees stress, moisture, or movement.
- Apply with control Cut the nozzle at a 45° angle for better control along corners and seams. Pull the bead in a smooth line with even pressure. For deeper gaps, a backer rod helps fill the void before sealing.
- Tool it properly Use a Smoothing Tool, or a gloved finger, to press the bead into place. The seal needs full contact with both sides of the joint to stay tight.
- Let it cure Most GE silicone sealants are rain-ready in 30 minutes but give them 24 hours to fully cure. Avoid touching or wiping the bead, and protect it from standing water or abrasion during that time.
What you gain by weatherproofing your home
A good seal does more than keep the rain out. It protects the parts of your home you don’t always see—behind the trim, under the siding, between what’s inside and what’s trying to get in. Weatherproofing helps you stay ahead of the damage that adds up over time.
Save energy
Small gaps around windows, doors, and joints let air slip through year-round. Sealing them with a high-quality weatherproofing sealant keeps warm air in during winter and cool air in during summer—and helps your HVAC system work less.
Prevent water damage
Moisture is quite destructive. When rain or humidity gets into cracks, it can rot wood, grow mold, and weaken insulation. A continuous silicone sealant barrier helps keep that out of the equation.
Protect structural integrity
Temperature swings make materials expand and contract. A flexible sealant moves with them—so joints stay tight and cracks don’t start.
You repair less, and less often
When things are sealed right, they last longer. That means fewer patch jobs, fewer replacements, and less time spent fixing the same spots every season.
Unlike acrylic caulks that dry out and break down, GE’s 100% silicone sealants flex, hold, and stay sealed—no matter the season.
Additional upgrades to improve your home’s weather resilience
Weatherproofing sealant is one part of the equation, but it works even better when paired with other upgrades that reinforce your home’s defenses:
- Add storm shutters to exposed windows to reduce wind damage and block flying debris.
- Upgrade attic insulation to reduce heat loss and moisture buildup under the roofline.
- Install roof coatings or sealants on flat or aging roofs to protect against standing water and sun exposure.
- Weatherstrip garage and utility doors to stop air leaks in less-insulated parts of the home.
Sealing is the first layer. These upgrades support it—so your home can take on more, and bounce back faster.
FAQs
When’s the best time to weatherproof my home?
Spring or fall. Temps are milder, and you’re sealing ahead of the roughest seasons.
Can I apply silicone in cold weather?
Yes, as long as the surface is clean and dry. GE silicones are rated for subzero installs, so winter’s not a dealbreaker.
Is there a difference between waterproof and weatherproof?
Yes. Waterproof stops water. Weatherproof stops water, air, UV, and temperature swings. It’s what you want on the outside.
Need the right sealants for your next project? Find GE weatherproofing products at a store near you in the U.S. or Canada.