Note: This DIY article is provided as a general guide only and is not intended to take the place of product-specific installation procedures; always follow applicable manufacturers’ instructions. Depending on your home’s age and condition, location within the home, and other potential factors, repairs and/or upgrades or other services may be necessary prior to the beginning and/or completion of your project that may involve the services of a home improvement professional. This article does not include advice pertaining to local building codes and/or any related inspections.
Heading out on a long-awaited vacation should bring peace of mind, not nagging worries about what’s happening back home. But when you’re away for an extended period, your home becomes vulnerable to leaks, water damage, and pest invasions. Fortunately, this article shares a few tips on weatherproofing your home so you can protect your house and focus fully on your adventures.
By sealing up your home with quality silicone sealant and insulating foams, inspecting key problem areas, and taking steps to regulate airflow and humidity, you can confidently leave for your trip.
Why weatherproofing your home before vacation matters
Vacation prep often focuses on packing, pet care, and travel logistics, but your house deserves attention, too. Extended absences give minor issues time to grow into costly damage:
- Leaks and water damage can go unnoticed for days or weeks.
- Pests and rodents can enter through unsealed gaps and set up camp.
- Humidity and mold can develop in poorly ventilated areas.
- Air leaks and poor insulation may increase energy costs or affect the comfort and safety of your home.
Proper weatherproofing isn’t just for winter storms or rainy seasons. It’s a smart part of your summer travel prep, especially for longer trips.
How to prevent home damage: a summer travel prep guide
For added protection while you’re away on a long trip, follow this step-by-step guide on weatherproofing your home.
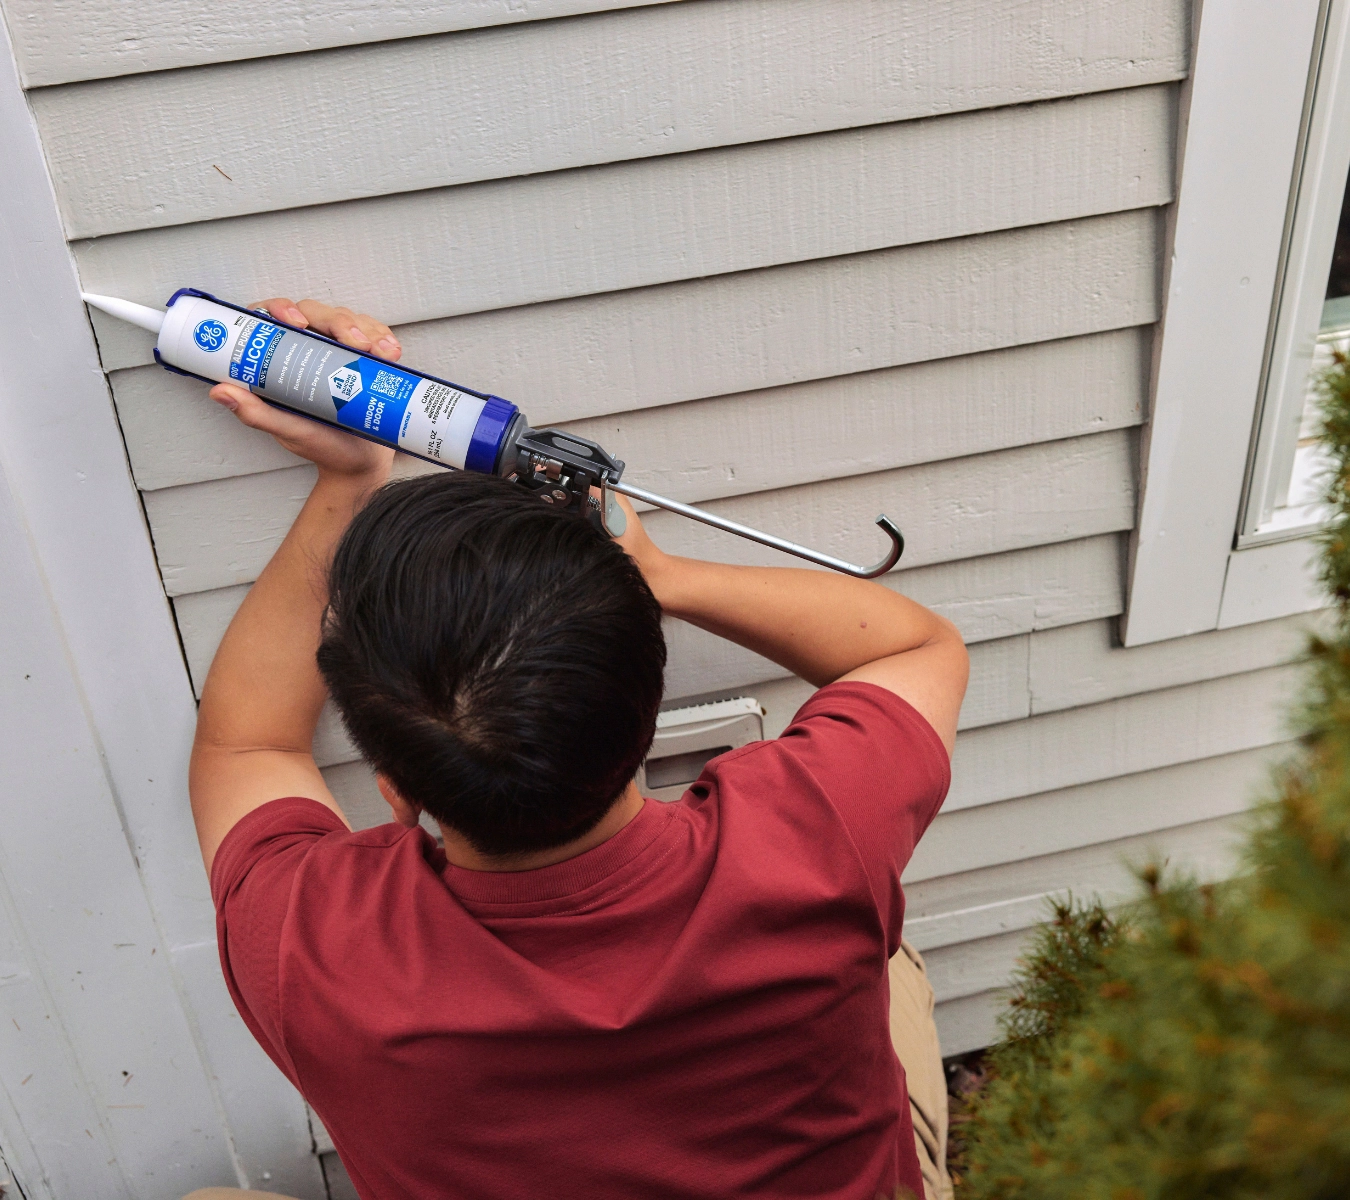
Step 1: inspect and seal gaps around windows and doors
Air leaks from small gaps around windows and doors are common problem areas. Not only do they let cooled air escape (increasing your utility bills while you’re away), but they also serve as easy access points for pests.
What to do:
- Check for drafts by running your hand along the edges of windows and doors.
- Look for visible cracks, loose weather stripping, or signs of moisture.
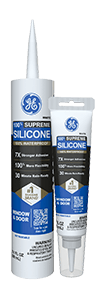
- Use the GE Supreme Silicone Window & Door Sealant to fill small cracks and seal gaps around window frames, door jambs, and baseboards. Unlike other caulks, silicone remains flexible and waterproof, making it ideal for indoor and outdoor use.
Tip: Make sure the sealant has time to cure before you leave. It typically takes 24 hours.
Step 2: examine exterior doors, vents, pipes, and utility openings
Your home’s exterior has numerous access points that can be vulnerable if not properly sealed. This includes dryer vents, plumbing penetrations, electrical wiring holes, and more.
What to do:
- Walk around your home’s exterior and inspect these areas for gaps or deteriorating sealant.
- Reapply silicone sealant where needed to create a tight, weatherproof seal.
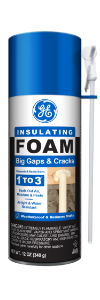
- Use the GE Big Gaps & Cracks insulating foam for larger gaps or irregular openings. It expands to fill cracks between one and three inches and keeps out drafts, moisture, and pests.
Tip: Our GE Gaps & Cracks insulating foam is designed to fill spaces up to one inch wide, making it ideal for smaller areas.
Step 3: check for roof and gutter issues
Even a minor roofing issue can cause significant headaches when left unattended during a long-term trip. Water damage from clogged gutters or loose shingles can go unnoticed for weeks.
What to do:
- Inspect the roof for damaged or missing shingles, especially if a storm passed through recently.
- Clear gutters and downspouts of debris so rainwater can flow freely.
- Confirm that downspouts direct water away from the foundation of your home. Add extenders if necessary.
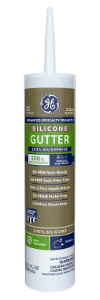
- Should your gutters need a little TLC, try the GE Gutter Silicone Sealant. It adheres to various surfaces, including PVC, most metals, aluminum, vinyl siding, and more. It’s a must-have for any project involving gutter repair.
Tip: If you are uncomfortable getting up on a ladder, hire a professional for a quick pre-trip inspection.
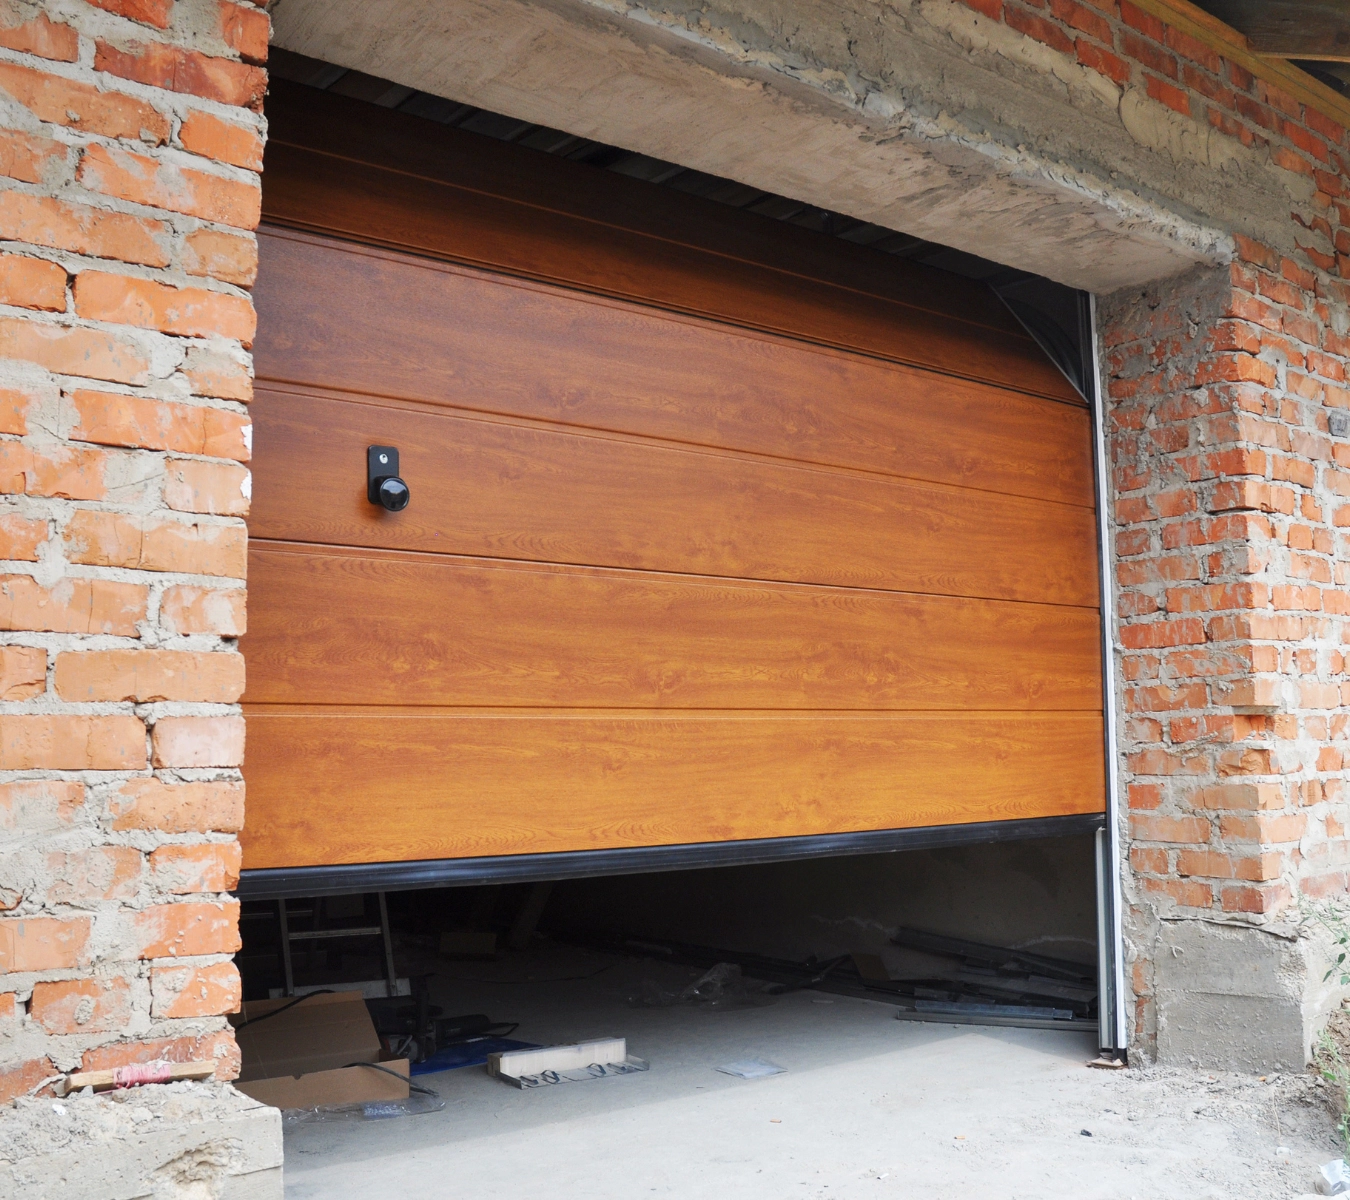
Step 4: seal the garage and attic
Garages and attics are common entry points for rodents, birds, and insects when left unchecked. This is especially so in the summer when pests are more active.
What to do:
- Inspect the garage door seals and side edges for cracks or openings.
- Use weatherstripping or silicone sealant to fill gaps around the frame.
- Check vents and small access holes in the attic and seal any unwanted openings with insulating foam.
This will reduce the chance of critters returning to their nests, leaving droppings, or chewing wiring.
Step 5: monitor plumbing to prevent leaks
Plumbing failures are one of the leading causes of home damage during vacations. If not caught quickly, a small leak under a sink or behind a wall can escalate into thousands of dollars in repairs.
What to do:
- Inspect under sinks, around toilets, and behind appliances for signs of moisture or corrosion.
- Shut off the main water valve if you’ll be gone for over a week.
- If turning off the water isn’t practical, ask a neighbor to check your home periodically or install a smart leak detection system for remote monitoring.
This will provide peace of mind since you won’t have to stress about unexpected water leaks while you’re gone.
Step 6: regulate indoor humidity and airflow
Humidity buildup during the summer can cause mold and mildew, especially in basements, bathrooms, and laundry rooms.
What to do:
- Set your thermostat between 75-78° to prevent excess moisture while conserving energy.
- Leave interior doors open to encourage airflow.
- Consider using a dehumidifier on a timer if you live in a humid climate. If someone checks in on your home, they can empty it periodically.
Tip: Consider adding a humidity monitor if you want to track conditions remotely.
Step 7: store food and trash properly
Even the smallest crumbs can attract ants, roaches, and rodents while you’re away. Because insects are most active in the summertime, you don’t want to risk food bringing in unwanted visitors.
What to do:
- Empty all trash bins and remove perishable food.
- Store pantry items in airtight containers.
- Wipe down countertops, floors, and kitchen appliances to remove food residue.
Tip: If your home has had pest issues, consider placing traps or deterrents in key areas before leaving.
Step 8: final walkthrough and safety check
Before locking the door, do a final walkthrough with a checklist to confirm:
- Windows and doors are locked and sealed
- Gutters and downspouts are clear
- Water is shut off (if applicable)
- The HVAC system is set appropriately
- All trash is removed
- Unused appliances are unplugged
- Security systems or smart cameras are activated
Ask a trusted friend or neighbor to check in while you’re away, or schedule automated lights to give your home a lived-in look.
Weatherproofing your home before a vacation may not be the most glamorous part of summer travel prep, but it’s one of the most important. By sealing up your house with quality silicone sealant and insulating foams, inspecting key problem areas, and taking steps to regulate airflow and humidity, you can confidently leave for your trip. A few hours of preparation now can save you from weeks of repairs and frustration later.
To find the right GE Sealants products for your next project, visit a store near you in the U.S. or Canada.