Note: This DIY article is provided as a general guide only and is not intended to take the place of product-specific installation procedures; always follow applicable manufacturers’ instructions. Depending on your home’s age and condition, location within the home, and other potential factors, repairs and/or upgrades or other services may be necessary prior to the beginning and/or completion of your project that may involve the services of a home improvement professional. This article does not include advice pertaining to local building codes and/or any related inspections.
Spring is the ideal time to assess your home for wear and tear after months of cold, wet weather. Tackling a few targeted sealing projects now can help prevent moisture damage, energy loss, and costly repairs later. This guide highlights five simple areas to reseal as part of your spring home maintenance routine.
Reseal exterior walkways and concrete cracks
Winter weather can take a serious toll on your home’s outdoor surfaces, especially walkways, patios, and driveways. Repeated freeze-thaw cycles cause concrete and masonry to expand and contract, which often leads to small cracks. If left unsealed, these cracks allow water to penetrate deeper, worsening the damage over time and potentially compromising the surface’s stability.
Spring is the ideal season to inspect and reseal high-use areas around your home. Targeting exterior walkways, windows, tiled surfaces, and sinks now with the right seasonal home care can help you prevent long-term moisture damage and maintain your home’s condition year-round.

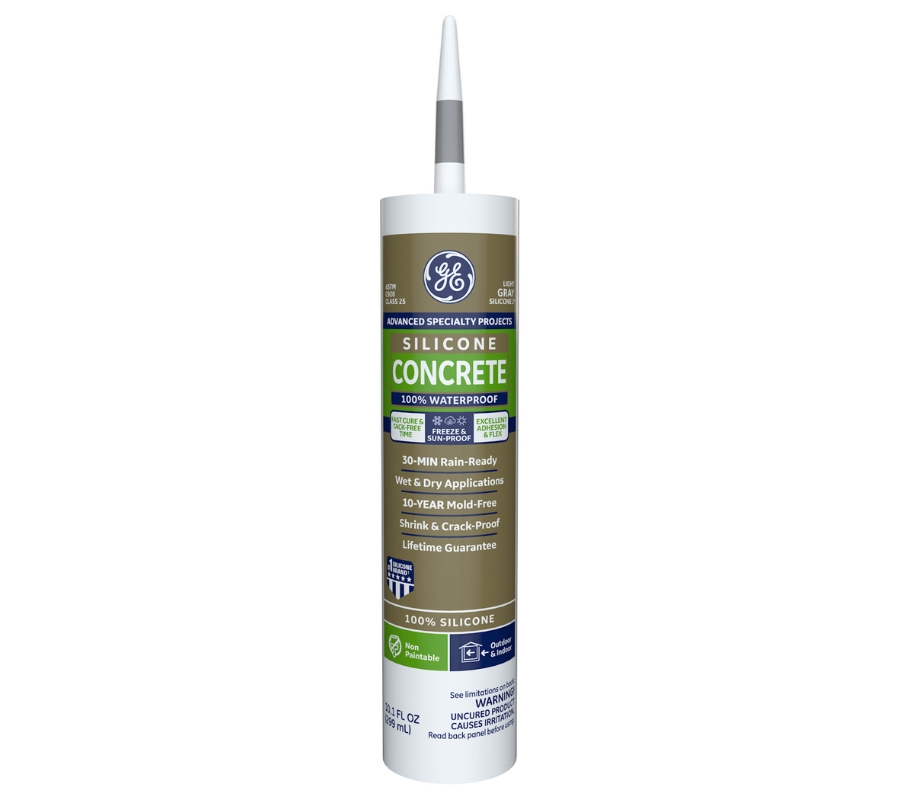
Spring is the best time to inspect these areas and apply a durable, water-resistant sealant. To get started on your seasonal home care, look for visible cracking or joint separation, especially in high-traffic or shaded zones where moisture lingers. Clean the area thoroughly, removing dirt, debris, and any loose material. Once dry, apply an outdoor-rated sealant—such as Concrete Silicone 2® Sealant—designed for concrete or masonry.
For deeper or wider cracks, use a backer rod before applying the sealant to ensure proper joint depth and flexibility. Smooth the bead with GE’s new Smoothing Tool to ensure good adhesion and a clean appearance. Once cured, the sealed surface will be better protected against rain, foot traffic, and future temperature swings.
Check and reseal window and door frames
Windows and doors are common trouble spots for air and water leaks, especially after harsh winters. Fluctuating temperatures—combined with seasonal expansion and contraction—can cause old caulk to crack, shrink, or pull away from surfaces. Left unchecked, these gaps eventually cause drafts, higher energy bills, and moisture damage around your window and door frames.
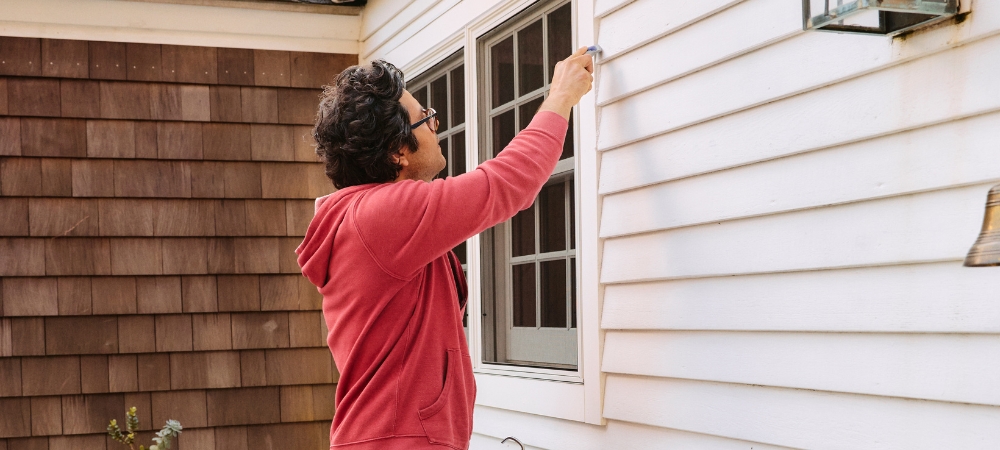
Start by inspecting the exterior perimeter of all windows and doors. Pay close attention to the edges where the trim meets siding or brick, as well as corners and horizontal seams. Use a flat tool or screwdriver to gently probe for soft or crumbling areas. If the existing sealant is cracked, missing, or no longer adhered to the surface, it’s time to remove and replace it with GE’s new Sealant Remover Tool.
Choose a weatherproof sealant like Advanced Silicone 2® Window & Door Sealant that adheres well to exterior materials like wood, vinyl, or fiber cement. Clean the surface thoroughly and allow it to dry before applying a smooth, continuous bead of sealant along any gaps. Use a smoothing tool to finish the bead and ensure full contact with the surrounding materials.
Refresh kitchen and bathroom sink seals
Sinks in kitchens and bathrooms see daily use, and over time, the sealant around them can break down from constant exposure to water, soap, and cleaning products. Cracked or missing sealant not only looks unclean but it also allows moisture to seep into cabinets or behind walls, potentially resulting in mold, mildew, and wood damage.
Spring is a good time to check the condition of the sealant around your sinks, especially at the junction where the sink meets the countertop or wall. If the sealant is discolored, brittle, or pulling away from the surface, it’s time for some new sealing projects. Use a utility knife or GE’s Sealant Remover Tool to carefully take out the old material, then clean and dry the area thoroughly before applying the new sealant.
Choose a waterproof, mold-resistant silicone designed for kitchen and bath use. Apply a steady, even bead and smooth it with a smoothing tool or gloved finger for a clean look and tight seal. Allow the sealant to fully cure before using the sink again.
Inspect and reseal tiled surfaces
Tiled surfaces in showers, backsplashes, and floors are constantly exposed to moisture and humidity, which can cause sealant and grout lines to degrade over time. When seals fail, water can seep behind tiles, leading to mold growth, staining, and structural damage beneath surfaces.
Learn more about sealing backsplashes.
As part of your spring home maintenance, inspect tiled areas for cracking, peeling, or missing sealant—particularly at corners, edges, and transitions between different materials. Discoloration or soft spots in grout lines can also signal that moisture is getting through. Use a scraper or utility knife to remove damaged caulk, and clean the area thoroughly to eliminate soap residue, mildew, or debris. For mere discoloration in grout, you can use GE’s Grout Whitener Pen.
Apply a mold- and mildew-resistant silicone sealant formulated for wet areas. For grout, consider applying a grout sealer to maintain water resistance and prevent staining. Smooth the fresh bead of sealant with a finishing tool for a clean finish and ensure full contact with the tile surfaces.
Seal around outdoor fixtures and hose bibs

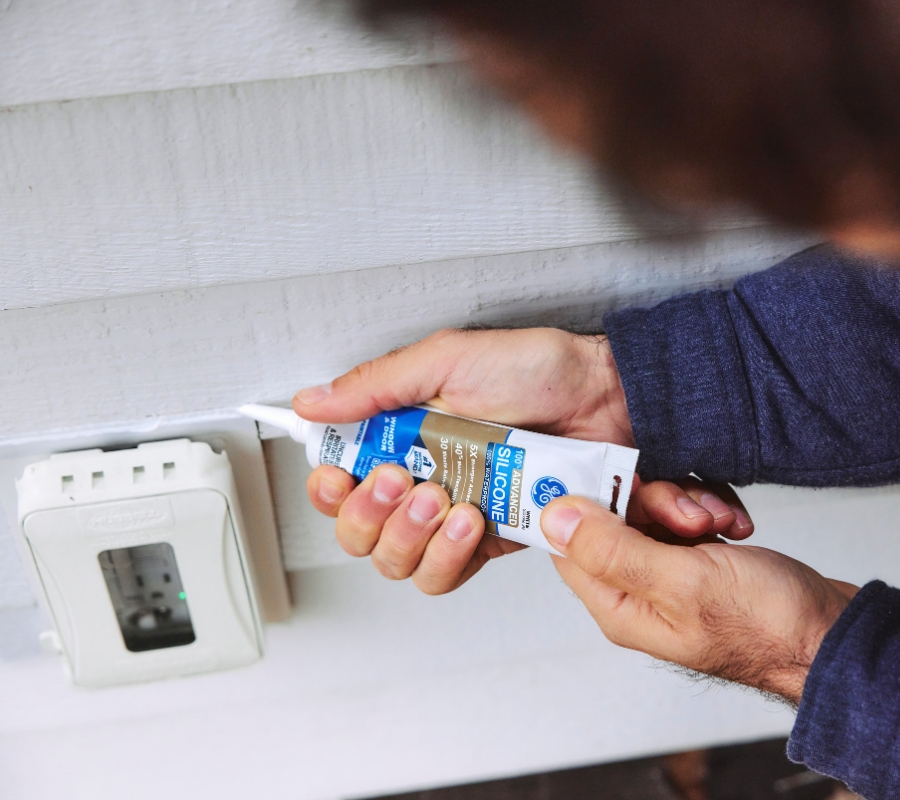
It’s easy to overlook outdoor fixtures such as hose bibs, light mounts, and utility penetrations during routine or seasonal home maintenance, but they play a critical role in keeping moisture out of your home’s exterior. After a winter of freezing temperatures and precipitation, sealant around these areas can crack or separate from the surrounding material.
Inspect the areas where outdoor plumbing or fixtures meet the siding or masonry. Look for visible gaps, crumbling sealant, or signs of water intrusion, such as staining or mildew. Turn on each hose bib briefly to check for leaks at the wall connection. If the existing sealant is brittle, missing, or no longer forms a tight seal, replace it.
Use an exterior-grade silicone designed for weather resistance and adherence to common siding materials like vinyl, wood, or stucco. Clean the area thoroughly, remove any old sealant, and apply a continuous bead to seal the gap.
To get GE Sealants’ products for your home improvement projects, visit these fine retailers in the U.S. or Canada.


