Note: This DIY article is provided as a general guide only and is not intended to take the place of product-specific installation procedures; always follow applicable manufacturers’ instructions. Depending on your home’s age and condition, location within the home, and other potential factors, repairs and/or upgrades or other services may be necessary prior to the beginning and/or completion of your project that may involve the services of a home improvement professional. This article does not include advice pertaining to local building codes and/or any related inspections.
If your home feels drafty in certain areas or your energy bills spike during the colder months, your electrical outlets could be part of the problem. Many homeowners don’t realize how much energy can escape through small gaps and cracks around outlets, switch plates, and wiring penetrations. In this guide, you’ll learn how to air-seal electrical outlets and why this is a critical DIY project around your home.
Sealing outlets isn’t just about saving money but protecting your home.
Why it’s important to air-seal electrical outlets
When you think about energy loss in your home, you probably picture drafty windows or poorly insulated attics. However, every outlet on an exterior wall is another potential leak point where conditioned air escapes and outside air sneaks in. Multiply that by the number of outlets throughout your home, and you will have a serious energy efficiency issue.
Air leakage around outlets doesn’t just affect heating and cooling, though. It can also allow moisture and even pests to enter your walls. That means sealing outlets isn’t just about saving money; it’s about protecting your home.
Some of the key benefits of sealing electrical outlets include:
- Lower energy bills by preventing heat loss in the winter and keeping cool air in during the summer
- Increased comfort with fewer cold spots and drafts
- Improved indoor air quality by minimizing outdoor air infiltration and dust
- Pest prevention, especially in older homes where small gaps allow bugs and rodents inside
How to air-seal electrical outlets: step-by-step
Sealing electrical outlets is a simple DIY project that can significantly impact your home. To get started, you’ll need a few key materials. Here’s what professionals recommend:
- Foam gaskets for outlet and switch plate covers
- Child-proof safety plugs or sealable outlet inserts
- A high-quality expanding insulating foam sealant
- Utility knife or scissors
- Screwdriver
- Safety gloves and goggles
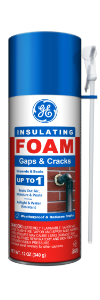
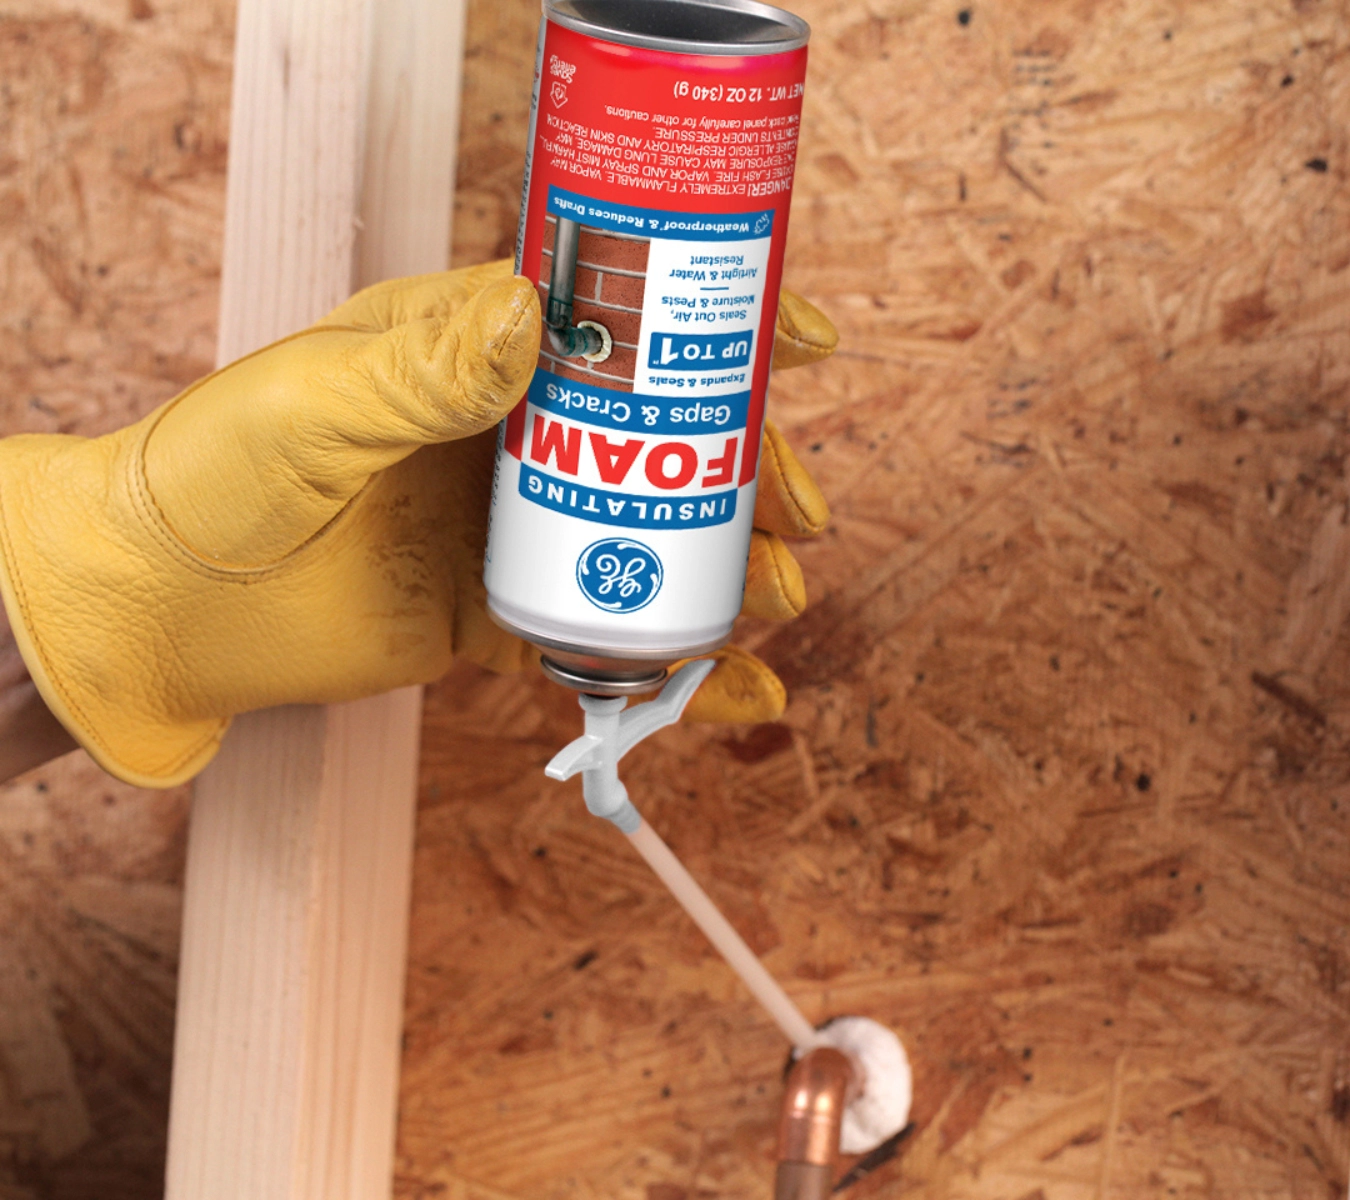
We recommend using insulating foam designed specifically for use around electrical outlets and wiring penetrations, such as our Gaps & Cracks foam. It’s ideal for this kind of project as it expands to fill gaps and cracks up to one inch, just enough to fill those tough-to-reach spaces without damaging surrounding materials.
Once you have all your materials, you can get started by following these steps.
1. Turn off the power
Before doing any work near electrical outlets, turn off the power at the circuit breaker to avoid shock.
2. Remove the outlet cover plate
Put on safety gloves and goggles for added protection during the next few steps. Use a screwdriver to remove the cover plate and set it aside. This will expose the space between the outlet box and the drywall.
3. Install foam gaskets
Foam gaskets are precut to fit behind outlet or switch covers. They help block airflow through the outlet’s face. Place the gasket over the outlet box, then reattach the cover plate.
4. Seal gaps around the box
Use our Gaps & Cracks insulating foam to fill any visible gaps between the electrical box and the wall or drywall. Insert the nozzle into the crevice and gently apply a bead of foam. Be careful not to overfill, as it will expand as it cures. Try to fill the openings about 1/3 of the way to allow room for expansion.
Let the foam cure according to the instructions. If using our Gaps & Cracks insulating foam, you should allow 24 hours for curing. Once fully set, you can trim any excess using a utility knife or scissors.
5. Seal any wiring penetrations
If your wiring runs through exterior walls or from attics/basements into outlets, inspect those penetrations as well. Gaps around wires are a major source of air leakage. Apply the same insulating foam to block airflow in these areas.
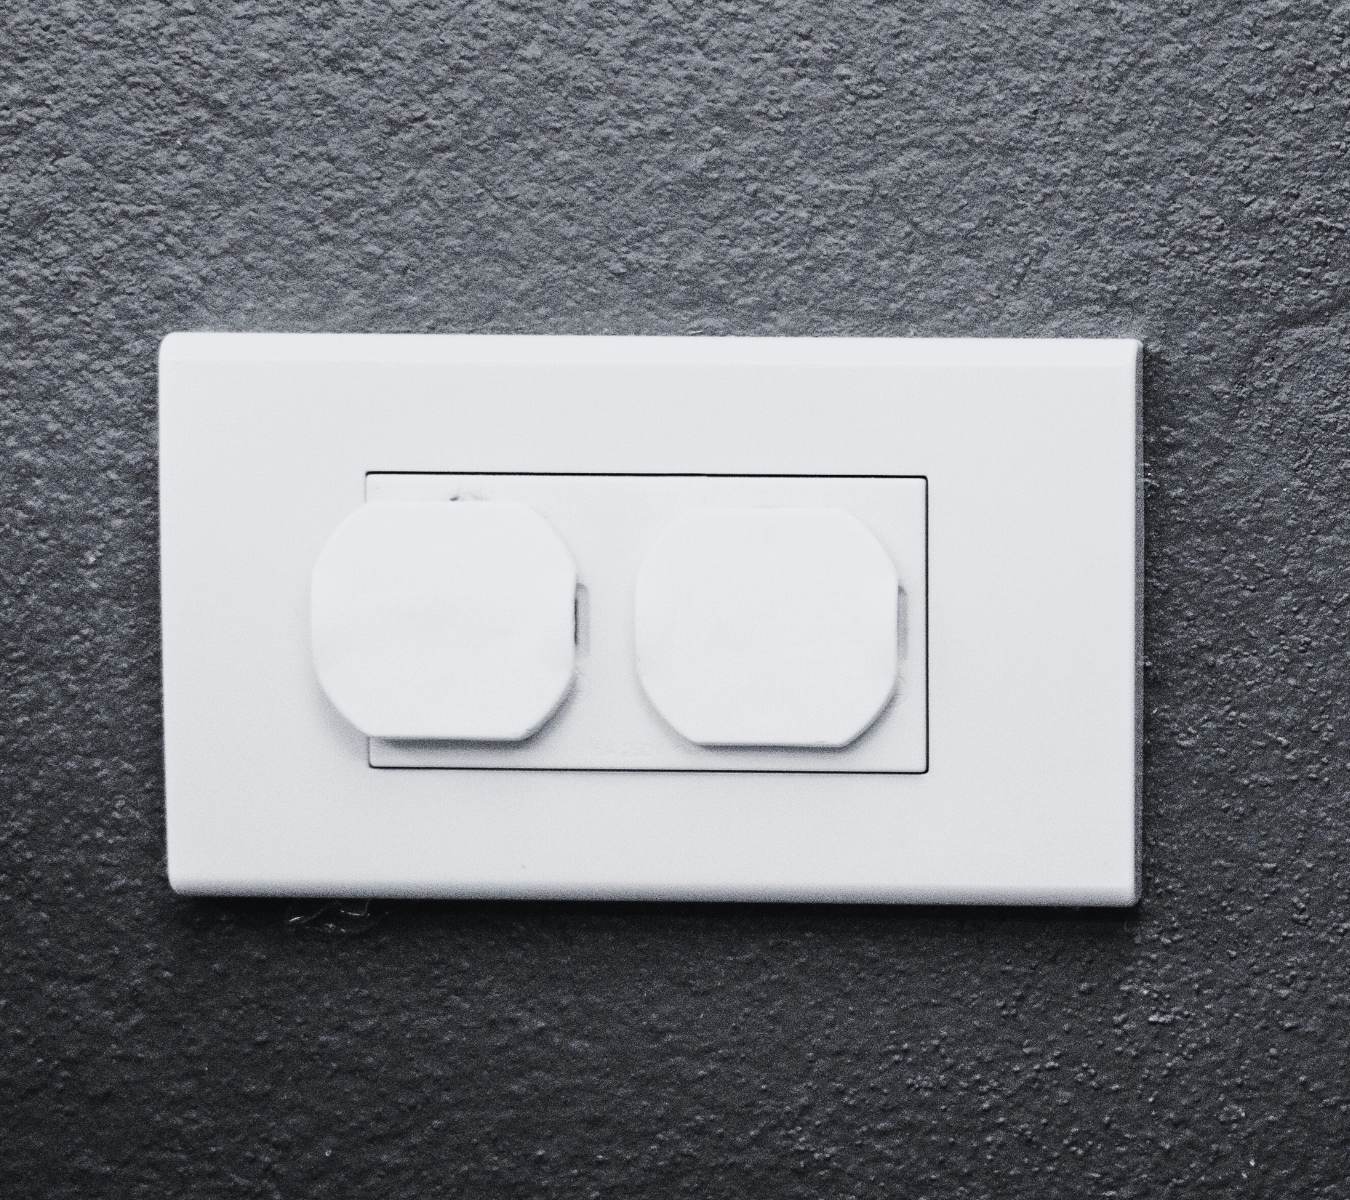
6. Use outlet seals or safety plugs
Finally, consider installing child-proof plugs or sealable outlet inserts in rarely used outlets to prevent air from sneaking through the socket.
Don’t forget to seal outdoor electrical outlets, too
Indoor outlets aren’t the only source of energy leaks. Outdoor electrical outlets can also let in cold air, moisture, and even pests if they aren’t properly sealed. These exterior penetrations often have larger gaps where the electrical box meets the siding or wall structure, making them a critical area to address when sealing electrical outlets for energy efficiency.
Here’s how to air-seal outdoor outlets effectively.
1. Inspect the outlet and the surrounding area
Check for visible gaps or cracks around the outlet cover, junction box, and where the box meets the siding or exterior wall. If the outlet isn’t flush with the siding or is missing a proper weatherproof cover, it may be allowing air and water infiltration.
2. Apply expanding foam around the electrical box
Use our Gaps & Cracks insulating foam to fill in the space between the electrical box and the exterior wall or siding. This foam is ideal for outdoor applications because it expands just enough to seal gaps up to one inch wide without putting pressure on surrounding materials. It also helps block out rain, wind, and pests from sneaking through.
3. Use a weatherproof cover
Replace any old or damaged outlet covers with weatherproof covers designed for outdoor use. These covers protect the outlet itself while helping to keep your foam seal intact.
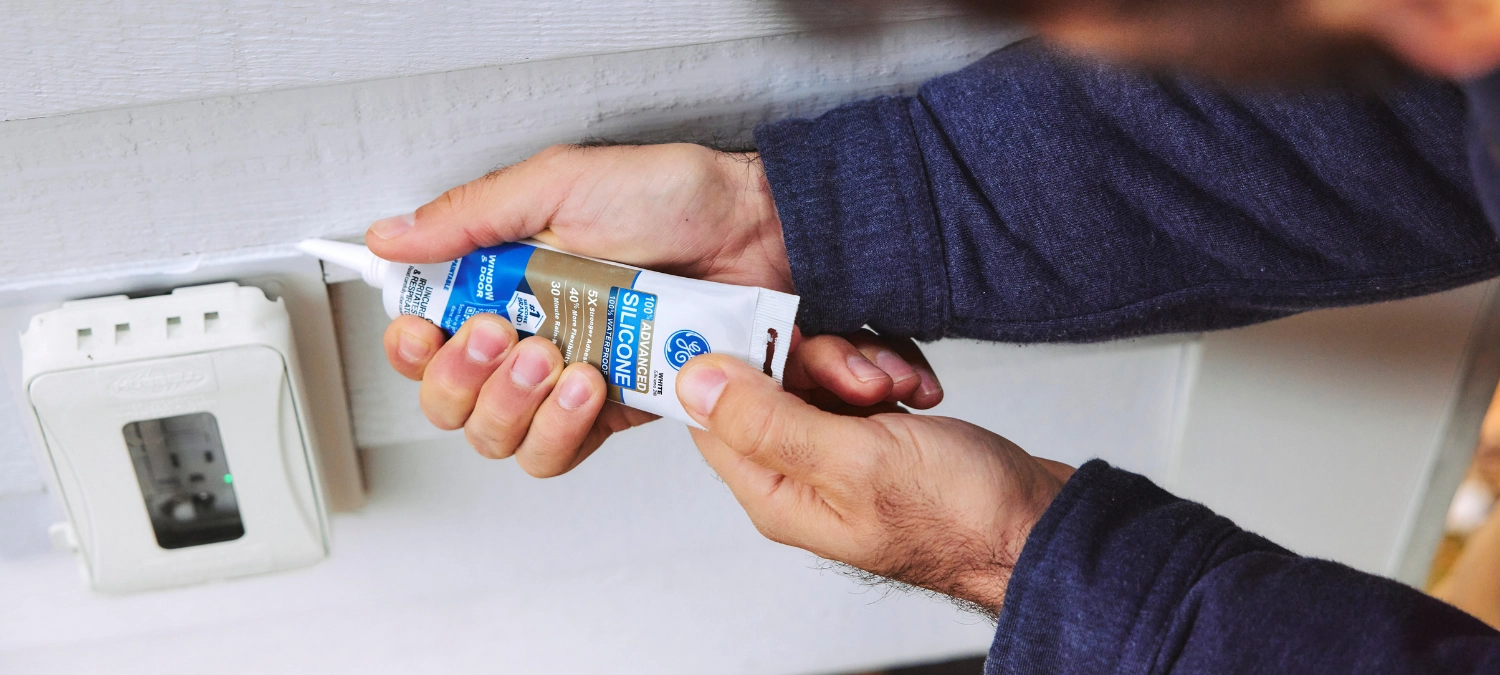
4. Seal around the box with silicone
After the foam has fully cured and the weatherproof cover is in place, seal the edges where the box or cover meets the siding using a flexible, exterior-grade silicone sealant. This extra step helps block out wind, rain, and pests, while also protecting the foam from UV exposure and wear over time.
Sealing outdoor electrical outlets is just as important as sealing indoor ones, especially in regions with extreme temperatures or wet conditions. By addressing both, you’re taking a more complete approach to sealing outlets and boosting your home’s overall energy efficiency.
Promote energy efficiency throughout the home
While sealing outlets is a smart move, don’t stop there. One of the best energy efficiency tips is to look for other hidden leaks in your home. Those areas can include:
- Around window and door frames
- Where HVAC lines enter the home
- Attic hatches and pull-down stairs
- Plumbing penetrations beneath sinks
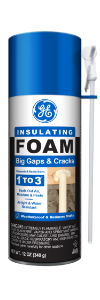
Our Gaps & Cracks insulating foam also works well for these problem areas. We also offer a Multipurpose Foam that bonds to wood, concrete, brick, and more. These products are versatile solutions for sealing gaps and improving energy efficiency throughout your home.
Why you should use expanding foam for sealing outlets
You might wonder why expanding foam is the go-to material for this task. Here’s what makes it so effective:
- Fills gaps up to one inch wide, expanding to fit irregular spaces
- Blocks air, moisture, and pests from entering your home
- Durable and long-lasting, unlike temporary solutions like caulk or tape
- Safe for use around wiring, plumbing, and HVAC systems when applied correctly
Not all foam products are created equal, so it’s essential to choose one that contractors and homeowners trust. Our insulating foam is specially formulated to provide a tight seal without overexpanding or damaging sensitive components.
FAQs
Is it safe to use foam around electrical outlets?
Yes, as long as the foam is non-conductive and rated for use around wiring. Always turn off the power first and follow product instructions carefully.
How do I know if I need to seal my outlets?
Hold your hand near an outlet on an exterior wall. If you feel a draft, it’s time to seal. You can also use a smoke pencil or incense stick to detect airflow.
Can this help with pests?
Absolutely. Sealing outlets and wiring penetrations help keep out insects that may sneak in through tiny openings. Our Pest Block Foam is perfect for providing insulation while keeping pests out.
How long does it take to seal all the outlets in my home?
Most homeowners can tackle this project within a weekend. Each outlet takes about five to 10 minutes, depending on accessibility and the number of gaps.
Do I need to hire a professional?
Not necessarily. This is a great DIY project if you’re comfortable using basic tools. Just be sure to follow safety precautions and manufacturer guidelines.
Learning how to air-seal electrical outlets is a small step that can improve your home’s energy efficiency. It’s one of those smart, inexpensive projects that pay off season after season. Using the right materials, like our Gaps & Cracks insulating foam, will improve comfort and protect your home from moisture and pests.
To find the perfect product for your project, visit a store near you in the U.S. or Canada.