
Note: This DIY article is provided as a general guide only and is not intended to take the place of product-specific installation procedures; always follow applicable manufacturers’ instructions. Depending on your home’s age and condition, location within the home, and other potential factors, repairs and/or upgrades or other services may be necessary prior to the beginning and/or completion of your project that may involve the services of a home improvement professional. This article does not include advice pertaining to local building codes and/or any related inspections.
Insulation foam or spray foam insulation is an expanding material used to seal and fill small gaps around the home where air, moisture, or pests can get in. DIYers often use insulation foam around utility openings, framing gaps, and selected window and door areas. However, choosing the right product depends on how much expansion the job can handle and how exposed the area will be. Understanding where insulation foam works best and when a sealant is the better choice can help you get cleaner, more effective results.
Insulation foam works best when you need to fill deeper, irregular openings that would be hard to close with a simple bead of sealant. That makes it a good fit for many do-it-yourself spray foam insulation tasks around plumbing penetrations, wiring openings, rim joists, and other unfinished areas.
What is insulation foam?
Insulation foam is a sealing product designed to expand after application so it can seal irregular openings more completely than many other household fillers. It is often grouped under the broader term spray foam insulation. For most home projects, it works best as a targeted air-sealing material rather than as a replacement for batt or roll insulation. Because it expands and hardens in place, it can help improve comfort and reduce unwanted air movement when used in the right location.
Where DIYers commonly use insulation foam at home
DIYers usually use insulation foam in places where small openings let outside air move into the home. Common examples include:
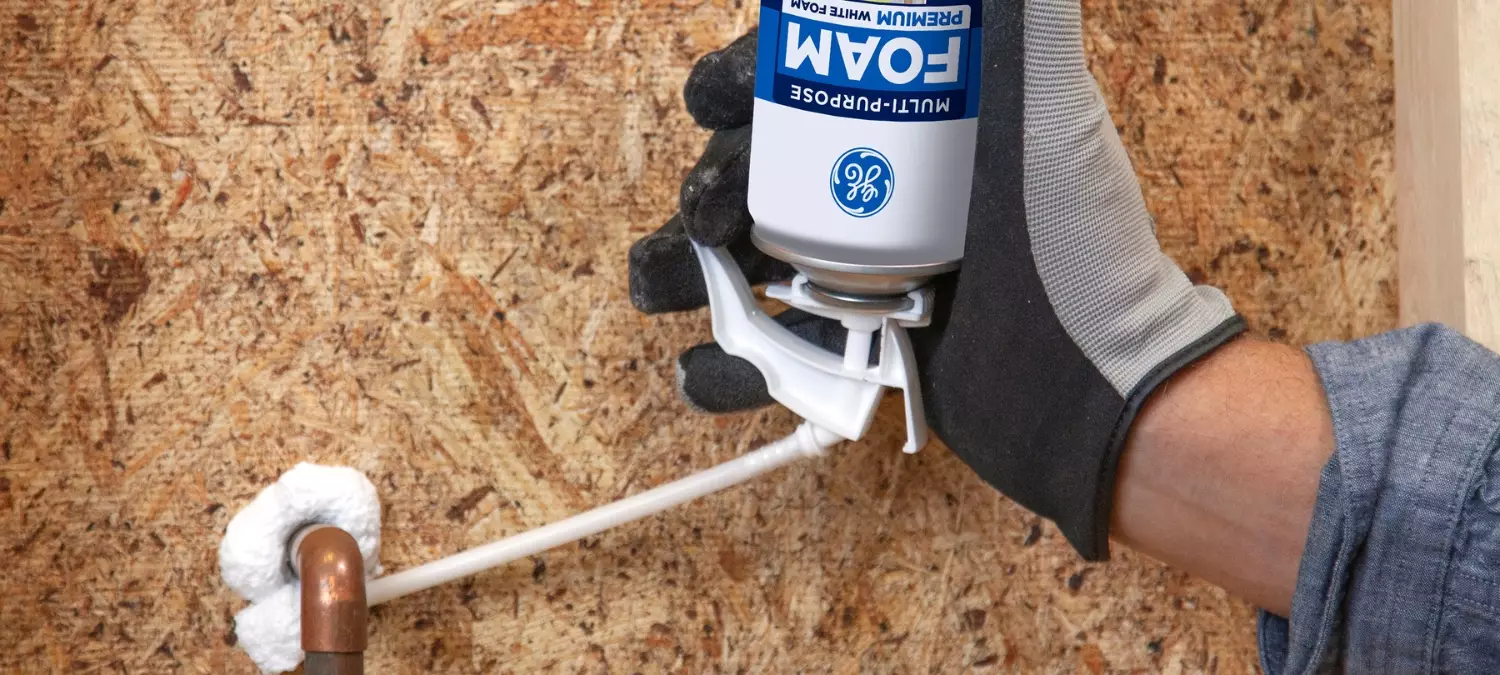
- Gaps around pipe entries
- Wiring penetrations
- Attic access points
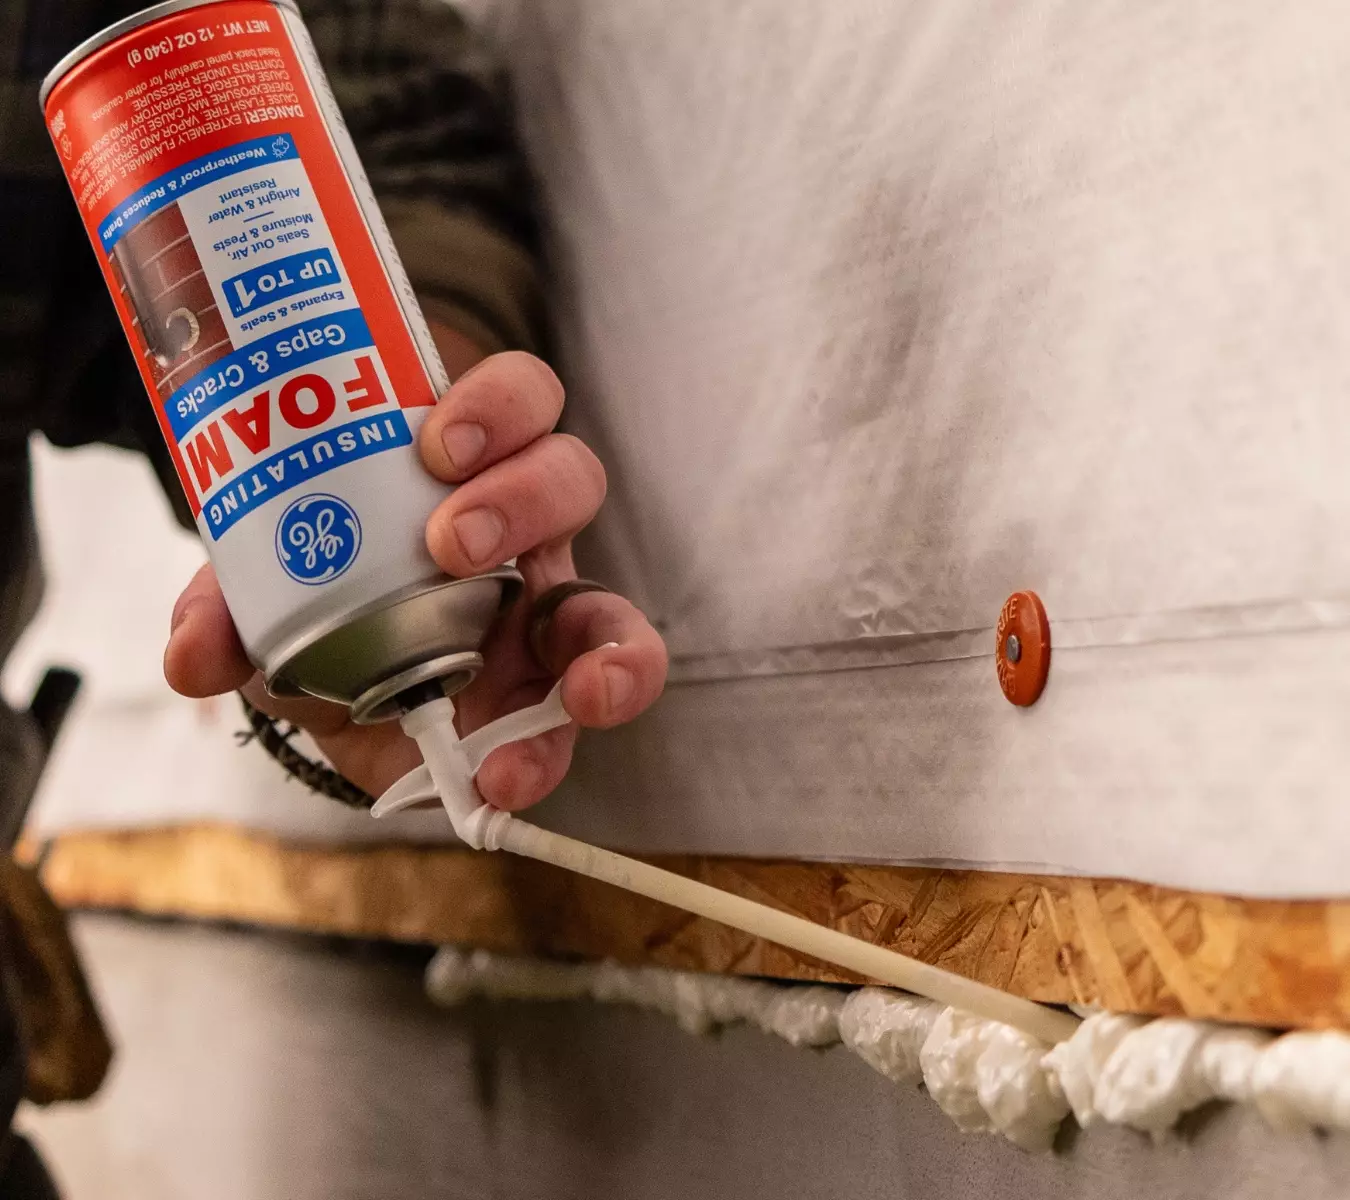
- Basement rim joists
- Unfinished areas where irregular openings are hard to cover neatly with standard insulation
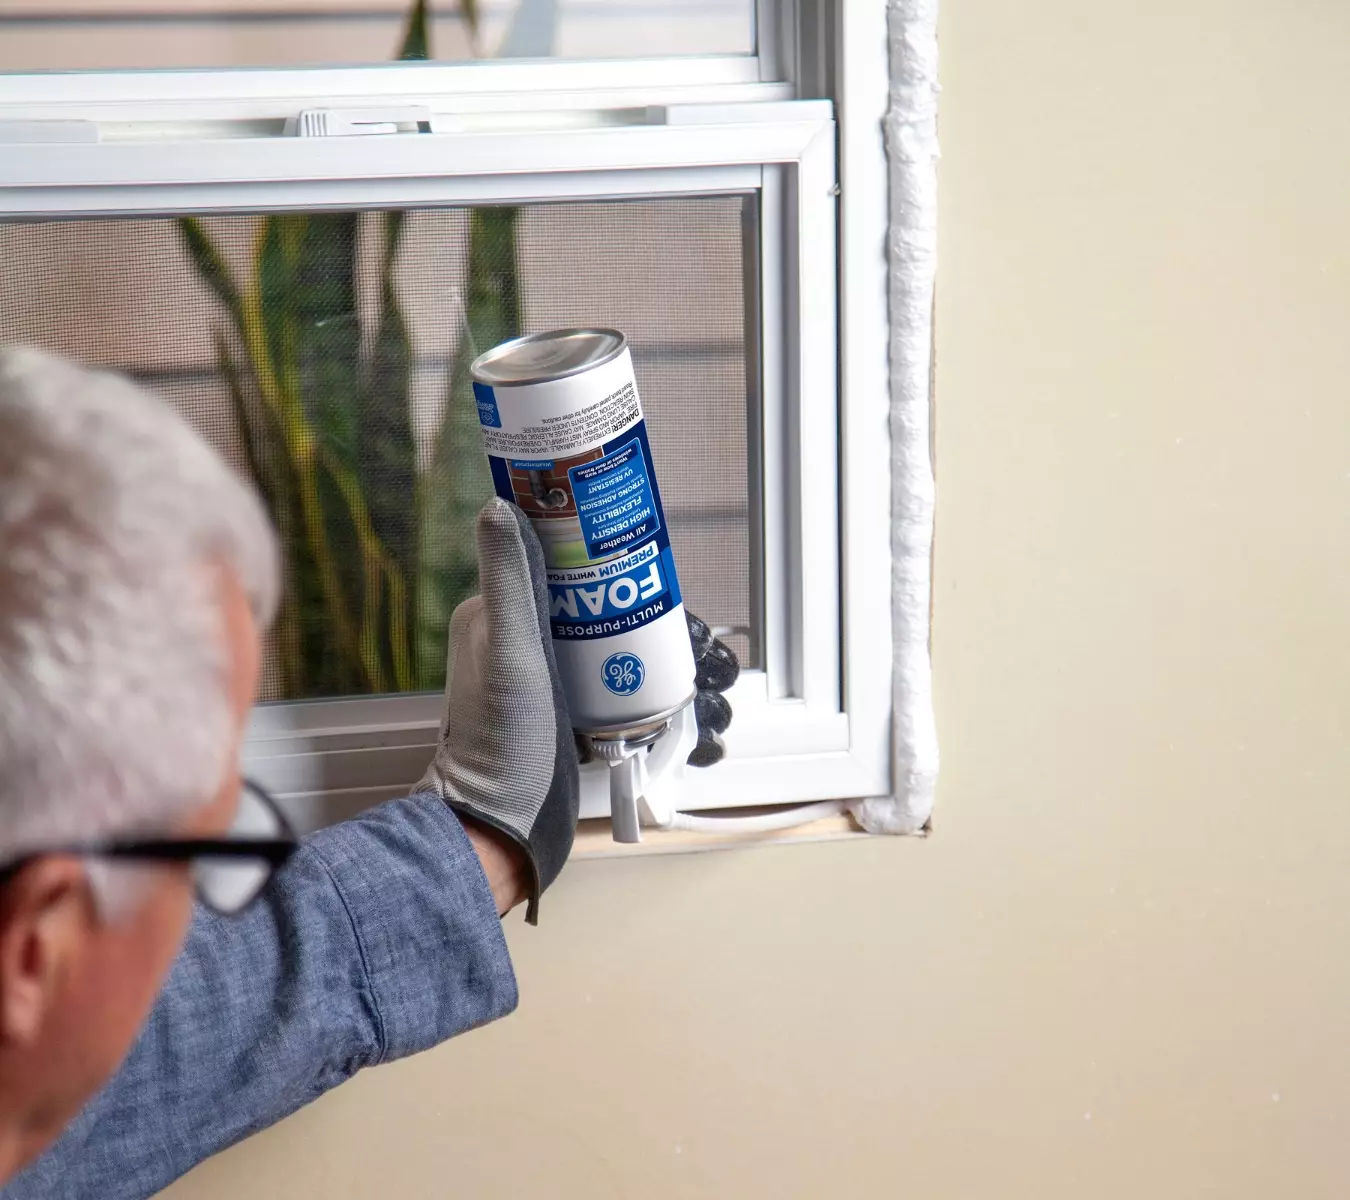
It can also help around selected window and door rough openings when the product is designed for controlled expansion. In these spots, the goal is not to fill an entire cavity but to close the narrow paths that allow drafts and temperature loss. Insulation foam is generally most useful where gaps are awkward, uneven, or too deep for a simple bead of sealant alone.
What different types of insulation foam are designed to do
Different insulating foam products are designed for different gap sizes and locations.
- GE Gaps & Cracks: Expands and seals gaps up to 1 inch for smaller openings around plumbing, wiring, vents, and HVAC penetrations.
- GE Big Gaps & Cracks: Is made for 1- to 3-inch gaps such as larger penetrations, crawlspace openings, and similar voids.
- GE Window & Door Foam: Its low-expansion formula is designed not to bow frames around windows and doors.
- GE Pest Block Insulating Foam: Seals gaps and cracks up to 1 inch in areas where pest entry is a concern.
When to use insulation foam vs. when to use sealant
Insulation foam works best when you need to fill deeper, irregular openings that would be hard to close with a simple bead of sealant. That makes it a good fit for many do-it-yourself spray foam insulation tasks around plumbing penetrations, wiring openings, rim joists, and other unfinished areas.
Sealant is the better choice when joints are exposed, narrow, or require a cleaner finished edge, such as around trim, fixtures, or exterior perimeter joints. In general, insulation foam is for filling and sealing hidden gaps, while sealant is for finishing visible joints that need flexibility, weather resistance, or waterproofing.
6 tips for using insulation foam more effectively
Here are six tips for getting the most out of insulation foam:
- Wear gloves and work in a well-ventilated area. Foam can be sticky, difficult to remove, and awkward to control in tight or overhead spaces, so a little prep goes a long way.
- Read the label carefully before application. Expansion rates, cure times, and recommended uses vary by product, and these details affect how much foam to apply and where it should be used.
- Apply slowly and in small amounts instead of trying to fill the opening in one pass. Most insulation foams keep expanding after leaving the nozzle, which makes overfilling one of the easiest mistakes.
- Keep the straw or applicator steady so the foam goes where you want it. For windows and doors, especially, controlled placement matters because too much pressure in the wrong spot can create cleanup problems and a rougher finish.
- Let the foam cure fully before trimming, sanding, or painting if the product allows it. Trying to shape it too early usually creates more mess and can pull material away from the gap before it has set.
- Protect nearby surfaces before you start. Scrap cardboard, painter’s tape, and paper towels can help limit accidental spread and make the job easier to manage. A little setup time also makes cleanup simpler and helps the finished repair look more deliberate.
Common DIY mistakes with insulation foam
A common mistake is expecting insulation foam to solve every air-sealing problem. DIYers are often tempted to use it in places where a finished sealant would be more appropriate, especially on narrow visible joints where appearance matters. Others assume canned foam works like a full spray foam insulation kit and try to use it for structural cavities, instead of targeted gap sealing.
It is also easy to underestimate how noticeable cured foam can look if it is left exposed or trimmed poorly. In most cases, the mistake is not in the application itself, but in choosing foam for the wrong purpose. Better results usually come from treating insulation foam as a targeted sealing product, not an all-purpose fix.
To get GE Sealants’ products for your home improvement project, visit these fine retailers in the U.S. or Canada.


