Note: This DIY article is provided as a general guide only and is not intended to take the place of product-specific installation procedures; always follow applicable manufacturers’ instructions. Depending on your home’s age and condition, location within the home, and other potential factors, repairs and/or upgrades or other services may be necessary prior to the beginning and/or completion of your project that may involve the services of a home improvement professional. This article does not include advice pertaining to local building codes and/or any related inspections.
Sealant protects your home from leaks, drafts, and mold—but only if it holds. Heat, humidity, and heavy summer storms can push old seals past their limits. In this guide, you’ll learn how to spot sealant failure early, remove it cleanly, and reseal your home with confidence.
Why seasonal sealant maintenance matters
Summer punishes sealant. Heat stretches joints, UV weakens surface bonds, and storms push water into any cracks that opened up since last year. All it takes is a pulled edge or brittle bead, and the problems begin.
A failed seal lets moisture creep into trim, framing, or drywall. Mold follows. So does wasted energy, as cool air slips through unsealed gaps and your AC works harder than it should.
You can catch it before it spreads. You just need to know where to check, and what wear looks like before it turns into water damage. Sealant maintenance keeps the small stuff small before it becomes a soaked floor or an unplanned repair bill.
Sealant maintenance helps prevent slow leaks, moisture damage, and energy loss. GE’s silicone formulas flex, seal, and stay put even under summer heat, rain, and UV.
Home maintenance tips: where to inspect for failing sealant
Start where the elements hit hardest, then work your way in. Any spot exposed to moisture, airflow, or direct sun is where sealant breaks down first, usually before you notice.
Bathrooms and kitchens
Tubs, showers, sinks, backsplashes—anywhere water sits or steam rises. Check for beads that are soft, discolored, cracked, or pulling away from the tile or fixtures. Mold reappearing in the same spot? That’s likely a failed seal.
Windows and doors
Look along the trim, frame corners, and sills—inside and out. UV exposure and temperature swings can wear sealant down. Run your finger along the bead. If it powders, flakes, or lifts at the edges, it’s done.
Outdoor touchpoints
Inspect siding joints, utility penetrations, hose bibs, and vent flanges. South- and west-facing walls take the most sun, so check them first. Hardened lines, widened cracks, or pealing edges mean it’s no longer doing its job.
What sealant failure looks like:
- Cracks that widen under light pressure
- Beads lifting from one or both edges
- Sealant that flakes, powders, or feels brittle
- Mold reappears after cleaning
- Hardened or shrunken lines
If you spot any of these, it’s time to start resealing home joints before summer weather turns a worn seal into a full-on leak. You don’t need special tools—just a careful look and a minute of your time.
Removing old sealant
Don’t seal over old work. It won’t hold, and it won’t last. Use the GE Sealant Remover Tool to break the old bead cleanly. Push the pointed end into the sealant and move forward, or use the lower point to pull it toward you.

Once the bead starts lifting, remove it in full strips where possible. Use the flat end of the tool to scrape away any residue. Clean the surface with rubbing alcohol to remove dust, oils, and soap film.
Let the area dry completely before resealing—a clean, dry bond is what gives the new sealant the strength to hold.
For a full demo, follow this step-by-step guide on how to remove old sealant cleanly and safely.
Match the product to the job
Not all sealants are built the same. What’s inside the tube determines how well it performs when joints shift, sweat, or expand under heat.
Matching the product to the space makes all the difference. You want flex, staying power, and confidence that it won’t crack or pull away the moment conditions change. Sealant maintenance gets easier when you use the right product from the start.
Here’s how to line up GE’s options with the work you’re doing:
- For bathrooms: Use GE Advanced Silicone Kitchen & Bath Sealant. It’s flexible, mold-resistant, and water-ready in 30 minutes—built to perform where moisture never really stops.
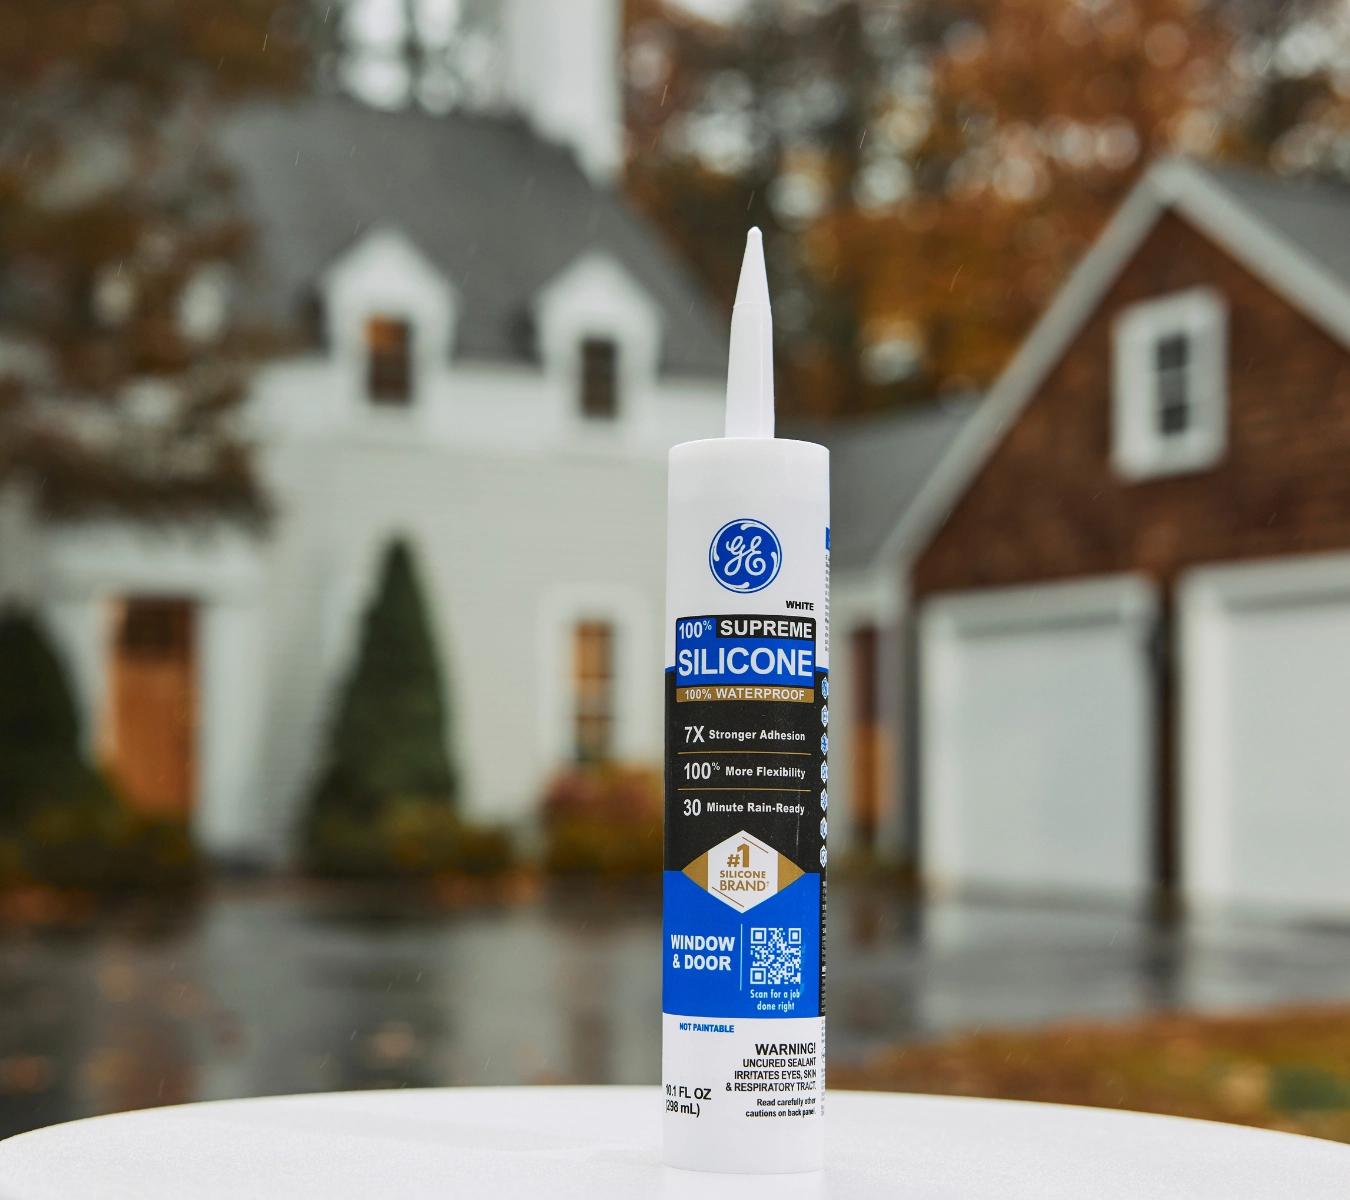
- For exterior trim and siding: Go with GE Supreme Silicone Window & Door Sealant. It handles Class 50 movement, resists sun damage, and won’t shrink or crack with temperature swings.
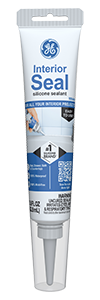
- For quick indoor touch-ups: Grab the Interior Seal Silicone Sealant (2.8oz squeeze tube). No caulk gun needed, making it perfect for resealing home baseboards, window trim, or fast fixes.
These three picks handle the most common sealing jobs and cover the same trouble spots you’ll find in trusted home maintenance tips year after year.
How to reseal properly: resealing home joints that last
Good sealant is only as strong as the job behind it. When it comes to sealant maintenance, application matters just as much as the product. Here’s how to reseal like a pro—clean, efficient, and built to hold.
- Prep the surface: If you’ve already removed the old bead, skip ahead. If not, refer back to the removal section above.
- Apply the bead: Use steady pressure and move in one smooth motion. Fill the joint evenly—don’t overload it. Too much sealant can trap moisture or delay curing.
- Tool the joint: Shape the bead immediately. Use a gloved finger or the GE Sealant Smoothing Tool for a clean, uniform finish. Starting with a new tube? The GE Cartridge Opener & Smoothing Tool lets you cut the nozzle and smooth the bead with the same tool.
- Let it cure: Check the label. For example, Advanced Silicone Kitchen & Bath Sealant is water-ready in 30 minutes, but give it 24 hours before applying pressure or exposing it to water.
Build sealant checks into your home maintenance routine
Most people notice a failed seal after the damage starts. Catch it earlier by making sealant checks part of your seasonal routine.
It only takes 10–15 minutes. Walk your high-risk zones: bathrooms, windows, siding joints, vents. Look for mold, gaps, cracks, or beads that lift when touched.
If you’ve recently resealed home joints, this is where you make sure it’s holding up. A quick scan now can save you from having to redo work or clean up after a slow leak.
One of the most practical home maintenance tips is to check your seals in the spring and fall. It helps keep moisture out, preserve the materials around each joint, and protect the fixes you’ve already put in place.
Pair this step with HVAC filter changes, gutter clearing, or weatherstripping checks. You’ll stay ahead of wear—and avoid surprise repairs.
Need the right sealant for the job? Find trusted GE Sealants at a store near you in the U.S. or Canada.