
Note: This DIY article is provided as a general guide only and is not intended to take the place of product-specific installation procedures; always follow applicable manufacturers’ instructions. Depending on your home’s age and condition, location within the home, and other potential factors, repairs and/or upgrades or other services may be necessary prior to the beginning and/or completion of your project that may involve the services of a home improvement professional. This article does not include advice pertaining to local building codes and/or any related inspections.
Summer is tough on a house. Heat stretches siding, storms push water where it shouldn’t go, and humidity feeds mold in the corners you forgot to check. This guide walks you through the smartest home maintenance tasks to tackle before summer— from sealing windows to clearing vents.
Home maintenance before summer: start outside where heat, rain, and sun do the most damage
Summer doesn’t ask permission—it expands, cracks, and floods whatever isn’t ready. Start by walking your home’s exterior. Look for brittle or peeling sealant around windows, doors, trim, and siding joints—especially on the south and west sides, where UV exposure hits hardest.
Any gap you find is a potential water path. Left untreated, it won’t just let moisture in. It can swell framing, encourage mold inside your walls, and drive up cooling costs. That’s why exterior sealing should always lead your home maintenance before summer begins in full.
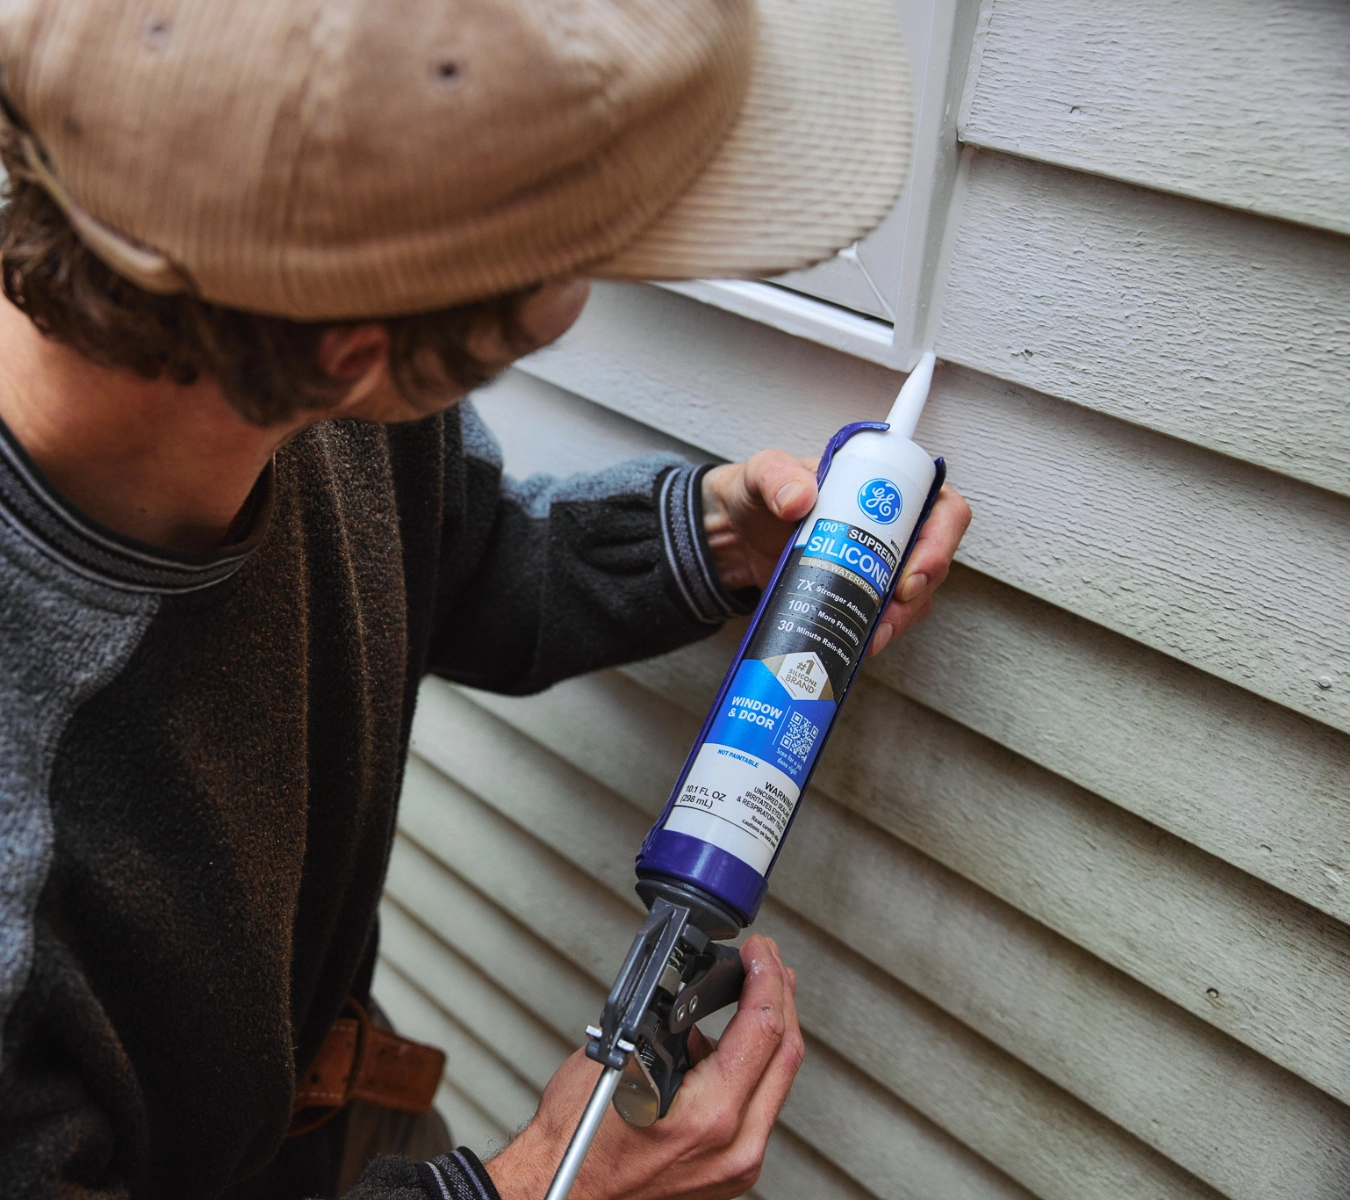
For joints that flex with temperature and movement, you need the right product—not just any sealant from the shelf. GE Supreme Silicone Window & Door offers:
- Class 50 flexibility
- Rain-ready protection in 30 minutes
- UV resistance for long-term durability in full sun
- Permanent adhesion to most common materials.
It holds its seal through summer highs, winter lows, and everything in between.
Before sealing, clean out the old bead completely—especially if it’s acrylic, which silicone won’t bond to. If the gap is wider than 1/4 inch, insert a backer rod for depth control. Once you apply the sealant, tool the bead within five minutes to ensure a smooth, tight finish. For best results, use a smoothing tool like GE’s Smoothing Tool.
Quick checklist:
- Inspect all exterior trim joints
- Remove failed sealant
- Clean with isopropyl alcohol
- Apply GE Supreme Silicone Window & Door
- Tool bead, let cure per label
Miss a single seal, and moisture finds its way in. Stay ahead with a checklist that covers the joints, corners, and surfaces summer hits hardest.
Summer home prep: seal your kitchens and baths before humidity hits
Once the outside’s sealed, move your summer home prep indoors. Humidity doesn’t stay out. It creeps into bathrooms and kitchens, where lingering moisture turns minor seal failures into mold blooms and water damage.
That’s why home maintenance before summer should always include checking your wet zones.
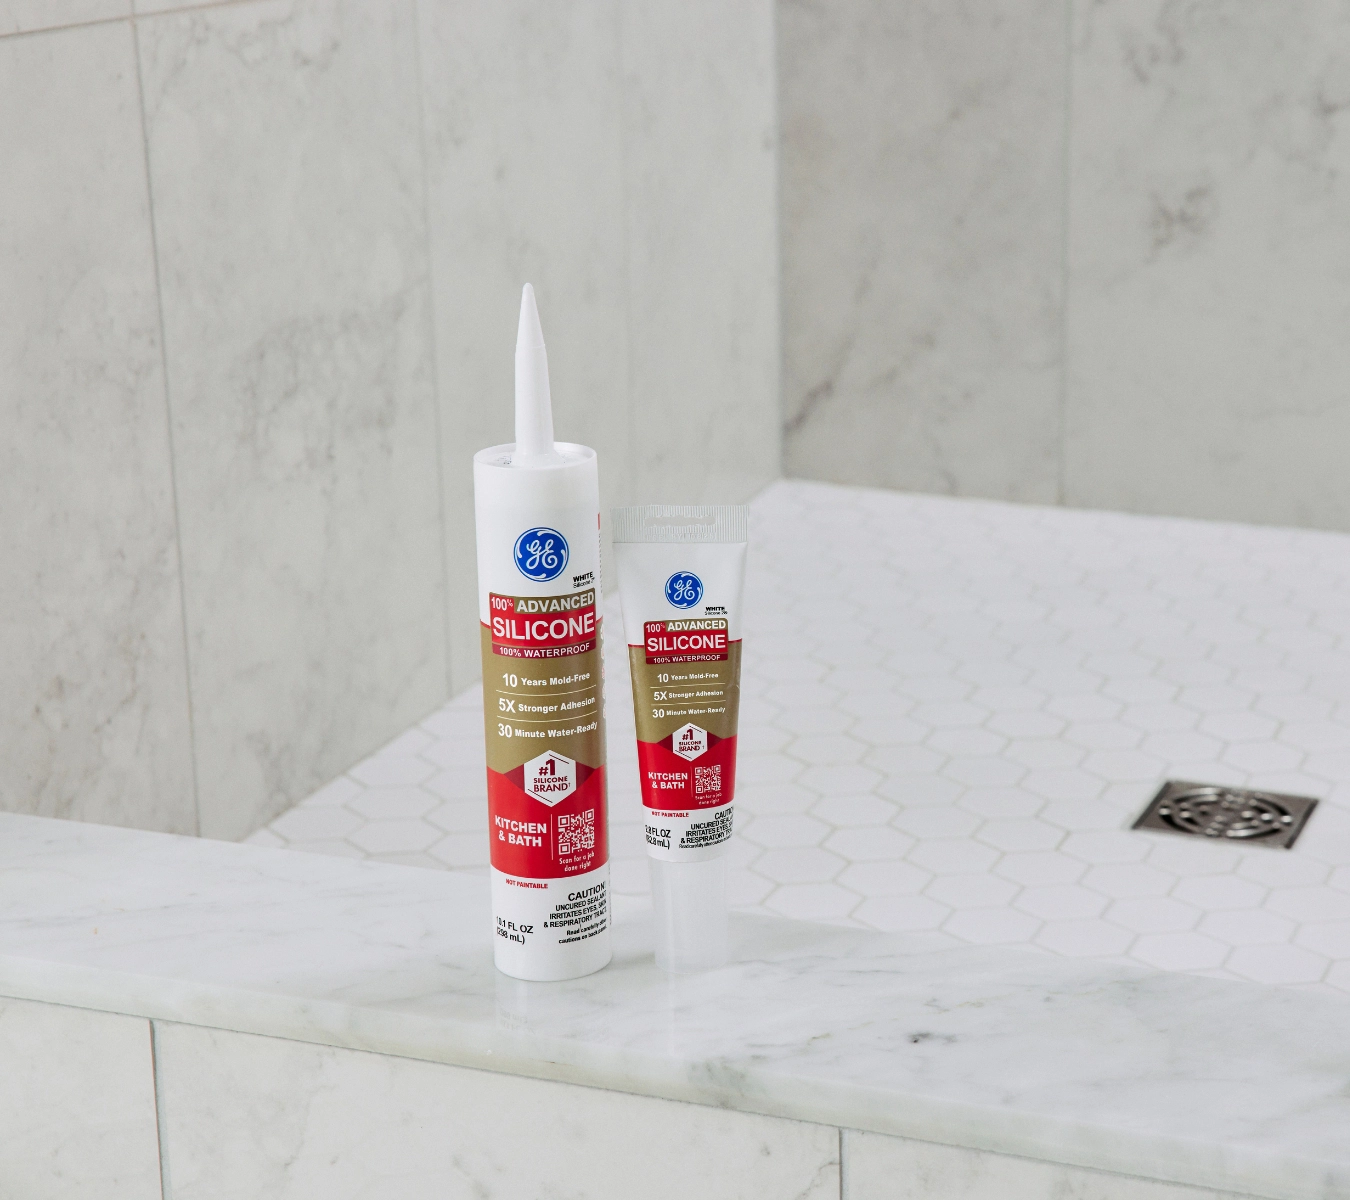
Start with your bathrooms and kitchen. Check the sealant around tubs, showers, sinks, and backsplashes. If the bead is soft, darkened, cracked, or pulling away from the surface, it’s no longer doing its job.
That’s where GE Advanced Silicone Kitchen & Bath sealant comes in. It’s designed for wet, high-humidity areas and provides up to 10 years of mold-free protection. It’s also water-ready in 30 minutes and won’t stain chrome or discolor high-end finishes.
Before applying, use a plastic scraper to remove old sealant—metal can gouge tile or tub surfaces. Clean the area thoroughly with isopropyl alcohol to eliminate residue that could compromise adhesion. Apply the new sealant in a steady bead, then tool it immediately for a watertight finish.
Quick checklist:
- Inspect seals for mold or lifting
- Remove all loose sealant
- Clean with isopropyl alcohol
- Apply GE Advanced Silicone
- Let cure before exposing to water
Seasonal maintenance checklist: clear vents and fans to keep moisture moving
A tight seal only works if air can move where it needs to. As part of your seasonal maintenance checklist, take time to clear the ventilation systems that keep moisture and heat from building up indoors.
Start with your dryer vent—clean it inside and out. Lint buildup isn’t just a fire risk. It makes your dryer run hotter and longer.
Next, wash the grease-trapped filters in your kitchen hood. And finally, vacuum the covers of your bathroom exhaust fans and test airflow. Weak suction means hidden buildup that’s holding onto humidity.
Even the best sealing work won’t help if your home can’t breathe.
Quick checklist:
- Unclog dryer vent and cap
- Clean kitchen filters
- Vacuum bath fans, check suction
Check decks, patios, and outdoor fixtures
Sealant fails quietly. Then one good rain, and the rot sets in. On decks, patios, and outdoor fixtures, they often show up too late—after water’s seeped in and rot has taken hold.
That’s why summer home prep should always include a scan of every exposed seam, joint, and fixture under the open sky.
Inspect exterior railing bases, stair stringers, wall-to-siding junctions, and outdoor utility points like faucets or outdoor sinks. Look for gaps where wood meets concrete, cracks where trim separates, or sealant that’s pulled back or turned brittle.
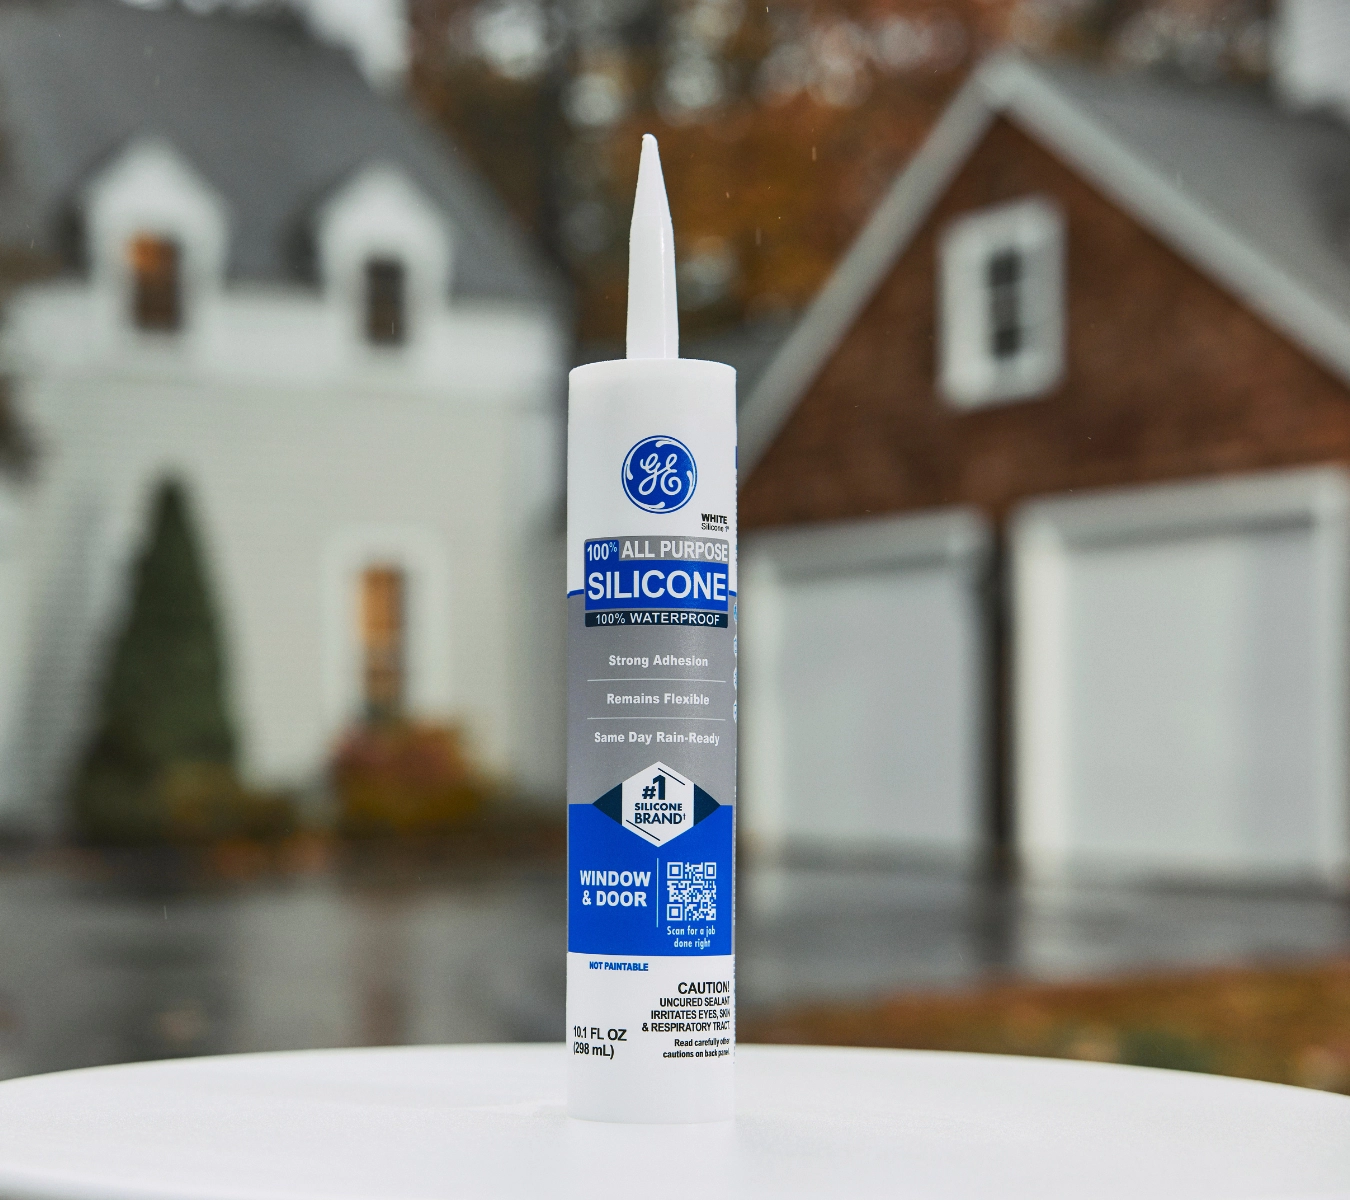
For these areas, you need something built for the elements. GE Silicone All Purpose is weatherproof, freeze-resistant, and won’t crack or shrink under sun exposure. It’s designed to hold firm across wood, metal, masonry, and more.
Work in the shade if possible. In direct sun, the surface can skin over before the sealant bonds properly underneath—leading to weak adhesion. And skip paintable acrylics outside. They can’t flex, and they won’t last.
Quick checklist:
- Inspect all outdoor seal points
- Clean and dry surface
- Apply GE All Purpose Silicone
- Allow full cure before foot traffic
Once you’ve sealed the surfaces underfoot, shift your attention to where water falls, from above.
Roofline final check—gutters, flashing, penetrations
Leaks don’t always start where the damage shows. Water travels, then ruins the ceilings weeks later.
As part of your seasonal maintenance checklist, clean out gutters and downspouts to prevent overflow. Then inspect seals around flashing, skylights, and vent stacks. These are your home’s highest-risk joints.
Any seal that’s cracked, lifting, or showing rust trails needs attention. And if it’s been a few seasons, it’s worth resealing now rather than waiting for stains to show up.
For these exposed joints, use the right GE Specialty Silicone based on the surface:
- Metal for flashing and vent stacks
- Gutter for seams in aluminum gutters and downspouts
- Concrete for masonry joints or parapet caps
Each formula is engineered for long-term flexibility, UV exposure, and wet or extreme conditions—without shrinking or cracking over time.
Use ladder stabilizers to avoid damaging the gutters, and don’t just check from the ground. You need a close-up look to catch what a storm will exploit.
Quick checklist:
- Clean all drainage paths
- Inspect roof seal points
- Reseal with the correct GE Specialty formula
Prevention isn’t glamorous—but it’s what keeps emergencies off your to-do list.
You’ve sealed the gaps, cleared the vents, and covered the trouble spots. Your home’s ready to take on summer the way it should be: dry, protected, and worry-free.
FAQ Summer home maintenance & sealing
What’s the best GE sealant for exterior siding and trim?
GE Supreme Silicone Window & Door is ideal. It’s Class 50 rated for joint movement, permanently waterproof, and won’t crack or shrink—even in full sun or freezing temps.
Can I apply silicone in humid conditions?
Yes—but the surface must be dry. Silicone cures by reacting to moisture in the air, but applying it to a damp surface can compromise adhesion. If rain is in the forecast, use a formula like GE Advanced Silicone, which is water-ready in 30 minutes.
Need the right GE Sealant for your summer prep? Find a store near you in the U.S. or Canada.