Note: This DIY article is provided as a general guide only and is not intended to take the place of product-specific installation procedures; always follow applicable manufacturers’ instructions. Depending on your home’s age and condition, location within the home, and other potential factors, repairs and/or upgrades or other services may be necessary prior to the beginning and/or completion of your project that may involve the services of a home improvement professional. This article does not include advice pertaining to local building codes and/or any related inspections.
Winter is tough on homes. But with the right sealants and a few checks, you can block drafts, limit moisture, and protect concrete and trim. This guide shows you how to protect your home in winter using DIY-friendly steps.
Always start with clean, dry surfaces. Even light sleet or damp air can slow curing and weaken the bond. Wait for dry, frost-free conditions so every seal holds through the freeze-thaw cycle.
Why winter is hard on homes (and how to protect your home in winter)
Cold air finds any weak points and gaps in your house. When moisture from snow, sleet, or rain follows, it freezes, expands, and forces those gaps wider. Each thaw leaves the joint weaker than before. Salt from driveways and walkways makes the cycle worse by drawing in more moisture and eating at concrete edges.
The best way to protect your home in winter is to seal those paths before the deep freeze. A solid seal keeps moisture from soaking in and helps stabilize your home’s indoor temperature. It also prevents trim, siding, and concrete from splitting as conditions swing.
Even sealed surfaces move as temperatures rise and fall. A flexible sealant can absorb that motion and stay intact through winter. Look for products marked by movement class on the label. A higher number means the joint can stretch or compress more without breaking. For instance, Class 50 can handle about half its width in either direction when installed correctly.
Seal now to avoid cracking and keep steadier comfort.
Check where winter gets in: a fast home audit
Walk your home’s perimeter and note every place wind, water, or salt can reach. Start where the weather hits hardest: corners, steps, doors, and windows.
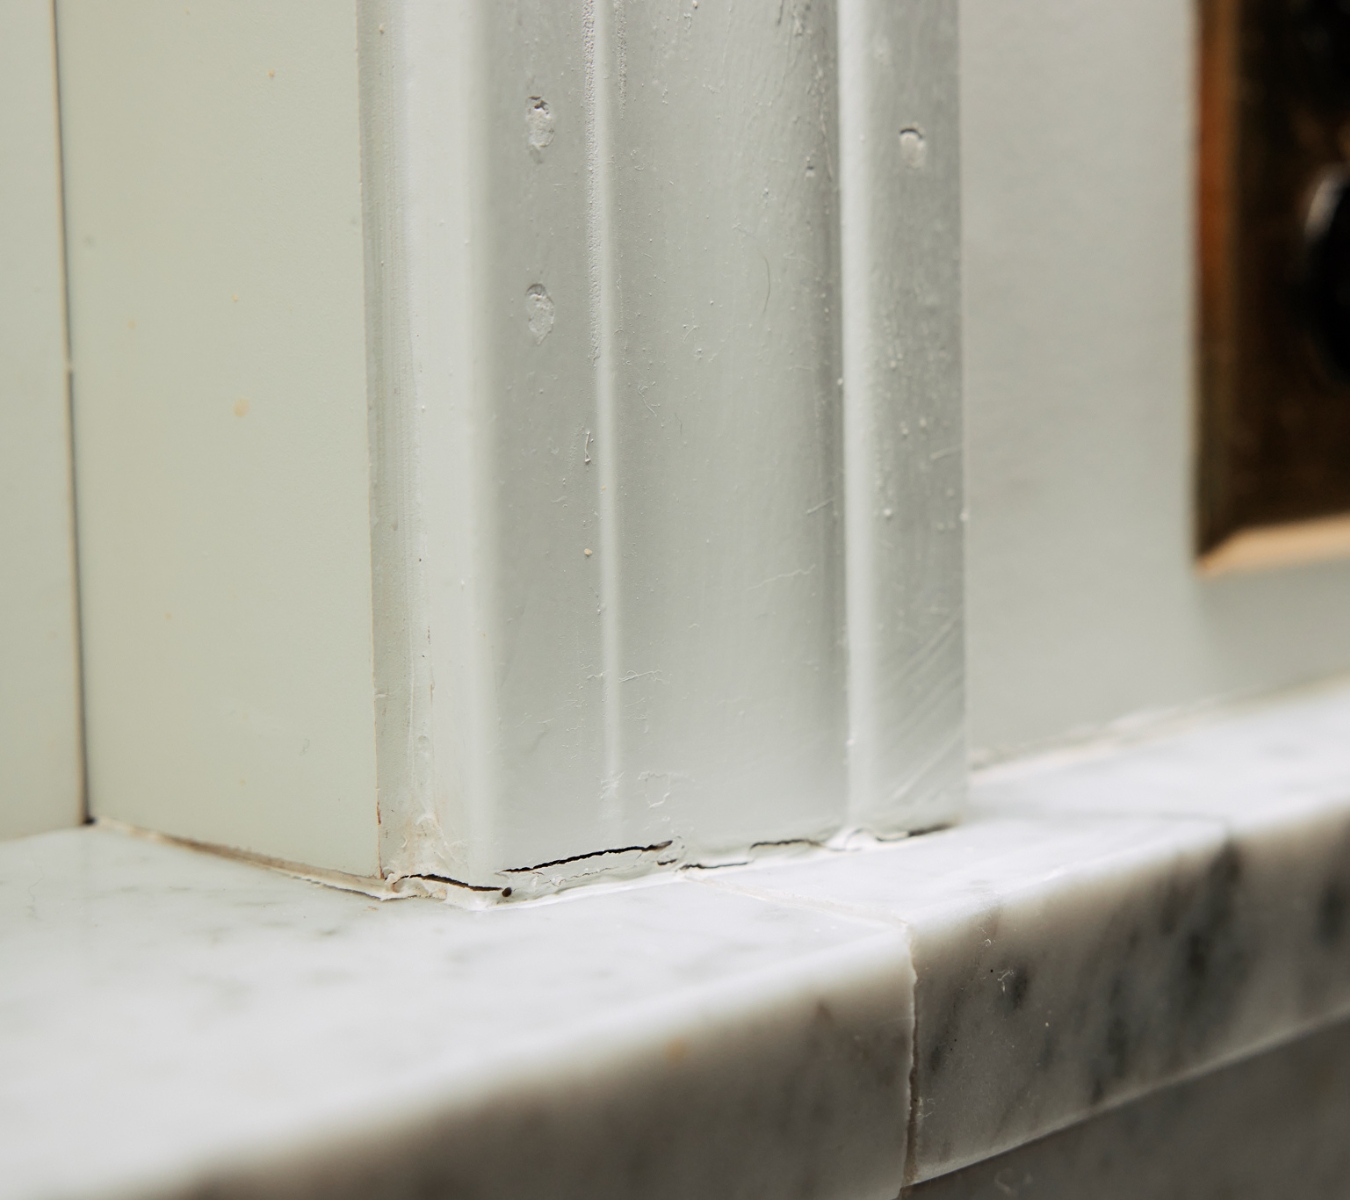
Windows and doors
Look for thin gaps along casings, sills, and trim. Cracked or missing sealant often shows as dark lines or faint drafts. Mark these spots for resealing once the surface is clean and dry.
Steps, walkways, and expansion joints
Check concrete edges for cracks or open joints. These let salty meltwater soak in and widen over time. Mark open joints for resealing later.
Foundations and penetrations
Inspect hose bibs, vents, and utility entries along the rim or sill. Small gaps invite air, and large voids may need foam later.
Seal windows and doors
Cold air and moisture often start at the edges. The best way to protect your home in winter around windows and doors is to seal early, choose the right chemistry, and prep on a clean, dry surface.
Pick your path: paintable or non-paintable sealant
Consider two things when choosing a sealant:
- Do you plan to paint the surface?
- How much movement will the joint face through winter?
This is where chemistry meets the finish. It’s central to how you protect your home in winter for lasting comfort.

Non-paintable weather exposure
For bare or factory-finished trim, use GE Advanced Silicone Window and Door for strong weather resistance. It’s a 100% silicone sealant rated Class 35 and applies above 32°F.
For large openings or high-movement areas like patio doors, picture windows, and sun-facing walls, step up to GE Supreme Silicone Window and Door. It’s also 100% silicone but rated Class 50, meaning it stretches farther as joints open and close through winter.
Paintable finish and fast return
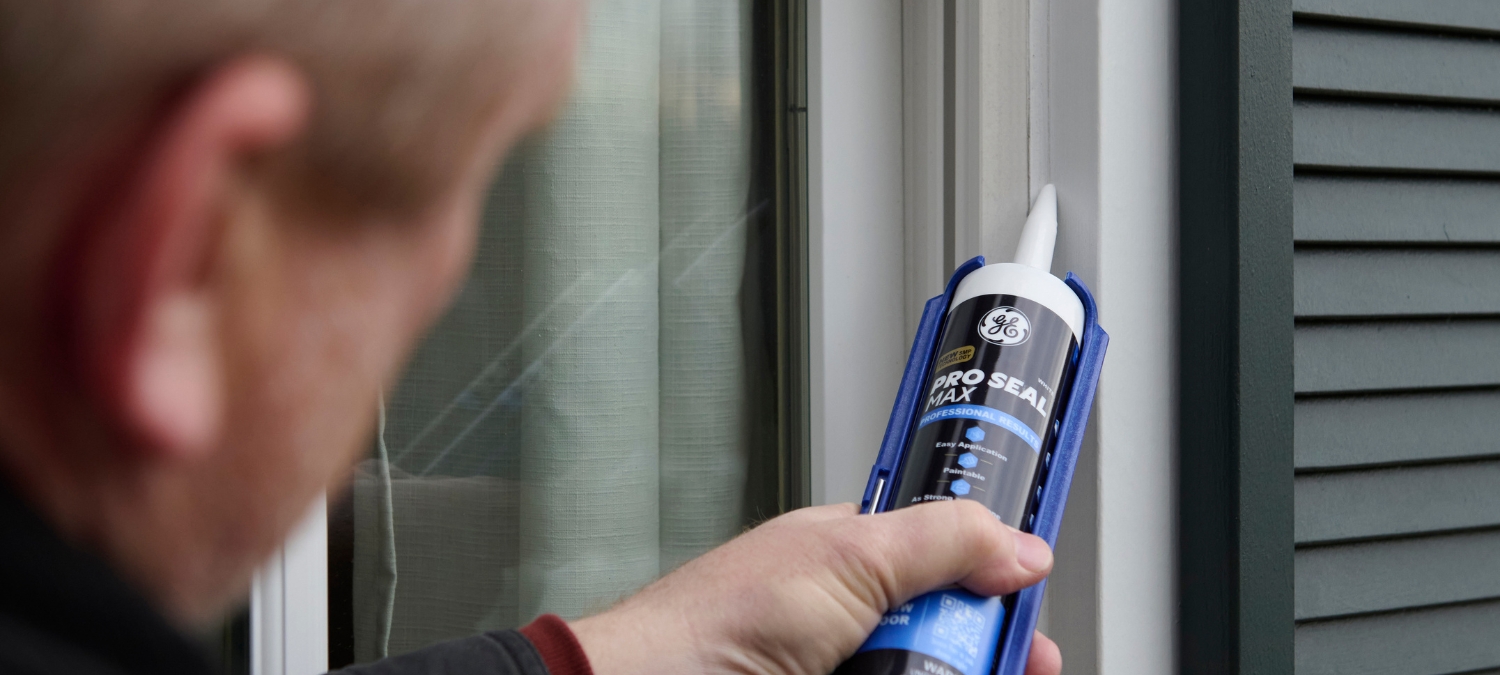
For painted exterior trim or mixed-material perimeters where you plan to paint the same day (or need to apply during cold snaps), use GE Pro Seal Max Window and Door. This hybrid handles Class 35 movement (white), applies from 0°F to 140°F, and is paintable in about 60 minutes under label conditions. It bridges moving joints cleanly and keeps your paint line tight through winter shifts.
Prep and apply: clean joints, set depth, and seal for movement
Start by removing all loose or cracked sealant, then clean and dry the joint so the new sealant can bond tightly.
For deep or wide gaps, press in a backer rod: a foam rope that keeps the sealant bonded to two sides so it can flex. Pick a size about 25% to 50% wider than the joint so it fits snugly.
Now, apply a steady bead, then tool it once for smooth contact.
Clean work here helps the sealant move with the surface instead of tearing away when temperatures shift.
Refresh weatherstrip and thresholds
Sealant works best to protect your home in winter when the rest of the system does its job.
Check the weatherstrip around doors and windows. If it’s brittle, flat, or missing sections, replace it.
Tighten or adjust thresholds so the door closes evenly without daylight showing underneath. This reduces air leaks and helps the sealant perimeter hold its line against winter drafts.
Keep concrete solid through salt and ice
Cold, salt, and thaw cycles wear down concrete quickly under winter stress.
Why salt accelerates concrete damage
Once salt and meltwater mix, they pull moisture deep into pores. As that trapped water freezes, it expands and chips edges.
Instead of heavy salt, shovel early and use sand for traction. Preventing brine from forming saves the surface you just sealed.
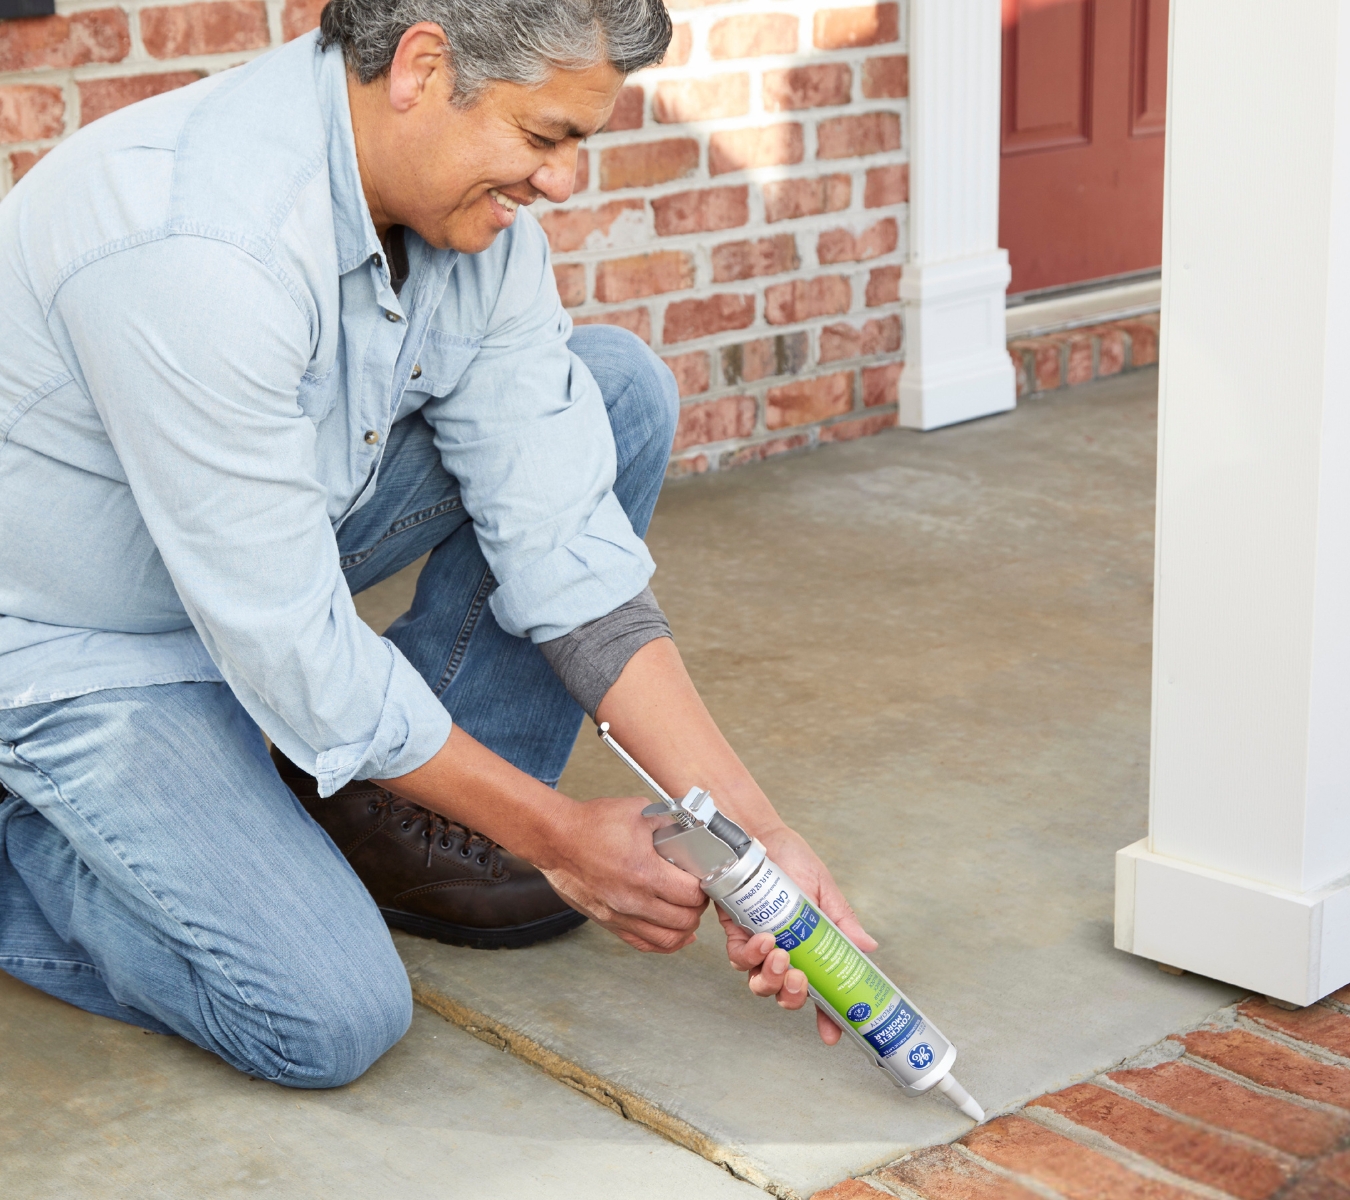
Prep right before you seal
Sweep off residue and loose material, then rinse off any salt film. Let the surface dry and stay frost-free before sealing. Good prep gives your bead a solid bond and prevents peeling when temperatures drop.
How to reseal joints that last
Use the same clean-and-seal basics you followed around windows above.
But use GE Concrete Silicone Sealant here. It bonds tightly to porous concrete and helps block water while staying flexible through freeze-thaw. Allow extra cure time in cold weather before resuming foot traffic.
Keep footing safe after storms
Inspect joints after thaws. Sweep sand and debris so water drains cleanly. A dry surface means safer steps and a longer-lasting seal.
Protect your home in winter by stopping hidden drafts in attics and rim joists
Warm air often slips out above ceilings and behind insulation. These gaps waste heat and can trigger ice dams when attic air warms the roof deck. Tightening them up is a core part of how to protect your home in winter, because insulation only works when air stays still.
Find the leaks
Before sealing, locate and mark where heat is escaping.
Stand in the attic on a cold day with the lights off. Look for daylight sneaking through gaps around can lights (recessed ceiling fixtures), wiring chases, and bath fan housings.
Check the rim joist where framing meets the sill plate. Air often leaks there, too. Feel for cool air or use a small strip of tissue to see if it moves. Mark each spot so you can seal in one run.
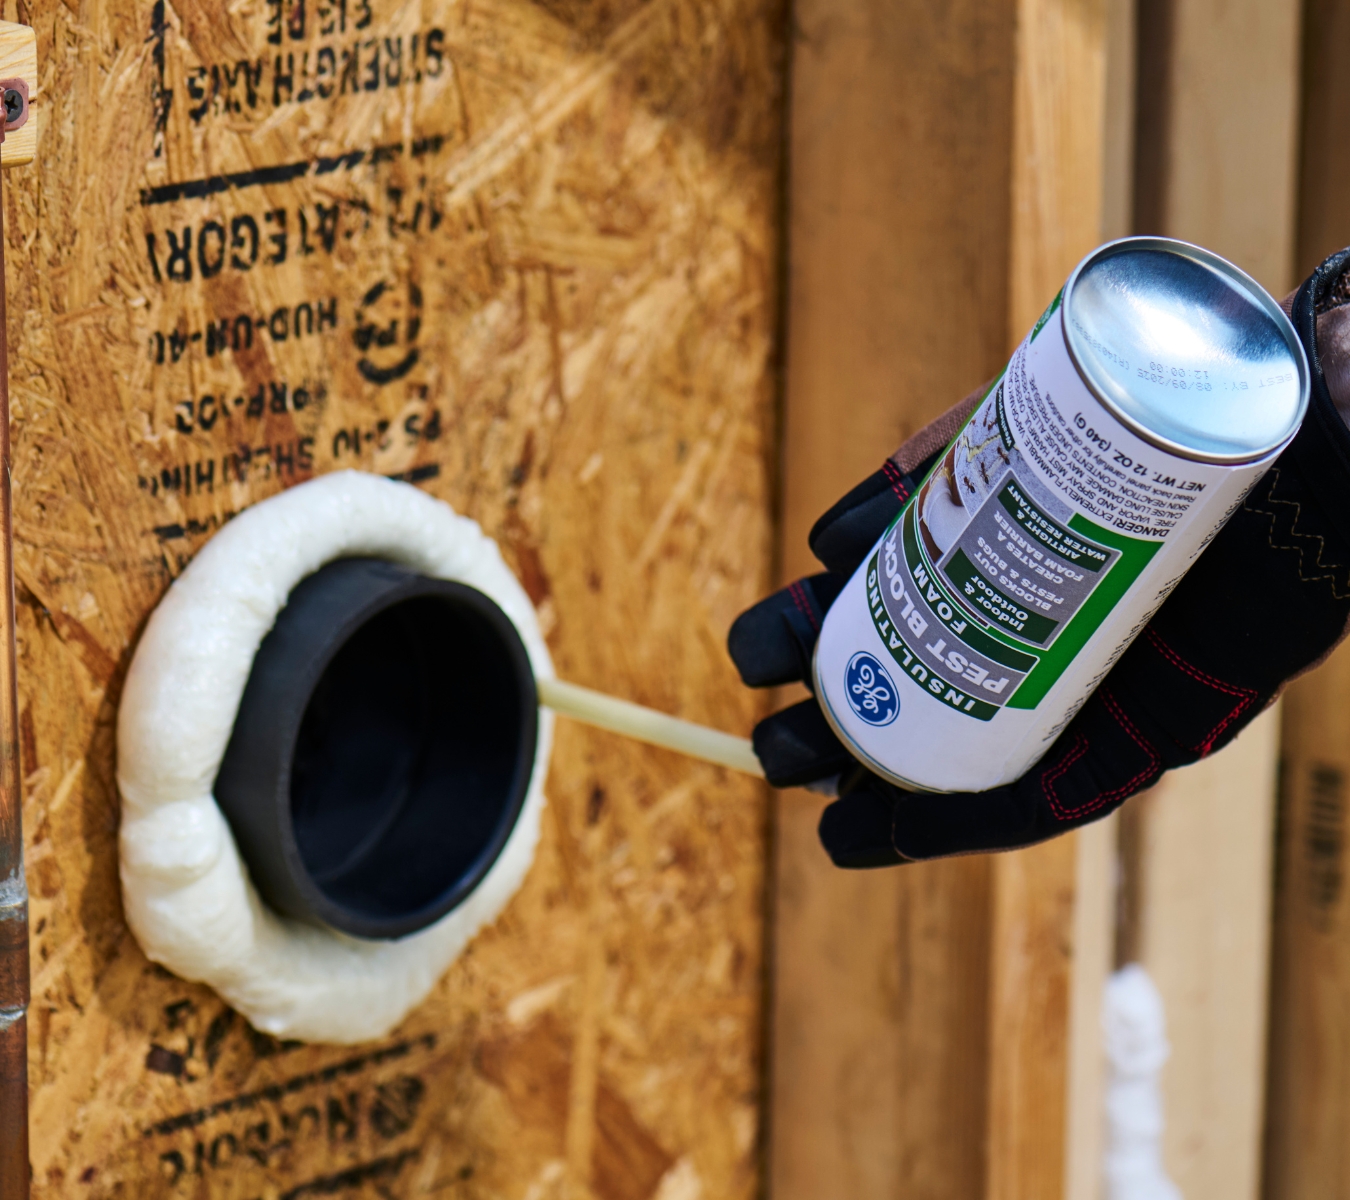
Seal rim joists and utility penetrations
Once the leaks are marked and the surfaces are dry, start sealing.
For tight seams at drywall, framing, or the rim and sill, run a thin bead of GE Pro Seal Max Window and Door. For larger gaps or irregular openings around ducts, vents, or wiring chases, use GE Pest Block Insulating Foam and ventilate while it cures.
Keep vents clear for balanced airflow
After sealing, confirm that the soffit and roof vents are open and unobstructed.
Balanced airflow keeps the attic cold and dry, helping prevent the ice-dam buildup that damages shingles and gutters.
Safeguard plumbing during deep freezes
Frozen pipes can burst with enough pressure to flood a room before you notice. One of the best ways to protect your home in winter is to keep plumbing warm, moving, and sealed from cold air.
Insulate and circulate
Wrap exposed lines in foam sleeves, especially where pipes run through crawl spaces or along exterior walls.
During extreme cold, let faucets drip slightly to keep water moving. Even a small flow relieves pressure before ice can form.
Keep heat where it counts
Open vanity and cabinet doors so warm air can reach the pipes inside.
Seal wall or floor gaps where lines pass through with the same care you’ve used elsewhere, as tight seams help prevent cold infiltration that leads to freezing.
Keep your space heaters clear of flammables and follow local safety guidance.
Every seal you make this season helps to protect your home in winter. Whether you’re tightening windows, sealing joints, or stopping hidden drafts, there’s a GE sealant or foam built for the job. Find them at a retailer near you in the U.S. or Canada.

