

Note: This DIY article is provided as a general guide only and is not intended to take the place of product-specific installation procedures; always follow applicable manufacturers’ instructions. Depending on your home’s age and condition, location within the home, and other potential factors, repairs and/or upgrades or other services may be necessary prior to the beginning and/or completion of your project that may involve the services of a home improvement professional. This article does not include advice pertaining to local building codes and/or any related inspections.
Weatherproofing is not just a winter task. Rain, heat, wind, and seasonal moisture all wear on the same exterior joints over time, and small gaps are usually where the trouble starts. This guide covers practical weatherproofing techniques, beginner-friendly weatherproofing tips, and the basic steps behind how to weatherproof your home with a better sealing strategy.
Use a weatherproofing sealant where joints are exposed and need a finished, flexible bead along frames, trim, or other visible exterior transitions. Alternatively, insulating foam belongs in deeper, concealed gaps where air leakage is the bigger issue and aesthetics are not the top priority.
Why weatherproofing techniques should be in every homeowner’s wheelhouse
Weatherproofing belongs on every homeowner’s maintenance list because exterior joints and gaps take stress in every season, not just during winter. Heat and cold cause materials to expand and contract, which can open up weak seams over time. Once those openings appear, moisture can get in and lead to rot, mold, and gradual material breakdown.
Air leaks create a different set of problems by reducing comfort and forcing heating and cooling systems to work harder. Most of the time, larger repairs do not start with dramatic damage. They start at the small weak spots that were left open too long. These are the best places to start learning how to weatherproof your home.
Where homes usually need weatherproofing tips first
A beginner-friendly inspection should start with the places that most often let in air and water. Windows and doors are usually first because their frames, trim, and surrounding joints are exposed to constant movement and weather.
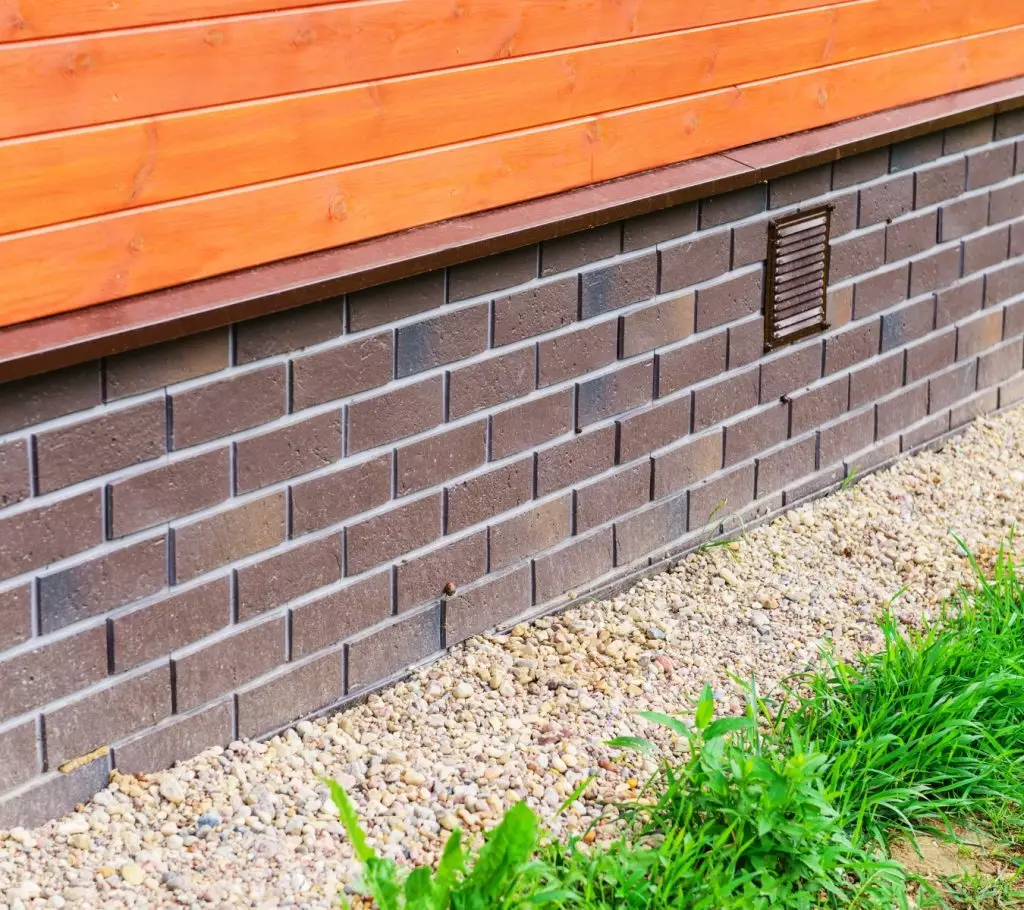
Siding transitions and trim joints also deserve close attention, especially where older sealant has cracked or pulled away. Foundation cracks can let moisture in low on the structure, while attic and basement penetrations often leak conditioned air. Other common trouble spots include:
- Vents
- Flashing details
- Mixed-material openings
For most DIY weatherproofing work, the goal is not to inspect every inch of the house in one go. It’s to identify the exterior weak spots most likely to cause repeat problems and start there.
Weatherproofing sealant vs. insulating foam: use each where it belongs
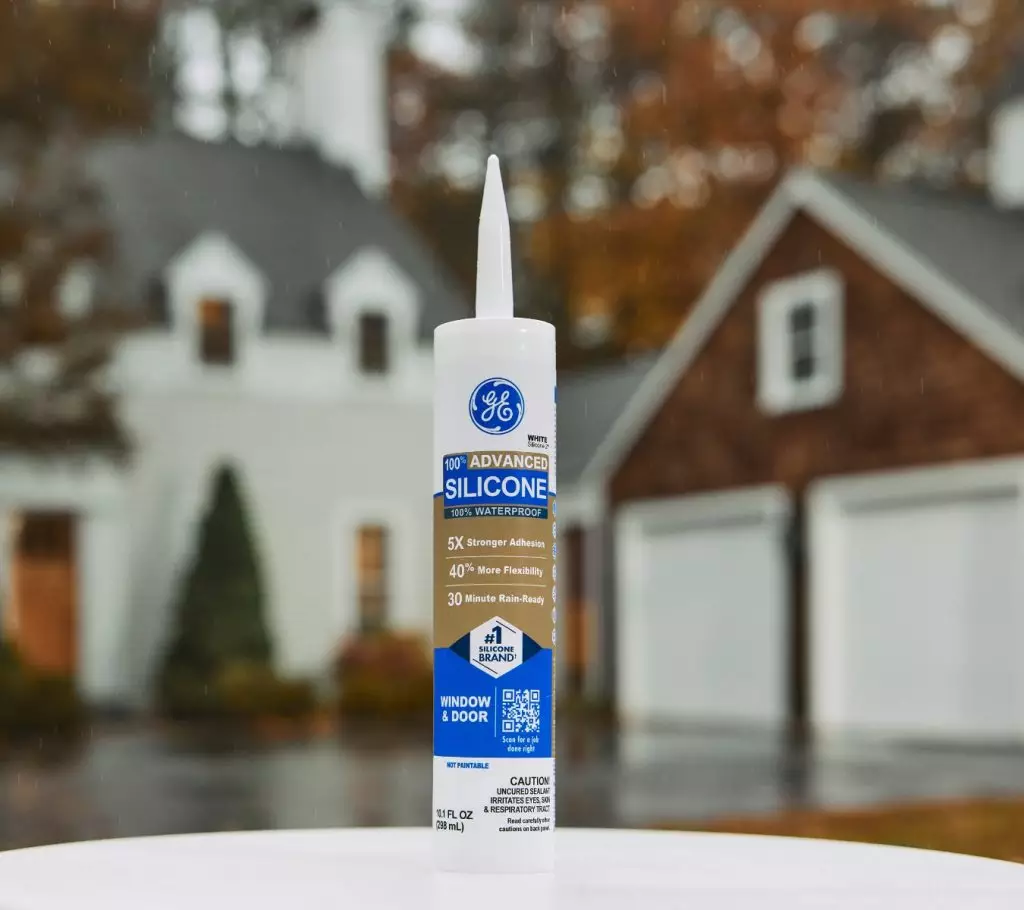
Use a weatherproofing sealant where joints are exposed and need a finished, flexible bead along frames, trim, or other visible exterior transitions. For those kinds of joints, GE Advanced Silicone Window & Door is a strong choice around exterior frames and trim because it is designed for weather-exposed sealing.
Insulating foam belongs in deeper, concealed gaps where air leakage is the bigger issue and aesthetics are not the top priority. That usually means cavities around window and door frames, penetrations, or other hidden openings that need more fill than a sealant bead can provide. For those situations, GE Window & Door Insulating Foam is the right fit around frames, while GE Big Gaps & Cracks Insulating Foam works better where void spaces are larger and more irregular.
Step-by-step: how to weatherproof your home at the most common leak points
Start by inspecting the exterior carefully and identifying the weak points most likely to leak air or take on moisture. Once you know where the problem areas are, remove loose debris, failed sealant, and any old material that no longer has a reliable bond. Use GE’s Sealant Remover Tool or a putty knife, especially around trim joints and other narrow exterior seams.
Afterward, clean and dry the surface fully. Then choose a foam or sealant based on the type of gaps you are encountering. Use foam for deeper concealed openings and sealant for exposed joints that need a finished exterior line. Apply the product with a controlled bead size or fill rate so you are sealing the joint cleanly instead of overloading it. For exposed joints, GE’s Sealant Smoothing Tool can help tool a cleaner bead. Once the application is complete, leave the material alone and give it enough time to cure before exposing the area to weather or moisture.
Easy weatherproofing tips for windows, doors, and siding
Maintaining a few simple habits can make DIY weatherproofing more effective, including:
- Checking old caulk before it fails, so you are not waiting for leaks or visible damage before acting.
- Not sealing over dust, loose debris, or moisture, since that weakens adhesion from the start.
- Keeping weep paths and other drainage points open so water can escape where the assembly was designed to shed it.
- Avoiding overfilling larger gaps and using foam when the opening needs more than a heavy bead of sealant.
Most of all, focus on the continuity of the seal. A clean, complete line usually performs better than extra product applied without control.
Common weatherproofing mistakes DIYers can avoid
One common mistake is using acrylic where a more durable exterior product is needed. Another is treating every gap the same way, even though some require foam and others sealant. DIYers also run into trouble by applying too much sealant, skipping prep, or sealing drainage areas shut.
The benefits of better weatherproofing
Better weatherproofing helps in ways that show up both immediately and over time. Sealed joints and gaps reduce drafts, which can make the home feel more comfortable in both hot and cold weather. They also help limit water intrusion before it reaches trim, siding, and other surrounding materials that are harder to repair once damaged.
When air leaks and moisture entry are reduced, heating and cooling systems do not have to work as hard to compensate. Over time, that can help extend the life of exterior materials and cut down on repeat repairs at the same trouble spots.
To get GE Sealants’ products for your home improvement project, visit these fine retailers in the U.S. or Canada.


