Note: This DIY article is provided as a general guide only and is not intended to take the place of product-specific installation procedures; always follow applicable manufacturers’ instructions. Depending on your home’s age and condition, location within the home, and other potential factors, repairs and/or upgrades or other services may be necessary prior to the beginning and/or completion of your project that may involve the services of a home improvement professional. This article does not include advice pertaining to local building codes and/or any related inspections.
Can you really put new silicone sealant over old sealant? The short answer: you can, but you shouldn’t. Here’s why removal is your best bet for a watertight, long-lasting seal.
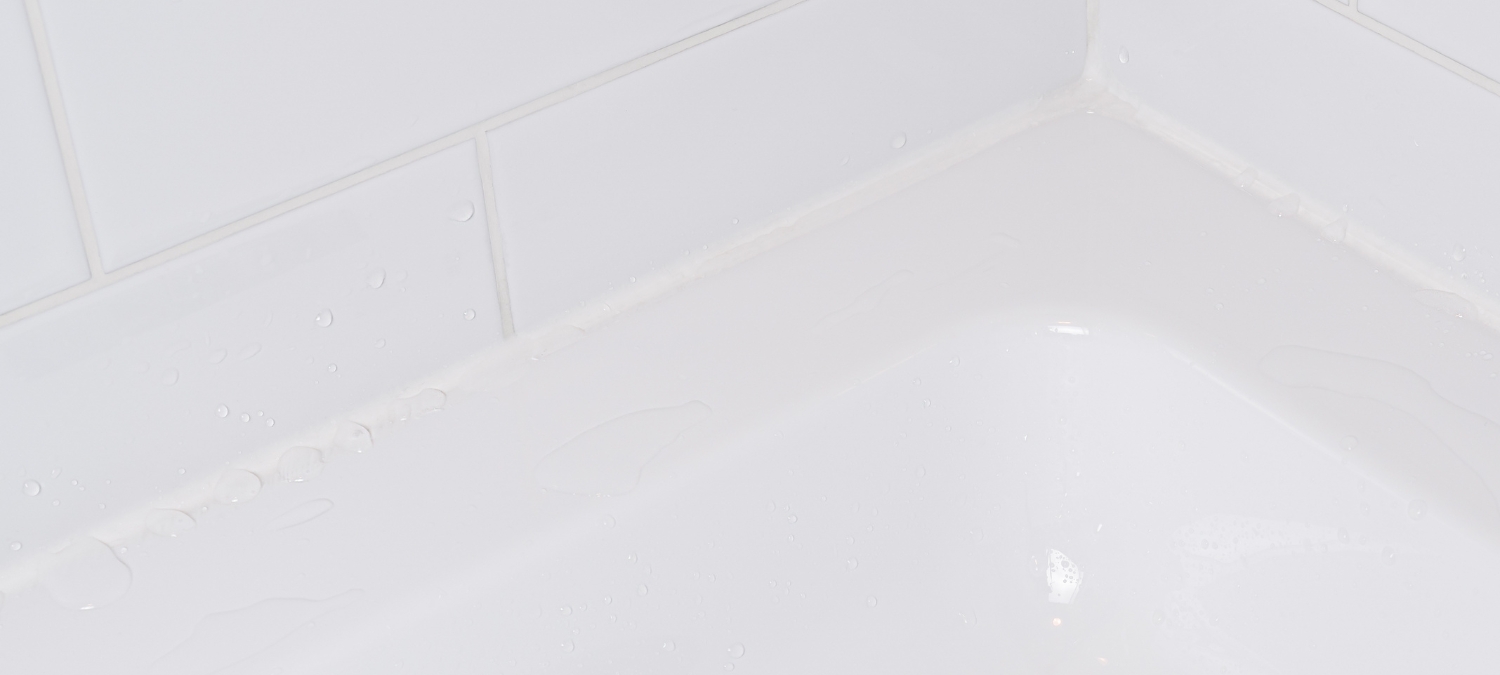
A lasting seal starts with a clean slate: remove the old bead, clean with alcohol, and let it dry before applying your GE silicone sealant.
Why putting silicone over sealant rarely works
Silicone sealant is designed to grip the surface of tile, glass, metal, or acrylic. Once the sealant cures, it forms a skin. When you apply silicone over old sealant, you’re bonding to that skin, not the actual surface.
That layer is often contaminated. Soap residue, oils, mildew spores, and even cleaning chemicals seep into the edges of old caulk. Those contaminants sit between the new bead and the substrate, creating weak points where water can sneak through.
In wet or high-movement areas in your home, like shower corners, tubs, or sinks, those spots flex thousands of times a year. This means if the base layer isn’t anchored to the surface, the whole seal can lift long before its rated life.
Not removing the old sealant also traps mildew pockets. Brittle edges and uneven profiles force your new bead to follow the same flawed line. Even if it looks intact, micro-separation along the edges lets moisture in from day one. Additionally, scraping alone leaves a thin smear that feels clean but isn’t. A quick wipe with isopropyl alcohol is what provides a bond-ready surface for new silicone sealant.
How to remove old sealant before resealing
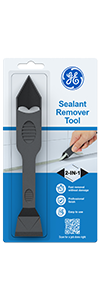
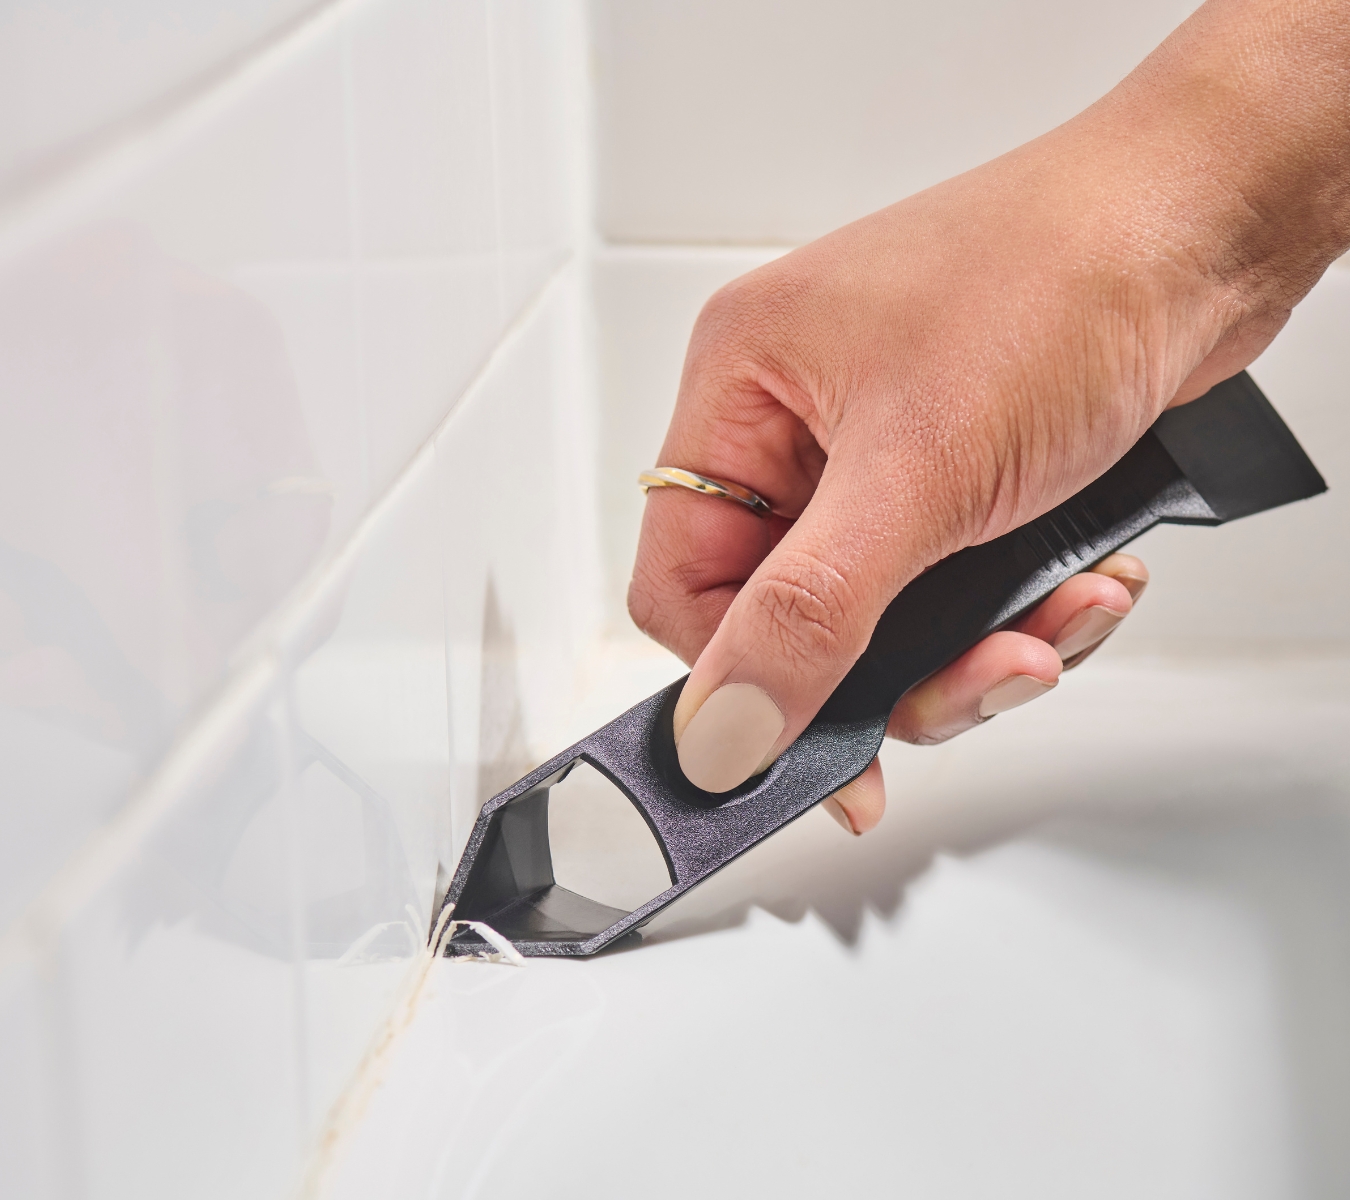
- Cut the bead free. Use the GE Sealant Remover Tool to carefully remove the sealant without scratching the surrounding surface. Work the tip under the edge and slide along the joint, lifting the old sealant in one continuous strip where possible.
- Remove the residue. Cured sealant leaves a thin smear that new sealant won’t bond to. So, wipe the joint with a lint-free cloth dampened with isopropyl alcohol. This dissolves oils and picks up fragments.
- Dry completely. Any moisture left in the joint can interfere with adhesion.
- Use a backer rod for deep gaps. If the gap is over 1/2 inch, insert a backer rod to control the bead depth and avoid three-sided adhesion, reducing stress on the joint and extending the life of your silicone sealant.
Choosing the right silicone sealant for a lasting finish
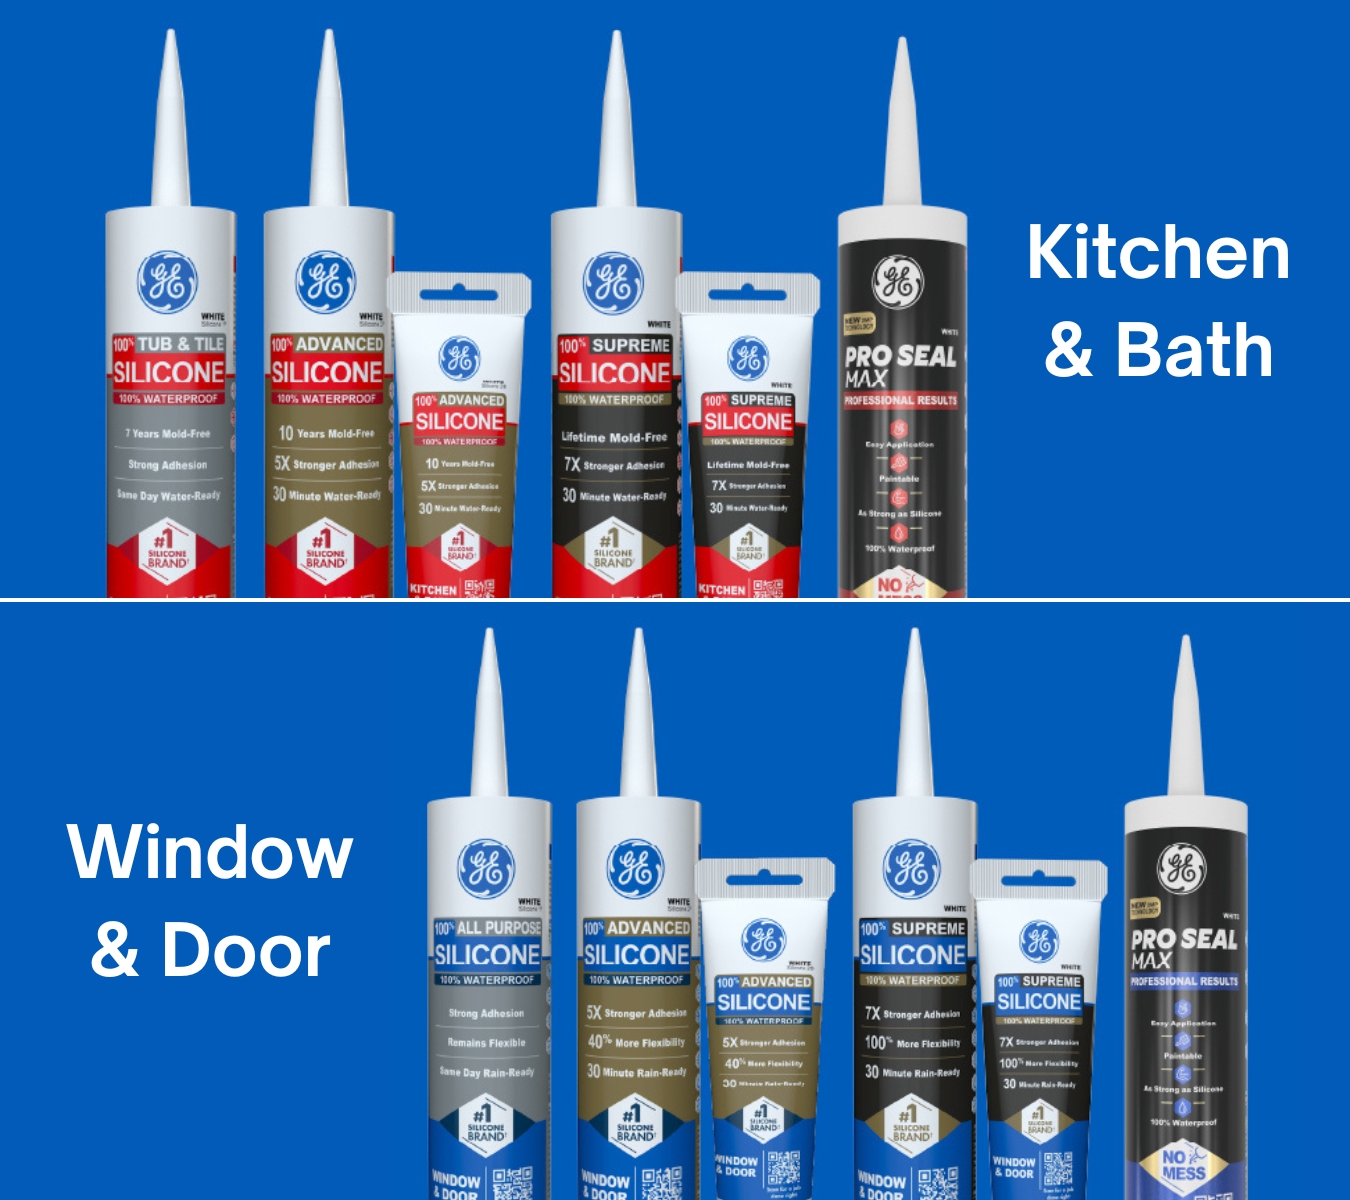
Once the joint is clean and ready, the right product will decide how long that seal lasts.
In wet areas like showers, tubs, and sinks, 100% silicone sealant delivers maximum waterproofing, flexibility, and mold resistance.
- Good: Tub & Tile Silicone: Delivers a 100% silicone seal for tubs, sinks, and showers. It’s reliable for fixture joints and is water-ready the same day.
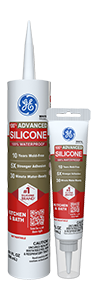
- Better: Advanced Silicone Kitchen & Bath: Provides a durable, waterproof seal, making it excellent for standard bathroom and kitchen joints.
- Best: Supreme Silicone Kitchen & Bath: Higher flexibility and adhesion for joints that see more movement, like shower corners or deep tub surrounds.
For windows, doors, and exterior joints, match the environment to the right formulation:
- Advanced Silicone Window & Door: 100% silicone, weatherproof, flexible for standard window, siding, and trim joints.
- Supreme Silicone Window & Door: More flexibility and adhesion for joints exposed to seasonal movement or heavy weather.
- Pro Seal Max Window & Door: Paintable hybrid formula that bonds to damp wood or masonry, and rain-ready in as little as 30 minutes.
Remember to always match the product to the environment: moisture-heavy areas call for 100% silicone, while painted finishes or multi-surface adhesion call for a hybrid formula.
The quick way to reseal a joint
Once you have prepared the joint and chosen the right sealant, follow these steps for a durable finish.
- Cut the nozzle for control. Slice the tip at a 45-degree angle, opening just wide enough to match the joint width. A smaller opening gives you better bead control and reduces cleanup.
- Apply in one steady pass. Load the cartridge into the gun, place the tip at the start point, and apply even pressure to lay a continuous bead. Keep the tip in contact with both surfaces to ensure full adhesion.
- Tool immediately for a watertight seal. Use the GE Sealant Smoothing Tool to shape and press the bead into the joint. Make one smooth pass, wiping the tool (not the bead) between strokes to avoid dragging.
- Respect cure times before use. Many GE silicone sealants are water-ready in 30 minutes for light splashes, but allow 24 hours before heavy use or scrubbing. Hybrids like Pro Seal Max can handle incidental contact sooner, but still need a full cure for long-term performance.
FAQ
Can I put new silicone over old sealant?
You can, but it rarely holds. Cured silicone has a skin that fresh silicone sealant struggles to bond to. Contaminants trapped in the old bead can also weaken adhesion. Removing the old material is the only way to ensure a lasting seal.
How do I know if I need to remove old sealant?
If you see mildew staining, edge lifting, cracking, or a bead that feels gummy, it’s time to remove the old sealant. Even if it looks intact, micro-separation at the edges can let water through.
How long before I can use the shower after resealing?
Most GE silicone sealants are water-ready in 30 minutes for light splashes, but wait 24 hours before full use or scrubbing. Hybrids like Pro Seal Max handle incidental contact sooner but still need a full cure for best performance.
Can I paint over silicone sealant?
No, 100% silicone isn’t paintable. If you need a paintable seal, choose a hybrid like GE Pro Seal Max, which bonds to multiple surfaces and accepts paint once cured.
What’s the fastest way to remove old silicone?
Use the GE Sealant Remover Tool to lift the bead without scratching surfaces. Follow with a wipe-down using isopropyl alcohol to remove residue before resealing.
A flawless seal starts with a clean substrate. Skipping the step to remove old sealant may feel faster, but it locks in the flaws that caused the joint to fail in the first place. Fresh silicone sealant performs at its best only when it bonds directly to the surface it’s meant to protect.
Ready to take the next step? Find GE sealants and tools for removing old sealants at a retailer near you in the U.S. or Canada.

