Callbacks kill profit. This guide delivers field‑tested sealing techniques that eliminate them. From surface prep discipline to choosing the right silicone sealant for the job, you’ll learn how to seal once, finish strong, and never see that jobsite again.
Sealing techniques to stop cracks before they creep back
When a joint shifts beyond what the sealant was built for, the bead splits. Low-movement acrylics don’t stand a chance against siding that swells in July, windows that flex with every cold snap, or a tub surround that shifts under daily use.
And if the joint design is wrong, you’ve stacked the deck against yourself. Let a bead grab on three sides instead of two, and every expansion cycle will tear it apart. Skimp on bead size, and it simply can’t recover after stretching. Those are the cracks that show up in your call log a few months later.
Lock in durability with proven sealing techniques
- Measure and match: Check joint width, factor expected movement, and pick a sealant rated for ±25% or ±50% movement.
- Set the depth right: Drop in a backer rod to hit the 2:1 width-to-depth ratio and force two-point adhesion.
- Fill it in one go: Keep the gun steady, angle consistent, and bead full from end to end.
- Tool without delay: Compact and shape the bead before skin-over so you get 100% surface contact.
GE product fit
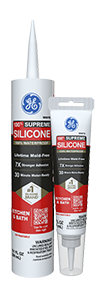
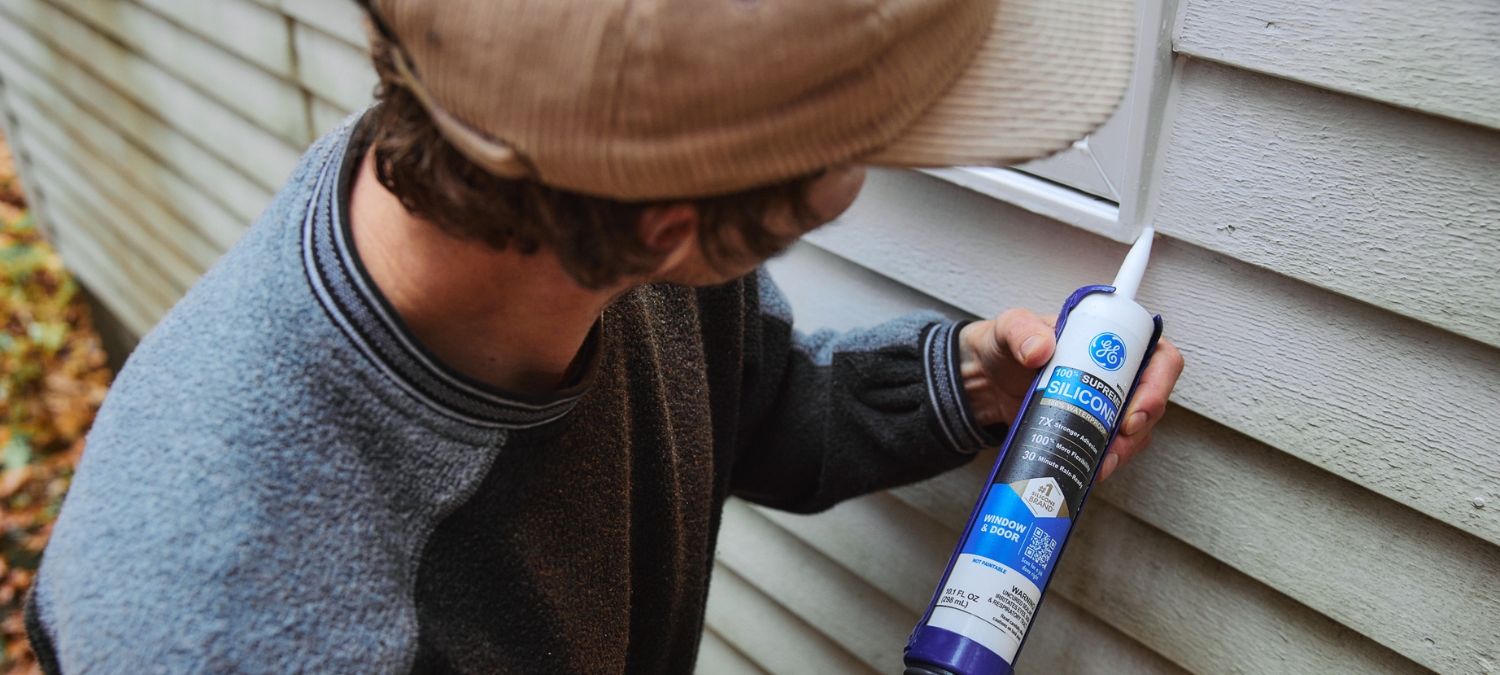
Long-run, high-movement joints demand a silicone sealant that flexes with them and bounces back without tearing. For example, GE Supreme Silicone Kitchen & Bath Sealant handles ±50% joint movement, shrugs off UV and weather, and cures without corroding sensitive metals.
When you’re applying silicone sealant with that much flex in reserve, the bead rides out season after season of expansion and contraction, without your phone ringing for a callback.
Most sealant failures trace back to poor surface prep or mismatched product—and both are preventable. Match your sealing techniques to the joint and use a GE silicone sealant designed for those conditions to stop callbacks before they start.
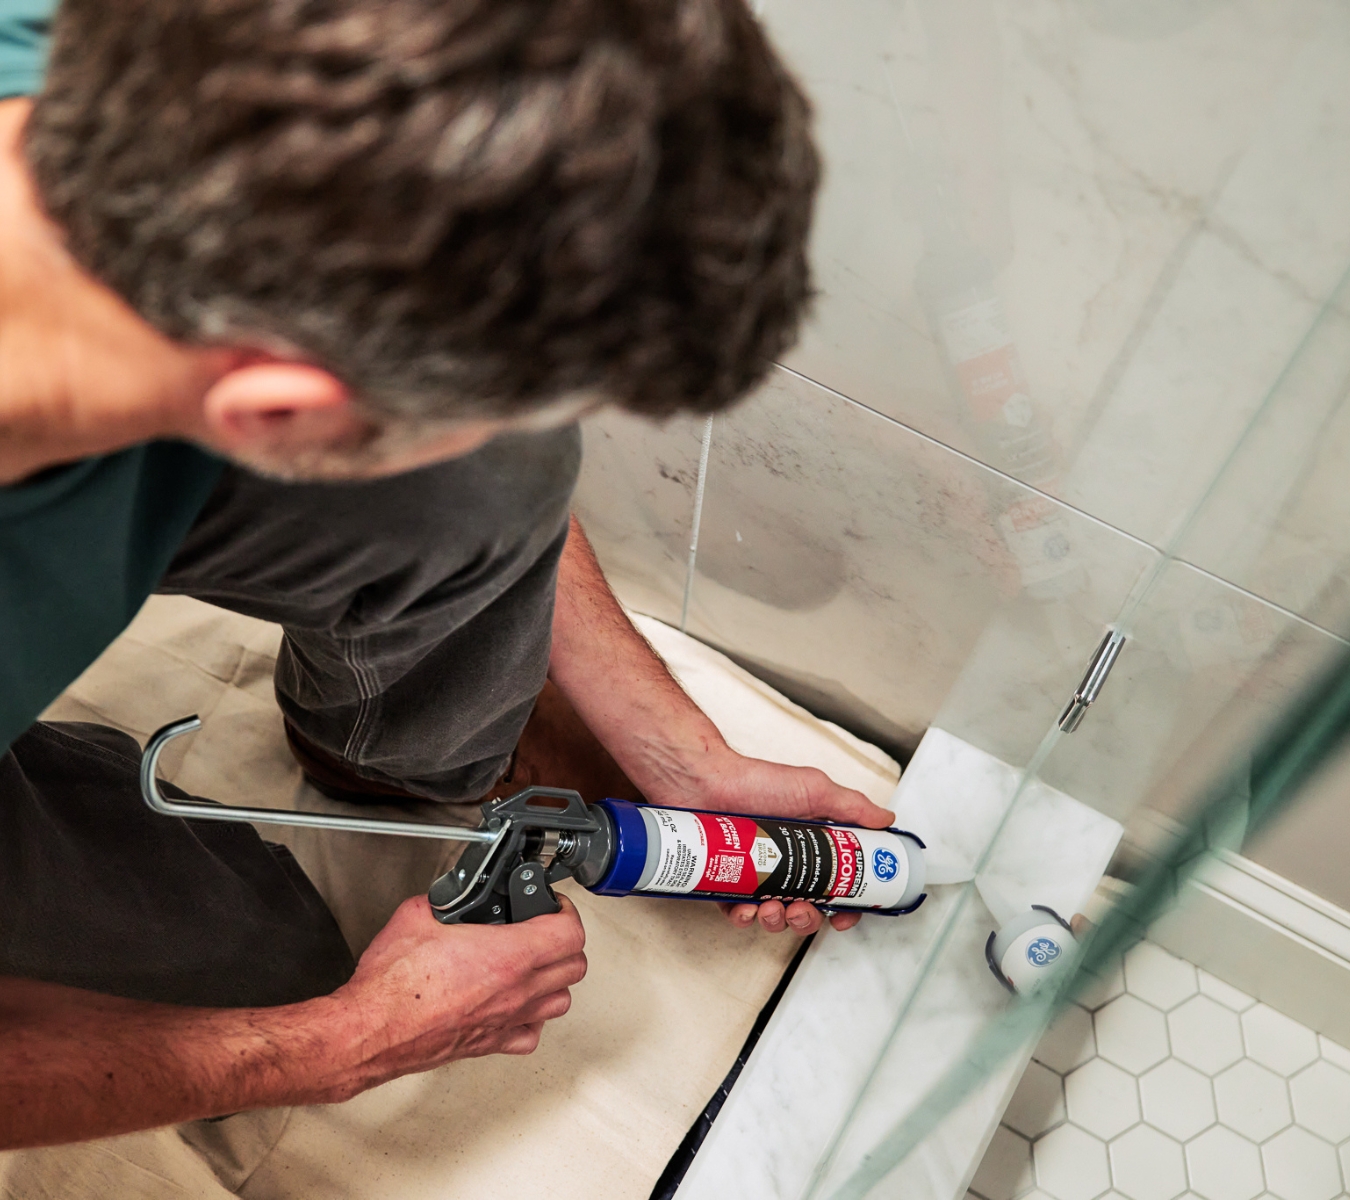
Applying silicone sealant so every bead sticks and stays
When a bead pulls away from one side of the joint, nine times out of 10, the surface wasn’t ready to bond. Dust, soap film, release oils, even a thin layer of morning dew—any of them can block adhesion. And once that bond is compromised, the bead has already failed.
Environmental conditions can stack the odds against you. Applying outside the manufacturer’s recommended temperature range slows cure and weakens early bond strength. Skipping a primer when it’s called for on a tricky substrate also leaves the sealant with nothing solid to grab.
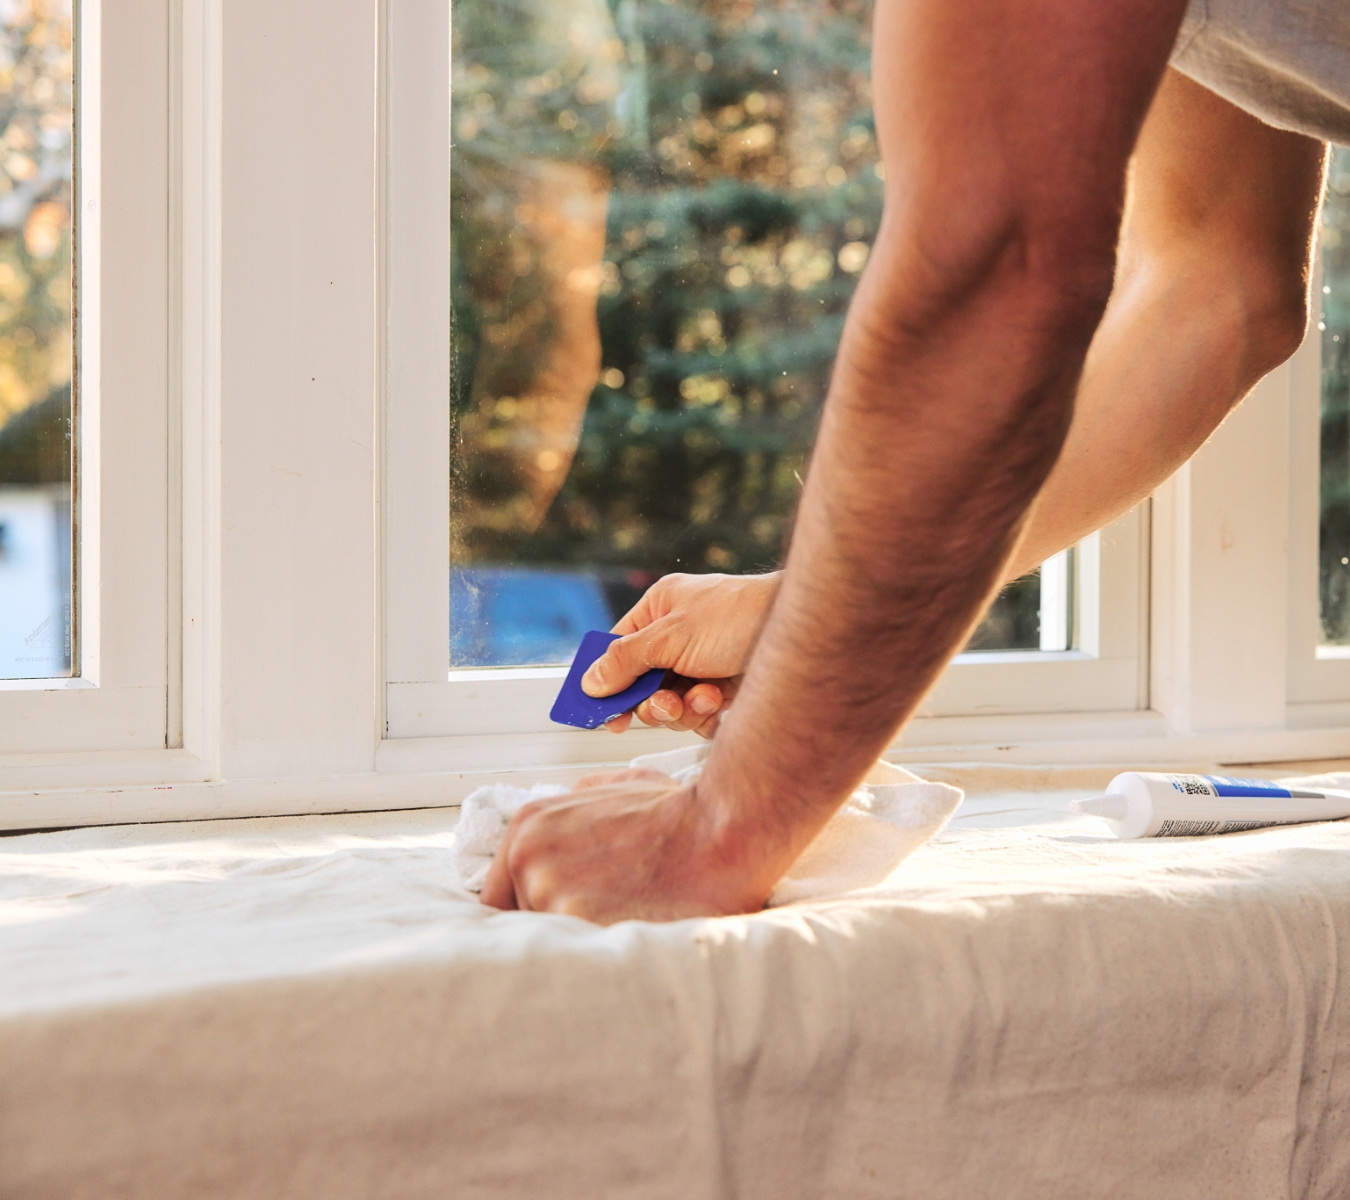
Get adhesion right the first time when applying silicone sealant
- Strip the joint clean: Remove every trace of old sealant and residue before you start.
- Wipe with isopropyl alcohol: Clear away dust and invisible contaminants that will block bonding.
- Check the conditions: Follow the temperature and humidity guidance in the product guide—many silicone sealants work well below acrylic thresholds.
- Check primer requirements: Most GE silicones and hybrids don’t need primer, but specialty substrates may need one. Confirm before you skip.
GE product fit
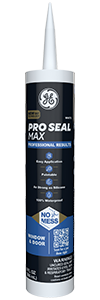
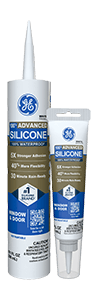
When you need a paintable, high-performance sealant that bonds to damp substrates and is ready for paint in just 60 minutes, go with GE Pro Seal Max Window & Door. For a 100% silicone sealant option that offers strong adhesion, UV/weather resistance, and flexibility for dynamic joints, choose GE Advanced Silicone Window & Door. On static joints where paintability matters more than maximum movement, GE Seal & Fill Multipurpose Window & Door Caulk (a siliconized acrylic) covers the need.
Mold-proof sealing techniques for lasting kitchen and bath performance
In wet zones, mold isn’t just on the surface. It’s feeding off moisture trapped in or behind the bead. And the fastest way to that problem is using the wrong sealant chemistry for a joint that’s under constant water exposure.
Mold control in these wet areas starts with sealing techniques that deliver a true waterproof joint that stops water from tracking behind the bead, where it can feed growth. Ventilation gaps and high humidity only accelerate the cycle. If the bead isn’t fully bonded, or if the sealant lacks integrated mold protection, spores will find a way in. In kitchens and baths, that’s a callback waiting to happen.
Seal out moisture and starve the mold
- Go 100% waterproof in constant-wet zones: Pure silicone sealant delivers permanent waterproofing where acrylics break down.
- Choose lifetime mold protection: Check the GE product label—some carry a lifetime mold-free guarantee when installed as directed.
- Document and flag residual humidity: If the space still runs 60% RH or higher after install, note it in your close-out report and recommend the owner address ventilation before occupancy. That protects your warranty and the seal’s service life.
- Tool for a watertight seal: When applying silicone sealant, compact and smooth the bead to close micro-gaps where water could sit and feed growth.
GE product fit
For kitchens, baths, and other wet-area installs where you don’t need to paint, GE Supreme Silicone Kitchen & Bath locks out water and carries a lifetime mold-free guarantee, staying watertight year after year in showers, tubs, and backsplashes.
If you need paintability, GE Pro Seal Max Kitchen & Bath gives you a hybrid formula with strong adhesion, integrated mold protection, and paint-ready performance in 60 minutes—ideal for wet-area trim and transitions.
For a more economical pure-silicone option, GE Advanced Silicone Kitchen & Bath delivers waterproofing and mold resistance that outlasts acrylic-based caulks in constant-wet conditions.
Silicone sealant curing techniques for any weather
A perfect bead still fails if it doesn’t cure right. Apply in heavy rain before skin-over and you’ll wash it out. Lay it down in cold, damp air without checking the cure window, and it can skin unevenly, trapping moisture, weakening adhesion, or slowing bond strength for days.
And painting too early? That locks uncured material under a coat that can craze, bubble, or peel as the sealant tries to finish curing underneath.
Keep the cure on schedule
Integrating cure-time planning into your sealing techniques ensures the bead reaches full strength before it faces weather or finish work.
- Plan to the product’s cure window: When applying silicone sealant in borderline conditions, time your bead to the product’s listed skin-over and full-cure stages. Build your job sequence to match.
- Track the weather, hour by hour: Rain before skin-over will undo your work. Likewise, high humidity and low temperatures shift cure speed depending on the sealant chemistry.
- Match the product to the conditions: Some GE silicone sealants will still cure in temps that shut down acrylics, but always confirm your product’s range before you load the gun.
- Delay coatings until cure allows: Even hybrids that can take paint the same day need the right cure start, so confirm before you commit to finish work.
GE product fit
For fast-turn jobs where weather windows are tight, GE Pro Seal Max supports same-day paint schedules when applied within its ideal cure range, and bonds even on damp surfaces.
When you need a 100% silicone that can beat changing skies, GE Supreme Silicone skins in as little as 30 minutes, letting you get ahead of incoming weather without compromising cure integrity.
For reliable cure in standard site conditions, GE Advanced Silicone offers predictable skin-over and full-cure performance with long-term flexibility.
The difference between a callback and a clean finish comes down to two things: proven sealing techniques and the right product. Find GE products at a retailer near you in the U.S. or Canada.