
Note: This DIY article is provided as a general guide only and is not intended to take the place of product-specific installation procedures; always follow applicable manufacturers’ instructions. Depending on your home’s age and condition, location within the home, and other potential factors, repairs and/or upgrades or other services may be necessary prior to the beginning and/or completion of your project that may involve the services of a home improvement professional. This article does not include advice pertaining to local building codes and/or any related inspections.
Sealing a backsplash or tub edge seems simple, until the bead peels, mold creeps in, or your paint won’t stick. The culprit usually isn’t the sealant. It’s how it’s applied. We’ll walk through the top silicone sealant mistakes DIYers make and how to avoid them using tested techniques, smart timing, and the right GE products. Whether you’re tackling your first gap or reworking a failed joint, this beginner caulking guide gives you the know-how to get it right.
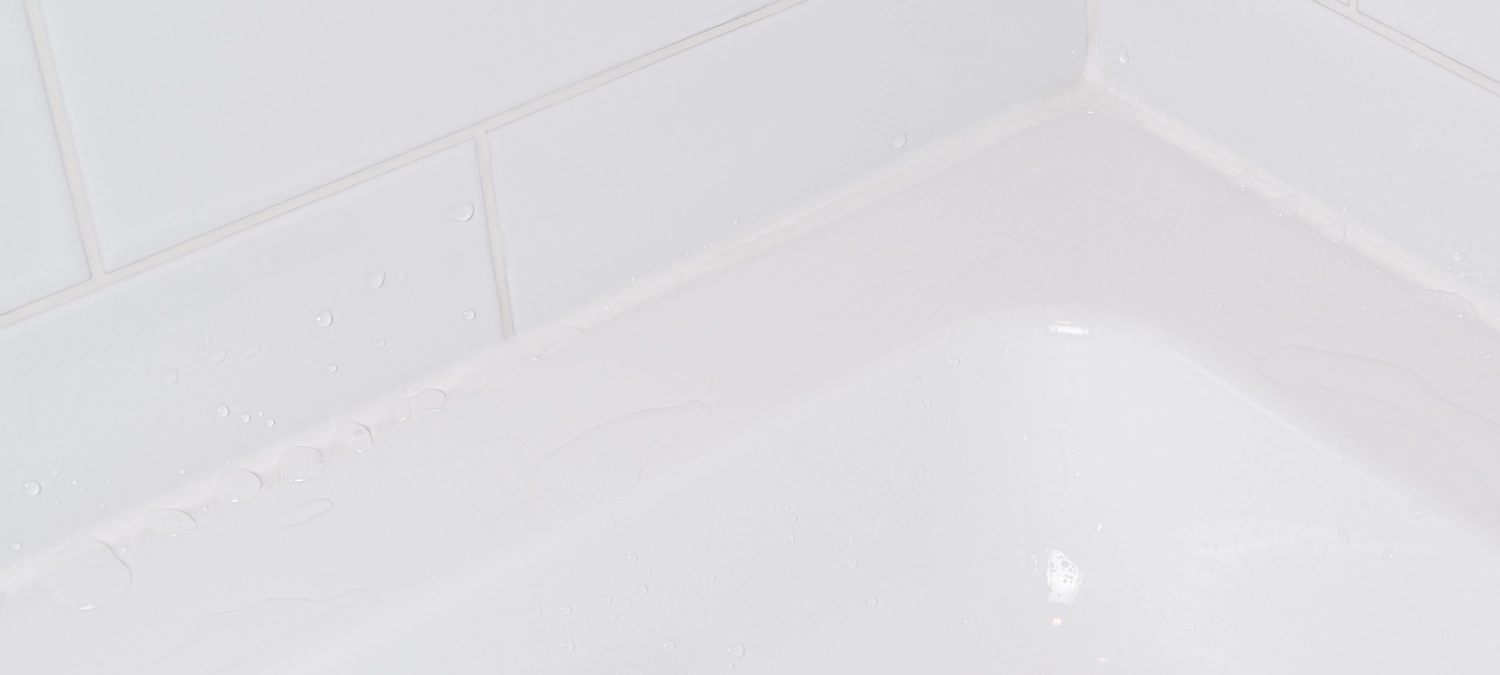
GE Supreme Silicone Kitchen & Bath (ASTM C920 Class 50) flexes ±50 % with tubs and tile to stop cracks before they start.
Mistake #1: skipping a deep clean on initial application
When you’re sealing a new joint, mold streaks, peeling beads, and failed adhesion usually trace back to one root problem: unclean surfaces. Silicone sealant needs a spotless, dry surface to bond properly the first time.
Before your first bead, prep like a pro:
- Remove all old caulk.
- Never layer over residue.
- Use the GE Sealant Remover Tool for a clean pull.
- Scrub the joint with isopropyl alcohol to clear out soap scum, mildew, or dust.
- Let the area dry completely before applying new sealant.
Skipping these steps is one of the most common silicone sealant mistakes beginners make. For a full walkthrough, see our guide on how to remove old caulk.
Mistake #2: choosing the wrong product
Choosing the wrong product leads to cracking, leaks, or unpaintable joints. To avoid project failure, match your sealant to your project’s demands:
- Good: Advanced Silicone Kitchen & Bath Sealant – 100% silicone, reliable waterproof protection
- Better: Supreme Silicone Kitchen & Bath Sealant – 100% silicone, mold-resistant, ±50% joint movement
- Best: Pro Seal Max Kitchen & Bath Sealant – Hybrid tech that’s paintable, flexible, and waterproof
If the label says “water cleanup,” it’s acrylic and is not waterproof, and not suited for tubs, showers, or humid environments.
Mistake #3: using expired or poorly stored tubes
Expired or poorly stored tubes are among the most common silicone sealant mistakes, leading to clogged nozzles, vinegar-like odors, or sealant that never cures.
Silicone sealant has a shelf life of 12 to 24 months unopened and performs best when stored between 40°F and 90°F. Exposure to extreme temperatures breaks down the sealant, causing clogs and cure failures.
Before you load the caulking gun, check:
- Date stamp on the tube to confirm it hasn’t expired
- Odor—fresh sealant smells mild, not sharp
- No hardened plug in the nozzle
Consider writing the open date on each tube with a permanent marker to track freshness.
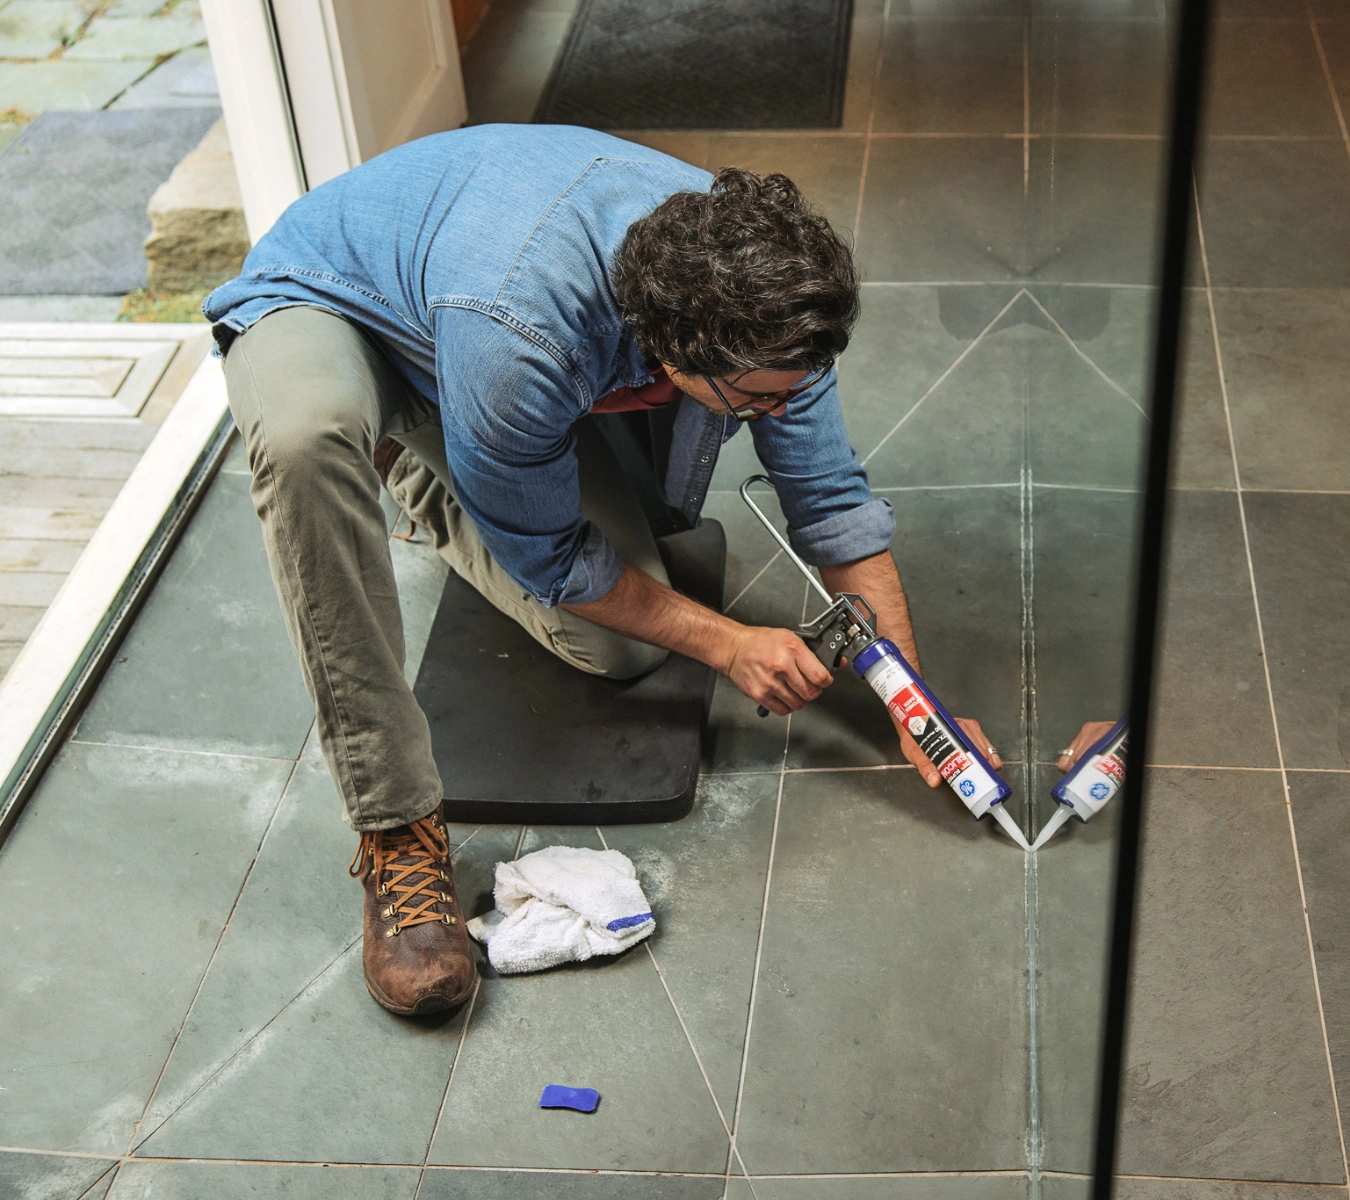
Mistake #4: cutting the nozzle too wide
A wide nozzle cut floods the joint with too much sealant, leading to a sloppy bead, waste, and tough cleanup. Worse, overfilled joints often cure unevenly or trap air.

Here’s the fix:
- Cut at a 45° angle, slightly narrower than the joint width
- For precision, use the built-in cutter on your caulking gun or the GE Cartridge Opener and Smoothing Tool
Note that control starts at the tip, and a clean cut means a cleaner bead.
Mistake #5: over-applying and overworking the bead
Thick beads don’t seal better—they sink, skin late, and often trap air bubbles. Tool the bead too many times, and you risk smearing the joint or lifting the sealant entirely.
Here’s the pro move:
- Apply steady, even pressure on the trigger
- Smooth the bead once using the GE Sealant Smoothing Tool
- Wipe away any excess for a crisp edge
One clean pass is all it takes.
Mistake #6: skipping backer rod in wide joints
If your joint is deeper than 1/4 inch, filling it with silicone sealant alone won’t hold. It wastes product, creates stress points, and often tears.
A backer rod is a round foam insert that controls depth and lets the sealant flex with movement.
How to use a backer rod:
- Measure the joint depth. For gaps over 1/4 inch, press backer rod in until it sits just below the surface.
- Keep its round shape—don’t compress the rod flat.
- Apply sealant over the rod for a durable, flexible bond.
Most tubs shift slightly. Backer rods absorb that movement so your bead stays crack-free.
Mistake #7: applying silicone sealant in the wrong weather conditions
Even the best silicone sealant can fail when the weather conditions aren’t right. Extreme cold, high humidity, or dew can stall curing—or even wash the bead out completely.
Check the application window before you caulk:
- Advanced Silicone Window & Door Sealant: 32°F to 120°F
- Supreme Silicone Window & Door Sealant: 40°F to 100°F
- Pro Seal Max Window & Door Sealant: 0°F to 140°F
Avoid application if:
- Rain, frost, or heavy dew is likely within the next 24 hours
- Surfaces feel damp, especially at dawn or dusk
- Ambient or substrate temps fall outside the ranges above
Note that Advanced and Supreme formulas shed light splashes after 30 minutes. Pro Seal Max can face rain the moment you finish the bead, but only if temperatures are within its window.
Silicone and hybrid sealants need air flow, warmth, and a dry surface to cure correctly. Plan your project around both outdoor forecasts and indoor humidity levels.
Mistake #8: touching the silicone sealant before it skins
Rupturing the skin too soon ruins the finish, traps dirt, and risks tearing the bead. Let the sealant form its protective layer before you test it.
Know your skin times:
- Silicone sealant: skins over in about 30 minutes
- Hybrid formulas: skin in as little as 15 minutes
To get it right:
- Mask off edges, apply your sealant, and tool fast.
- Then, hands off. Don’t touch or smooth again once the bead settles.
If it looks wet, it’s still curing. Give the sealant time to form its skin before any contact.
Mistake #9: rushing water exposure
Exposing new sealant to water too soon is one of the most common silicone sealant mistakes. It can wash uncured material from the joint, trap moisture behind the bead, and lead to mold or more repairs.
Check each sealant’s water-ready window before you clean, shower, or rinse:
- Advanced Silicone Kitchen & Bath Sealant: water-ready in 30 minutes, fully cures in about 24 hours
- Supreme Silicone Kitchen & Bath Sealant: splash-safe in 30 minutes, fully cures in about 24 hours
- Pro Seal Max Kitchen & Bath Sealant: water-ready immediately, fully cures in 24–72 hours
Let the bead cure fully before any cleaning, scrubbing, or showering.


