Note: This DIY article is provided as a general guide only and is not intended to take the place of product-specific installation procedures; always follow applicable manufacturers’ instructions. Depending on your home’s age and condition, location within the home, and other potential factors, repairs and/or upgrades or other services may be necessary prior to the beginning and/or completion of your project that may involve the services of a home improvement professional. This article does not include advice pertaining to local building codes and/or any related inspections.
When the season’s first cold snap arrives, many homeowners scramble to get their houses ready for the harsh conditions ahead. Winter isn’t just about chilly days; it can bring snow, sleet, ice, and freezing temperatures that put your home to the test. The good news is that winterizing your home properly helps you avoid costly repairs, conserve energy, and maintain comfort during the coldest months.
Winter is harsh on a house. Cracks, gaps, and weak spots allow cold air and moisture inside, driving up heating bills and creating the perfect conditions for water damage or pest infestations.
Why winterizing your home is essential
Winter is harsh on a house. Cracks, gaps, and weak spots allow cold air and moisture inside, driving up heating bills and creating the perfect conditions for water damage or pest infestations.
By taking preventative measures now, you can achieve a few things:
- Reduce heating costs by minimizing drafts
- Protect your pipes from freezing
- Keep pests out as they look for shelter in the warmth
- Prevent water damage caused by snow, ice, and leaks
- Improve comfort with consistent indoor temperatures
How do you winterize your home?
You may think your home has no issues, but it’s better to be safe than sorry. Before the temperatures drop, let’s review the key areas you should inspect and seal now.
Seal around windows and doors
Windows and doors are some of the biggest culprits for heat loss. Even small gaps let in cold drafts and force your heating systems to work harder. Not only can this lead to higher electric bills, but it’ll make your home more uncomfortable for you and your family.
Follow these steps to insulate your windows and doors:
- Inspect the frames and edges for visible cracks or loose seals.
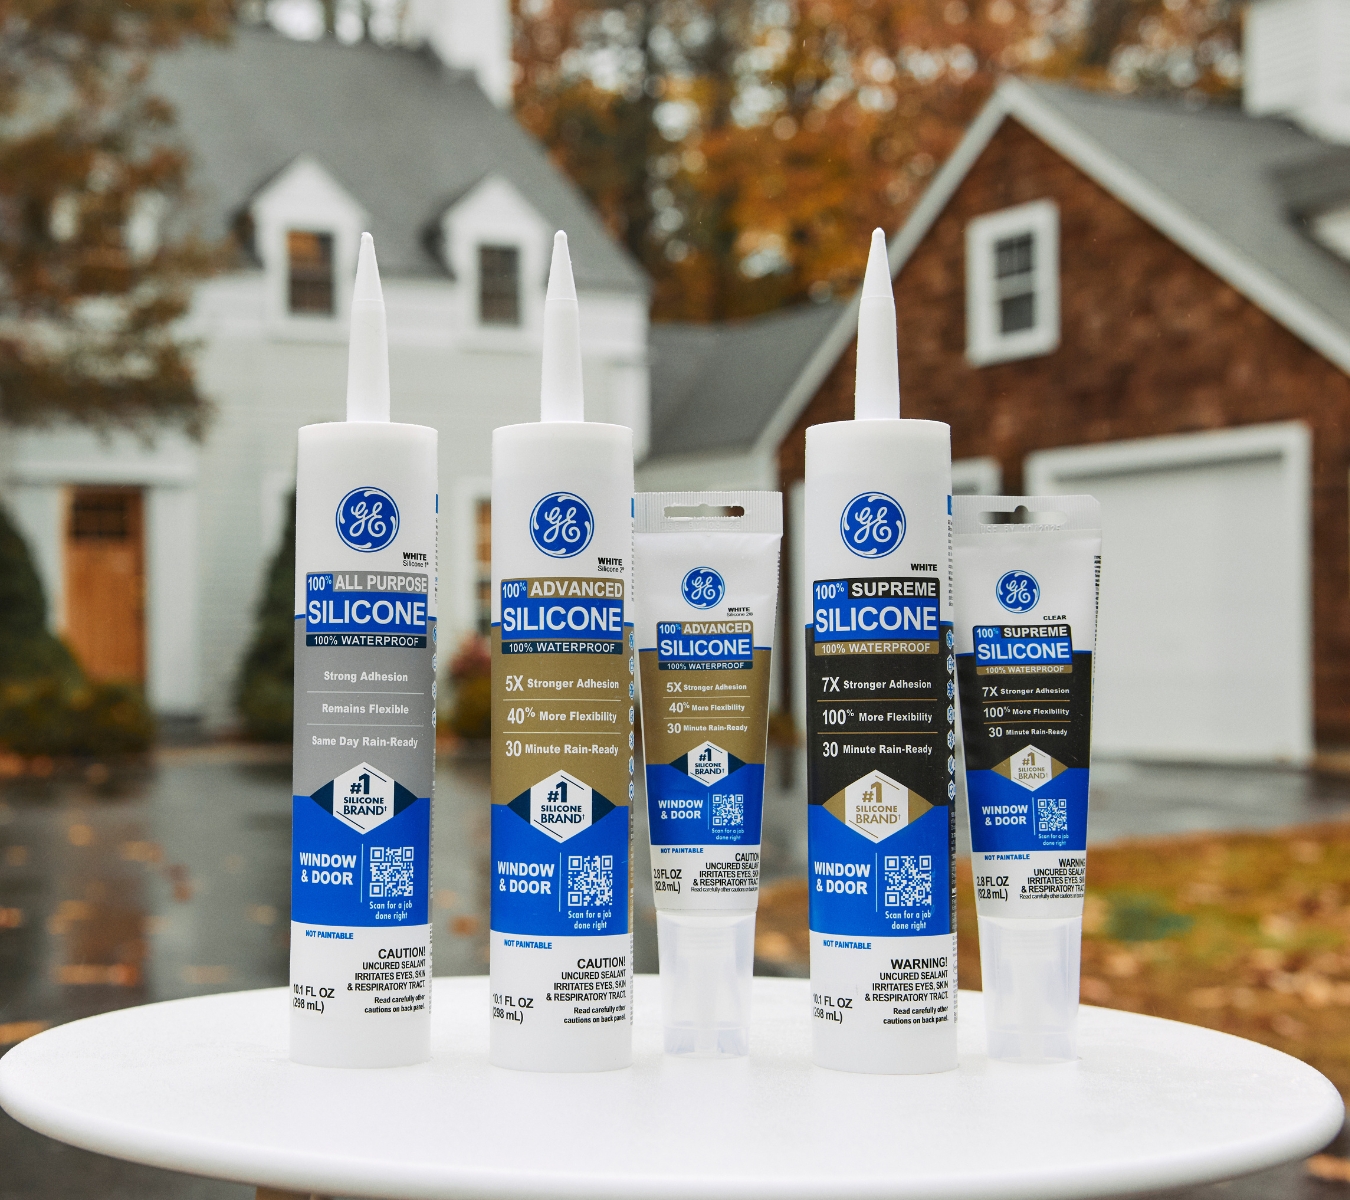
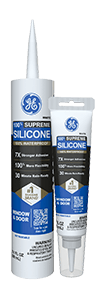
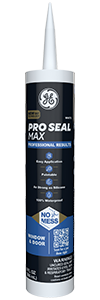
- Use silicone sealant such as GE Supreme Silicone Window & Door Sealant to close gaps where the frame meets the wall. Silicone is flexible, waterproof, and holds up well against extreme temperatures, making it ideal for this job. Alternatively, you can try GE Pro Seal Max Window & Door. It’s a hybrid formula that combines the weatherproof performance of silicone with the paintability of acrylic latex.
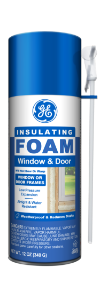
- For larger gaps, apply insulating foam around door jambs or window casings before finishing with trim. We recommend using GE Window & Door Foam to create airtight, water-resistant seals.
If you’re unsure if your windows have air leaks, run your hand along the edges of your windows and doors on a windy day. If you feel a draft, it’s time to seal.
Check plumbing penetrations
Tiny openings where plumbing pipes enter your home, such as through walls, floors, or under sinks, are often overlooked. These penetrations are prime spots for cold air and pests to sneak inside.
Here’s what you should do:
- Inspect under sinks, basements, and utility areas where pipes pass through walls.
- Use an expanding insulating foam like GE Gaps & Cracks to fill irregular gaps around the pipes. Foam expands to create an airtight and watertight seal, perfect for uneven surfaces.
- Optional: Finish with a thin layer of silicone around the edges for extra protection.
This simple fix blocks drafts and reduces the risk of frozen pipes in extreme cold.
Inspect the foundation for cracks
Small cracks in your foundation may seem harmless, but they can widen in winter as moisture seeps in and freezes. Left unsealed, they also become entry points for rodents and insects seeking warmth.
Here’s how to address potential issues:
- Walk the perimeter of your home and look for cracks or gaps near the foundation.
- Clean the area thoroughly, then apply insulating foam to fill the space.
This step is essential in regions with heavy snowfall or freeze-thaw cycles.

Evaluate your roofing
Your roof is your first line of defense against ice and snow. Issues like damaged shingles or flashing can cause leaks, which are worsened by snow’s weight and ice formation.
Here’s what you need to know when winterizing your home:
- Inspect shingles for curling, cracking, or missing pieces. Replace damaged ones promptly.
- Pay special attention to flashing around chimneys, vents, and skylights. Use silicone sealant for roofing to close small gaps where water might seep in.
- Clear gutters of leaves and debris so melting snow can drain freely. Clogged gutters increase the odds of ice dams forming.
Addressing roofing issues now ensures you won’t be scrambling to fix them during a blizzard.
Look for pest entry points
As temperatures drop, rodents, insects, and even squirrels start searching for warm places to nest. Tiny cracks or gaps around your home are practically an open invitation.
Follow these steps so you’ll know how to winterize your home and keep pests out:
- Inspect areas around vents, utility lines, crawl spaces, and attic openings.
- Seal small gaps with silicone sealant to create a barrier even small bugs can’t get past.
- Use insulating foam to block larger holes, making sure pests can’t push their way inside.
Keeping pests out now saves you from dealing with infestations in the dead of winter.

4 additional steps: a winterizing your home checklist
To stay on track, here are a few additional measures you can take when winterizing your home.
- Test smoke detectors and carbon monoxide alarms.
- Insulate exposed pipes to prevent freezing.
- Reverse the direction of ceiling fans to turn clockwise to push warm air downward.
- Stock up on winter essentials like salt, shovels, and weatherproof mats.
Following this checklist ensures your home is ready for whatever winter throws your way.
FAQ
How do you winterize your home quickly?
Start with the biggest energy drains: seal windows and doors, insulate around plumbing, and check your roof and gutters. These steps prevent drafts and water damage immediately.
What’s the best sealant for winterizing a home?
Silicone sealant, such as GE Supreme Silicone Window & Door Sealant, is best for sealing small cracks around windows, doors, and foundations because it’s flexible and waterproof. Expanding, insulating foam, like GE Gaps & Cracks, is great for cracks up to one inch wide.
Do I need to winterize my home every year?
Yes. Even if you sealed gaps last year, new cracks may have formed. Annual inspections ensure your home stays energy-efficient and protected from water damage.
When should I winterize my home?
Aim to finish before the first freeze, which, for many people, is typically early to mid-fall. That way, your home will be fully protected before temperatures drop.
Can I winterize my home myself, or should I hire a professional?
Many tasks, like sealing windows and doors, are DIY-friendly with silicone sealant and foam. However, roof inspections or major foundation repairs may require a professional.
Now that you know how to winterize your home, you need the right tools to do the job. Find GE products in a store near you in the U.S. or Canada.


