Note: This DIY article is provided as a general guide only and is not intended to take the place of product-specific installation procedures; always follow applicable manufacturers’ instructions. Depending on your home’s age and condition, location within the home, and other potential factors, repairs and/or upgrades or other services may be necessary prior to the beginning and/or completion of your project that may involve the services of a home improvement professional. This article does not include advice pertaining to local building codes and/or any related inspections.
Drafts rob your home of comfort and force your heating system to work harder, resulting in higher bills and colder rooms. Sealing air leaks is one of the quickest ways to improve your home’s energy efficiency. With a few tools and the right sealant, you can block drafts, cut wasted energy, and keep your home warmer this fall.
Air leaks can account for 25% to 40% of the energy used for heating and cooling a home. Sealing those gaps is one of the fastest ways to lower bills and stay comfortable.
Why drafts are an energy efficiency nightmare
Every gap in your home’s shell acts like a pressure valve. Warm air leaks out, cold air pushes in, and your heating works overtime to make up the difference. The U.S. Department of Energy estimates that uncontrolled air leaks can account for 25% to 40% of the energy used for heating and cooling a typical home. That’s wasted energy and money.
Drafts also create uneven temperatures. One room feels chilly while another overheats, forcing you to keep adjusting the thermostat. Over time, the extra load wears down your heating system.
Sealing air leaks results in less wasted heat, lower bills, and steadier room temperatures. It’s a task that pays for itself and improves your home’s energy efficiency.
How to spot the sneaky sources of drafts in your home
Drafts rarely come from one obvious place. Most slip in through small gaps where building materials meet.
Windows are a common culprit. Air seeps between the frame and wall, or around loose sashes. Doors leak at the jambs, latch side, and especially under the threshold if you have a worn sweep. Baseboards hide another pathway: the gap where your drywall meets the floor plate often runs the full length of a wall.
Utility penetrations can be just as leaky. Your pipes, cables, and vents that cut through walls and ceilings leave gaps that transfer outside air straight inside. Attic hatches and rim joists are also notorious for hidden leaks that rob heat and invite drafts down into your living spaces.
Here’s a trick that can help you confirm an air leak. Use a candle or stick of incense on a windy day. If the flame flickers or the smoke pulls sideways, you’ve found a leak. Mapping these problem spots is your first step toward sealing air leaks and restoring comfort.
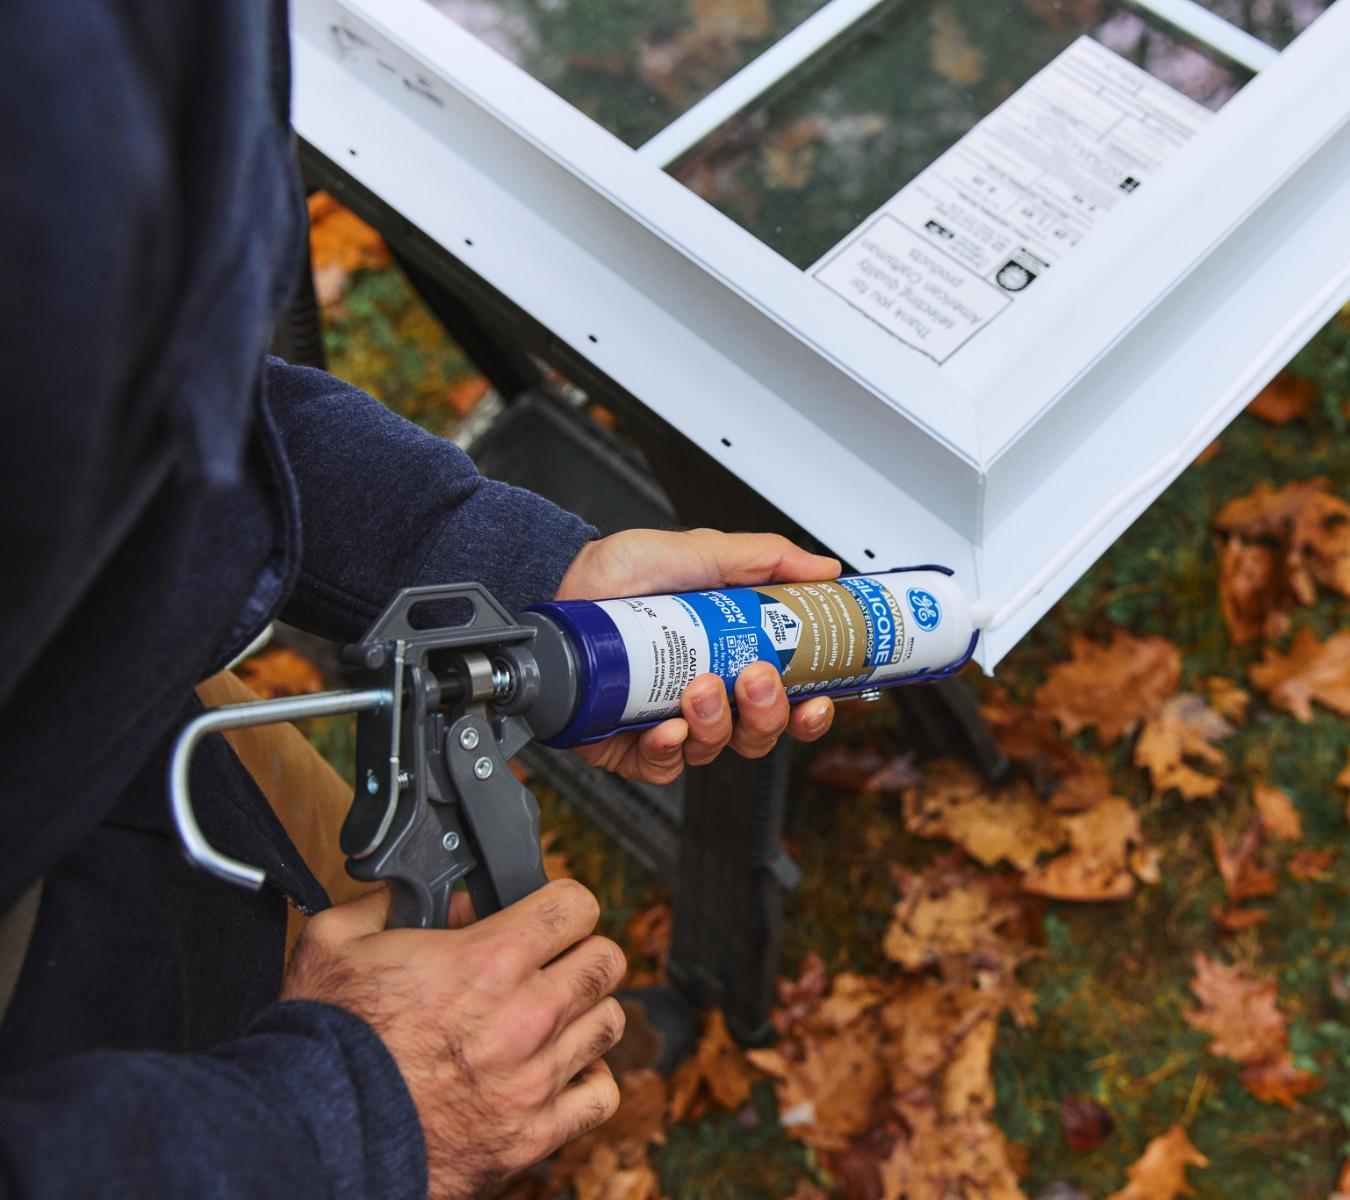
Sealing air leaks around windows for comfort and savings
The fix here in your windows comes down to using the right sealant:
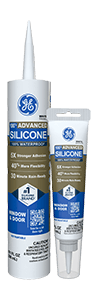
- Good: GE Advanced Silicone Window & Door – a 100% silicone that blocks out water and weather on exterior joints.
- Better: GE Supreme Silicone Window & Door – also 100% silicone, but built with stronger adhesion for long-term hold.
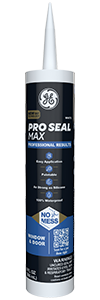
- Best: GE Pro Seal Max Window & Door – a hybrid that’s paintable, ideal when interior trim needs to match the wall color.
How you prep depends on the size of the gap:
- For narrow joints deeper than 1/4 inch, press in a backer rod to control the depth of the sealant before resealing.
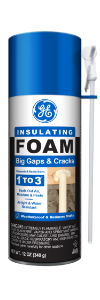
- For bigger gaps where you can see daylight come through, first fill the opening with GE Window & Door Foam. After it hardens, cut off any extra foam so it’s level with the frame, then run a bead of sealant over it so it looks clean.
Before you start, check the prep and tooling quick card below. It walks you through surface prep, nozzle cuts, bead control, and tooling time. You can also check out our guide on how to caulk like a pro for a detailed walkthrough.
One extra rule for windows: never seal over weep holes. They’re designed to drain water out of the frame, which means blocking them can cause leaks inside your wall.
Prep and tooling quick card
- Strip and clean: Remove old caulk. Wipe the joint with isopropyl alcohol and let it dry.
- Depth control: For joints deeper than 1/4 inch, use a backer rod.
- Nozzle and bead: Cut the nozzle at a 45° angle to match the size of the bead. Then, apply a steady, continuous bead.
- Tool promptly: Smooth the bead while the sealant is workable. Tooling time varies by the sealant type. To confirm yours, check the product label or Technical Data Sheet.
- Safety and finish: Use the GE Sealant Smoothing Tool to smooth the bead. And if painting, paint when the product’s paint-ready time permits.
How to seal drafts around doors that drive up heating costs
To seal out drafts around doors, start with the moving parts before you reach for a sealant.
Restore a tight seal
Check the sweep at the bottom. If it’s cracked or worn, swap it for a fin or brush-style sweep made for exterior doors.
Next, look at the weatherstripping along the jambs. Is it flattened? If yes, replace it with a press-in kerf bulb or an adhesive V-seal.
Finally, tighten loose hinge screws to lift a door that sags. If your sill has adjustment screws, raise the threshold until it just meets the sweep. Try the dollar-bill test: close the door on a bill—it should hold, not slide free.
Seal the fixed joints (top and sides)
Outside, run a bead of sealant where the frame and exterior trim meet the siding or brick.
Use GE Advanced Silicone Window & Door, or step up to GE Supreme Silicone Window & Door for a stronger hold. Inside, if you plan to paint the casing, choose GE Pro Seal Max Window & Door.
Never seal the gap under the door or cover threshold drain channels. Their job is to let water out.
Fix hidden gaps (optional)
If you are up to it, try removing the interior trim. If you find an open cavity there, fill it with GE Window & Door Foam. Once it cures, cut back any excess to level it with the frame, then cover it with a neat bead of your sealant.
Now, refer to the prep and tooling quick card above to finish sealing air leaks.
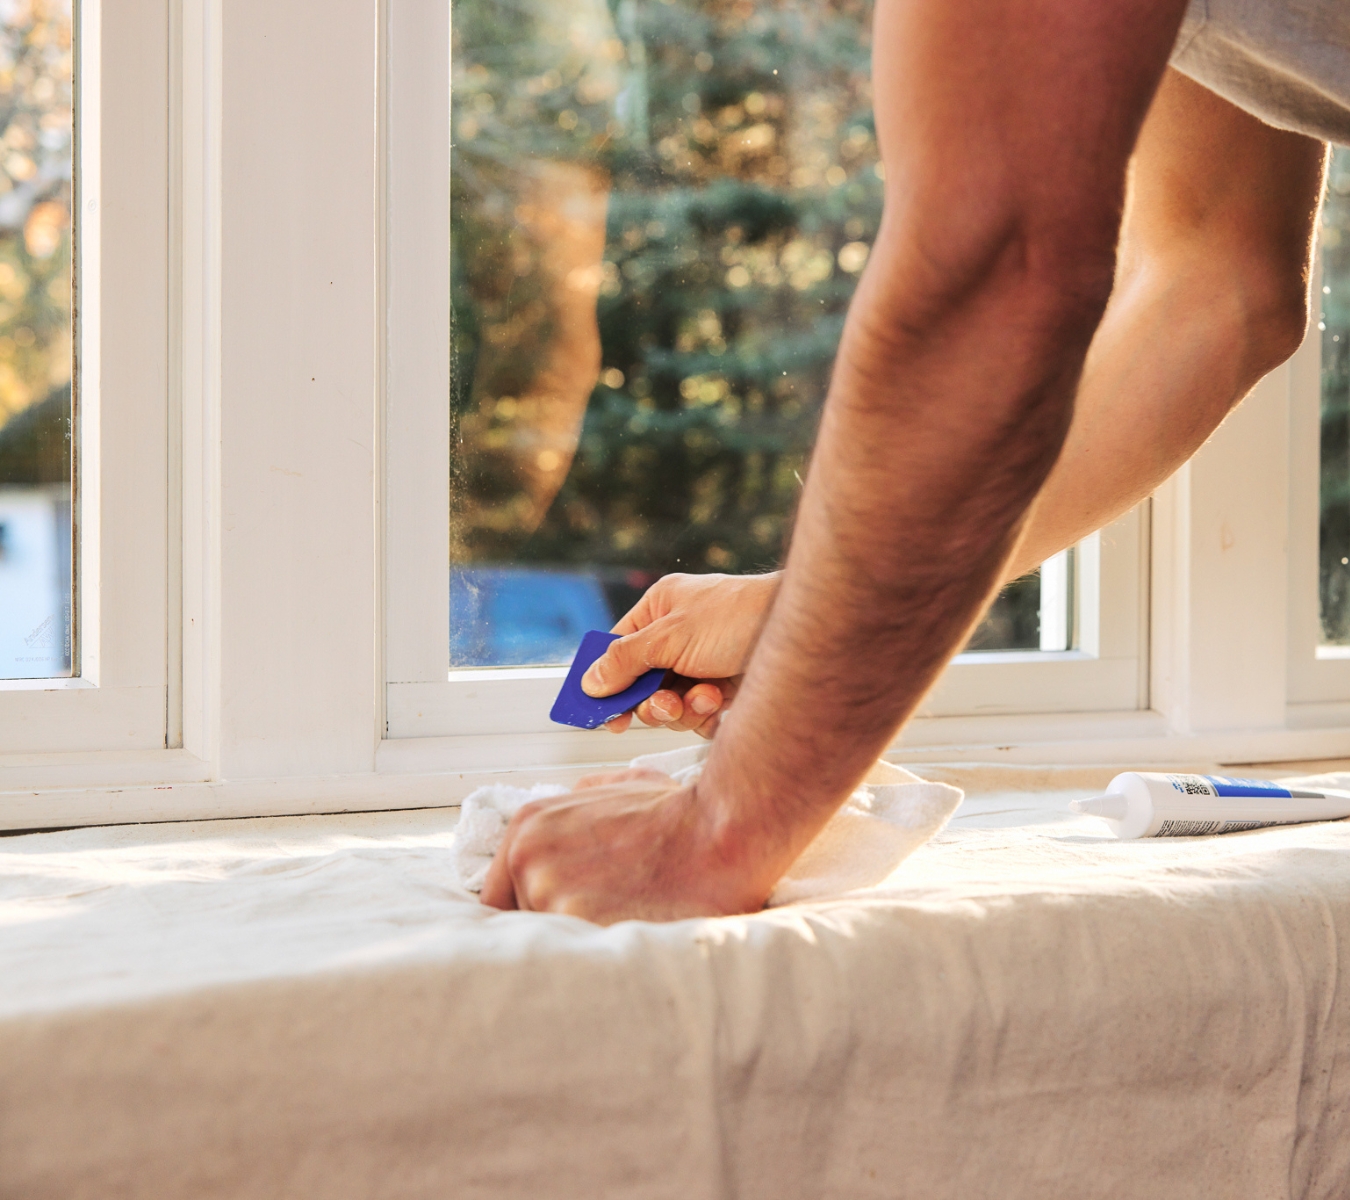
Sealing gaps along baseboards to stop hidden leaks
That skinny line where the wall meets the floor may look sealed, but it can hide a pathway for air leaks, where conditioned air slips through gaps behind the trim.
For most baseboards, go with GE Multi-Purpose Seal & Fill Window & Door. It’s paintable in about 30 minutes and formulated for trim and baseboards. In kitchens or baths, use GE Multi-Purpose Seal & Fill Kitchen & Bath for its mold-resistant, easy-clean finish.
Use the prep and tooling quick card above, then apply a steady bead along the top of the baseboard and smooth it right away.
Tackle air leaks from gaps around pipes, wiring, and attics
For small- to mid-size openings around plumbing, cables, or utility penetrations, use GE Pest Block Insulating Foam. It expands to seal tightly and helps keep critters out while sealing air leaks.
For larger attic or sill gaps, reach for GE Big Gaps & Cracks Insulating Foam. Once it cures, trim it so it’s even with the surrounding surfaces. In visible locations, finish the joint with a bead of caulk for a neat look.
When you are working with Pest Block Insulating Foam or Big Gaps & Cracks Insulating Foam, wear gloves, shake the can well, and apply sparingly, as they expand as they cure.
Whether you’re tackling windows, doors, baseboards, or hidden gaps, there’s a GE product designed to get the job done right. Find them at a retailer near you in the U.S. or Canada, and keep your home more energy efficient this fall.

