Note: This DIY article is provided as a general guide only and is not intended to take the place of product-specific installation procedures; always follow applicable manufacturers’ instructions. Depending on your home’s age and condition, location within the home, and other potential factors, repairs and/or upgrades or other services may be necessary prior to the beginning and/or completion of your project that may involve the services of a home improvement professional. This article does not include advice pertaining to local building codes and/or any related inspections.
Wall cracks are a sign of movement or gaps that need your attention and the right fix. Covering them with spackle rarely works. In this guide, you will learn how to fix wall cracks with proper prep, the right sealant for cracks, and techniques that get the job done.
Check first: Cracks wider than 5 mm or running diagonally from openings may point to structural issues. Call a pro before sealing.
Quick triage before you fix wall cracks (what’s cosmetic vs. concerning)
Start by looking closely. A hairline crack that follows the paint or plaster surface often comes from drying or a small seasonal shift. You can seal those without worry, using the right product.
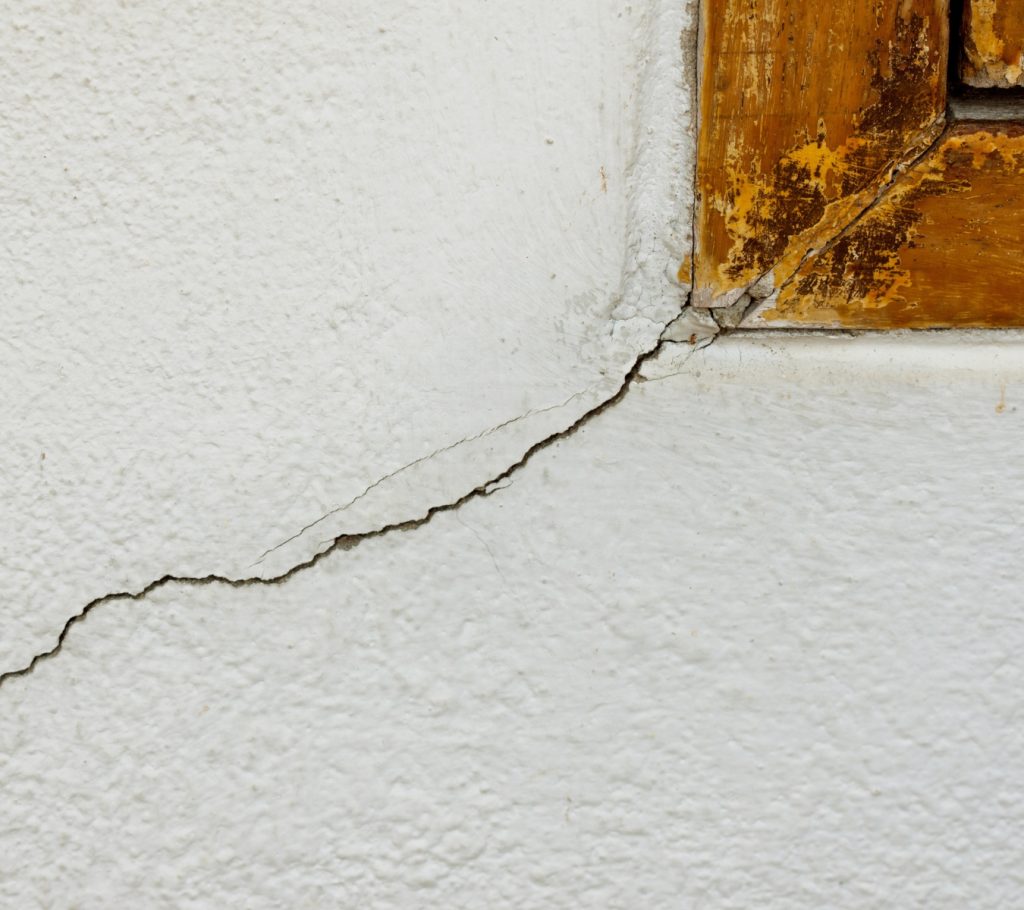
On the other hand, cracks that grow or cut diagonally out of a window or door frame tell a different story. These likely point to movement in the wall. If the gap is wide enough for a coin edge to slip in (or past five millimeters when you measure it), you’re in a territory where sealant for cracks alone won’t solve the problem.
Watch for signs of water. If you find a faint brown streak under the paint, this means moisture is already behind the wall. If the surface feels soft when you press it, water has spread. In that case, sealing the line is just a bandage until you fix the source of the leak.
Triage is simple: minor surface cracks are DIY projects, moving or water-driven cracks call for professional inspection before you reach for a tube of sealant.
Windows and doors: sealing hairline cracks around trim and frames
Follow these steps to properly fix wall cracks around windows and doors.
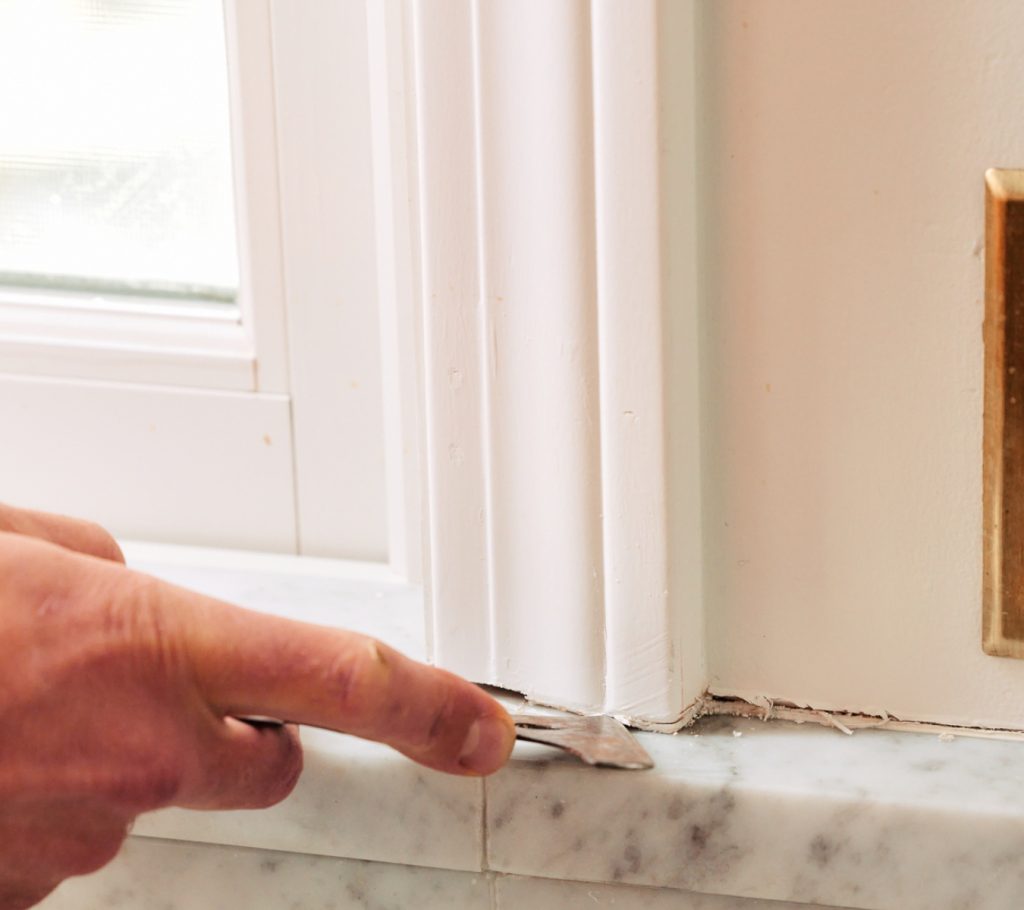
Step 1: Prep the joint before sealing hairline cracks
If the crack cleared triage (hairline, dry, not spreading), you can start prep.
Begin by removing the old bead with the GE Sealant Remover Tool. Use the pointed end to pierce and lift the sealant, then scrape residue with the flat edge. This clears the joint without gouging the wall. Wipe the surface clean and let it dry fully.
Next, look at the gap’s depth and width. If it’s more than a quarter inch, press in a foam backer rod before sealing. This step is about joint design, not structural safety.
The 5 mm threshold in triage above tells you when to call a pro. The 1/4-inch rule here only tells you when to size the joint properly so the bead flexes and lasts.
Step 2: Choose the right formula
The right sealant for the crack depends on whether or not you will paint over the bead:
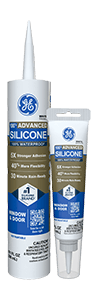
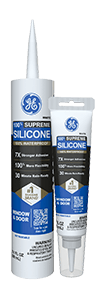
- Not painting: Go with 100% silicone. For a standard job, use GE Advanced Silicone Window & Door. For tougher conditions and longer life, upgrade to GE Supreme Silicone Window & Door. Both stay flexible and fully waterproof, but you cannot paint over them.
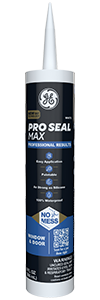
- Painting trim or siding: Use a paintable hybrid. GE Pro Seal Max Window & Door bonds as strongly as silicone but takes paint cleanly. That way, the repair blends in with your finish.
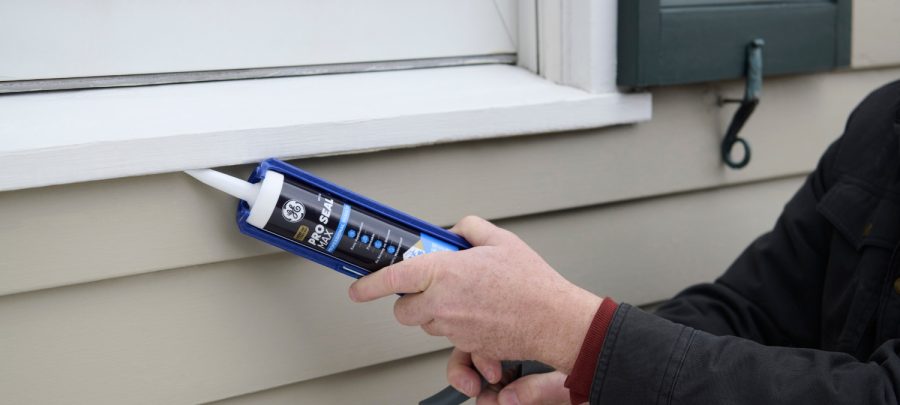
Step 3: Apply the bead
Cut the nozzle at a 45° angle. A small opening is better, because you can always widen it if the bead is too thin.
Load the cartridge into the gun and hold it at the same 45° angle to the joint.
Try to run the bead in one steady pass. Don’t stop and start, as that will create weak spots. Keep steady pressure on the trigger so the bead flows smoothly.
As soon as the bead is down, tool it. A damp finger works, but the GE Sealant Smoothing Tool will give you a uniform finish and push the sealant into full contact with the sides of the joint.
Clean up any excess immediately. Once silicone skins, you can no longer work on it.
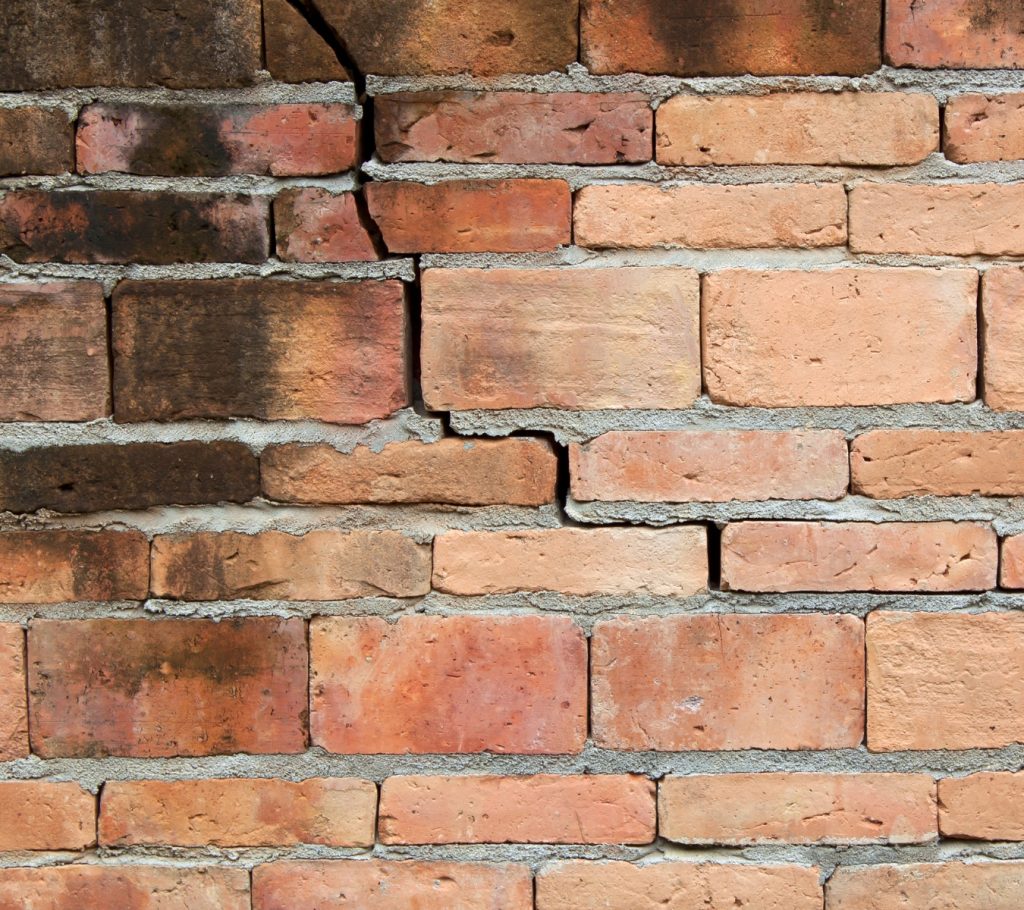
Masonry joints: how to seal cracks in your home exterior
Cracks in brick or block joints draw water straight into the wall.
Check first: masonry must be dry to the touch. Sealant won’t bond to wet or water-saturated concrete. Wait it out, then brush away grit with a stiff-bristle brush and clear the dust.
Now pick by finish.
For repairs you won’t paint, use GE Concrete Silicone. It’s 100% silicone, fully waterproof, and built for porous surfaces. For repairs you will paint, use a paintable formula that bonds to masonry, like GE Pro Seal Max Window & Door or GE Painter’s Pro Siliconized Acrylic Caulk.
Run a steady bead along the crack, then tool it right away so it wets both sides and finishes flush.
For deeper or wider gaps, set in the backer rod first and size the bead correctly. Be careful not to overfill the joint because thick beads cure unevenly and tear. Mask rough faces and clean excess before it skins.
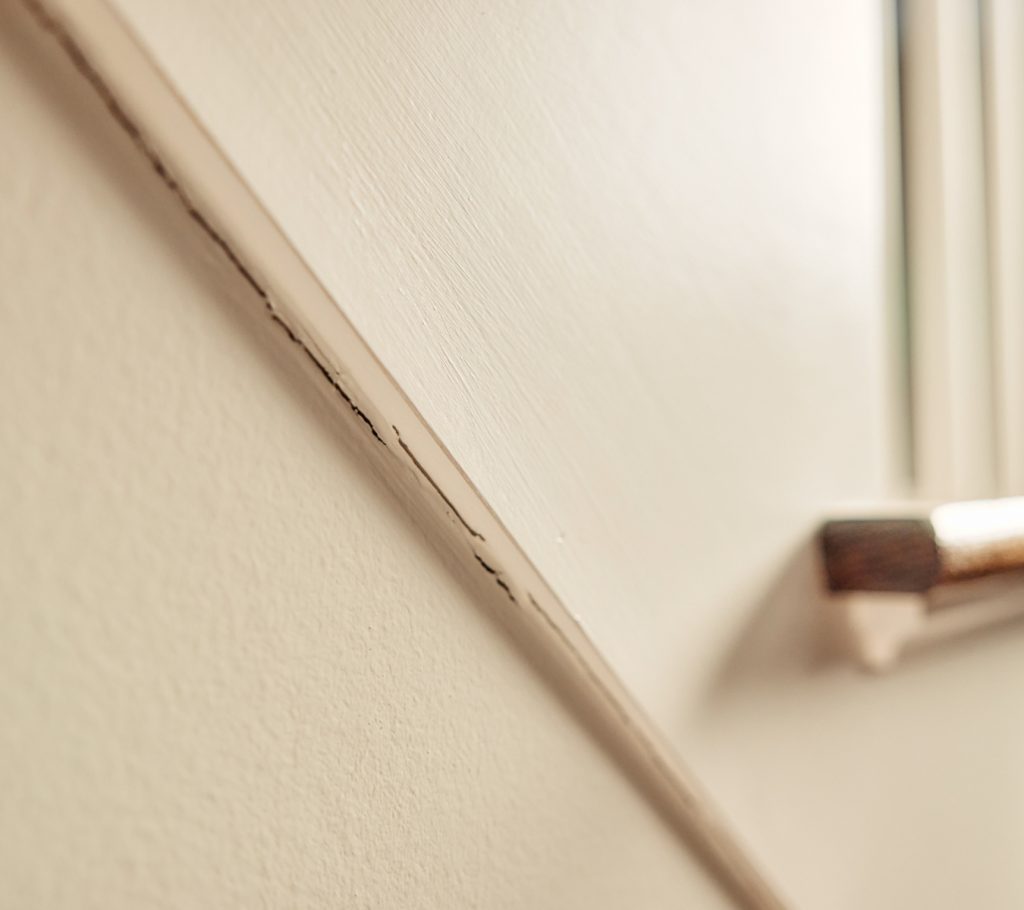
Baseboards and molding: sealing hairline cracks indoors
Cracks along baseboards or molding often look like dark shadow lines or splits at inside corners. Start with the same triage rule: if the gap runs diagonal or measures close to 5 mm, don’t seal yet. Monitor and call a pro if it’s widening.
However, if the crack is smaller, stable, and dry, you can move ahead with sealing.
Begin by vacuuming the floor edge. Dust here comprises how well your new sealant bonds. If an old bead runs through the joint, cut it out with the GE Sealant Remover Tool and clear the joint.
Now, pick a paintable sealant for cracks.
GE Pro Seal Max Window & Door sealant is a high-performance paintable option here as well. Other options you can go with are GE Painter’s Pro Siliconized Acrylic Caulk or GE Siliconized Advanced Acrylic Window & Door Sealant for standard trim jobs.
Cut a small nozzle opening and run a steady bead, especially at corners where the shoe molding shifts. Smooth it right away while the bead is still fresh. For Pro Seal Max, that means within 5 minutes (clear) or 15 minutes (white). Once it skins, you can’t tool it.
Press the bead in one smooth pass so it bonds and leaves a straight paint line.
Hairline cracks don’t fix themselves. Left open, they spread, pull in moisture, and damage paint or framing. With the right sealant and prep, you can stop that cycle in one afternoon.
Ready to start? Choose a GE sealant for cracks at a retailer near you in the U.S. or Canada.