

Winter has a way of showing up before anyone feels ready, which makes winter maintenance an important part of keeping any rental property running smoothly. A few smart, preventative steps now can help avoid costly repairs, reduce emergency calls, and keep tenants comfortable through the coldest months. With the right plan, winter prep becomes less of a chore and more of a simple routine that protects your investment all season long.
Doors, windows, and frequently used rooms tend to wear faster, making them prime spots for winter drafts. As tenants open and close doors throughout the year or create daily moisture around kitchens and bathrooms, sealant can break down without anyone noticing.
Start with a whole-property winter walkthrough
A full winter walkthrough is the easiest way to catch small issues before they become cold-weather emergencies. Begin outdoors by checking roofs, gutters, siding, and foundation areas for visible wear. Look for gaps, cracks, or loose materials that could allow drafts or moisture inside. Move to windows and exterior doors to confirm seals are intact, frames close tightly, and no daylight shows around the edges.
Inside, walk through common areas, hallways, mechanical rooms, and individual units if applicable. Listen for unusual furnace noises, check thermostat function, and verify that vents are clear and blowing warm air. This is also a good time to inspect high-use areas like kitchens and bathrooms, where moisture, movement, and daily wear can break down caulk and sealant. Adding this step to your landlord maintenance checklist keeps winter prep predictable and far less stressful for both you and your tenants.
Inspect heating systems before tenants need them most
Heating issues never seem to show up on mild October afternoons. They wait until the coldest night of the year.
Start by confirming that furnaces, boilers, or heat pumps turn on smoothly and reach set temperatures without unusual noises or odors. Replace filters, clear dust from intake areas, and make sure vents and radiators are unobstructed so warm air can circulate freely throughout each unit.
If your building uses a shared system, test thermostats in multiple areas to ensure even heat distribution. For individual units, encourage tenants to report any odd behavior early so you can address concerns before heavy winter demand kicks in. Adding these steps to your seasonal property maintenance tips helps prevent emergency calls and reassures tenants that their comfort is a top priority.
Seal out drafts in high-use and high-traffic areas
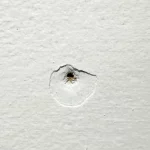
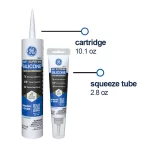
Doors, windows, and frequently used rooms tend to wear faster, making them prime spots for winter drafts. As tenants open and close doors throughout the year or create daily moisture around kitchens and bathrooms, sealant can break down without anyone noticing. Products like GE Supreme Silicone Window & Door Sealant help create durable, long-lasting seals that withstand seasonal temperature changes and daily use.
A quick inspection of these high-use areas helps you catch small issues early. Look for shrinking or cracking caulk, gaps where trim meets the wall, or areas where you can feel cool air slipping through. Even minor openings can make a unit harder to heat and leave tenants reaching for extra blankets.

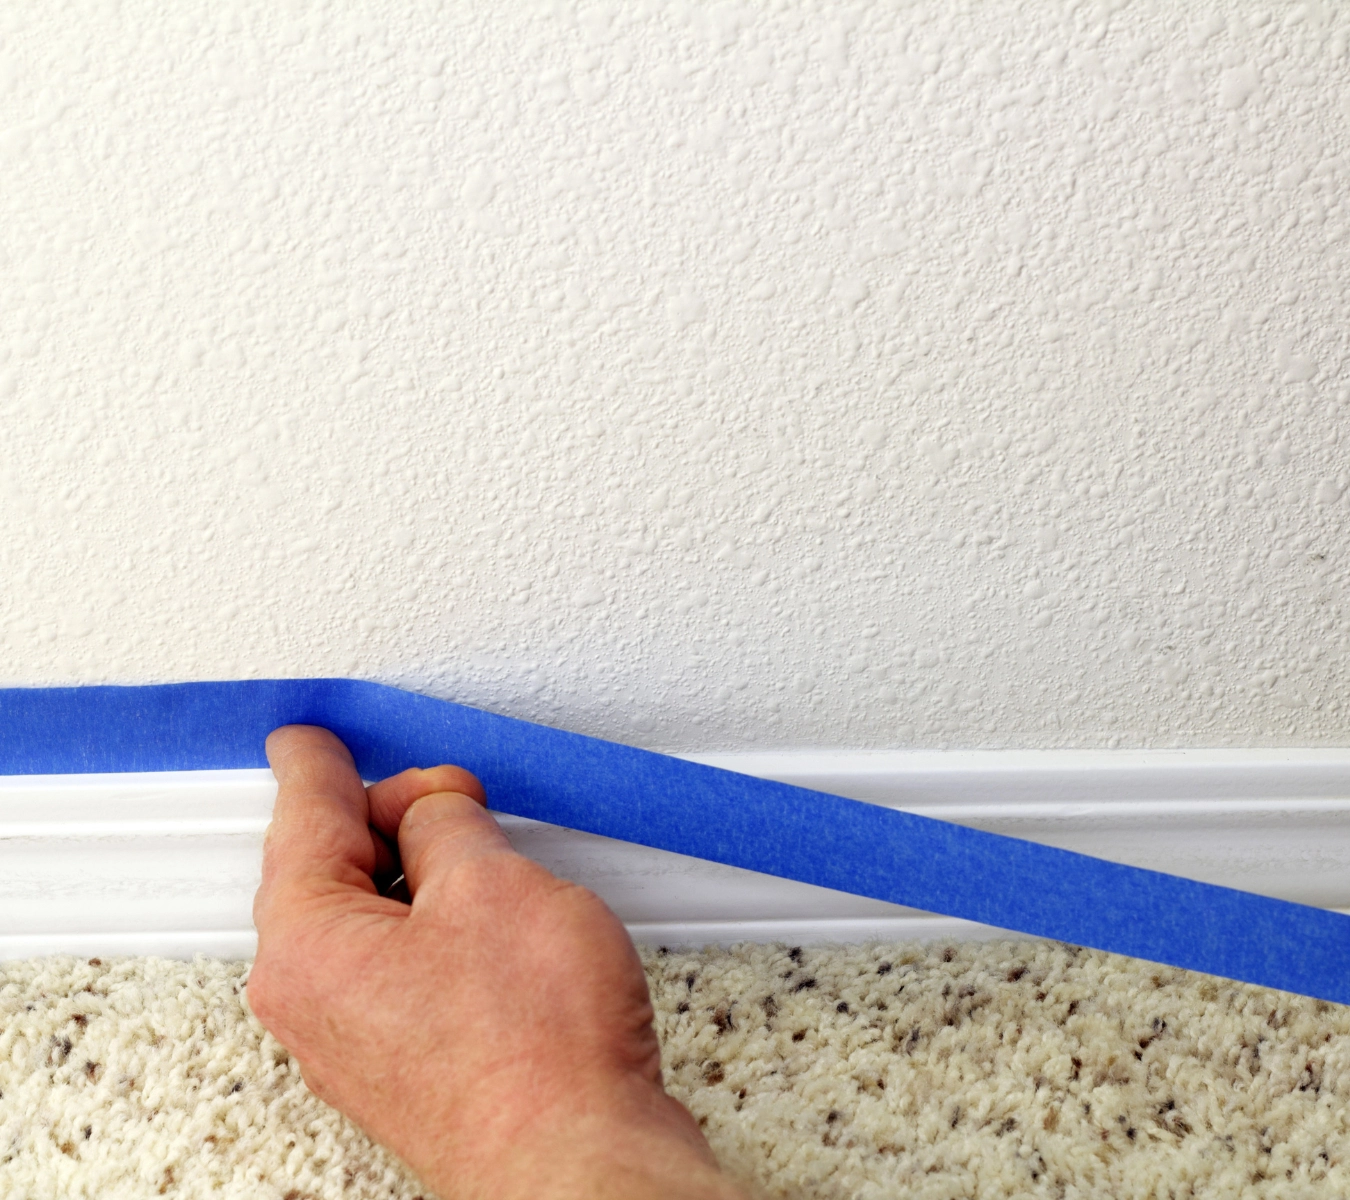
To fix these trouble spots, refresh worn sealant around window frames, door casings, and baseboards. You can use GE’s Sealant Remover Tool to pop old sealant and a putty knife or GE’s Sealant Smoothing Tool to lay down new lines. In bathrooms or kitchens, reseal joints where water exposure is constant to prevent both drafts and moisture problems. Products like GE Supreme Silicone Kitchen & Bath Sealant help create durable, long-lasting seals that hold up to seasonal temperature changes and daily use. Adding sealing tasks to your winter maintenance routine keeps units more comfortable, reduces energy waste, and helps prevent bigger repairs down the road.
Protect plumbing from freezing
Freezing temperatures can turn a small plumbing issue into a major repair, so it is worth giving pipes a little extra attention before winter settles in. Start by inspecting exposed plumbing in basements, crawlspaces, garages, and along exterior walls. These locations lose heat quickly and are the most likely to freeze. Add foam sleeves to vulnerable pipes and seal any nearby gaps that allow cold air indoors with GE Gaps and Cracks Insulating Foam. Outdoors, shut off water to hose bibs, drain remaining water, and install insulated covers to keep them protected.

Inside rental units, reseal gaps around sinks or tub surrounds with GE Supreme Silicone Kitchen & Bath Sealant to block cold-air pathways near plumbing, and remind tenants to keep cabinet doors open during extreme cold so warm air can circulate around pipes. In vacant units, maintain a low but steady temperature and consider allowing faucets to drip slightly during deep freezes. Adding these steps to your property maintenance routine and overall winter maintenance plan helps prevent burst pipes, water damage, and the costly repairs that follow.
Exterior safety and wear: roofs, gutters, and walkways
Winter weather can do a number on a building’s exterior, so it is smart to address potential trouble spots before snow or freezing rain arrives. If the angle of your roof permits and falling hazards can be avoided, start by checking the roof for loose shingles, damaged flashing, or areas where water might pool. A small issue today can become a leak once ice builds up. Clear gutters and downspouts so melting snow has a clear path away from the structure. Blockages can lead to ice dams, which cause both roof damage and interior leaks.
Walkways, stairs, and entry areas also deserve a careful look. Make sure handrails are sturdy, surfaces are even, and any cracks are repaired before freezing temperatures set in. Stock de-icing materials for tenants if appropriate and ensure outdoor lighting is working properly to reduce slip-and-fall risks. Adding these exterior checks to your winter maintenance routine strengthens your overall landlord maintenance checklist and helps prevent avoidable cold-weather problems.
To get GE Sealants’ products for your home improvement project, visit these fine retailers in the U.S. or Canada.