Pest Block Insulating Foam
Interior Seal Silicone Sealant
Exterior Seal Acrylic Caulk
Pro Seal Max Kitchen & Bath
Pro Seal Max Window & Door
Supreme Silicone Window & Door Sealant
Advanced Silicone 2® Window & Door Sealant
All Purpose Silicone 1® Sealant
Paintable Silicone Supreme Window & Door Sealant
Siliconized Advanced Acrylic Window & Door Sealant
Siliconized Multi-Purpose Acrylic Window & Door Caulk
Seal & Fill Multi-Purpose Window & Door Caulk
Supreme Silicone Kitchen & Bath Sealant
Advanced Silicone 2® Kitchen & Bath Sealant
Tub & Tile Silicone 1® Sealant
Paintable Silicone Supreme Kitchen & Bath Sealant
Siliconized Advanced Acrylic Kitchen & Bath Sealant
Siliconized Multi-Purpose Acrylic Kitchen & Bath Caulk
Re-New
Painter’s Pro Quick Dry Siliconized Acrylic
Painter’s Pro Siliconized Acrylic Caulk
Painter’s Caulk
Gutter Silicone 2® Sealant
Concrete Silicone 2® Sealant
Metal Silicone 2® Sealant
Project Filter
  • location
    Insulating Foam
    Kitchen & Bath
    Paint Projects
    Specialty
    Windows, Doors, Siding & Trim
  • project-type
    All
    Window & Door
    Kitchen & Bath
    Seal & Paint
    Insulating Foam
    Specialty
  • color
    Almond
    Black
    Brown
    Clear
    Light Gray
    Metallic Gray
    White
  • formulas
    Acrylic
    Insulating Foams
    Paintable Silicone
    Silicone
    Siliconized Acrylic
  • performance
    Not Paintable
    Paintable
  • product-type
    Adhesives
    Caulks & Sealants
    Specialty Products
  • application
    Can
    Cartridge
    Pen
    Squeeze Tube
  • gap_width
    Gaps 1"-3"
    Gaps less than 1"
    Window & Door
  • humidity-level
    Extensive Humidity
    Normal Humidity
  • product_finder
    Pathway 1
    Pathway 2
    Pathway 3
    Pathway 4
    Pathway 5
    Pathway 6
    Pathway 7

Contact Form

Better plumbing sealants mean better jobs—and happier clients! How to choose the best plumbing sealant for a leak-free home

Choosing the right plumbing sealant will do more than just help you stop leaks—it will also deliver reliable, professional work that holds up over time. From dry time to long-term durability, the sealant you use can impact everything from job efficiency to customer satisfaction. This guide covers what to look for in a plumbing silicone sealant and why quality matters on every project.

Look for silicone plumbing sealants that offer long-term flexibility, mold resistance, and multi-surface adhesion. Products like GE Advanced Silicone Kitchen & Bath and GE Supreme Silicone Kitchen & Bath Sealant are designed to perform under pressure—literally—helping pros deliver leak-free, customer-approved results.

What to look for in a plumbing sealant for leaks

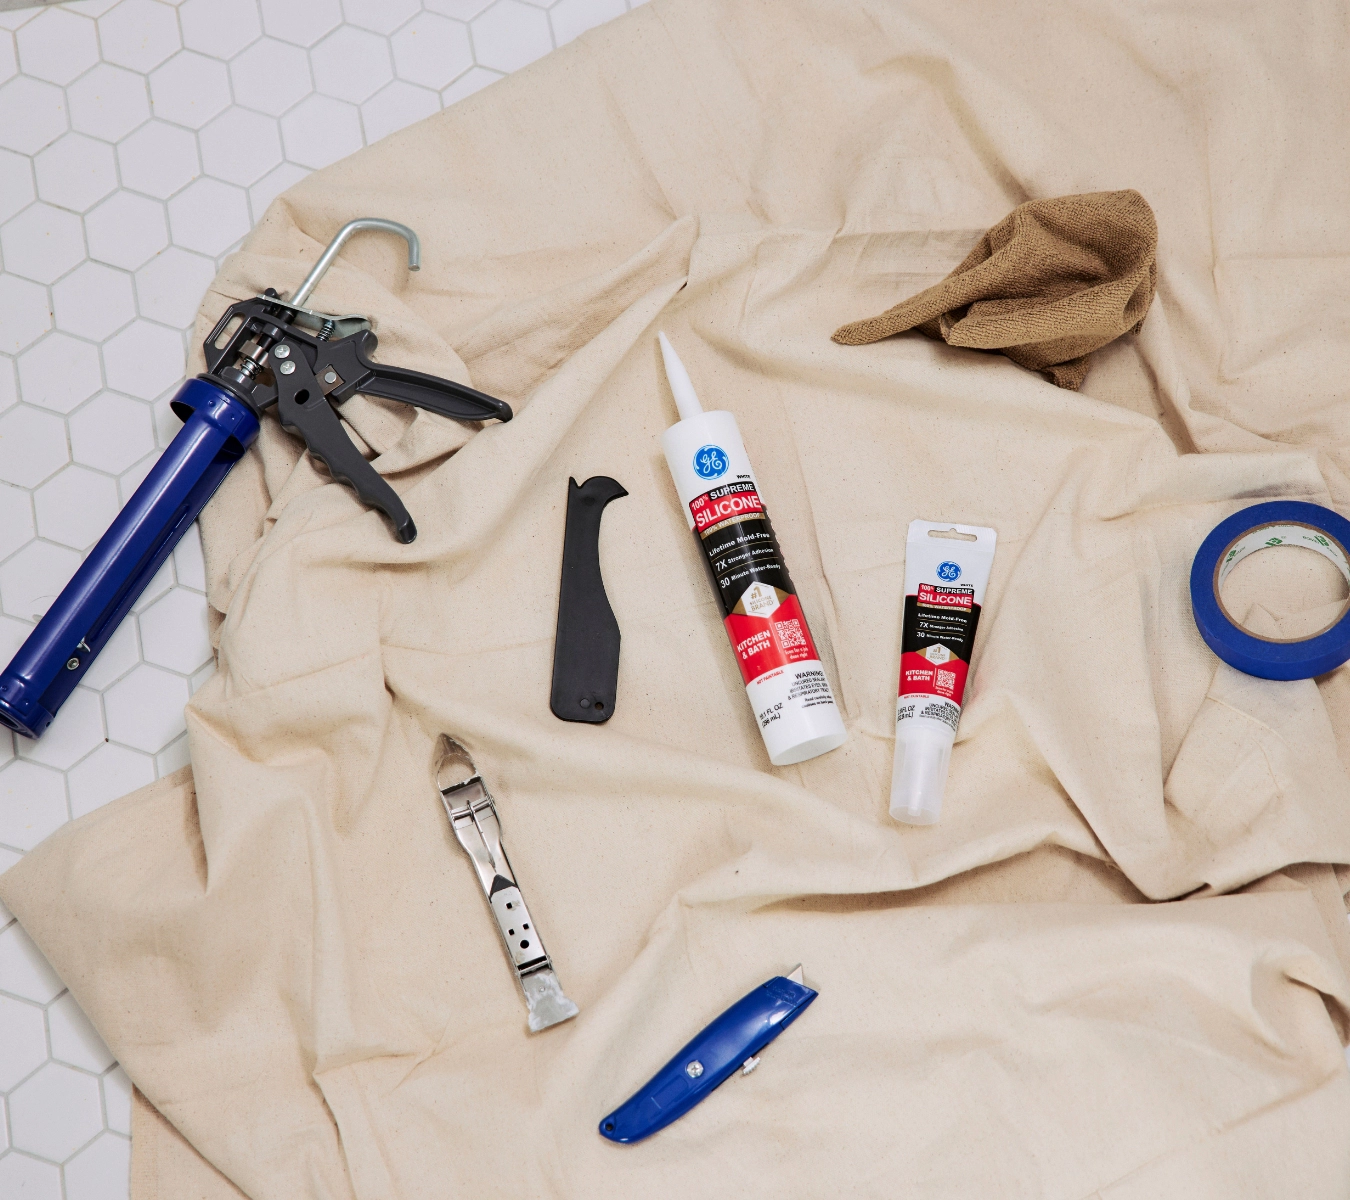
Here are some key features to look for in plumbing sealants:

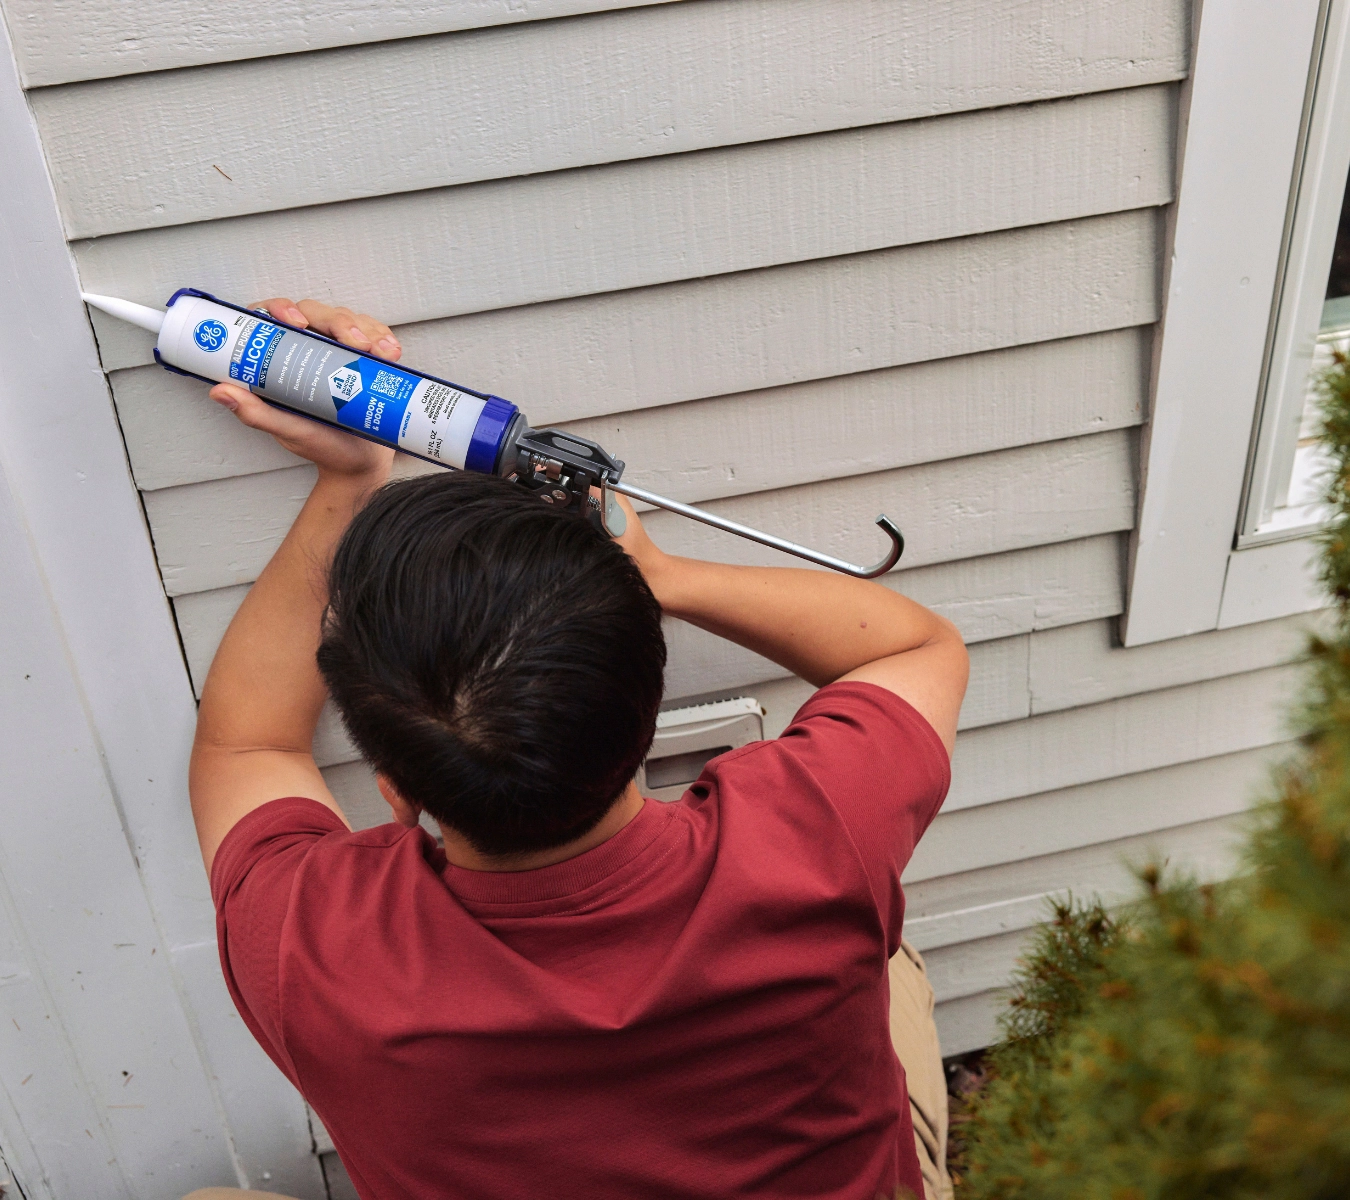
  1. Dry time When time is tight, dry time can make or break your workflow. A plumbing sealant’s cure rate affects how quickly you can move to the next step—whether that’s testing for leaks, reinstalling fixtures, or completing the job altogether. Fast-drying sealants are ideal for quick-turn projects or emergency repairs, while slower-curing options may give you more flexibility for adjustments during installation.
    GE Advanced Silicone Kitchen & Bath
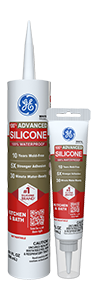
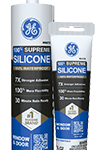
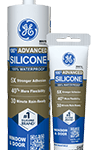
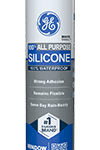
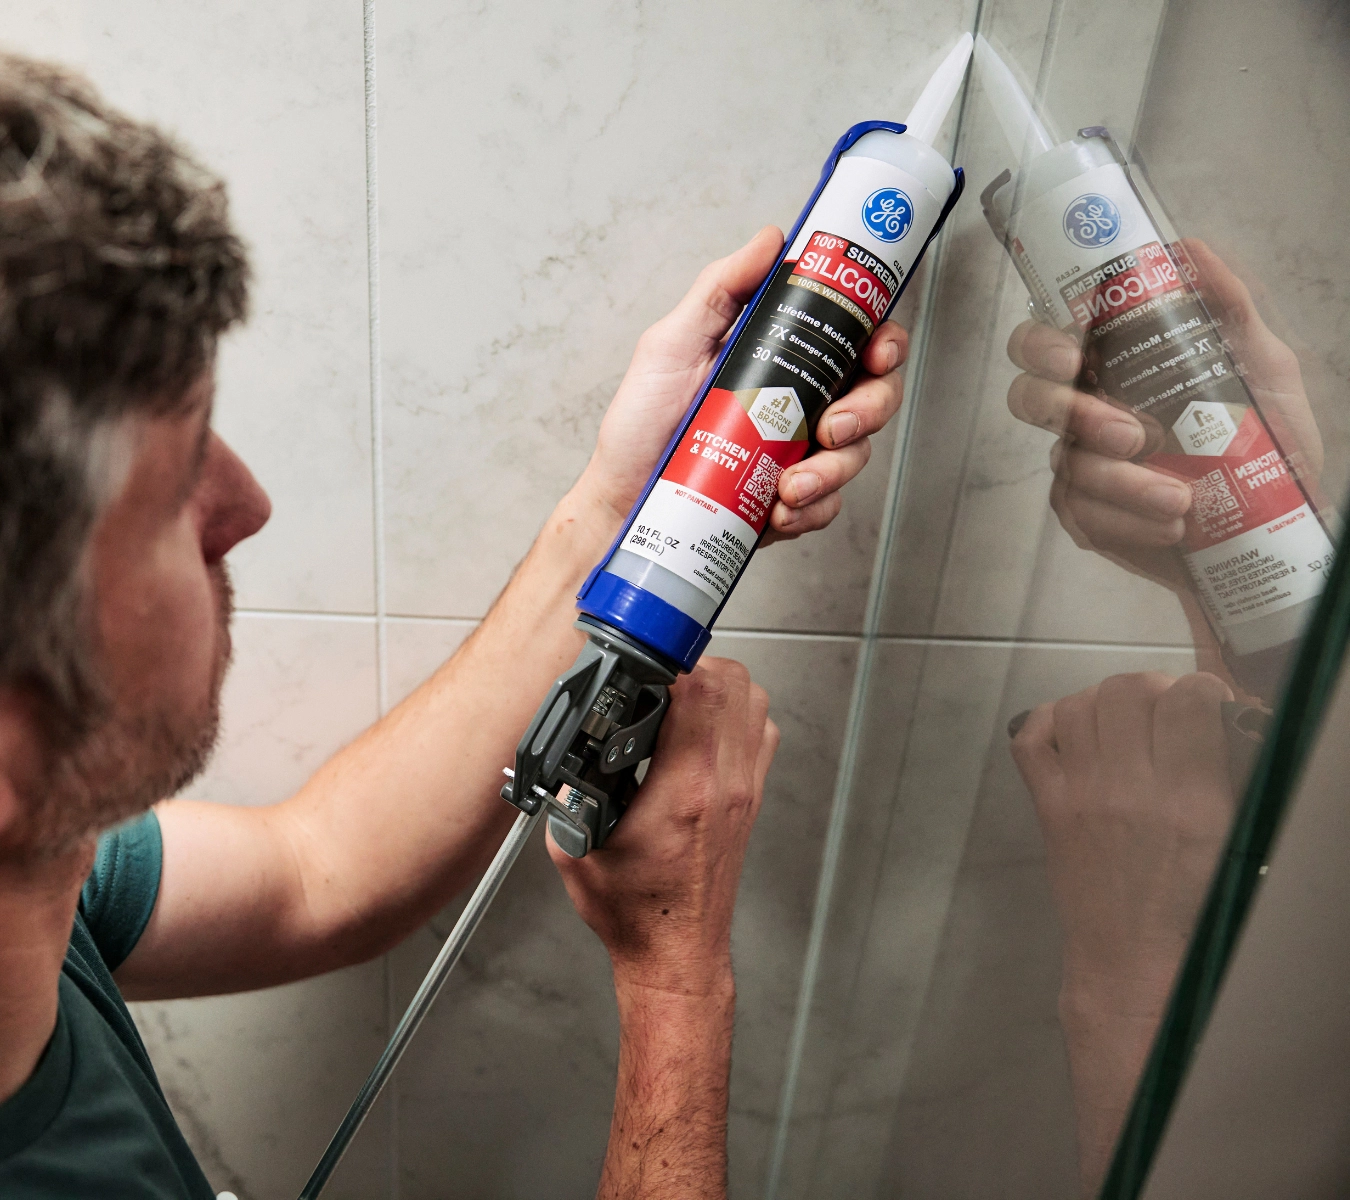
    A photo of GE Advanced Silicone Kitchen & Bath.

    Look for sealants that become water-ready quickly but still allow enough working time for precision. Products like GE Advanced Silicone Kitchen & Bath are water-ready in as little as 30 minutes while maintaining flexibility for positioning and smoothing. Always check the label for cure times specific to your conditions, including humidity and temperature.

  2. Flexibility

    Pipes, joints, and fixtures naturally expand and contract over time and if the sealant you use can’t move with them, cracks and leaks will eventually form. That’s why choosing a highly flexible sealant is essential for long-term performance.

    Installing a drop sink? Learn what you need to know.

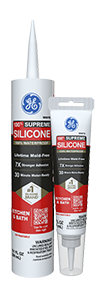
    Silicone sealants are preferred for plumbing jobs because they maintain their flexibility even after curing. Unlike acrylic caulks, which can become brittle, silicone stays elastic and resists shrinking or splitting. This is especially important around sink rims, tub spouts, and supply lines where constant use puts stress on the seal. Look for products with high flexibility ratings like GE Supreme Silicone Kitchen & Bath Sealant, to ensure a reliable seal that won’t fail under pressure.

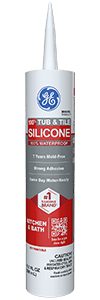
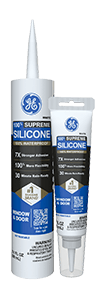
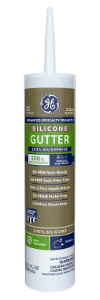
  3. Lifespan A long-lasting sealant reduces the risk of callbacks and gives your clients confidence in your work. High-performance plumbing sealants resist mold, mildew, and breakdown from constant water exposure. Silicone products offer excellent durability and are designed to last for years without cracking or shrinking. For tub and tile plumbing applications, GE Tub & Tile Silicone Sealant offers strong adhesion and 100% waterproof performance in high-moisture zones. It’s ideal for sealing vertical joints around bathtubs, shower enclosures, and ceramic surfaces where reliable mold-resistant protection is critical. Choosing a sealant with a proven lifespan means fewer repeat visits and stronger customer trust in the quality of your installations.
  4. Adhesion across materials
    A bathroom seal between glass and tile surfaces.
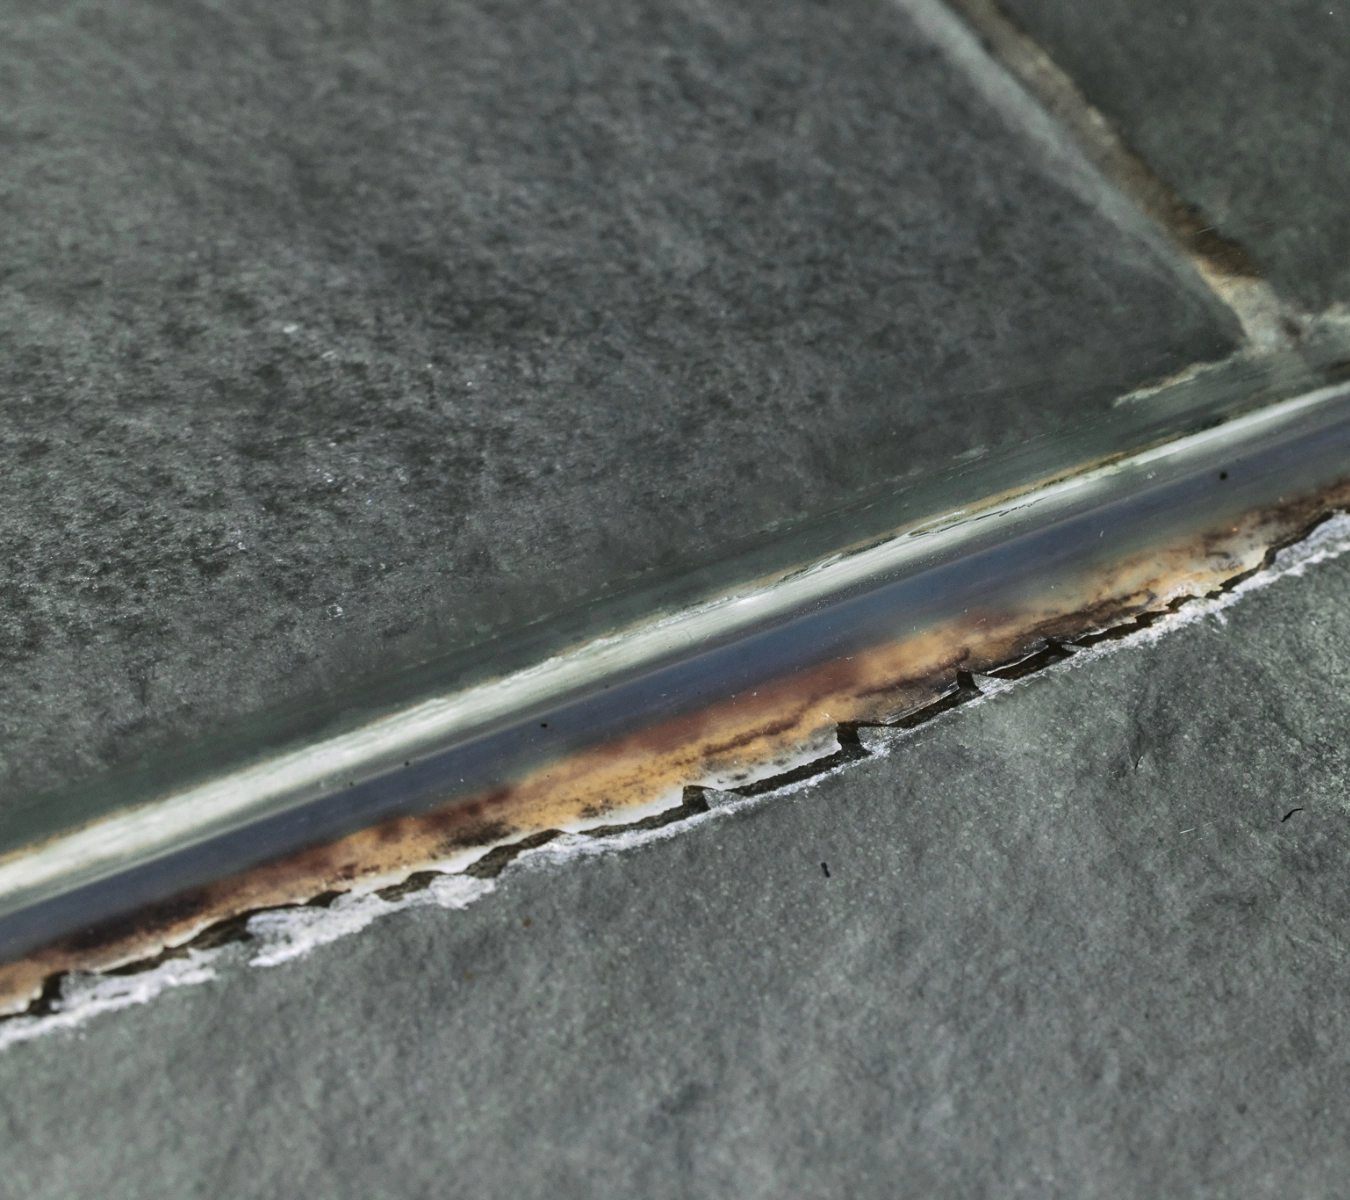
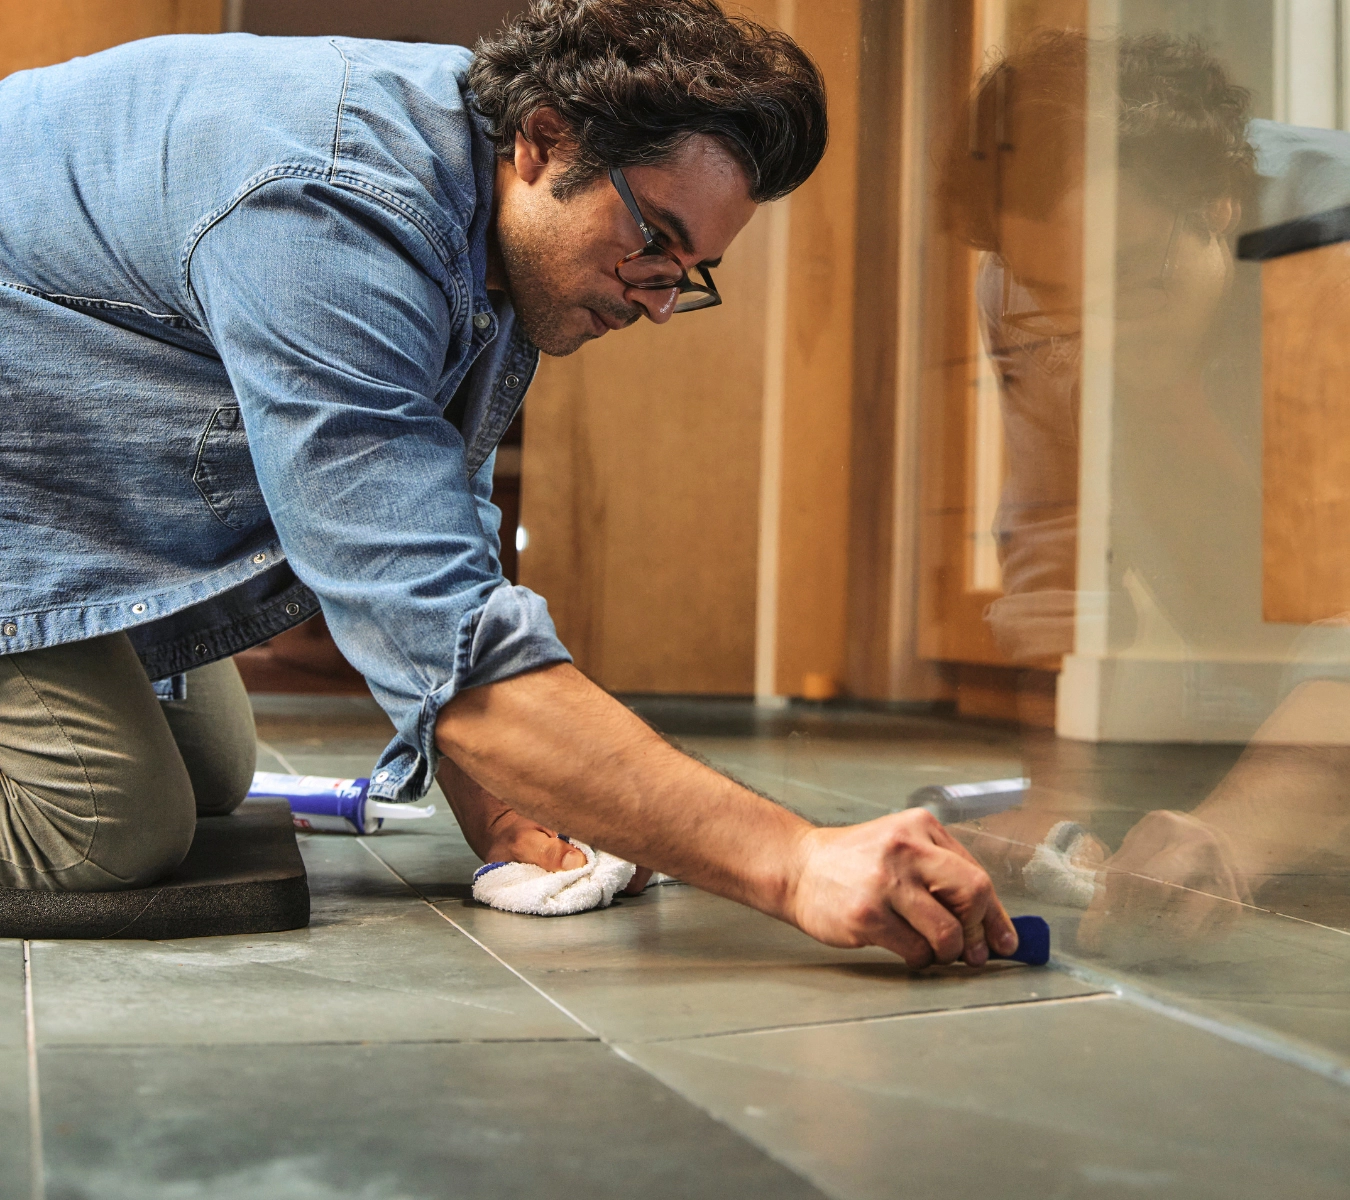
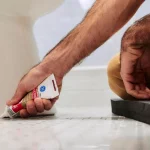
    A photo of a bathroom seal between glass and tile surfaces.

    Plumbing jobs often involve sealing between dissimilar materials—like tile to metal, or PVC to glass. A reliable plumbing sealant should bond well across a wide range of surfaces to ensure leak protection and reduce the need for multiple products. Silicone sealants are especially effective in this regard, offering strong adhesion to common materials.

  5. Durability A high-quality sealant should remain stable in fluctuating temperatures and resist breakdown from cleaning products and moisture. Silicone sealants outperform acrylic caulks in this category, offering long-term waterproof protection and mold resistance. For plumbing work that needs to last, choose a product like GE Advanced Silicone Kitchen & Bath which is engineered to stay flexible, waterproof, and leak-free over time—even in demanding environments.
  6. Safety standards For plumbing projects involving potable water or enclosed spaces, safety and compliance are non-negotiable. Look for plumbing sealants that are low-odor, non-toxic, and labeled for use in food or water contact applications. Certifications such as NSF or ANSI indicate the product meets health and safety standards.

Benefits of using a high-quality silicone plumber sealant

Here’s why opting for top-notch silicone sealants is worth it for plumbers.

  1. Repeat business and customer satisfaction Creating reliable seals that hold up over time reduces callbacks, minimizes warranty issues, and reinforces your professionalism. When customers see that your work stays clean, intact, and mold-free, they’re more likely to call you again and recommend your services to others. Repeat business often comes down to small details, and sealant performance is one of them. Choosing a trusted product shows clients you care about doing the job right the first time.
  2. Higher quality finishes A quality silicone plumbing sealant delivers a cleaner, more professional finish that reflects well on your work. It applies smoothly, adheres evenly, and resists shrinking or cracking over time. This results in crisp, finished lines around fixtures, sinks, and fittings—no gaps, bubbles, or discoloration. Products like GE Supreme Silicone Kitchen & Bath Sealant are designed for precision and long-term visual appeal, helping your installations look as good as they perform.
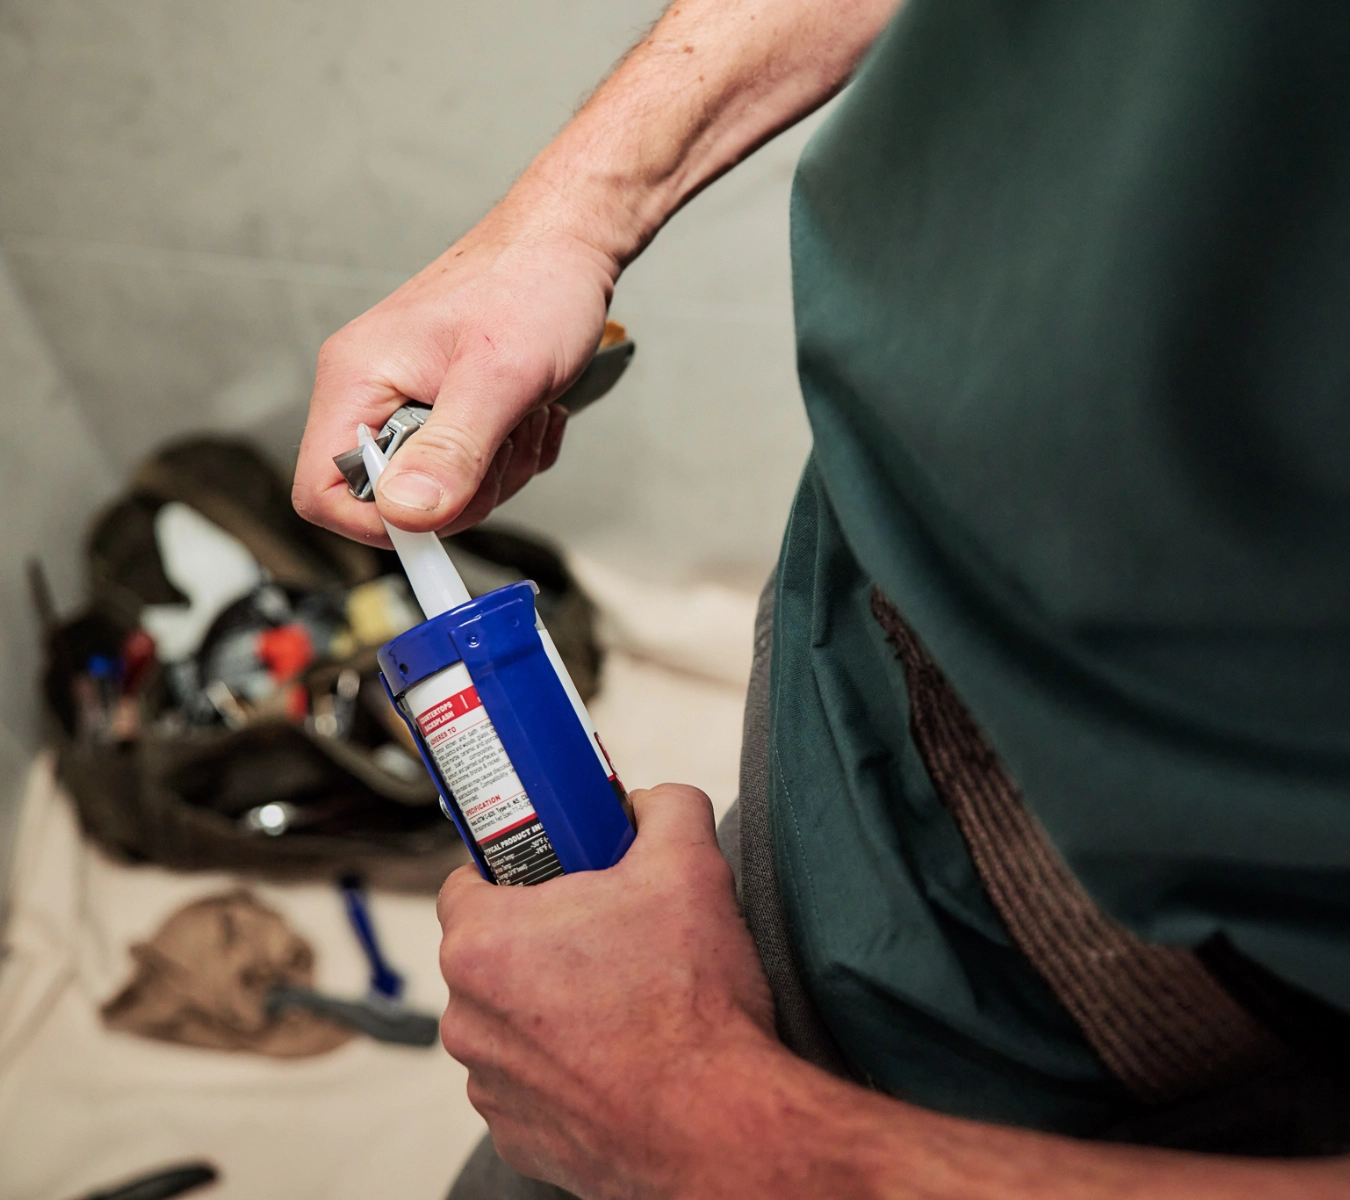
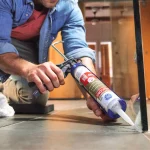
  3. Easier application Professional-grade silicone sealants are designed with ease of use in mind. They dispense smoothly, tool easily—particularly with GE’s new sealant Smoothing Tool—and offer consistent flow, even in tight or awkward spaces. Features like low odor and easy cleanup also make the job faster and more comfortable—especially for indoor projects. Overall, the easier the sealant is to apply, the more efficient and precise your installation will be.

To get GE Sealants’ products for your home improvement project, visit these fine retailers in the U.S. or Canada.

Contact Form

Pro Seal Max Kitchen & Bath

Contact Form

A sealed seam keeps mold and water out for good How to recaulk your bathroom in just one weekend

Note: This DIY article is provided as a general guide only and is not intended to take the place of product-specific installation procedures; always follow applicable manufacturers’ instructions. Depending on your home’s age and condition, location within the home, and other potential factors, repairs and/or upgrades or other services may be necessary prior to the beginning and/or completion of your project that may involve the services of a home improvement professional. This article does not include advice pertaining to local building codes and/or any related inspections.

Cracked caulk allows moisture to seep behind walls, spreads mold, and loosens fixtures. With the right tools and a waterproof bathroom sealant, you can recaulk your bathroom in a weekend and stop small problems from turning into big ones.

Why recaulking your bathroom matters

Using a sealant protects the parts of your bathroom you don’t see. Around tubs, behind sinks, and along shower seams, it blocks water from seeping into walls, subfloors, and framing.  When it cracks or peels, moisture gets in—and that’s where mold takes hold, wood softens, and drywall begins to break down. You’ll spot the early warnings: yellowing lines, brittle edges, dark spots that keep coming back. That’s when it’s time to recaulk your bathroom with the right materials to keep damage from spreading.

Many sealants fail because they’re improperly used. Acrylic caulk doesn’t last in steam-heavy areas. It shrinks, cracks, and washes out over time. A proper bathroom sealant (100% waterproof silicone) holds its line, flexes with movement, and won’t grow mold. GE’s Kitchen & Bath silicones are built for this kind of work. Once they’re down, they stay sealed.

To recaulk your bathroom, start with a clean, dry joint. Silicone won’t grip if there’s dust, soap film, or leftover sealant.

What you’ll need to do the job right

Treat this like any small job site: set up clean, get your tools within reach, and prep once to do it right.To replace old caulk, you’ll need the right scraper and cleanup tools before any new sealant goes in.

Tools & supplies

Some essential tools for recaulking a bathroom.
Tools and GE silicone sealants laid out for a bathroom caulking job.

Step-by-step: how to recaulk your bathroom

Follow these four steps to strip the old caulk, prep the surface, and lay down a long-lasting seal.

  1. Remove the old caulk Start by clearing every inch of the old bead. Use a sealant remover tool or a utility blade to score along the edges, then pull the caulk free in strips. Work slowly—especially around tile seams or trim—so you don’t gouge the surface underneath.

    Once the bulk is off, go back with a plastic scraper or your remover tool to lift any leftover residue. This is where mold, soap scum, and mildew tend to hide. Wipe the area down with isopropyl alcohol and let it dry completely.

    If you rush this step, nothing else will hold. Take the time to replace old caulk. New silicone won’t bond over dirt, leftover bathroom sealant, or moisture.


  2. Prep the surface Once the old caulk is gone, it’s time to get the joint ready for a lasting bond. Every seam should be dry, dust-free, and clean. Any leftover soap film or moisture will weaken adhesion and shorten the life of the seal.

    Use painter’s tape to mask off each side of the joint. It gives you a clean edge and keeps bathroom sealant from spreading onto tiles or fixtures. Keep the tape tight to the line. Just a small gap is enough to guide your bead.

    Someone cutting a sealant nozzle at a 45-degree angle for bathroom caulking.
    Image of a hand cutting the nozzle of a GE silicone sealant cartridge at an angle before application.
  3. Apply the new bathroom sealant Cut the nozzle’s tip at a 45-degree angle, matched to the width of your joint—narrow for backsplashes, wider for tubs, or shower corners. Load the cartridge into your caulk gun, then run a slow, steady bead along the taped joint. No gaps. No stops. Keep the pressure even so the silicone flows consistently.

    Corners and seams are where most failures happen—because that’s where the stress is. GE Supreme Silicone Kitchen & Bath Sealant stays flexible in those spots, even when walls shift or steam builds up. That flexibility is rated Class 50 under ASTM C920, which means the bead won’t crack, separate, or pull back once it cures.
  4. Smooth and let it cure Right after you finish the bead, smooth it in one clean pass—either with a gloved finger or the GE Smoothing Tool. Press gently and keep a steady angle to shape the seal and push it into the joint. Once the bead looks clean and even, pull the painter’s tape while the sealant is still wet.

    GE Supreme Silicone Kitchen & Bath Sealant is water-ready in 30 minutes, but give it a full 24 hours to cure completely. Once set, the seal is permanent, waterproof, and backed by a lifetime mold-free guarantee.

Avoid these common mistakes when recaulking your bathroom

Even a good bathroom sealant won’t save a bad application. Here are the most common missteps that lead to peeling, mold, or water leaks:

  • Don’t caulk over mold or soap scum. It weakens the bond and traps moisture underneath.
  • Don’t use acrylic in wet zones. It can shrink, crack, and break down under steam and standing water.
  • Don’t touch or wet the sealant before it cures. That 24-hour window is what locks the seal in place.
  • Don’t apply thick, lumpy beads. They won’t cure evenly, and you’ll end up scraping it all out again.

Fixing these mistakes takes more time than avoiding them. Do it right the first time, and your bathroom stays sealed.

Need GE silicone for your next project? Find a store near you in the U.S. or a store near you in Canada.

Contact Form

Pro Seal Max Window & Door

Contact Form

Prevent home damage by weatherproofing your space before an extended vacation Weatherproofing your home for vacation: how to prevent leaks, damage, and pests while you’re away

Note: This DIY article is provided as a general guide only and is not intended to take the place of product-specific installation procedures; always follow applicable manufacturers’ instructions. Depending on your home’s age and condition, location within the home, and other potential factors, repairs and/or upgrades or other services may be necessary prior to the beginning and/or completion of your project that may involve the services of a home improvement professional. This article does not include advice pertaining to local building codes and/or any related inspections.

Heading out on a long-awaited vacation should bring peace of mind, not nagging worries about what’s happening back home. But when you’re away for an extended period, your home becomes vulnerable to leaks, water damage, and pest invasions. Fortunately, this article shares a few tips on weatherproofing your home so you can protect your house and focus fully on your adventures.

By sealing up your home with quality silicone sealant and insulating foams, inspecting key problem areas, and taking steps to regulate airflow and humidity, you can confidently leave for your trip.

Why weatherproofing your home before vacation matters

Vacation prep often focuses on packing, pet care, and travel logistics, but your house deserves attention, too. Extended absences give minor issues time to grow into costly damage:

  • Leaks and water damage can go unnoticed for days or weeks.
  • Pests and rodents can enter through unsealed gaps and set up camp.
  • Humidity and mold can develop in poorly ventilated areas.
  • Air leaks and poor insulation may increase energy costs or affect the comfort and safety of your home.

Proper weatherproofing isn’t just for winter storms or rainy seasons. It’s a smart part of your summer travel prep, especially for longer trips.

How to prevent home damage: a summer travel prep guide

For added protection while you’re away on a long trip, follow this step-by-step guide on weatherproofing your home.

Step 1: inspect and seal gaps around windows and doors

Air leaks from small gaps around windows and doors are common problem areas. Not only do they let cooled air escape (increasing your utility bills while you’re away), but they also serve as easy access points for pests.

What to do:

  • Check for drafts by running your hand along the edges of windows and doors.
  • Look for visible cracks, loose weather stripping, or signs of moisture.
  • Use the GE Supreme Silicone Window & Door Sealant to fill small cracks and seal gaps around window frames, door jambs, and baseboards. Unlike other caulks, silicone remains flexible and waterproof, making it ideal for indoor and outdoor use.

Tip:  Make sure the sealant has time to cure before you leave. It typically takes 24 hours.

Step 2: examine exterior doors, vents, pipes, and utility openings

Your home’s exterior has numerous access points that can be vulnerable if not properly sealed. This includes dryer vents, plumbing penetrations, electrical wiring holes, and more.

What to do:

  • Walk around your home’s exterior and inspect these areas for gaps or deteriorating sealant.
  • Reapply silicone sealant where needed to create a tight, weatherproof seal.
  • Use the GE Big Gaps & Cracks insulating foam for larger gaps or irregular openings. It expands to fill cracks between one and three inches and keeps out drafts, moisture, and pests.

Tip: Our GE Gaps & Cracks insulating foam is designed to fill spaces up to one inch wide, making it ideal for smaller areas.

Step 3: check for roof and gutter issues

Even a minor roofing issue can cause significant headaches when left unattended during a long-term trip. Water damage from clogged gutters or loose shingles can go unnoticed for weeks.

What to do:

  • Inspect the roof for damaged or missing shingles, especially if a storm passed through recently.
  • Clear gutters and downspouts of debris so rainwater can flow freely.
  • Confirm that downspouts direct water away from the foundation of your home. Add extenders if necessary.
  • Should your gutters need a little TLC, try the GE Gutter Silicone Sealant. It adheres to various surfaces, including PVC, most metals, aluminum, vinyl siding, and more. It’s a must-have for any project involving gutter repair.

Tip: If you are uncomfortable getting up on a ladder, hire a professional for a quick pre-trip inspection.

Sealing gaps around an exterior door frame with silicone to block air, moisture, and pests.
A homeowner applying silicone sealant along the side of an exterior door frame.

Step 4: seal the garage and attic

Garages and attics are common entry points for rodents, birds, and insects when left unchecked. This is especially so in the summer when pests are more active.

What to do:

  • Inspect the garage door seals and side edges for cracks or openings.
  • Use weatherstripping or silicone sealant to fill gaps around the frame.
  • Check vents and small access holes in the attic and seal any unwanted openings with insulating foam.

This will reduce the chance of critters returning to their nests, leaving droppings, or chewing wiring.

Step 5: monitor plumbing to prevent leaks

Plumbing failures are one of the leading causes of home damage during vacations. If not caught quickly, a small leak under a sink or behind a wall can escalate into thousands of dollars in repairs.

What to do:

  • Inspect under sinks, around toilets, and behind appliances for signs of moisture or corrosion.
  • Shut off the main water valve if you’ll be gone for over a week.
  • If turning off the water isn’t practical, ask a neighbor to check your home periodically or install a smart leak detection system for remote monitoring.

This will provide peace of mind since you won’t have to stress about unexpected water leaks while you’re gone.

Step 6: regulate indoor humidity and airflow

Humidity buildup during the summer can cause mold and mildew, especially in basements, bathrooms, and laundry rooms.

What to do:

  • Set your thermostat between 75-78° to prevent excess moisture while conserving energy.
  • Leave interior doors open to encourage airflow.
  • Consider using a dehumidifier on a timer if you live in a humid climate. If someone checks in on your home, they can empty it periodically.

Tip: Consider adding a humidity monitor if you want to track conditions remotely.

Step 7: store food and trash properly

Even the smallest crumbs can attract ants, roaches, and rodents while you’re away. Because insects are most active in the summertime, you don’t want to risk food bringing in unwanted visitors.

What to do:

  • Empty all trash bins and remove perishable food.
  • Store pantry items in airtight containers.
  • Wipe down countertops, floors, and kitchen appliances to remove food residue.

Tip: If your home has had pest issues, consider placing traps or deterrents in key areas before leaving.

A garage door properly sealed with silicone sealant to prevent home damage.
An image of a garage door.

Step 8: final walkthrough and safety check

Before locking the door, do a final walkthrough with a checklist to confirm:

  • Windows and doors are locked and sealed
  • Gutters and downspouts are clear
  • Water is shut off (if applicable)
  • The HVAC system is set appropriately
  • All trash is removed
  • Unused appliances are unplugged
  • Security systems or smart cameras are activated

Ask a trusted friend or neighbor to check in while you’re away, or schedule automated lights to give your home a lived-in look.

Weatherproofing your home before a vacation may not be the most glamorous part of summer travel prep, but it’s one of the most important. By sealing up your house with quality silicone sealant and insulating foams, inspecting key problem areas, and taking steps to regulate airflow and humidity, you can confidently leave for your trip. A few hours of preparation now can save you from weeks of repairs and frustration later.

To find the right GE Sealants products for your next project, visit a store near you in the U.S. or Canada.

Contact Form

Supreme Silicone Window & Door Sealant

Contact Form

Refresh your bathroom by cleaning silicone sealant How to clean silicone sealant for the perfect bathroom

Note: This DIY article is provided as a general guide only and is not intended to take the place of product-specific installation procedures; always follow applicable manufacturers’ instructions. Depending on your home’s age and condition, location within the home, and other potential factors, repairs and/or upgrades or other services may be necessary prior to the beginning and/or completion of your project that may involve the services of a home improvement professional. This article does not include advice pertaining to local building codes and/or any related inspections.

Silicone sealant is crucial in keeping your bathroom polished and performing at its best. Whether around the edges of your tub, along the shower joints, or lining the sink, bathroom sealant creates a waterproof barrier that prevents mold, mildew, and water damage. Because sealant can start looking dingy over time, this guide teaches you how to properly clean silicone sealant and when to replace it so your bathroom can maintain a fresh, clean look.

Routine cleaning improves appearance and helps prevent the degradation of the sealant. Left unchecked, bacteria and mold can eat into the silicone sealant, weakening its hold and reducing its waterproofing ability.

Why clean silicone sealant?

Bathroom sealant is constantly exposed to moisture, soap scum, and general wear and tear. As a result, it can collect dirt, develop mold spots, or discolor, making your otherwise clean bathroom look tired.

Here are a few signs it’s time to clean your silicone sealant:

  • Visible mold or mildew buildup along the sealant line
  • Yellowing or darkening of white or clear silicone
  • Sticky or slimy texture from soap and moisture buildup
  • Dull or uneven appearance compared to surrounding surfaces

Routine cleaning improves appearance and helps prevent the degradation of the sealant. Left unchecked, bacteria and mold can eat into the silicone sealant, weakening its hold and reducing its waterproofing ability.

Mold and mildew on silicone sealant around a shower.
An image of mold or grime in the bathroom, such as in the shower.

How often should you clean bathroom sealant?

For most homes, a deep clean of your silicone sealant every one to two months is a good rule of thumb. If you live in a humid climate or have multiple people using the bathroom daily, you may want to clean it monthly. Regular light wipe-downs with a mild cleaner between deep cleans can also help maintain appearance and hygiene.

Gentle DIY solutions for cleaning silicone sealant

A gentle DIY approach is a great place to start if your silicone sealant looks dull or has minor discoloration. Here are a few effective methods you can use with products you likely already have on hand.

1. White vinegar and baking soda

This classic combo is excellent for removing soap scum and light mildew:

  • Mix one part baking soda with one part white vinegar to make a paste.
  • Apply the paste to the silicone sealant using an old toothbrush or rag.
  • Let it sit for 15-30 minutes.
  • Scrub gently and rinse thoroughly with warm water.
  • Dry with a microfiber towel.

2. Dish soap and warm water

For everyday cleaning and maintenance:

  • Mix a few drops of dish soap into a cup of warm water.
  • Use a soft cloth or sponge to wipe down the sealant.
  • Rinse and dry with a microfiber towel.

Both methods help prevent buildup and keep the silicone sealant looking bright between deeper cleanings without sacrificing the integrity of the seal.

Deep-cleaning techniques for stubborn mold or stains

A stronger method may be needed if you’re dealing with more persistent issues like black mold or deeply embedded grime. Here are a couple of options to try.

1. Hydrogen peroxide and baking soda

Hydrogen peroxide is a natural bleach and disinfectant to banish dirt and grime. Here’s how to use it properly:

  • Mix ¼ cup baking soda with enough hydrogen peroxide to form a paste.
  • Apply it to the stained areas and let it sit for 20-30 minutes.
  • Scrub with a soft brush or toothbrush, then rinse.

Note: Avoid using abrasive brushes that could damage the silicone sealant.

2. Bleach solution (for non-colored sealant only)

If your silicone sealant has mold, bleach is the best option for removing it. Be cautious with bleach, and never mix it with vinegar or ammonia. Here’s how to get started:

  • Mix one part bleach with 10 parts water.
  • Apply using a sponge or cotton ball, focusing only on the moldy areas.
  • Let it sit for five to 10 minutes, then rinse thoroughly.

This is a powerful option for removing mold but should only be used occasionally and with proper ventilation.

Bright, clear silicone sealant that has been refreshed.
An image of freshly applied silicone sealant that’s clean and clear.

Boost the brightness: try a grout whitener pen

Once you’ve cleaned your bathroom sealant, you might notice that the grout around it still looks dull or stained. That’s where the GE Grout Whitener Pen comes in handy. This easy-to-use tool allows you to:

  • Instantly refresh the color of your grout lines
  • Cover any lingering discoloration or stains
  • Brighten the overall look of your bathroom

Our Grout Whitener Pen is mess-free and delivers results in just one hour. After cleaning, grab the pen and apply an even coat to your grout lines. Should there be any excess grout whitener, wipe it away with a damp cloth before it dries. Allow it to dry and then reapply after one hour if needed. The Grout Whitener Pen delivers professional-looking results without much effort, making it a quick and easy project you can tackle.

When it’s time to replace silicone sealant

Cleaning can work wonders, but eventually, every bathroom sealant reaches the end of its life. If you notice any of the following, it’s probably time to remove the silicone sealant and replace it:

  • Cracking or peeling of the sealant
  • Persistent mold that returns even after deep cleaning
  • Loss of flexibility, causing the sealant to pull away from the surface
  • Visible gaps where water could get in

Removing old sealant and applying a new bead may take some time, but it’s well worth it to prevent water damage and restore your bathroom’s appearance. Always use a high-quality silicone sealant designed for bathrooms, and allow proper curing time before using the area again.

Final tips for maintaining clean silicone sealant

To keep your bathroom looking its best for years to come, keep these tips in mind:

  • Keep your bathroom well-ventilated to prevent mold growth.
  • Dry sealant areas regularly, especially around tubs and sinks.
  • Clean monthly, using one of the methods above to prevent buildup.

With just a bit of regular maintenance, your bathroom sealant can stay clean, bright, and effective.

Learning to clean silicone sealant correctly helps preserve your bathroom’s look and function. Whether using DIY methods like vinegar and baking soda, deep cleaning techniques for mold, or enhancing the final finish with the GE Grout Whitener pen, a little care goes a long way. And if your sealant is past its prime, replacing it ensures you maintain a clean, water-tight space.

To find the perfect products for your next project, visit a store near you in the U.S. or Canada.

Contact Form

Advanced Silicone 2® Window & Door Sealant

Contact Form

A sealed sink is a protected sink—learn how to do it right with GE silicone sealants! How to seal a bathroom sink for a watertight finish

Note: This DIY article is provided as a general guide only and is not intended to take the place of product-specific installation procedures; always follow applicable manufacturers’ instructions. Depending on your home’s age and condition, location within the home, and other potential factors, repairs and/or upgrades or other services may be necessary prior to the beginning and/or completion of your project that may involve the services of a home improvement professional. This article does not include advice pertaining to local building codes and/or any related inspections.

A properly sealed sink helps prevent water from seeping into cabinets, countertops, or drywall. Without it, everyday splashes and condensation eventually cause mold, staining, and long-term fixture damage. This guide explains how to seal a bathroom sink using trusted GE silicone sealants for a clean, watertight finish that lasts.

Why you should seal your bathroom sink

Beyond simply maintaining a clean, aesthetic appearance, sealing your bathroom sink protects the surrounding surfaces from potentially costly water damage. Daily use leads to splashing, standing water, and condensation, all of which can seep into gaps where the sink meets the countertop. Without a proper seal, moisture can reach the cabinetry below, causing swelling, rot, or mold growth over time.

A secure seal also helps keep your sink firmly in place and prevents dirt or grime from collecting in open seams. This not only extends the life of your sink and countertop but also makes cleaning easier and more effective. Whether you’re installing a new sink or replacing old, cracked sealant, using a high-quality silicone bathroom sealant ensures a durable, watertight barrier. It’s a small project that plays a major role in maintaining a clean, damage-resistant bathroom.

Learn more about sealing other critical areas of your bathroom like shower doors.

For lasting results, always choose a 100% silicone sealant made for wet areas. GE Pro Seal Max Kitchen & Bath delivers Class 50 flexibility and lifetime mold protection, while GE Advanced Silicone Kitchen & Bath Sealant offers durable, 10-year mold resistance—both ideal for a clean, watertight bathroom sink seal.

Choosing the right bathroom sealant

Choosing the right sealant is critical for getting a watertight bathroom sink. Bathrooms are high-moisture environments and not all sealants are built to hold up under daily exposure to water and cleaning products. For the best results, use a 100% silicone sealant specifically formulated for kitchen and bath applications.

GE Pro Seal Max Kitchen & Bath.
A photo of GE Pro Seal Max Kitchen & Bath.

GE Pro Seal Max Kitchen & Bath is a top-tier option designed for long-term durability. It offers Class 50 flexibility—meaning the sealant can stretch or compress up to 50% of the joint’s original width without cracking or losing adhesion—to handle joint movement and is water-ready in just 30 minutes. Its lifetime mold-free product protection makes it ideal for high-use bathrooms.

Another excellent choice is the GE Advanced Silicone Kitchen & Bath Sealant, which is also 100% waterproof and mold-resistant for up to 10 years. It adheres strongly to common bathroom surfaces like porcelain, tile, laminate, and glass.

Avoid using acrylic or latex-based sealants in wet areas, as they can shrink, crack, or lose adhesion over time. Silicone remains permanently flexible and delivers a stronger, longer-lasting seal for bathroom fixtures.

How to seal a sink in a bathroom

Sealing a bathroom sink is a DIY project yielding reliable water protection for your countertops and cabinets. Follow these steps for a watertight, professional-looking finish:

  • Remove old sealant using a putty knife or GE’s Sealant Remover Tool. Carefully scrape away any cracked or peeling material without damaging surrounding surfaces.
  • Clean the area with soap and water to remove residue, mold, or grime. Let it dry completely—fresh sealant won’t adhere properly to damp surfaces.
  • Apply painter’s tape along both sides of the seam if you want cleaner lines and easier cleanup.
  • Cut the nozzle of your GE silicone sealant at a 45-degree angle and puncture the inner foil. Load the cartridge into a caulk gun.
  • Apply a steady bead of sealant along the joint where the sink meets the countertop.
  • Smooth the bead immediately using a gloved finger or GE’s Sealant Smoothing Tool to ensure full contact and a clean finish.
  • Remove the tape while the sealant is still wet.
  • Allow the sealant to cure—Pro Seal Max is water-ready in 30 minutes, but full curing takes 24 hours.

Proper sealing prevents leaks and keeps grime from building up in gaps. Follow these steps and you’ll have a professional-grade seal around your bathroom sink.

When to reseal your bathroom sink

Knowing when to reseal your bathroom sink helps prevent costly water damage and mold growth. Over time, even the best sealants degrade due to constant exposure to moisture, cleaning products, and natural joint movement. Look for signs like cracking, peeling, mold discoloration, or gaps where the sink meets the countertop—these indicate the seal has failed and should be replaced.

You should also reseal any time you replace the sink, countertop, or faucet, or if you’ve removed old sealant during a bathroom refresh. Even if no visible damage is present, it’s a good idea to inspect and reseal every 2–3 years, especially in high-use bathrooms. Regular resealing maintains the watertight barrier needed to protect the underlying cabinetry and structural materials.

Common sink sealing challenges

Bathroom sinks come in a variety of shapes and installation types, and each presents unique sealing considerations. For undermount sinks, apply sealant around the edge where the sink meets the underside of the countertop to prevent water from seeping between the two surfaces. For drop-in sinks, focus on the perimeter seam at the countertop level, ensuring even coverage around curves or corners.

Learn more about installing undermount sinks.

In sinks with integrated backsplashes or nearby fixtures, leave enough working space to smooth the sealant without interference. If sealing in tight spaces, choose a sealant tube with a precision nozzle for better control.

For a cleaner appearance, use a color-matched sealant—GE Pro Seal Max Kitchen & Bath comes in white and clear to suit different finishes. A tidy bead not only improves moisture protection but also enhances the finished look of your bathroom sink area.

To get GE Sealants’ products for your home improvement project, visit these fine retailers in the U.S. or Canada.

Contact Form

All Purpose Silicone 1® Sealant