Note: This DIY article is provided as a general guide only and is not intended to take the place of product-specific installation procedures; always follow applicable manufacturers’ instructions. Depending on your home’s age and condition, location within the home, and other potential factors, repairs and/or upgrades or other services may be necessary prior to the beginning and/or completion of your project that may involve the services of a home improvement professional. This article does not include advice pertaining to local building codes and/or any related inspections.
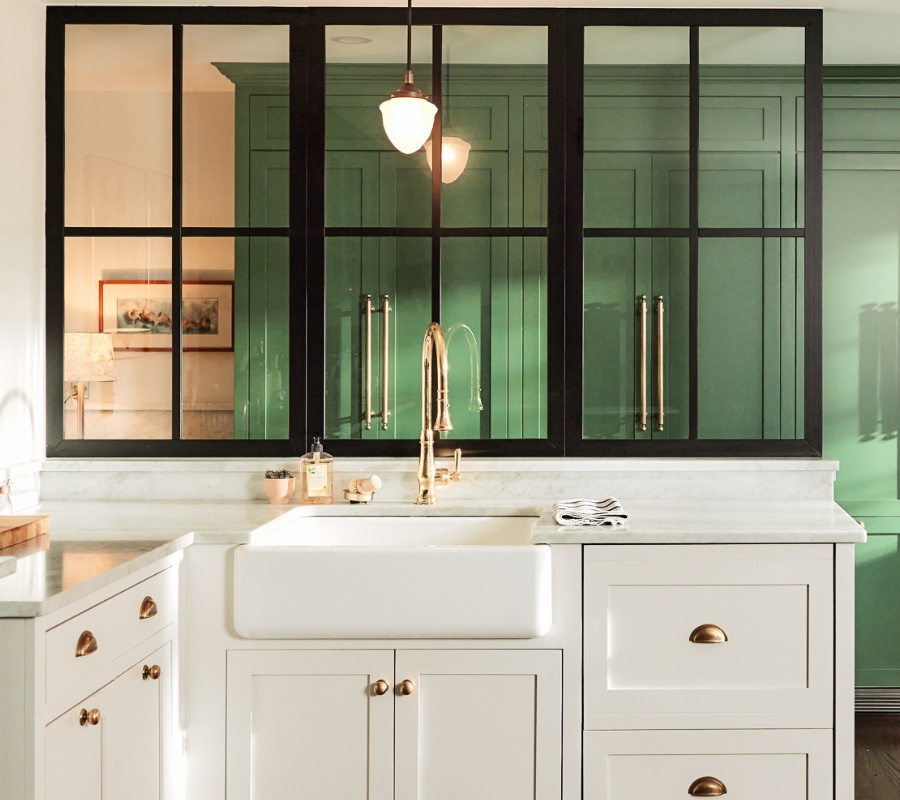
If your kitchen looks tired but a remodel’s not in the cards, you’re not alone. Dull caulk lines, stained grout, and cracked seams can make even a clean kitchen feel dated. But with just a weekend, you can complete a kitchen refresh that upgrades both appearance and protection. This guide walks you through three fast, high-impact upgrades using professional-grade GE sealants and tools engineered for lasting results.
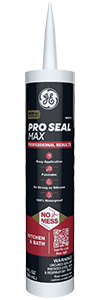
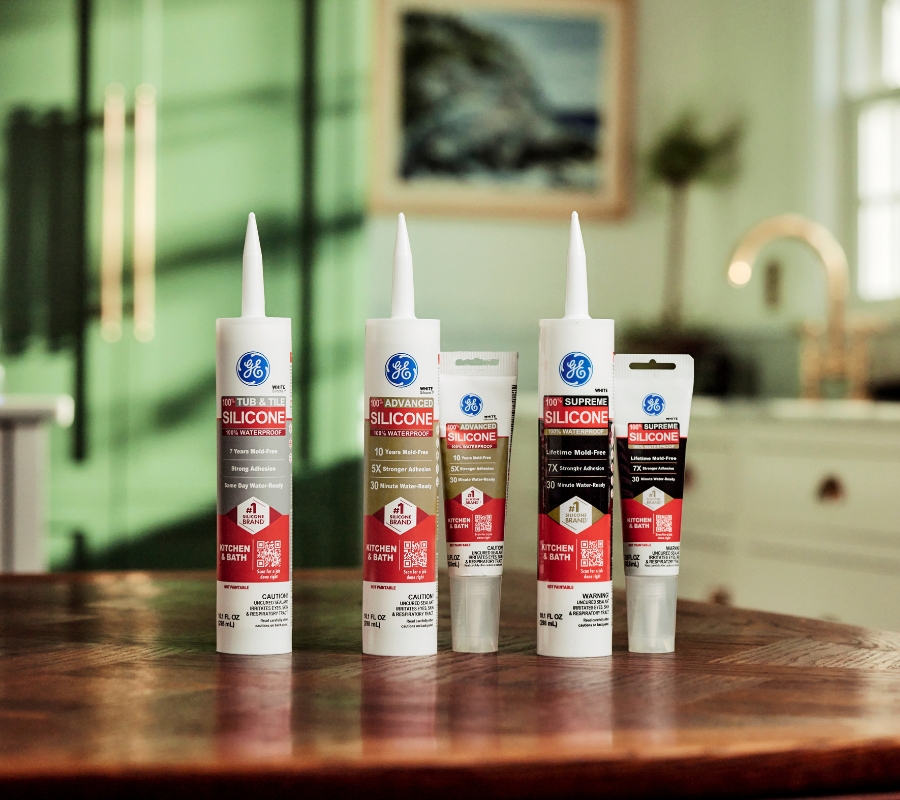
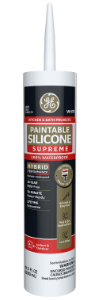
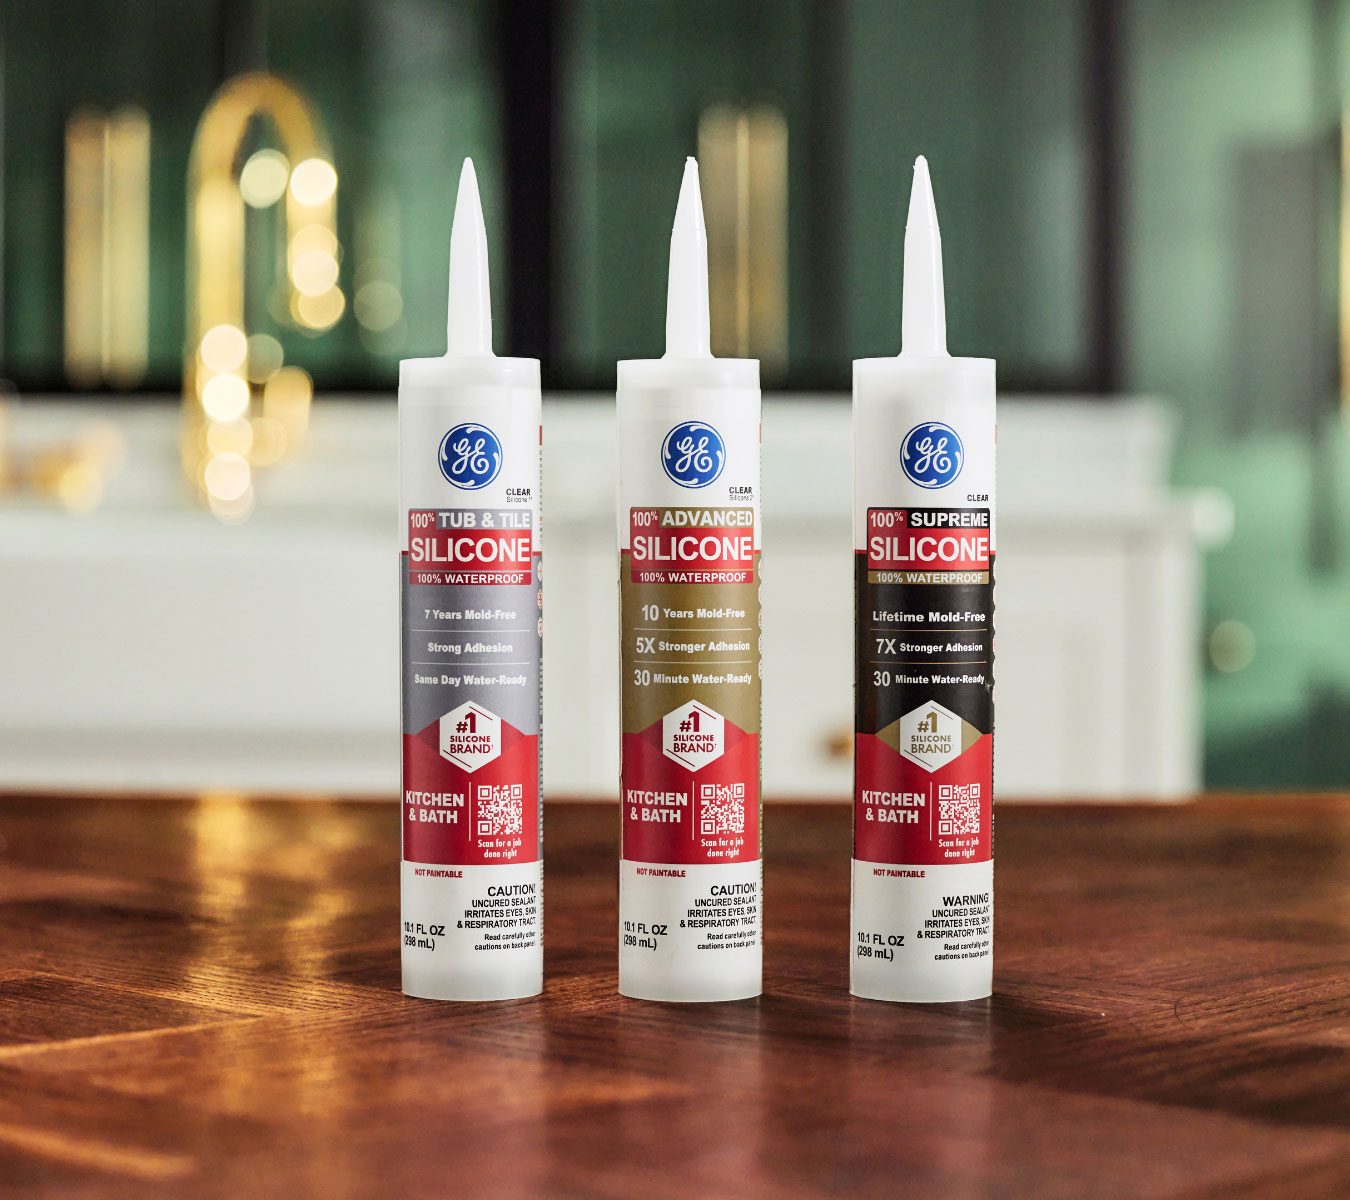
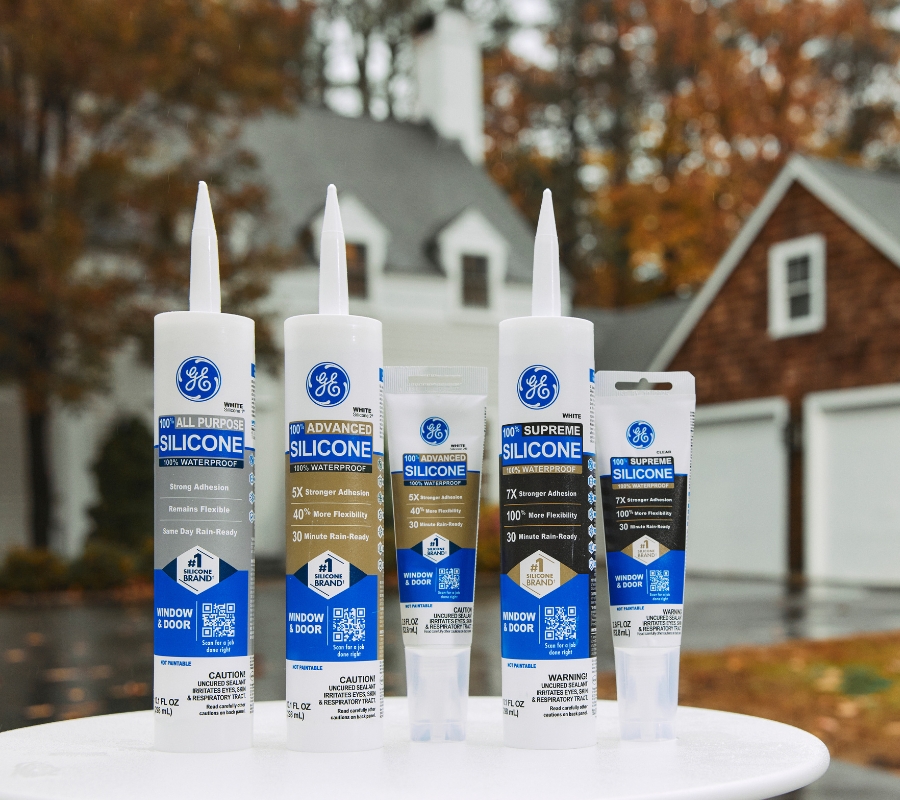
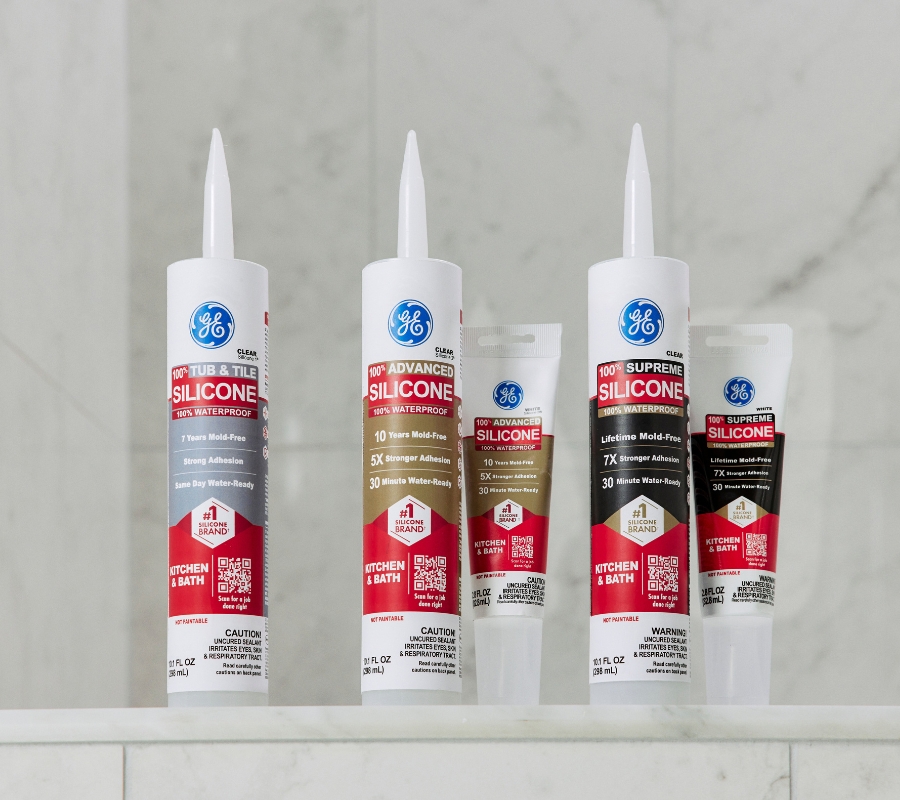
Even one cartridge of sealant can transform your kitchen’s look. GE’s Pro Seal Max Kitchen & Bath is paintable, mold-resistant, and ready for water in just 60 minutes—perfect for sinks, countertops, and backsplashes.
What can you get done this weekend?
A full kitchen remodel takes weeks. However, you can do a kitchen refresh in just two days! With the right tools, you can upgrade three key zones that instantly improve how your kitchen looks and functions: your backsplash, your sink, and your grout lines.
Each project in this easy kitchen makeover takes under an hour and uses tools and materials chosen for fast cure times, clean application, and professional-looking results, including GE’s Pro Seal Max Kitchen & Bath sealant. You’ll spend more time admiring your results than waiting for things to dry.
Here’s how your weekend can look:
Saturday:
- Reseal the backsplash and countertops in 60–90 minutes. Water-ready in just 60 minutes with Pro Seal Max
- Reseal around the sink—roughly 30 minutes. Paintable in 1 hour (if needed)
Sunday:
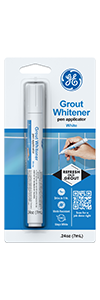
- Whiten grout lines with GE Grout Whitener Pen: 30–45 minutes
- No cure time—ready when dry
Each task is short, standalone, and designed for maximum visual impact. You don’t need to rip anything out, learn new tools, or lose access to your kitchen. Just a few hours of hands-on work, and a cleaner, sharper kitchen by Sunday night.
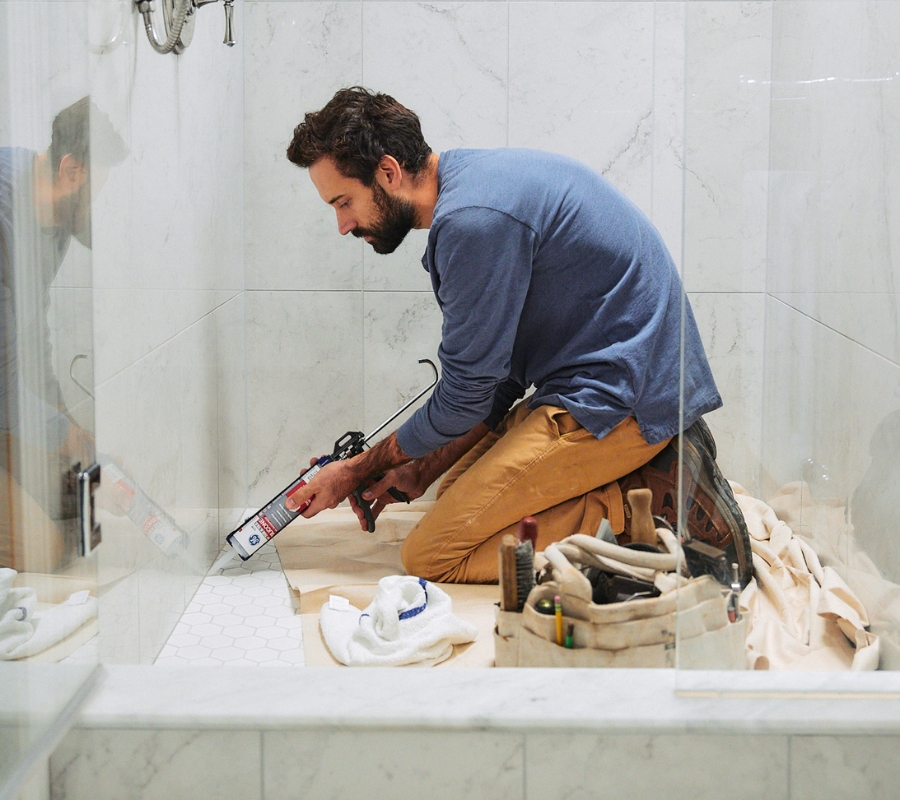
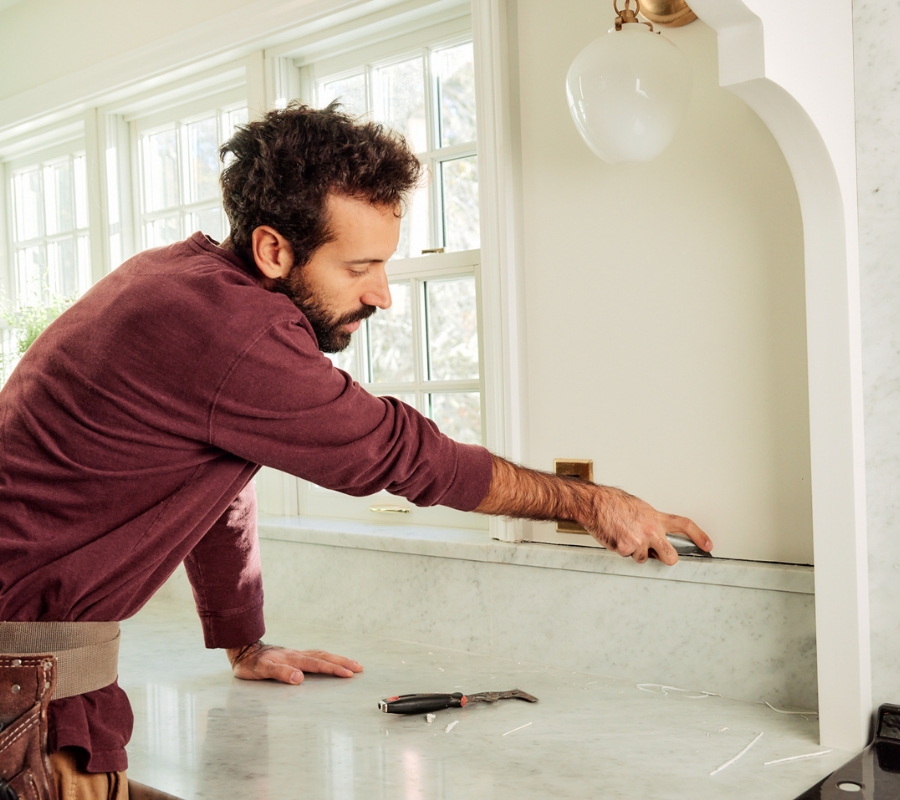
Reseal your backsplash and countertops for a clean, modern finish
Over time, sealant around your countertops and backsplash can crack, discolor, and attract mold, making even the cleanest kitchen look worn out. Fortunately, resealing these areas is an easy way to refresh your kitchen without a full renovation, and it can be done in under an hour.
GE’s Pro Seal Max Kitchen & Bath sealant is perfect for these high-moisture zones. It’s waterproof, mold-resistant, and bonds to both damp and dry surfaces, ensuring a long-lasting, flexible seal.
Unlike acrylic caulks, which shrink and crack over time, silicone-based sealants stay intact and flexible, even when exposed to water and frequent cleaning.
To get started, here’s what you’ll need for clean lines and lasting results:
- GE Pro Seal Max Kitchen & Bath sealant
- GE Smoothing Tool (or a gloved finger)
- GE Sealant Remover Tool or utility knife
- Isopropyl alcohol and a lint-free cloth
- Painter’s tape
- Caulking gun
To reseal your backsplash and countertops:
- Remove old sealant using GE’s Sealant Remover Tool.
- Clean the area with isopropyl alcohol to eliminate grease or grime, then let it dry completely.
- Apply painter’s tape along the edges of the joint to get clean, professional lines.
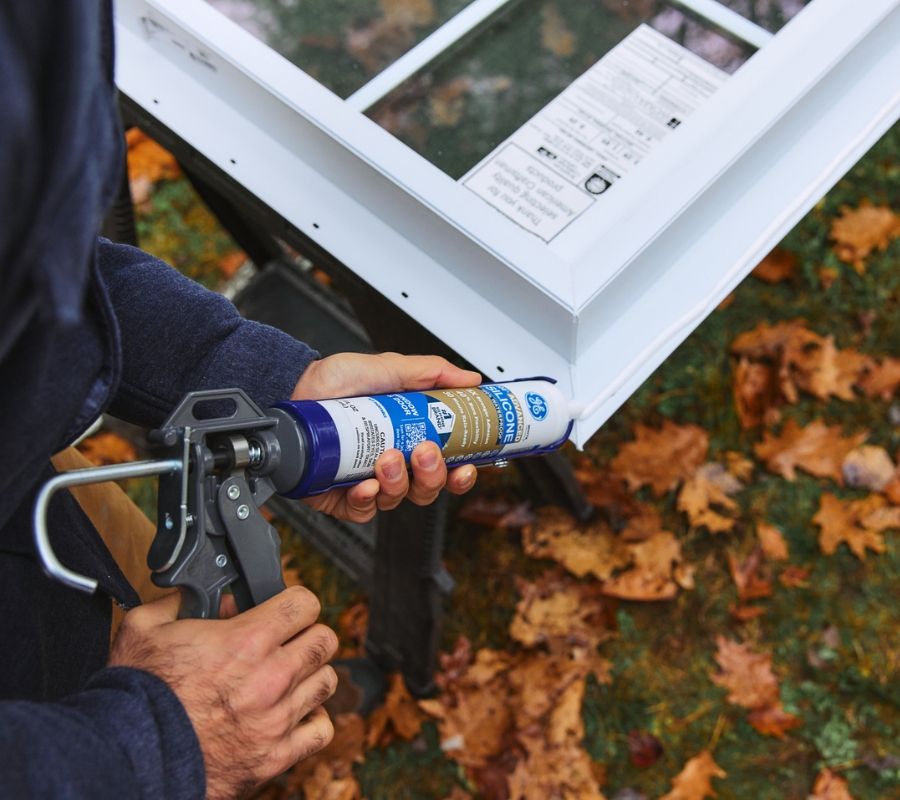
- Cut the nozzle on your cartridge to the desired bead size and load it into a caulking gun.
- Apply a steady bead of sealant along the seam in one continuous motion.
- Smooth the sealant using GE Smoothing Tool or a gloved finger.
- Remove the tape immediately for a crisp finish.
In just a few minutes, you’ll have a fresh, modern look that’s waterproof and ready for daily use.
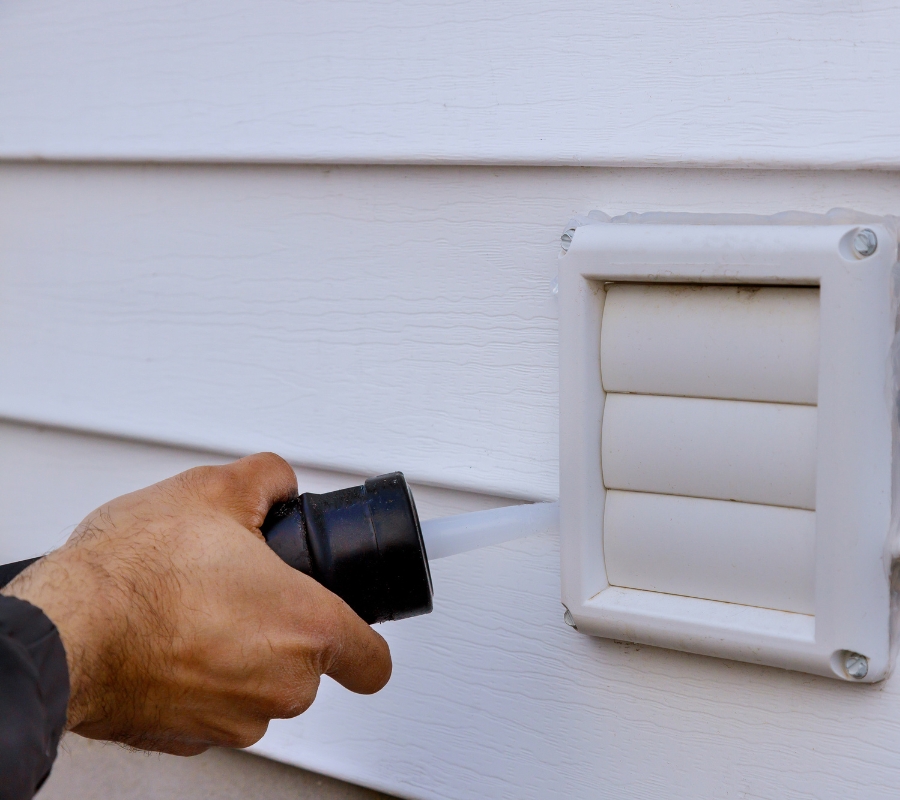
Reseal around your sink for a fresher, cleaner look
Just like your backsplash, the seal around your sink takes on daily wear—but with even more moisture, mess, and movement. Between splashes, soap buildup, and constant wiping, this seam can peel, trap grime, and harbor mold over time. Resealing it is one of the fastest, most satisfying DIY kitchen upgrades you can knock out in under 30 minutes.

Since you’re already using Pro Seal Max Kitchen & Bath for the backsplash, there’s no need to switch products. It’s mold-resistant, permanently flexible, and safe to use indoors thanks to its low odor.
Plus, it’s water-ready in 60 minutes and paintable after an hour. For a clean, bright line, choose white. For a subtle, low-profile finish, use clear.
To tackle this fast upgrade, gather the following tools before you begin:
- GE Pro Seal Max Kitchen & Bath sealant
- GE Smoothing Tool (or a gloved finger)
- GE Sealant Remover Tool or utility knife
- Isopropyl alcohol and a cloth
- Painter’s tape
- Caulking gun
To reseal around your sink:
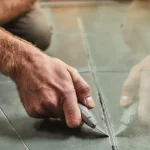
- Cut and remove all old sealant using a utility knife or remover tool. Scrape down to the surface, especially in corners and curves where residue often builds up.
- Clean the entire seam thoroughly with isopropyl alcohol using a lint-free cloth or paper towel. This removes soap, grease, and debris that could prevent bonding.
- Apply painter’s tape just outside the joint to define the sealant line and protect the surrounding surface.
- If you haven’t already, load the Pro Seal Max cartridge into a caulking gun and apply a smooth, continuous bead along the seam without pausing.
- Immediately smooth the sealant with a smoothing tool or gloved finger, applying gentle, consistent pressure.
- Carefully remove the tape while the sealant is still wet to create a sharp, professional-looking edge.
In less than half an hour, you’ll seal out moisture, block mold, and give your sink a sharper, cleaner look—making it one of the most visible DIY kitchen upgrades in your weekend refresh.
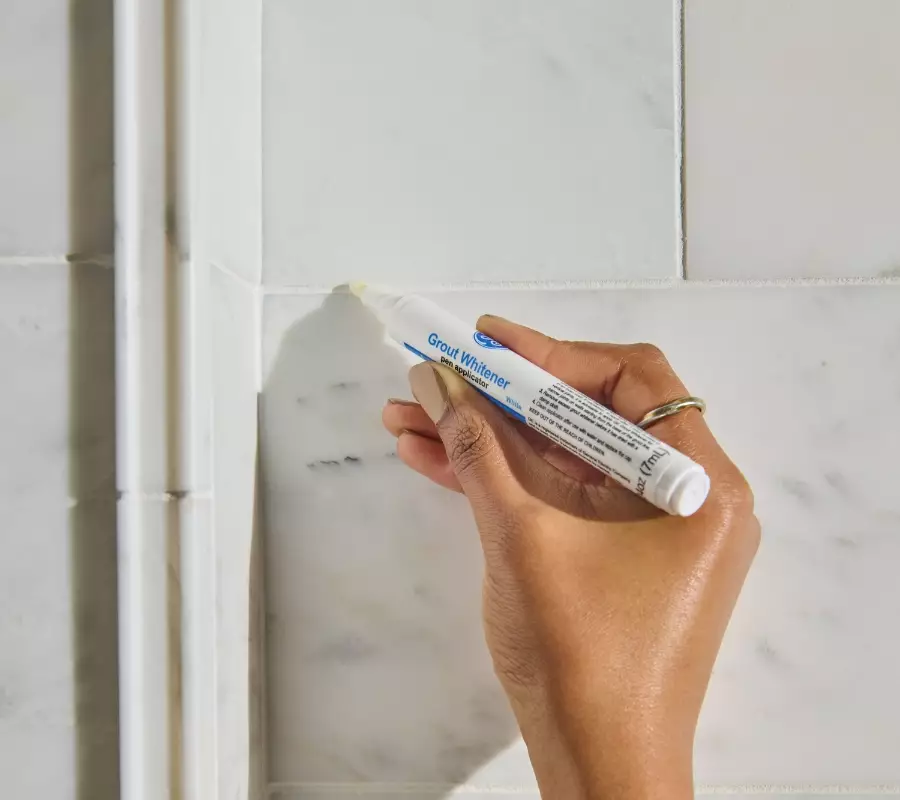
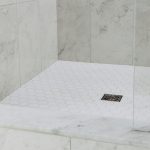
Whiten your grout to brighten your whole kitchen
Grout stains are often the last thing you notice—and the first thing that makes a kitchen look older. Even if your tile is spotless, yellowed or dingy grout lines can dull the entire surface.
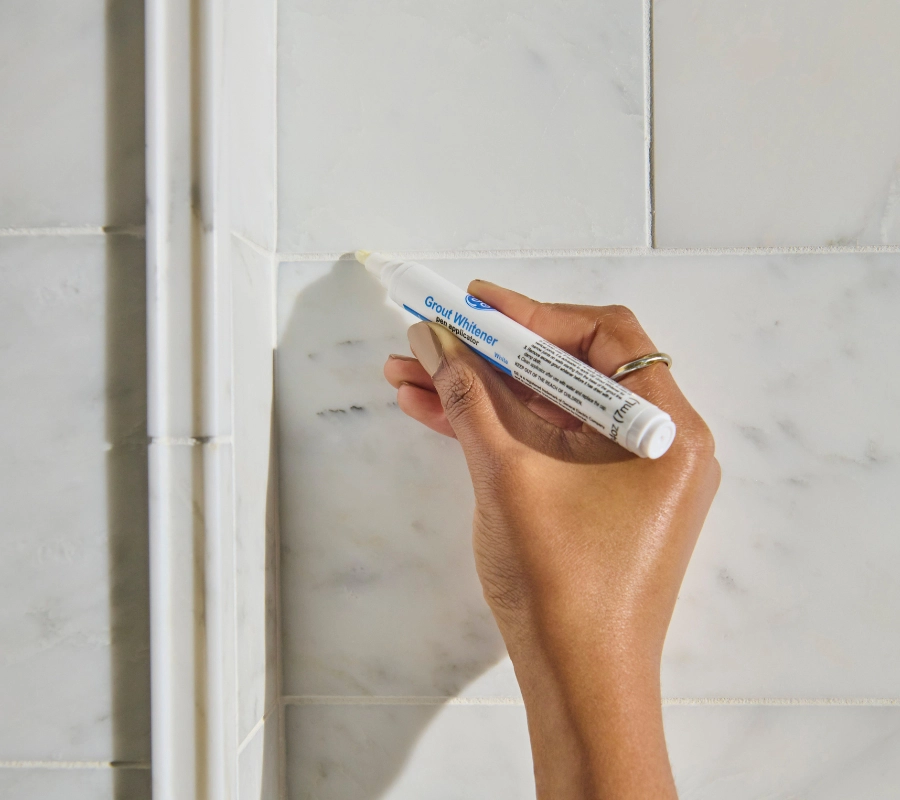
GE Grout Whitener Pen offers a fast, mess-free way to restore brightness without regrouting. It applies directly over existing grout, requires no tools, and dries quickly.
Once your sealing projects are complete, this is the final step in your weekend refresh. Just make sure your grout lines are clean and dry, then apply the whitener evenly along each joint. Work in sections, let dry, and wipe away any excess from the tile surface.
In under an hour, you’ll sharpen the contrast between tile and grout—finishing your easy kitchen makeover with a clean, updated look.
Kitchen refresh FAQs
Can I really do all this in one weekend?
Yes. Each project takes 30 to 90 minutes, and all materials used—including GE’s Pro Seal Max Kitchen & Bath sealant—are designed to cure quickly and clean up easily. You won’t need to block off your kitchen or wait days to use it again.
Do I need special tools?
No. Basic supplies like painter’s tape, a utility knife, and isopropyl alcohol are all you need to prep and seal. A grout whitener pen simplifies the final step, and a smoothing tool helps you get clean, professional lines.
How long does Pro Seal Max last?
It’s a hybrid silicone sealant rated to stay flexible, mold-resistant, and waterproof over time. It meets ASTM C-920 standards and comes with a lifetime guarantee when used as directed.
Should I choose clear or white sealant?
White works well when you want to highlight seams or create contrast, especially along lighter tiles. Clear is best when you want the seal to blend into the background.
Can I apply new sealant over the old?
No. The old sealant needs to be fully removed before applying the new one to ensure proper bonding and durability.
Can I use these materials near heat or behind a stove?
Pro Seal Max is safe for high-moisture areas like sinks and backsplashes but should not be used on surfaces exposed to direct flame or extreme heat. For areas near burners or heating elements, always check the sealant’s rated temperature range.
Whether you’re resealing seams, brightening grout, or just cutting back on cluttered edges, a weekend is all it takes to refresh your kitchen. With just one cartridge of GE’s Pro Seal Max Kitchen & Bath, a few simple tools, and a free afternoon, you can get professional-level results. Find GE Pro Seal Max Kitchen & Bath and other sealant tools at a store near you in the U.S. or Canada.