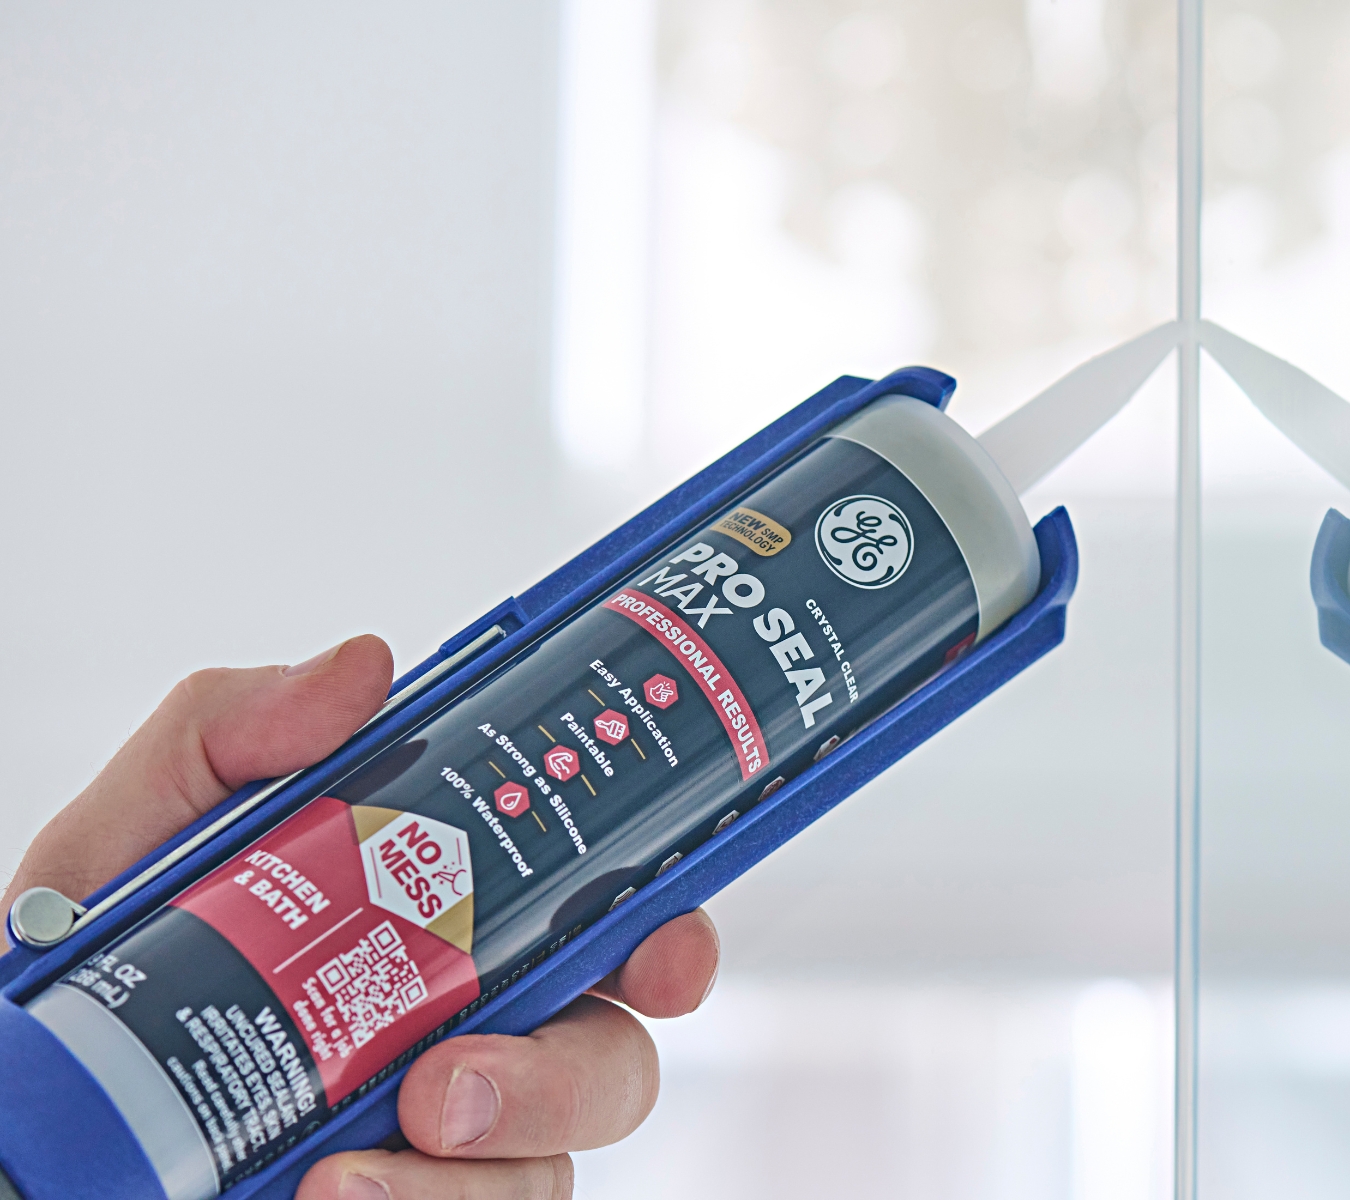
Skip removal, and the seal won’t last Can you use silicone sealant over old sealant?

Note: This DIY article is provided as a general guide only and is not intended to take the place of product-specific installation procedures; always follow applicable manufacturers’ instructions. Depending on your home’s age and condition, location within the home, and other potential factors, repairs and/or upgrades or other services may be necessary prior to the beginning and/or completion of your project that may involve the services of a home improvement professional. This article does not include advice pertaining to local building codes and/or any related inspections.

Can you really put new silicone sealant over old sealant? The short answer: you can, but you shouldn’t. Here’s why removal is your best bet for a watertight, long-lasting seal.

A lasting seal starts with a clean slate: remove the old bead, clean with alcohol, and let it dry before applying your GE silicone sealant.

Why putting silicone over sealant rarely works

Silicone sealant is designed to grip the surface of tile, glass, metal, or acrylic. Once the sealant cures, it forms a skin. When you apply silicone over old sealant, you’re bonding to that skin, not the actual surface.

That layer is often contaminated. Soap residue, oils, mildew spores, and even cleaning chemicals seep into the edges of old caulk. Those contaminants sit between the new bead and the substrate, creating weak points where water can sneak through. 

In wet or high-movement areas in your home, like shower corners, tubs, or sinks, those spots flex thousands of times a year. This means if the base layer isn’t anchored to the surface, the whole seal can lift long before its rated life.

Not removing the old sealant also traps mildew pockets. Brittle edges and uneven profiles force your new bead to follow the same flawed line. Even if it looks intact, micro-separation along the edges lets moisture in from day one. Additionally, scraping alone leaves a thin smear that feels clean but isn’t. A quick wipe with isopropyl alcohol is what provides a bond-ready surface for new silicone sealant.
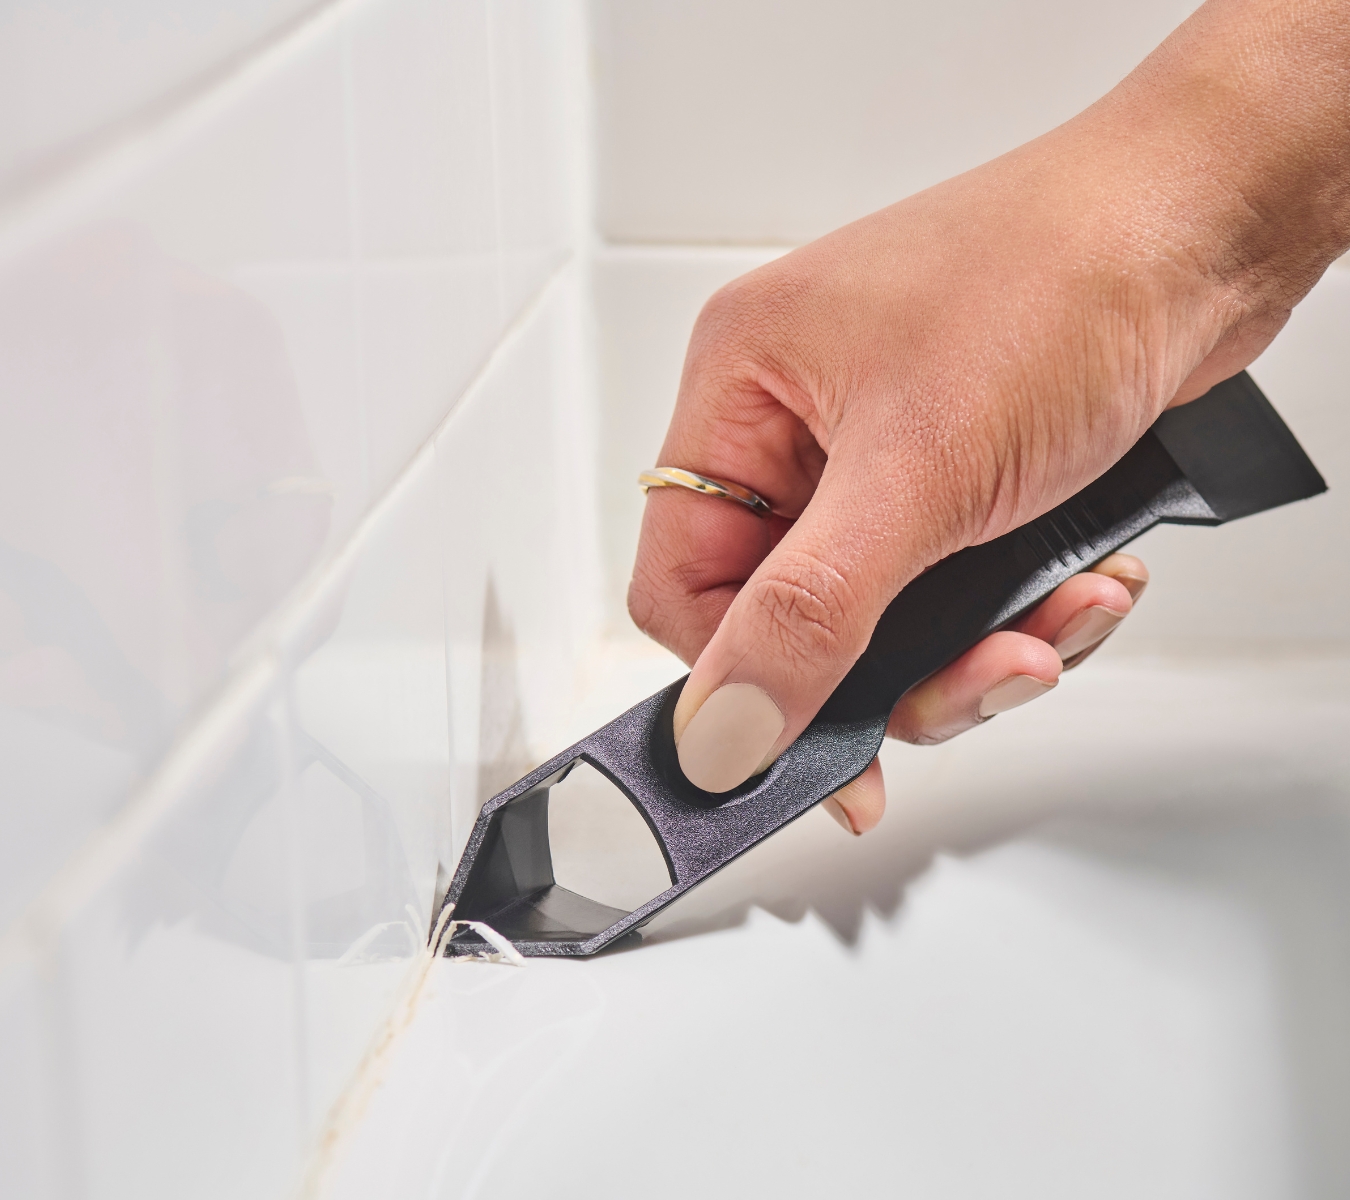
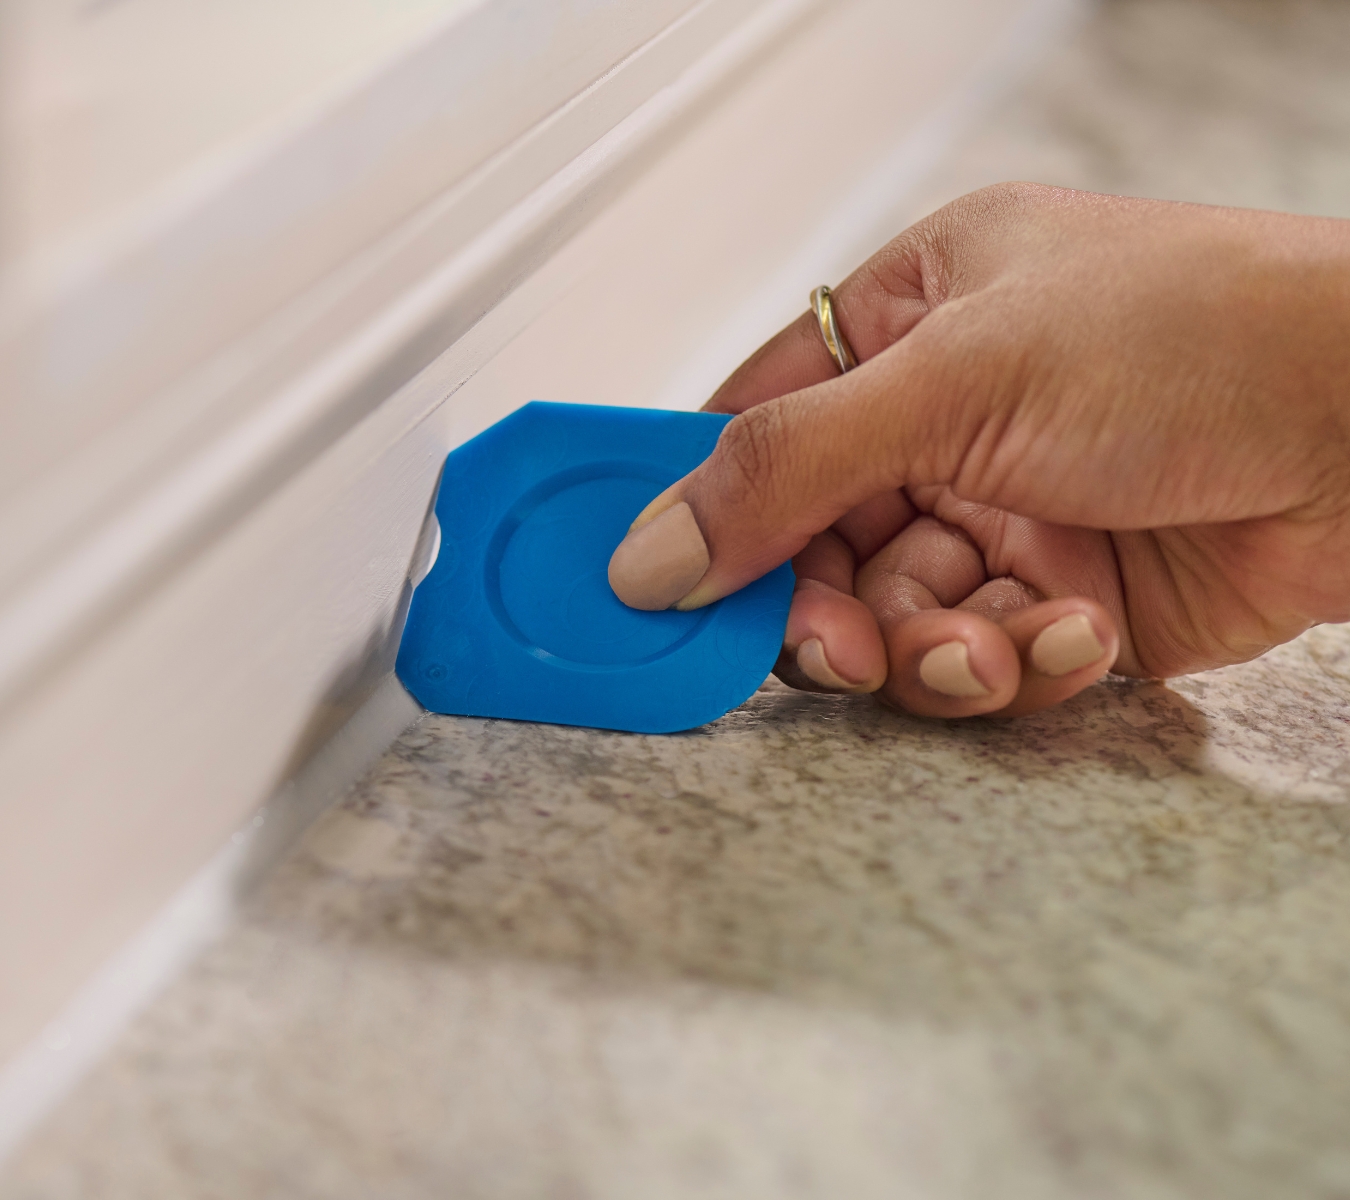
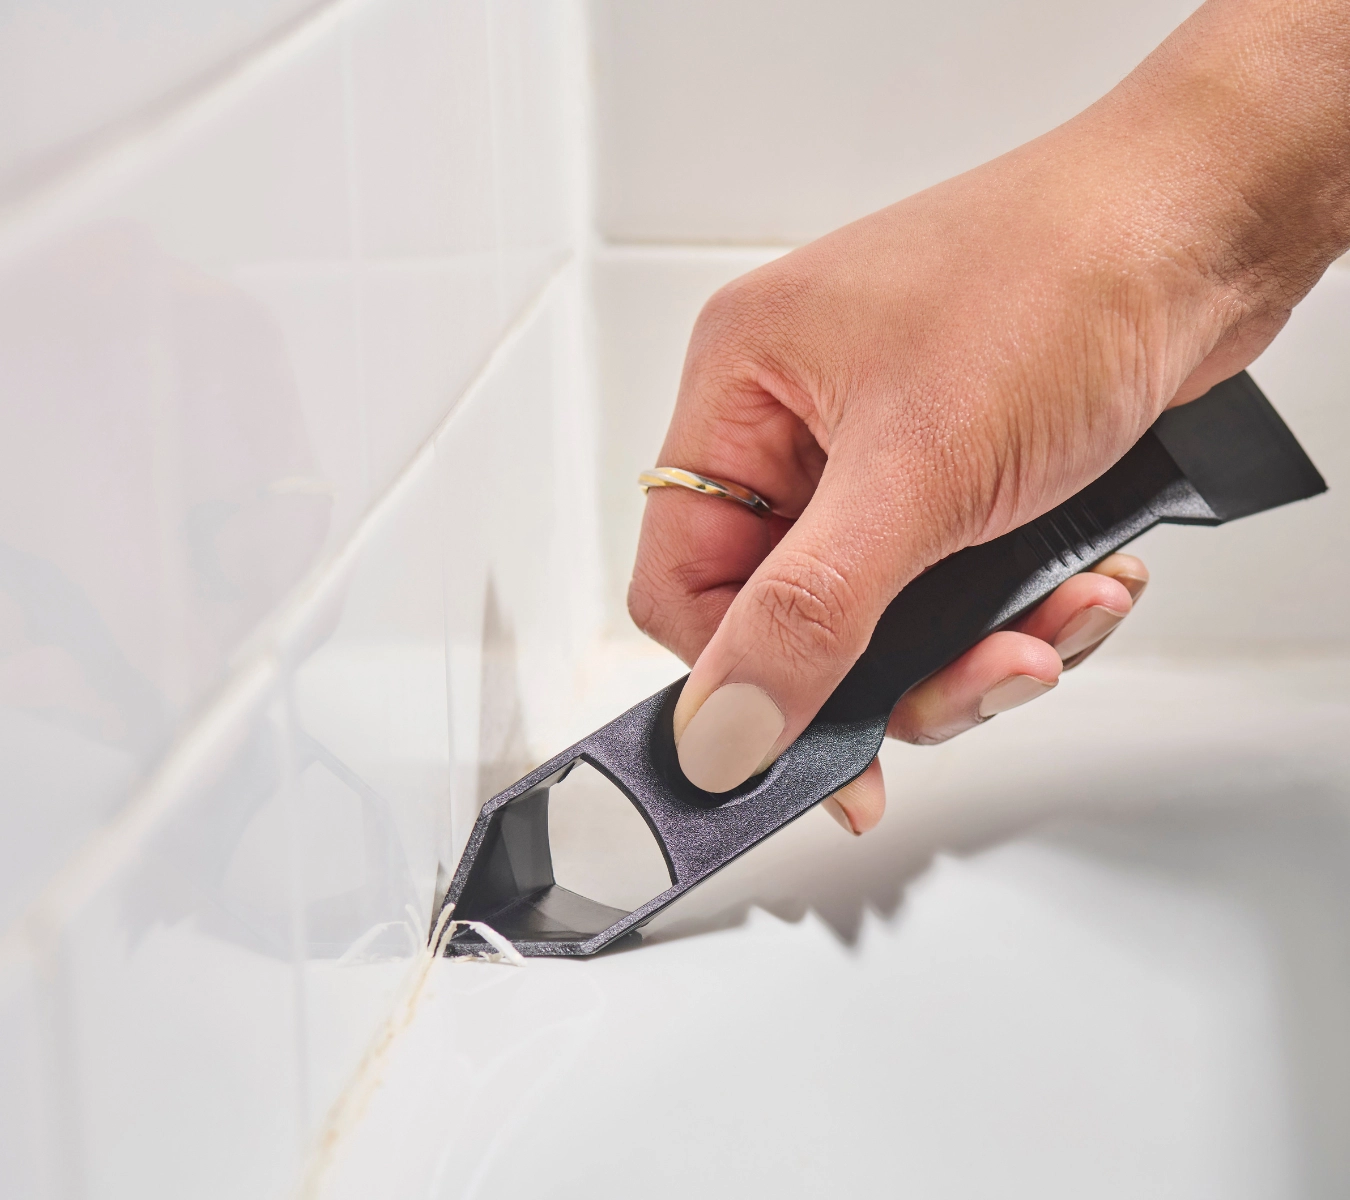
Removing old silicone sealant from bathtub joint with GE Sealant Remover Tool.

How to remove old sealant before resealing

  1. Cut the bead free. Use the GE Sealant Remover Tool to carefully remove the sealant without scratching the surrounding surface. Work the tip under the edge and slide along the joint, lifting the old sealant in one continuous strip where possible.
  2. Remove the residue. Cured sealant leaves a thin smear that new sealant won’t bond to. So, wipe the joint with a lint-free cloth dampened with isopropyl alcohol. This dissolves oils and picks up fragments.
  3. Dry completely. Any moisture left in the joint can interfere with adhesion.
  4. Use a backer rod for deep gaps. If the gap is over 1/2 inch, insert a backer rod to control the bead depth and avoid three-sided adhesion, reducing stress on the joint and extending the life of your silicone sealant.

Choosing the right silicone sealant for a lasting finish
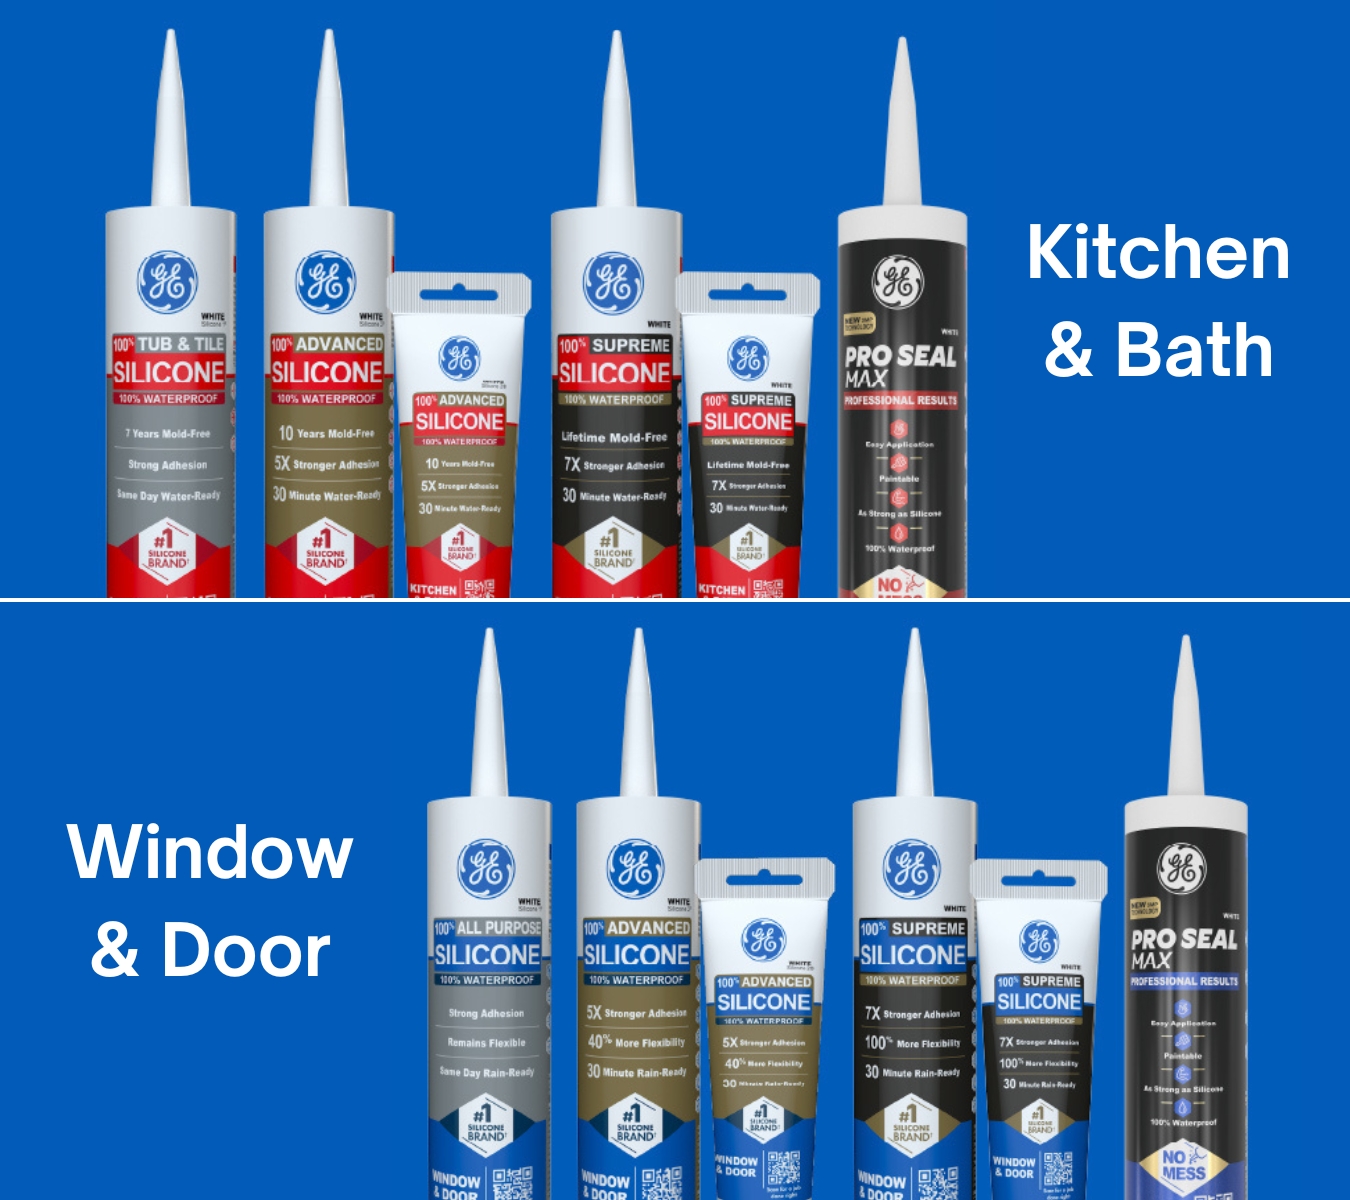
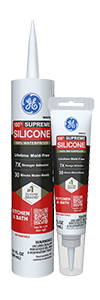
GE Tub and Tile, All Purpose, Advanced Silicone, Supreme Silicone, and Pro Seal Max sealants for kitchen, bath, window, and door applications.

Once the joint is clean and ready, the right product will decide how long that seal lasts. 

In wet areas like showers, tubs, and sinks, 100% silicone sealant delivers maximum waterproofing, flexibility, and mold resistance.

  • Good: Tub & Tile Silicone: Delivers a 100% silicone seal for tubs, sinks, and showers. It’s reliable for fixture joints and is water-ready the same day.
  • Better: Advanced Silicone Kitchen & Bath: Provides a durable, waterproof seal, making it excellent for standard bathroom and kitchen joints.
  • Best: Supreme Silicone Kitchen & Bath: Higher flexibility and adhesion for joints that see more movement, like shower corners or deep tub surrounds.

For windows, doors, and exterior joints, match the environment to the right formulation:

Remember to always match the product to the environment: moisture-heavy areas call for 100% silicone, while painted finishes or multi-surface adhesion call for a hybrid formula.

The quick way to reseal a joint

Once you have prepared the joint and chosen the right sealant, follow these steps for a durable finish.

  1. Cut the nozzle for control. Slice the tip at a 45-degree angle, opening just wide enough to match the joint width. A smaller opening gives you better bead control and reduces cleanup.
  2. Apply in one steady pass. Load the cartridge into the gun, place the tip at the start point, and apply even pressure to lay a continuous bead. Keep the tip in contact with both surfaces to ensure full adhesion.
  3. Tool immediately for a watertight seal. Use the GE Sealant Smoothing Tool to shape and press the bead into the joint. Make one smooth pass, wiping the tool (not the bead) between strokes to avoid dragging.
  4. Respect cure times before use. Many GE silicone sealants are water-ready in 30 minutes for light splashes, but allow 24 hours before heavy use or scrubbing. Hybrids like Pro Seal Max can handle incidental contact sooner, but still need a full cure for long-term performance.

FAQ

Can I put new silicone over old sealant?

You can, but it rarely holds. Cured silicone has a skin that fresh silicone sealant struggles to bond to. Contaminants trapped in the old bead can also weaken adhesion. Removing the old material is the only way to ensure a lasting seal.

How do I know if I need to remove old sealant?

If you see mildew staining, edge lifting, cracking, or a bead that feels gummy, it’s time to remove the old sealant. Even if it looks intact, micro-separation at the edges can let water through.

How long before I can use the shower after resealing?

Most GE silicone sealants are water-ready in 30 minutes for light splashes, but wait 24 hours before full use or scrubbing. Hybrids like Pro Seal Max handle incidental contact sooner but still need a full cure for best performance.

Can I paint over silicone sealant?

No, 100% silicone isn’t paintable. If you need a paintable seal, choose a hybrid like GE Pro Seal Max, which bonds to multiple surfaces and accepts paint once cured.

What’s the fastest way to remove old silicone?

Use the GE Sealant Remover Tool to lift the bead without scratching surfaces. Follow with a wipe-down using isopropyl alcohol to remove residue before resealing.

A flawless seal starts with a clean substrate. Skipping the step to remove old sealant may feel faster, but it locks in the flaws that caused the joint to fail in the first place. Fresh silicone sealant performs at its best only when it bonds directly to the surface it’s meant to protect.

Ready to take the next step? Find GE sealants and tools for removing old sealants at a retailer near you in the U.S. or Canada. 
Don’t wait for winter—air seal now and save yourself hassle and expense later Fall home maintenance guide: seal now to avoid big repairs later

Note: This DIY article is provided as a general guide only and is not intended to take the place of product-specific installation procedures; always follow applicable manufacturers’ instructions. Depending on your home’s age and condition, location within the home, and other potential factors, repairs and/or upgrades or other services may be necessary prior to the beginning and/or completion of your project that may involve the services of a home improvement professional. This article does not include advice pertaining to local building codes and/or any related inspections.

Fall is the ideal time to prepare your home for colder, wetter weather. Tackling key air sealing projects now can save you the hassle of dealing with drafts, moisture damage, and costly repairs down the line. This guide covers essential maintenance areas, from kitchens to exteriors, along with the right GE Sealants products to get the job done.

Cold, wet weather can wreak havoc on your home’s interior and exterior if gaps and cracks are left unsealed. Start your fall home maintenance this season by inspecting kitchen and bathroom surfaces, siding joints, and the foundation.

Why fall is the time for air sealing your home

As temperatures drop and humidity rises, small gaps and failing seals around your home can lead to big problems. Cold air seeps in, warm air escapes, and moisture can creep into places it shouldn’t, causing damage to walls, floors, and fixtures.

Fall is the best time to check these areas while the weather is still mild enough in most areas for repairs. Air sealing your home now will improve its energy efficiency and help lower heating costs throughout the winter. With the right sealant, you can protect your home from drafts, leaks, and mildew before they turn into expensive repair projects.

Kitchen and bath: reseal wet zones before the winter

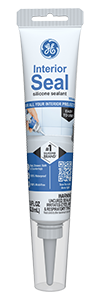
GE Interior Seal.

Kitchens and bathrooms see daily exposure to moisture, making them prime spots for cracked or moldy sealant. As part of your fall home maintenance, check around sinks, tubs, backsplashes, toilets, and countertops for any peeling, stained, or crumbling sealant. Even small gaps can let water in, leading to mold growth or damage beneath the surface. 

If you spot any issues, remove the old material using the GE Sealant Remover Tool or a putty knife. Once the area is clean and dry, apply GE Interior Seal to reseal joints and seams. This sealant is designed for indoor use and resists mold and mildew, making it ideal for high-moisture zones. Use painter’s tape for a clean edge and follow curing instructions on the label to ensure a long-lasting seal.

Air seal exterior siding, vents, foundation

Cold, wet weather can wreak havoc on your home’s exterior if gaps and cracks are left unsealed. Start your fall home maintenance by inspecting siding joints, vent penetrations, outdoor faucets, and the foundation line for missing or deteriorated sealant.

These vulnerable areas allow water intrusion, which can freeze and expand in winter, causing costly structural damage. Also, look around exhaust vents, hose bibs, and electrical conduit, as these spots often go unnoticed. If you find old or cracked sealant, remove it to prep for a clean reseal.

For exhaust vents, check where the vent housing meets the siding. Then seal any gaps where air or water could enter. Around hose bibs, inspect the connection between the pipe and the wall, especially where caulk may have deteriorated due to sun and seasonal exposure. For electrical conduits, make sure there’s a continuous seal around where the conduit enters the structure. Use painter’s tape to help create clean sealant lines in tight spaces and apply sealant evenly around each opening.

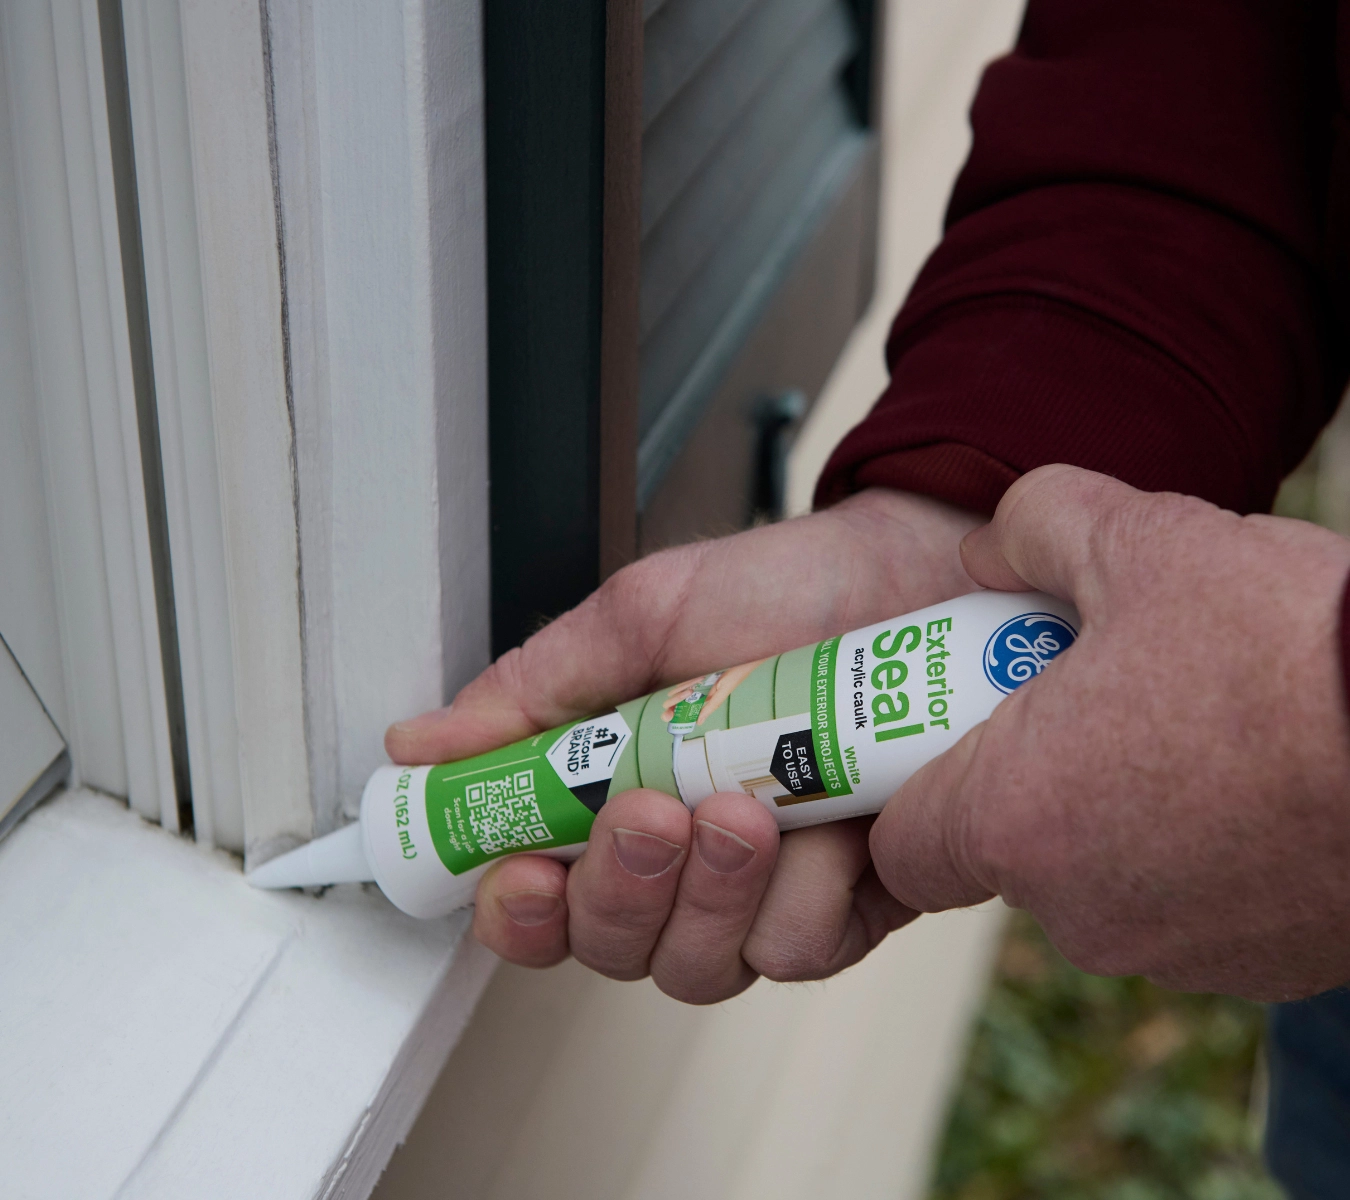
For these areas, we recommend GE Exterior Seal. A flexible, weather-resistant sealant formulated to withstand temperature swings, UV rays, and moisture. Exterior Seal bonds to most exterior materials and is paint-ready if you’re touching up siding or trim. Apply on a dry day when temperatures are above 40°F and be sure to follow cure-time guidelines.

Attics and basements: improve insulation with air sealing

Attics and basements often contribute the most to home energy loss, especially when gaps around structural joints, ductwork, or access panels go unsealed. As warm air rises, it escapes through your attic, while cold air seeps in through the basement, making your heating system work harder and increasing utility bills.

Before winter, inspect these areas for visible gaps, cracks, or old, crumbling sealant. Pay close attention to rim joists, sill plates, attic hatches, and areas where pipes or wiring enter or exit. Take out any failing sealant and clean the surfaces. Then apply GE Interior Seal to fill gaps and seams. Interior Seal adheres well to wood, drywall, and masonry and remains flexible through seasonal shifts. Sealing before adding or upgrading insulation will improve your home’s thermal performance and reduce the risk of moisture condensation inside walls. As a properly sealed attic and basement create a more efficient building between the inside and the outside, air sealing these areas is one of the most cost-effective ways to improve home comfort during the colder months.

How to check if sealant needs replacing

Regardless of whether you’ve recently moved or owned your home for decades, you’ll likely encounter old sealant to remove in the course of this air sealing project. Fortunately, old or damaged sealant is easy to spot once you know what to look for.

A homeowner removes old sealant with GE’s Sealant Remover Tool.

Common signs to watch for in sealant maintenance include cracking, shrinking, discoloration, separation from the surface, or areas where moisture or mildew has set in. Run your finger along joints and seams. If the sealant crumbles or pulls away, it’s time to replace it. Use your GE Sealant Remover Tool to lift out the old material without scratching surrounding surfaces. Clean the area thoroughly, let it dry, then apply fresh sealant appropriate for the location.

To get GE Sealants’ products for your home improvement project, visit these fine retailers in the U.S. or Canada.

Learn how to apply silicone sealant cleanly for a polished, professional look every time How to get a smooth, pro finish with silicone sealant in the bathroom

Whether you’re sealing around a tub, shower, or sink, a flawless finish isn’t just a nice touch; it’s the mark of true craftsmanship. For pros in the trade, mastering the art of applying bathroom sealant cleanly and efficiently is key to delivering top-tier results that stand the test of time. In this guide, we’ll share how to apply silicone sealant in the bathroom with a polished, professional look, covering everything from prep to finish.

When it comes to bathroom caulking, silicone sealant is the gold standard. It’s flexible, waterproof, mold-resistant, and built to last in high-moisture environments.

Why silicone sealant is the pro’s choice in the bathroom

When it comes to bathroom caulking, silicone sealant is the gold standard. It’s flexible, waterproof, mold-resistant, and built to last in high-moisture environments. Unlike acrylic caulk, it won’t crack or shrink, making it ideal for areas exposed to constant water and steam.

For pros, silicone sealant in the bathroom is a must-have because they know it’ll deliver the best results. But while the material itself is powerful, its application can be tricky. It’s less forgiving than acrylic caulks and requires a more refined technique to avoid mess and ensure clean lines.

How to get a smooth, pro finish with silicone sealant in the bathroom

To apply silicone sealant cleanly, we’ve outlined everything in a step-by-step guide so it’s easy to follow. This will ensure you have the best bathroom caulk every time.

1. Remove old caulk 

Before you even touch a tube of silicone sealant, it’s crucial to prep the surface. That means removing old caulk that has cracked or degraded over time.

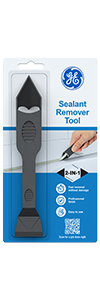
Use a high-quality caulk removal tool to lift away old sealant without damaging tile, tubs, or countertops. This will ensure you’re left with a clean space to work when it’s time to apply new sealant. Our Sealant Remover Tool features a sharp, pointed end for precise removal, even in the tightest corners. Its flat end will help scrape away stubborn residue.

Once the old sealant is gone, clean the surface with a mild cleaner to remove soap scum, mold, and dirt. A clean surface ensures proper adhesion and long-lasting results.

2. Choose the proper sealant for the job

Not all sealants are created equal. For bathroom applications, you want a premium product designed to resist mold and mildew while providing long-term flexibility.

GE Pro Seal Max Kitchen & Bath

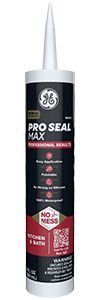
Our Pro Seal Max Kitchen & Bath is a hybrid formula and a top choice among professionals. It delivers the strength and flexibility of silicone with excellent adhesion on various surfaces, including ceramic, porcelain, and glass. Plus, it resists cracking, shrinking, and discoloration over time, even in high-humidity environments. It’s also paintable, should you need to match it to its surroundings.

Alternatively, if you’d like a 100% silicone sealant, try our Supreme Silicone Kitchen & Bath Sealant. It’s waterproof, as well as shrink- and crack-proof. Since it offers lifetime mold-free product protection, it’s a great choice for moisture-prone areas like the bathroom. Because this sealant isn’t paintable, it also comes in three shades (white, clear, and almond) to help match your bathroom décor.

Whether you’re sealing around a shower, tub, or sink, these products offer the durability and performance that professionals can rely on.

3. Tape the area for clean lines

Masking off the edges where you plan to apply silicone sealant helps ensure razor-sharp lines and prevents the product from smearing across tile or other surfaces.

Apply painter’s tape about 1/8” from the joint on both sides. This will give you a clear boundary and keep excess caulk off finished surfaces.

4. Cut the nozzle properly

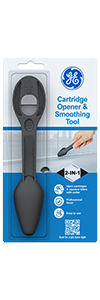
This is where precision begins. Using our Cartridge Opener and Smoothing Tool, cut the nozzle of your sealant to the desired bead size. Don’t cut too large a hole. A narrow bead offers more control and a cleaner finish. 

5. Apply silicone sealant smoothly

Hold your caulking gun at an angle. Apply steady pressure as you move along the joint. Try to maintain a continuous bead, working in short sections if needed. The goal is to fill the joint without over-applying fully.

A person using the GE Sealant Smoothing Tool to apply silicone sealant cleanly.

6. Smooth the bead with the right tool

Here’s where the magic happens. Use our Sealant Smoothing Tool to create that perfect finish. Our tool is designed for professional results. It glides smoothly along the bead, removing excess product and pressing the sealant into the joint for a watertight, polished finish.

Hold the tool at a slight angle and apply light, consistent pressure. Wipe off any buildup on the tool with a cloth as you go to prevent smearing.

Smoothing the bead improves its appearance, ensures proper adhesion, removes air bubbles, and helps the sealant cure correctly.

7. Remove tape immediately

Once the bead is smoothed, remove the painter’s tape while the silicone is still wet. Pull the tape away at an angle to avoid disturbing the fresh sealant. If any sealant lifts with the tape, you can carefully smooth it with your tool or a gloved finger.

8. Respect curing times

Silicone sealant doesn’t set instantly. Drying times can vary based on the room’s humidity, temperature, and product type. Pro Seal Max Kitchen & Bath is water-ready immediately, but not all products are the same.

Be sure to check the product label and avoid exposing the sealant to water or movement until ready. Don’t rush this step. Otherwise, it can compromise the seal and lead to callbacks, which every professional wants to avoid.

Fresh silicone sealant applied around a shower.

Bathroom caulking tips for a professional finish every time

Achieving a polished finish with silicone sealant in the bathroom requires more than just the right tools. It’s the technique that separates good from great. Here are some additional tips to help you seal like a pro:

  • Ventilate the space during and after application: Proper airflow is key when applying silicone sealant. It speeds up the curing process, reduces odors, and ensures the product sets evenly. If working in a small, enclosed bathroom, use a portable fan or open windows and doors to improve air circulation.
  • Plan your start and stop points: Before applying silicone sealant, map out your route to maintain continuous motion along long runs without awkward stops. Stopping mid-bead often leads to uneven flow or texture changes that will be noticeable after curing.
  • Don’t overwork the bead: It’s tempting to keep smoothing until it looks perfect, but this can lead to pulling the sealant out of the joint or creating an uneven finish. One consistent pass with our Smoothing Tool is usually enough.
  • Label and date your opened tubes: Partially used silicone sealant tubes can dry out or degrade over time. Label them with the date opened, reseal tightly, and store in a dry area, preferably with the nozzle removed, and replace with plastic wrap or a plug to keep the air out.

These techniques ensure your sealant jobs not only meet but exceed expectations. Every perfect line and clean corner reinforces your reputation for quality work and long-term reliability.   

Looking for the best bathroom caulk for your next project? Find a store near you in the U.S. or Canada that carries GE products.

Colored sealants: how to customize and enhance your home’s look

Note: This DIY article is provided as a general guide only and is not intended to take the place of product-specific installation procedures; always follow applicable manufacturers’ instructions. Depending on your home’s age and condition, location within the home, and other potential factors, repairs and/or upgrades or other services may be necessary prior to the beginning and/or completion of your project that may involve the services of a home improvement professional. This article does not include advice pertaining to local building codes and/or any related inspections.

A sharp-looking finish isn’t just about the tile, trim, or paint. It’s also in the lines that hold it all together. With the right colored sealant, you can keep water and drafts out while keeping the look clean, deliberate, and seamless. Whether you’re working in the kitchen, bathroom, or around the exterior, the right match makes the whole job feel finished.

Why color matters

A sealant line might be small, but it shapes how a space looks—and how it holds up. When the color clashes, it pulls the eye and interrupts the finish. Even a tight job can look unfinished. But when the sealant blends into the surface, it disappears into the design. What’s left is a space that feels built-in, not patched in.

Color also keeps the focus on the surface—not the seam. All materials expand and contract with time and temperature. That natural flex can show as fine shifts in the sealant line, especially when the contrast is high. A close color match helps those lines stay visually quiet, so the space looks stable and intentional—even when it’s moving as it should.

In wet areas, a good color match keeps the seal looking fresh longer. White or clear beads can show surface wear—like water marks or mildew stains—even when the sealant is still doing its job. With the right colored sealant, you get the same waterproof protection, but the finish holds its clean look through daily use.

Where to use colored sealants in your home

The right sealant color can sharpen your finish or help it disappear completely. That kind of control makes a difference in every room—especially where surfaces meet water, heat, and movement. Here’s how to put colored sealants to work where it matters most.

Kitchen backsplashes & countertops

Grease, water, and crumbs don’t stand a chance when the sealant line is tight—and disappears into the backsplash. Almond-colored sealants blend into warm-toned grout, tile, or cabinetry. Clear works well against stone or glass. Either way, you get a clean seal that looks like part of the design, not a quick fix.

Bathrooms – tubs, sinks, glass, and tile

Showers and sinks push sealants to their limit. With the right colored sealant match, the bead fades into tile, marble, or glass—and stays mold-free while it does. Almond tones keep warm tile looking seamless. Clear keeps the focus on the finish, not the line.

Trim, doors, and interior joints

White trim is easy. But darker finishes? That’s where light gray, black, or brown sealants shine. A matched line around baseboards or door frames blends in and avoids that white-bead pop you notice from across the room. For interior or exterior trim, a pre-colored silicone gives you long-term flexibility, clean adhesion, and no need for paint.

Colored sealants don’t just hide gaps—they complete the look. GE’s 100% silicone options flex with your home and resist mold, rain, and UV damage.

Using colored sealants for outdoor style and year-round strength

Outside, sealants take more punishment—sun, rain, freeze, flex. That’s where silicone sealant earns its keep. With the right match, you can protect exposed joints without breaking the look of your siding, concrete, or trim. And because some GE formulas come in purpose-matched tones like light gray, you don’t have to settle for bright white on weathered concrete or dark metal.

Patios, driveways, and stone joints

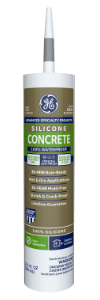
Concrete Silicone Sealant comes in light gray to blend with masonry, stone, or mortar. It holds its shape across wide joints and rough substrates—perfect for expansion lines that flex in heat and frost.

Roof flashing, vents, and steel trim

For metal surfaces, Metal Silicone Sealant offers a clean metallic gray finish that blends into high-end siding or roof panels. It resists corrosion, doesn’t discolor, and flexes with panel movement year-round.

For gutters and downspouts, GE offers clear sealants that visually disappear, but they aren’t color-matched. If the goal is a fully blended aesthetic, focus on matched tones for trim and metalwork instead.

Choosing the right sealant—what works where

Not all sealants are built for the same job—and not every job needs the same finish. Whether you’re sealing a tub edge, a stone joint, or a painted baseboard, knowing what type of sealant to use is just as important as choosing the right color. Here’s how GE’s formulas break down by chemistry and use.

100% silicone sealant

  • What it does well: waterproof, mold-resistant, permanently flexible
  • What to watch for: not paintable
  • Best for: wet areas, outdoor joints, siding, tubs, showers, stone, or concrete

SMP hybrid (paintable silicone)

  • What it does well: paintable, fast-curing, flexible
  • What to watch for: slightly less UV-resistant than pure silicone
  • Best for: painted trim, crown molding, and interior detail work where color matching matters

Acrylic/siliconized acrylic

  • What it does well: budget-friendly, paintable, easy to tool
  • What to watch for: not fully waterproof; may shrink or crack over time
  • Best for: dry interior joints, low-moisture areas like baseboards and door casings

When to use a colored sealant vs. a paintable sealant

Use a colored silicone sealant when:

  • You want the sealant to match tile, metal, siding, or trim
  • You don’t plan to paint over it
  • You need long-term color stability and UV resistance
  • You’re sealing kitchens, baths, exteriors, or masonry

Use a paintable hybrid sealant when:

  • The surface will be painted after sealing (e.g., baseboards, molding)
  • You need to match a specific or custom wall color
  • You want more visual flexibility
  • You’re working indoors in low-moisture areas

Application tips for the cleanest finish

Colored sealants offer a cleaner finish—but only if the application is just as sharp. When the sealant is visible by design, every detail matters: surface prep, tooling, and even how the tube is stored can affect the final look.

Here’s how to keep your lines clean and your color consistent:

  • Avoid surface dust and residue: On dark or tinted sealants, even a thin layer of soap scum or leftover caulk can dull the finish. Clean thoroughly—and if you’re removing old sealant, use a plastic tool that won’t damage the surface, like the GE Sealant Remover Tool.
  • Use painter’s tape for dark joints: Colored beads show every edge. Mask the area to keep borders sharp, especially when sealing against black, gray, or brown trim or tile. Peel the tape before the sealant skins.
  • Don’t drag your finish: Use a gloved finger or the GE Smoothing Tool to shape the bead cleanly. Avoid overworking the line, especially with pigmented or metallic-toned sealants.
  • Keep color batches consistent: For large projects, use the same production lot when possible. Slight color variations can happen between batches, even in factory-tinted silicone sealants.
  • Store tubes tip-down: If you’re using the same tube across multiple rooms or days, cap it tightly and store it nozzle-down. That helps preserve color consistency and flow.

Colored sealants FAQ

Do colored sealants fade or yellow over time?

Not if you’re using a 100% silicone sealant. GE’s colored formulas resist UV exposure, heat, and moisture—so the color stays true, even in outdoor or high-humidity areas.

Can I use colored sealants in bathrooms or kitchens?

Yes—as long as they’re waterproof and mold-resistant. Look for 100% silicone formulas made for wet areas. GE’s Kitchen & Bath sealants in almond or clear are ideal for showers, sinks, and backsplashes.

Can I paint over a colored sealant?

Only if it’s labeled paintable. GE’s hybrid formulas—like GE Paintable Silicone Supreme Window & Door Sealant—are made for painting after cure. Standard silicone sealants (even colored ones) are not paintable.

What if I need a color match that’s not available?

Go with a paintable hybrid if you need full color control. Apply the sealant, let it cure completely, and then paint it to match your trim or wall.

Ready to match your sealant to your style—and make it last? Find a store near you in the U.S. or Canada to shop GE’s line of colored silicone sealants—built for long-term protection that blends right in.

A few minutes of wall prep can make your paint job last years longer The quickest way to prep walls before painting

Note: This DIY article is provided as a general guide only and is not intended to take the place of product-specific installation procedures; always follow applicable manufacturers’ instructions. Depending on your home’s age and condition, location within the home, and other potential factors, repairs and/or upgrades or other services may be necessary prior to the beginning and/or completion of your project that may involve the services of a home improvement professional. This article does not include advice pertaining to local building codes and/or any related inspections.

Knowing how to prep walls before painting is the quickest way to get better-looking, longer-lasting results. Even a short weekend project benefits from filling small holes, smoothing rough areas, and cleaning the surface. With the right tools, like GE Interior Fill Acrylic Putty, you can take the guesswork out of wall prep and ensure your paint goes on clean and even.

Why wall prep matters for painting

Proper wall preparation is one of the most important steps in achieving a clean, professional-looking paint job. Skipping prep can lead to uneven coverage, visible imperfections, and poor paint adhesion, ultimately shortening the life of your finish. Taking the time to patch holes, smooth rough areas, and  cleaning surfaces helps paint glide on evenly and adhere correctly.

Walls often collect dust, grease, or minor dents that can interfere with your results if not addressed. Even small nail holes or hairline cracks can show through fresh paint unless they’re properly filled and sanded. Prepping the surface allows you to start with a clean slate and reduces the chance of needing touchups later.

Whether you’re painting a bedroom, hallway, or kitchen, spending a little extra time on prep can save hours in cleanup or correction. For DIYers aiming for pro-level results, wall prep is where quality begins.

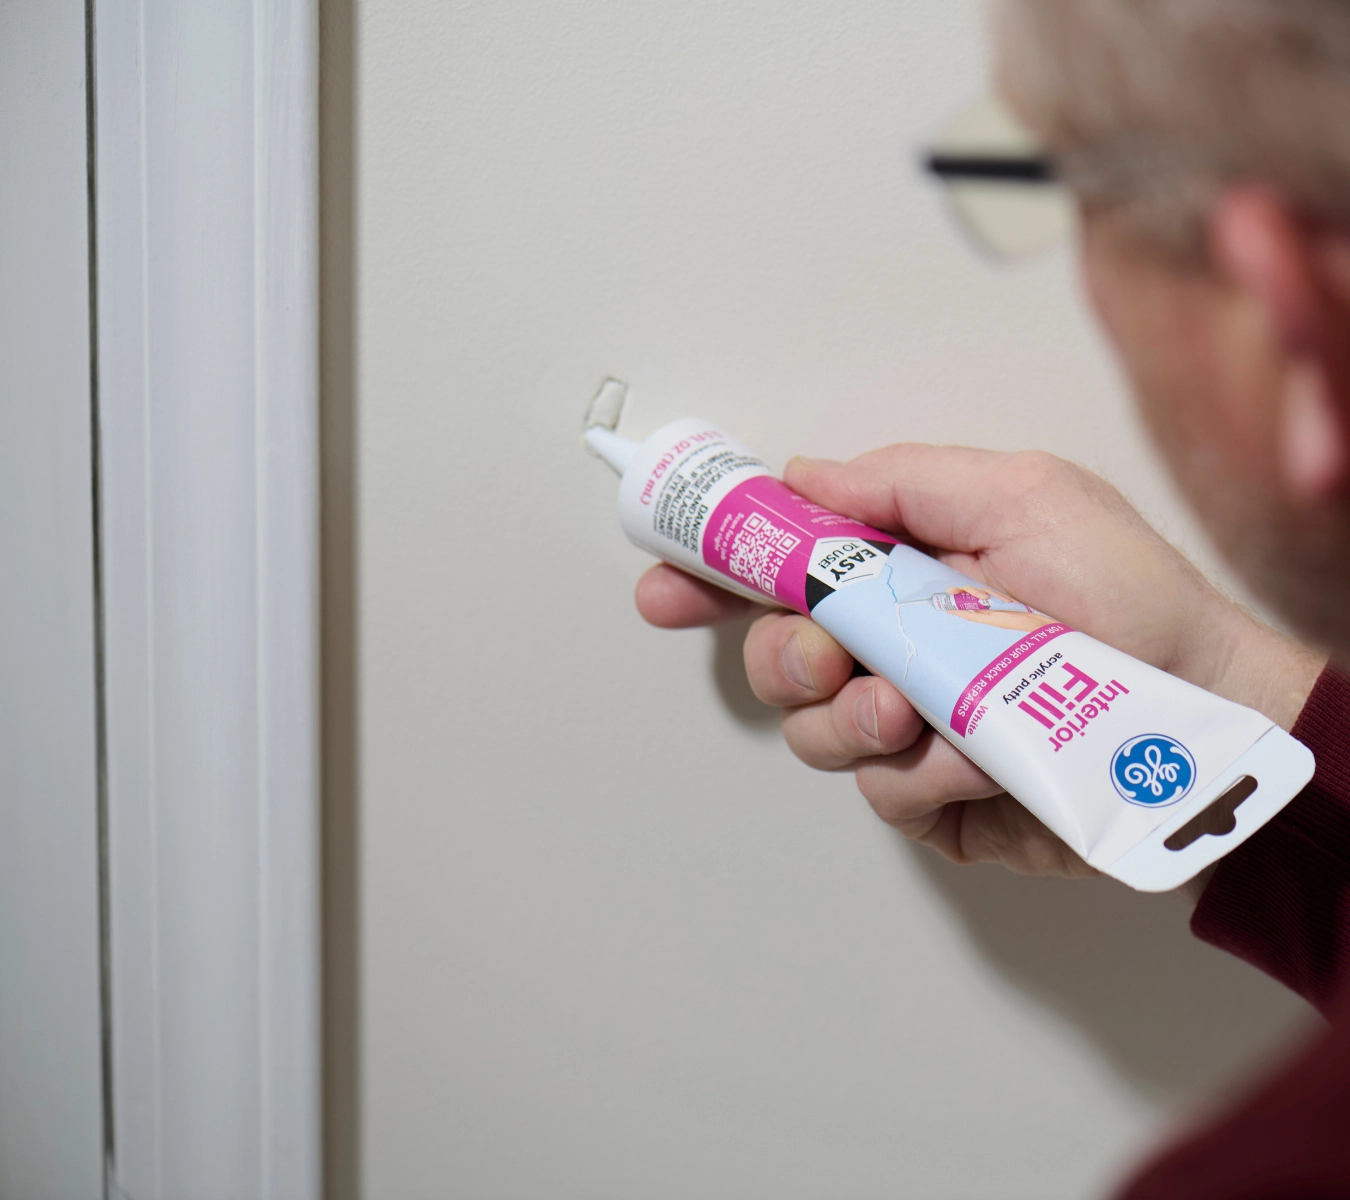
For shallow holes or minor cracks, use a lightweight spackling compound or a product like GE Interior Fill Acrylic Putty, which is ideal for sealing interior gaps and joints. If the hole is deeper than 1/4 inch, fill it in layers, allowing each layer to dry before adding more. For gaps along trim, baseboards, or corners where movement might occur, use GE Interior Seal Silicone Sealant.

Patch holes and cracks

Before you think about rolling on paint, take time to patch any visible holes, cracks, or surface damage. Even small imperfections can stand out after painting, especially under natural light or on darker color walls. Begin by inspecting the wall closely. Look for nail holes, dents, hairline cracks, or any areas where drywall or plaster has chipped.

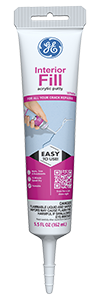
A photo of GE Interior Fill Acrylic Putty.
GE Interior Fill Acrylic Putty.

For shallow holes or minor cracks, use a lightweight spackling compound or a product like GE Interior Fill Acrylic Putty, which is ideal for sealing interior gaps and joints. If the hole is deeper than 1/4 inch, fill it in layers, allowing each layer to dry before adding more. Use a putty knife or GE’s Sealant Smoothing Tool to apply the filler smoothly, slightly overfilling to account for shrinkage.

For gaps along trim, baseboards, or corners where movement might occur, use GE Interior Seal Silicone Sealant. It stays flexible and helps prevent future cracking, plus it’s paint-ready in 30 minutes to keep your project moving.

Sand for a smooth surface

Once repairs are dry, sanding is the next essential step in prepping walls before painting. Uneven patches, residual paint lines, and general surface roughness can all show through a fresh coat, especially with glossy or semi-gloss finishes. Use fine-grit sandpaper (120–220 grit) to smooth any filled areas, feathering the edges so they blend seamlessly with the surrounding wall.

For larger areas or textured surfaces, a sanding block or pole sander helps maintain even pressure. Be careful not to oversand drywall seams or corners, as this can remove too much material and require re-patching.

Clean the walls

Once sanding is complete, vacuum or wipe the wall with a damp cloth to remove all dust, as leftover particles can prevent paint from adhering properly.

Dust, grease, and grime can also lead to streaking or uneven coverage. Kitchens and bathrooms especially tend to have buildup near sinks, stoves, and vents that need to be removed. Start by wiping down the entire wall surface with a damp sponge or microfiber cloth. For stubborn spots, use a mild soap solution, just be sure to rinse with clean water afterward to avoid leaving residue.

Pay extra attention to high-touch areas like around light switches and baseboards. Let the wall dry completely before priming or painting. Even a small amount of moisture can impact how paint adheres and dries. A clean surface helps the paint bond properly and ensures a smoother, more durable finish. Skipping this step is an often-neglected painting tip, leading to peeling or premature wear over time.

Apply tape and protect adjacent areas

A photo of a homeowner applying painter’s tape along baseboards.
3-A-photo-of-a-homeowner-applying-painters-tape-along-baseboards

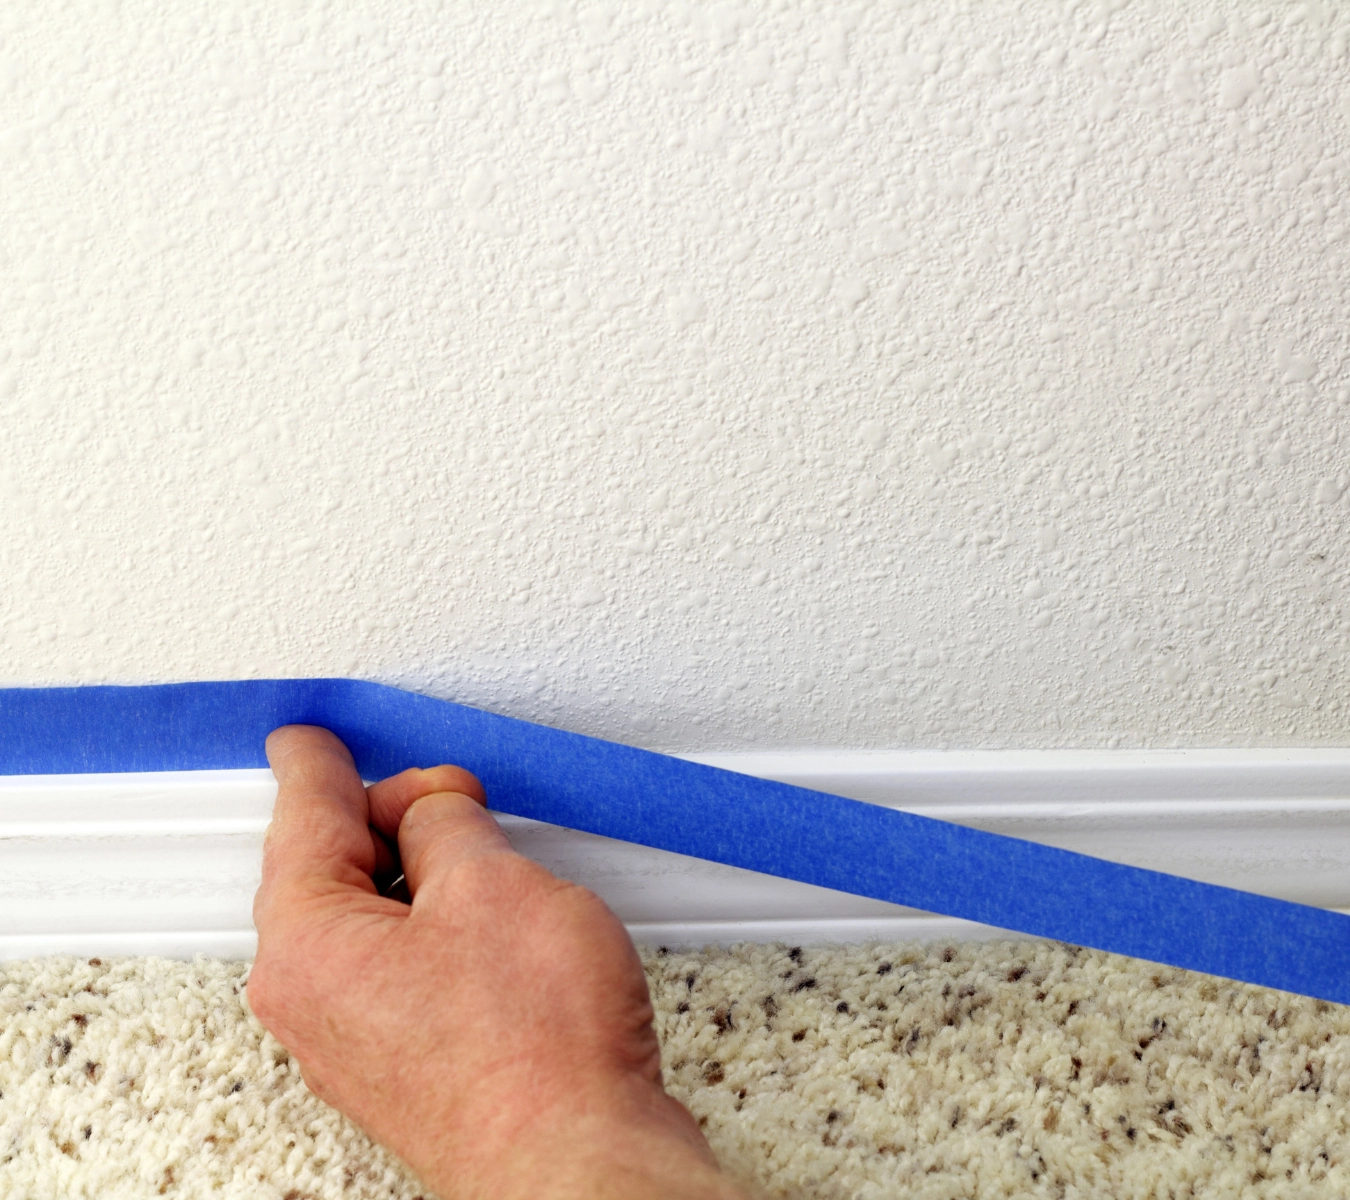
Taping off trim, outlets, wainscotting, and other adjacent surfaces helps ensure clean paint lines and protects areas you don’t want painted. Use high-quality painter’s tape to mask baseboards, door frames, window trim, and wall edges. Press the tape down firmly with a putty knife or your fingertip to prevent paint from bleeding underneath.

Cover nearby floors or furniture with drop cloths or plastic sheeting to catch drips and splatters. If you’re painting near hardware, fixtures, or built-ins, remove them or tape them off for easier work. Taking a few minutes to prep these areas saves time on cleanup and helps give your project a polished, professional-looking finish.

Final check before painting

Run your hand over patched areas to feel for any roughness. If anything catches, give it a light sanding. Double-check that all holes and gaps are filled and that the caulk along the trim and corners is dry to the touch.

If you’ve used GE Interior Fill Acrylic Putty or Interior Seal Silicone Sealant, ensure all repairs are cured according to label instructions. A final once-over now will help ensure a smooth, professional finish once you start painting.

To get GE Sealants’ products for your home improvement project, visit these fine retailers in the U.S. or Canada.

Product selector How to seal pipe penetrations and hoses: a contractor’s guide

A narrow pipe gap and a rough utility opening are different sealing problems. This guide helps you read the opening before you choose GE insulating foam, sealant, or a combination of the two. The goal is a cleaner product choice before you seal around pipes and hoses.

Foam and sealant do different jobs around pipe and hose penetrations. Use GE insulating foam when the opening needs void fill, then use the right GE Sealant when the exposed face needs a finished air- or water-sealing bead.

How to seal pipe penetrations: start with the opening

Before you choose a product to seal pipe penetrations, read the opening. 

A tight surface gap at a finished wall does not need the same treatment as a rough, oversized penetration through framing, siding, masonry, or a utility wall.

Start with width and depth. 

Is the opening a surface joint, a deep void, or a combination of the two? 

Then look at exposure. A dry utility chase is different from a laundry wall, a bath or kitchen penetration, an exterior wall, or an exterior hose connection that sees weather.

The surrounding material matters, too. Drywall, wood, tile, masonry, siding, metal, PVC, and fiberglass all create different working conditions around the pipe, hose, or fixture. 

Decide whether the exposed bead will need paint, and account for movement where the penetration and surrounding surface may expand, contract, or shift at different rates.

For sealing plumbing penetrations, the first read keeps the product decision tied to the actual job instead of the nearest tube or can. 

Once the opening tells you what the material needs to do, the next question gets simpler.

Foam vs. caulk for pipes: choose the material by function

The foam vs. caulk for pipes question usually points to a better field decision: does the penetration need void fill first, or does the exposed edge need a sealant bead? 

Sometimes it needs both.

  • Foam: Use foam when the penetration has an irregular void or a gap too deep for a surface bead. Foam belongs behind the face of the opening, where it can fill space a bead cannot reach. That makes it useful when drafts or pest entry are the concern.
  • Sealant: Use sealant at the exposed edge. When you need to seal around pipes and hoses at the face of the penetration, the bead has to handle surface exposure and movement while leaving a cleaner finished line. Do not ask it to span a void it was never meant to fill. 

For this job, if the opening needs filling first, size the void before you choose the foam.

Choose insulating foam for the size of the void 

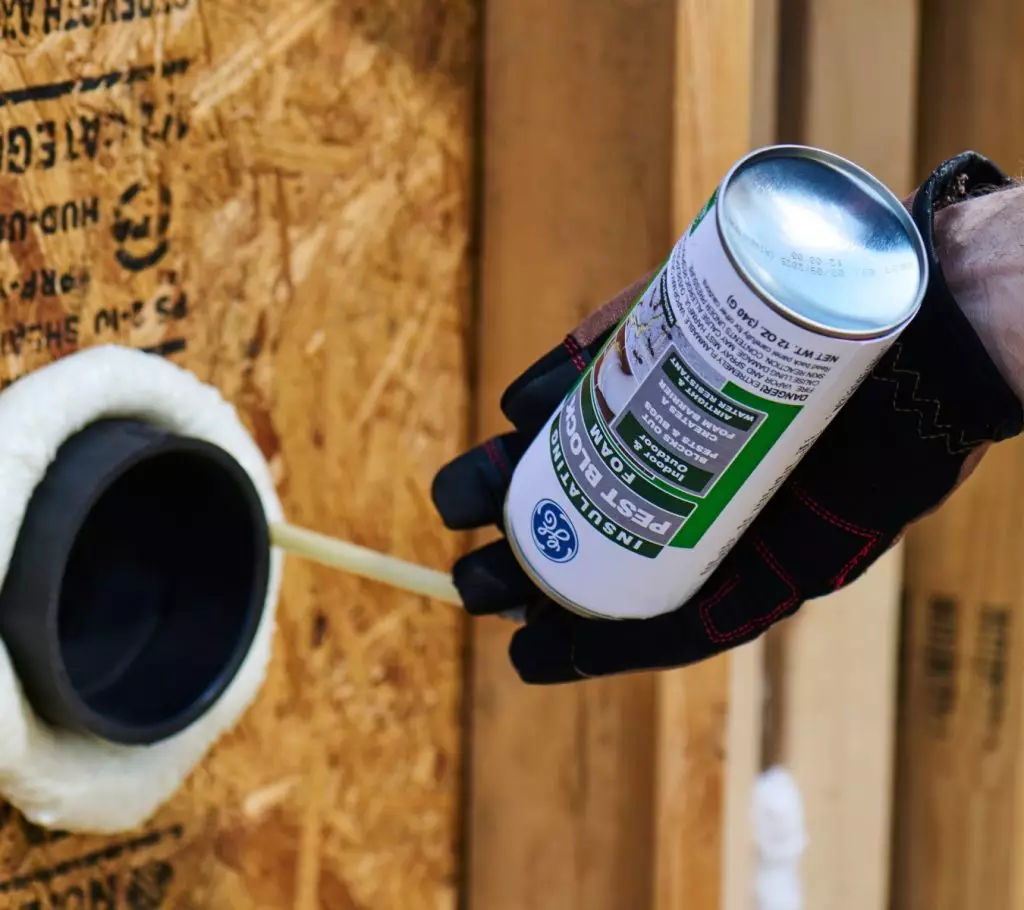
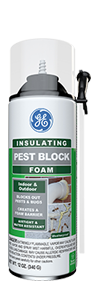
A gloved hand uses GE Pest Block Insulating Foam can to seal around a pipe opening in a wooden wall.
Applying GE Pest Block foam insulation around a wall pipe opening.

Start with the gap range. You need a different foam for a small pest or draft gap compared to a larger rough opening around a pipe, duct, or service penetration.

If your gap is up to 1 inch, use GE Pest Block Insulating Foam where pest entry or air movement is the concern. That includes common gaps around plumbing or wiring, near ductwork or sill plates, and in basement or attic areas. It is also a fit if you’re air-sealing plumbing penetrations when the opening is small enough for this gap range.

For larger voids from 1 inch to 3 inches, use GE Big Gaps & Cracks Insulating Foam. Choose it for rough openings around pipes or HVAC penetrations, especially in sill-plate and crawl-space conditions where a bead cannot handle the depth or size of the void.

After you trim cured foam, check what remains exposed. 

Do not leave exterior-facing foam as the final exposed detail because cured foam must be protected from UV exposure. If the opening needs a visible finish, the surrounding surface sets the next requirement.

Let the surrounding surface set the sealant requirements

When you seal pipe penetrations at the finished edge, the material around the penetration affects what the bead needs to handle. 

A painted wall or trim detail brings paintability into the decision. Tile, fiberglass, and other wet-area surfaces make water exposure the first question. Exterior siding, masonry, trim, and hose-bib areas add weather exposure.

Do not treat a rough cavity the same way you would a finished joint. Fill the void first, then evaluate the surface that remains exposed. Once that surface is clear, your sealant choice has a cleaner job.

Choose a sealant for exposure, water, and paintability

With the void handled and the surrounding surface understood, choose the sealant for the bead that remains exposed.

For interior wet-area beads that do not need paint

Choose GE Supreme Silicone Kitchen & Bath Sealant. This 100% silicone sealant fits wet-area plumbing penetrations (such as kitchens, baths, laundry rooms) where a paintable bead is not required.

It is 100% waterproof, water-ready in as little as 30 minutes, and rated Class 50. 

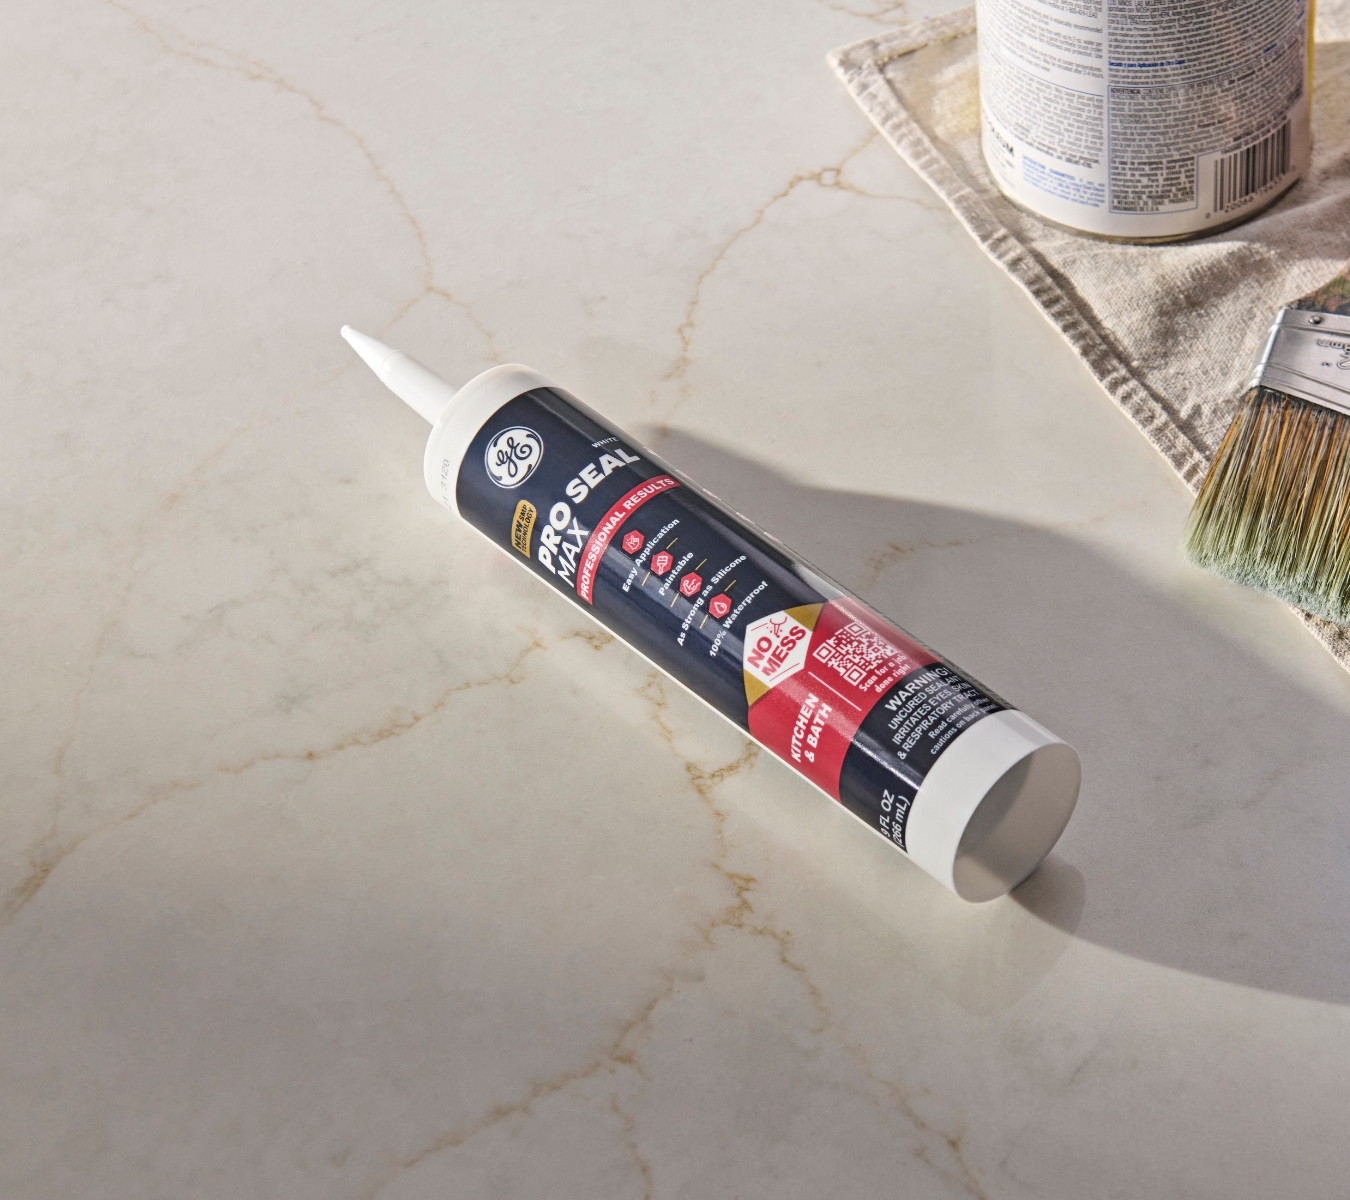
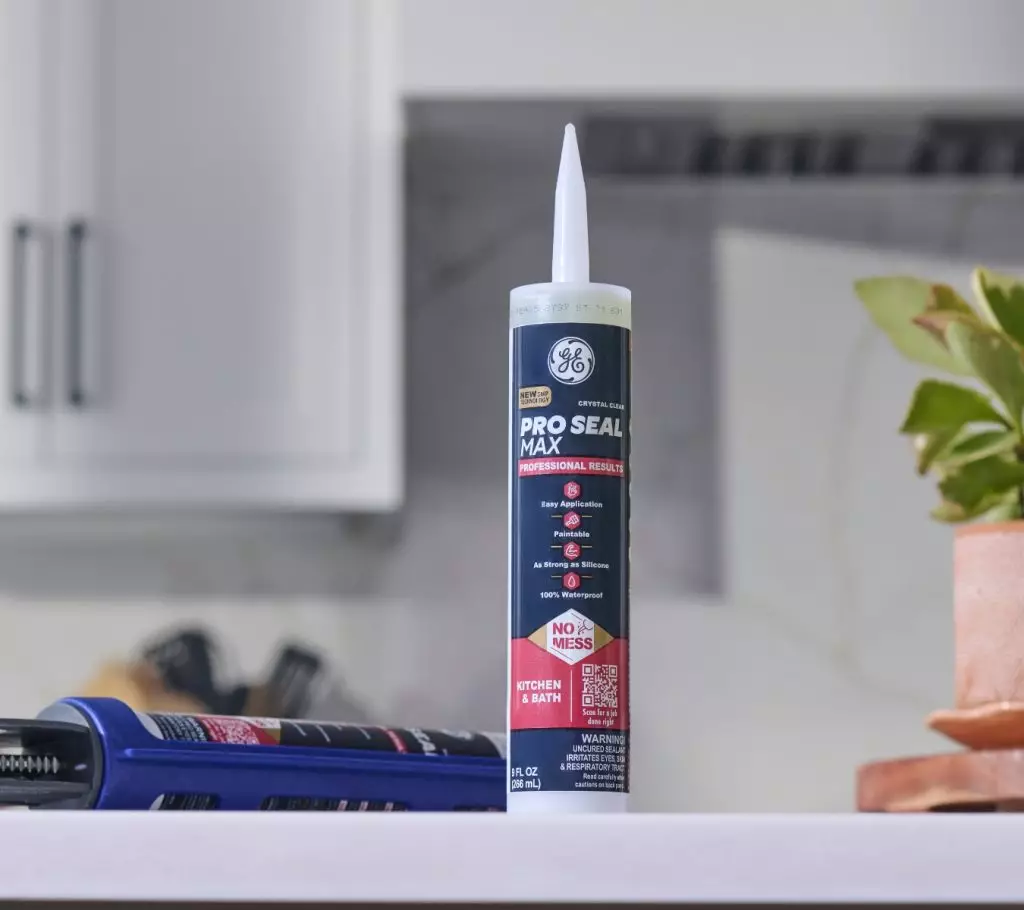
GE Pro Seal Max Kitchen & Bath sealant cartridge stands upright on a kitchen counter next to a caulking gun, with cabinets and a potted plant in the background.
GE Pro Seal Max Kitchen & Bath sealant cartridge beside a caulking gun on a counter.

For interior wet-area beads that need paint

Choose GE Pro Seal Max Kitchen & Bath. Use this paintable sealant where the finished bead needs waterproof performance in a kitchen, bath, laundry, or other moisture-prone interior area. 

It is a hybrid sealant, not 100% silicone, so it gives you a paintable option where 100% silicone is not the right finish.

For exterior finished beads

Choose GE Pro Seal Max Window & Door around exterior wall, siding, trim, or hose-bib penetrations where the finished bead needs paintability and weather exposure resistance. Keep it tied to the exposed bead, not the rough void behind it.

Avoid product mismatches when sealing around pipe and hose penetrations

Keep the details separate:

  • For sealing plumbing penetrations, keep threaded connections separate from the seal around the penetration. Use thread tape or pipe dope on pipe threads, not GE Sealants. Use GE Sealants only around the outside of the pipe penetration when the surface and exposure fit.
  • Do not treat insulating foam as a firestop. 
  • Do not leave exterior-facing foam exposed as the final detail. Cured foam must be protected from UV exposure. 
  • Do not use 100% silicone where the finished bead must be painted. 
  • Do not span a large rough opening with only a surface bead. 
  • Do not extend the detail into continuous-submersion, structural, load-bearing, aquarium, food-contact, or high-heat use unless the GE product supports that use.

Keep the thread seal separate from the penetration seal, and do not expect foam or sealant to cover conditions outside its role.

You’ve read the opening. Now match the job to the GE foam or sealant that fits the void, exposed bead, and surface conditions. Find GE products at a retailer near you in the U.S. or Canada. 
Professional results, even faster How to quickly apply silicone sealant without sacrificing quality

For large kitchens and multi-unit bath installs, even small inefficiencies can stretch your schedule and shrink margins. This guide shows how to stage mobile tool stations, use no-stall dispensing hacks, run single-pass finishing workflows, and other field-tested tactics to apply silicone sealant faster while meeting ASTM-rated specs.

Why speed and quality can coexist

Quality isn’t optional, but neither is speed. Every minute saved per bead compounds fast: 1,000 beads across a condo block or hotel tower equals 16+ crew-hours you either waste or win back.

The problem? Most callbacks stem from adhesive or cohesive failures—either the bead never bonds or fails to flex under movement. That’s why ASTM C920 ratings matter. They define what quality really means: full adhesion, a continuous seal, and elasticity that matches joint movement.

When you apply silicone sealant without respecting those factors, speed turns into a liability. Respect them with the right tools and chemistry, and speed becomes your competitive edge.

Organize your sealant station

Speed starts before the caulking gun’s even loaded. The fastest crews don’t just know how to apply silicone sealant—they know how to stage for it.

Build a mobile sealant station around a three-zone cart: one for cleaning tools and solvents, one for cutting and prepping cartridges, and one for tooling and finish supplies. Use color-coded cartridges to match room assignments and avoid mix-ups.

Keep cordless and bulk caulking guns at 68°F to 72°F for consistent flow. Note that colder sealant thickens under pressure and stalls bead control. Same goes for spare batteries—rotate them between room temperature and charger banks.

Contractor applies GE Supreme Silicone Kitchen & Bath Sealant to an interior glass shower corner.
Contractor kneeling inside a glass shower, applying GE Supreme Silicone Kitchen & Bath Sealant with a manual caulk gun.

For wet-surface speed and spec-grade reliability, stage Supreme Silicone Kitchen & Bath Sealant. It’s 30-minute water-ready and Class 50 flexible, so it stays tight even on moving surfaces.

ASTM C920 Class 50 silicones stretch ±50%. This is very important when working on large-format shower walls.

Surface readiness checklist

Your bead is only as good as your bond. Before any sealant touches the joint:

  • Strip failed material with the GE Sealant Remover Tool (avoid razors that gouge)
  • Wipe the surface with isopropyl alcohol and ensure it’s completely dry
  • Stage closed-cell backer rods by joint width to avoid mid-application delays

Every missed step here shows up as a callback later.

No-stall dispensing: cartridge & nozzle pro caulking hacks

Bead flow starts at the nozzle. For full control, cut your tip at a 45° angle, depending on the width of the joint. Always purge before your first squeeze to clear air pockets.

Pre-warm cartridges to 75°F to reduce trigger force by up to 20%, especially on cold job sites. The smoother the flow, the less wrist strain and start-stop drag you’ll deal with.

Use the GE Cartridge Opener & Smoothing Tool to cut nozzles, puncture seals, and load cartridges in one move. It replaces two tools with one.

On high-output days (200+ linear feet), switch to pneumatic or battery-assisted guns. Label spare nozzles by colors to prevent mismatches.

These pro caulking hacks save you time on every run.

Backer-rod depth control

Joint prep isn’t just surface work. You must manage what’s underneath to support the bead. For joints wider than 1/4 inch, maintain a 2:1 width-to-depth ratio to avoid overfilling.

Insert a closed-cell polyethylene backer rod to set depth and let the bead flex with the joint. This reduces waste and ensures the sealant bonds only to the joint flanks.

Tooling for perfection when applying silicone sealant

The clock starts the moment the bead hits the joint. GE kitchen-and-bath silicone sealants give you about a 30-minute skin window. Tool within the first 5 to 10 minutes (before the skin starts forming) to prevent drag or adhesion loss.

Apply steady, even pressure while gunning, and shape the bead for maximum joint movement and adhesion. Use the GE Smoothing Tool to seat the bead and carve a clean profile in one smooth pass.

On high-spec work, run a field adhesion test after the sealant has cured according to the product instructions. Beads that flex without pull-away confirm proper surface prep, adhesion, and joint movement performance.

Smart product selection for speed and reliability

Selecting the right sealant drives your install pace and performance. Choose a 100% silicone product where permanent flexibility and water exposure are critical—think tubs, surrounds, and shower pans. Opt for a hybrid when you need fast paint-over on trim and panels.

Here’s the GE ladder built for pros:

Choose based on water exposure, paintability, and cure time to guarantee speed and lasting performance.

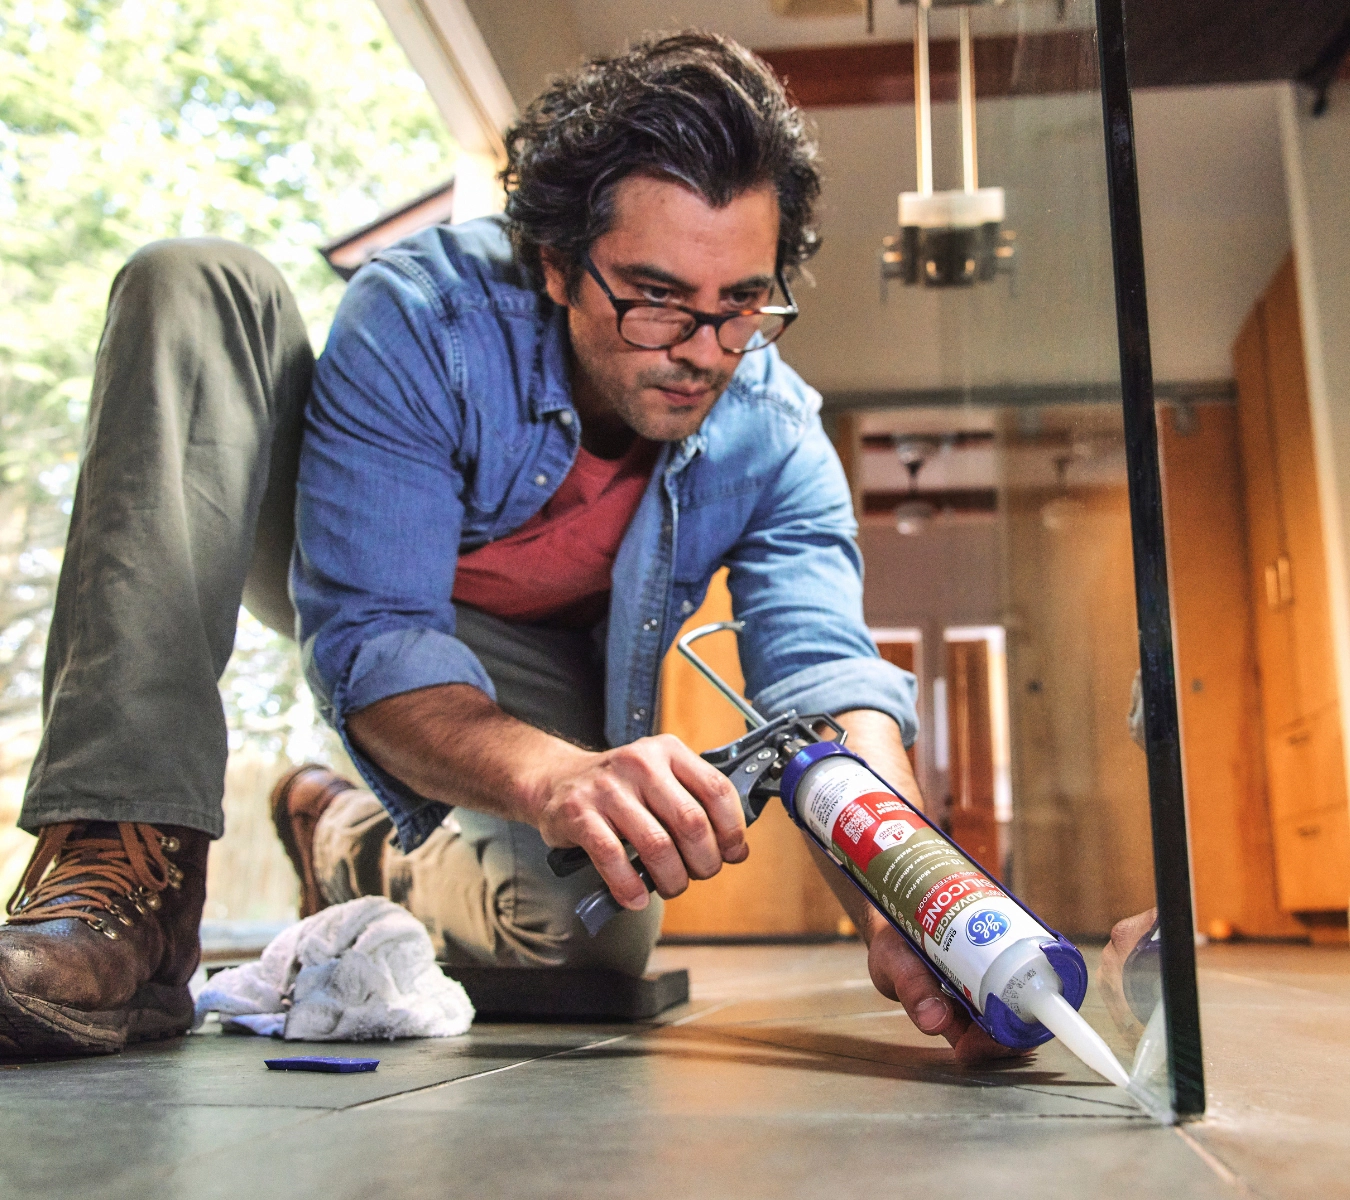
A contractor applying GE Advanced Silicone Kitchen & Bath Sealant along a glass panel and tile joint.
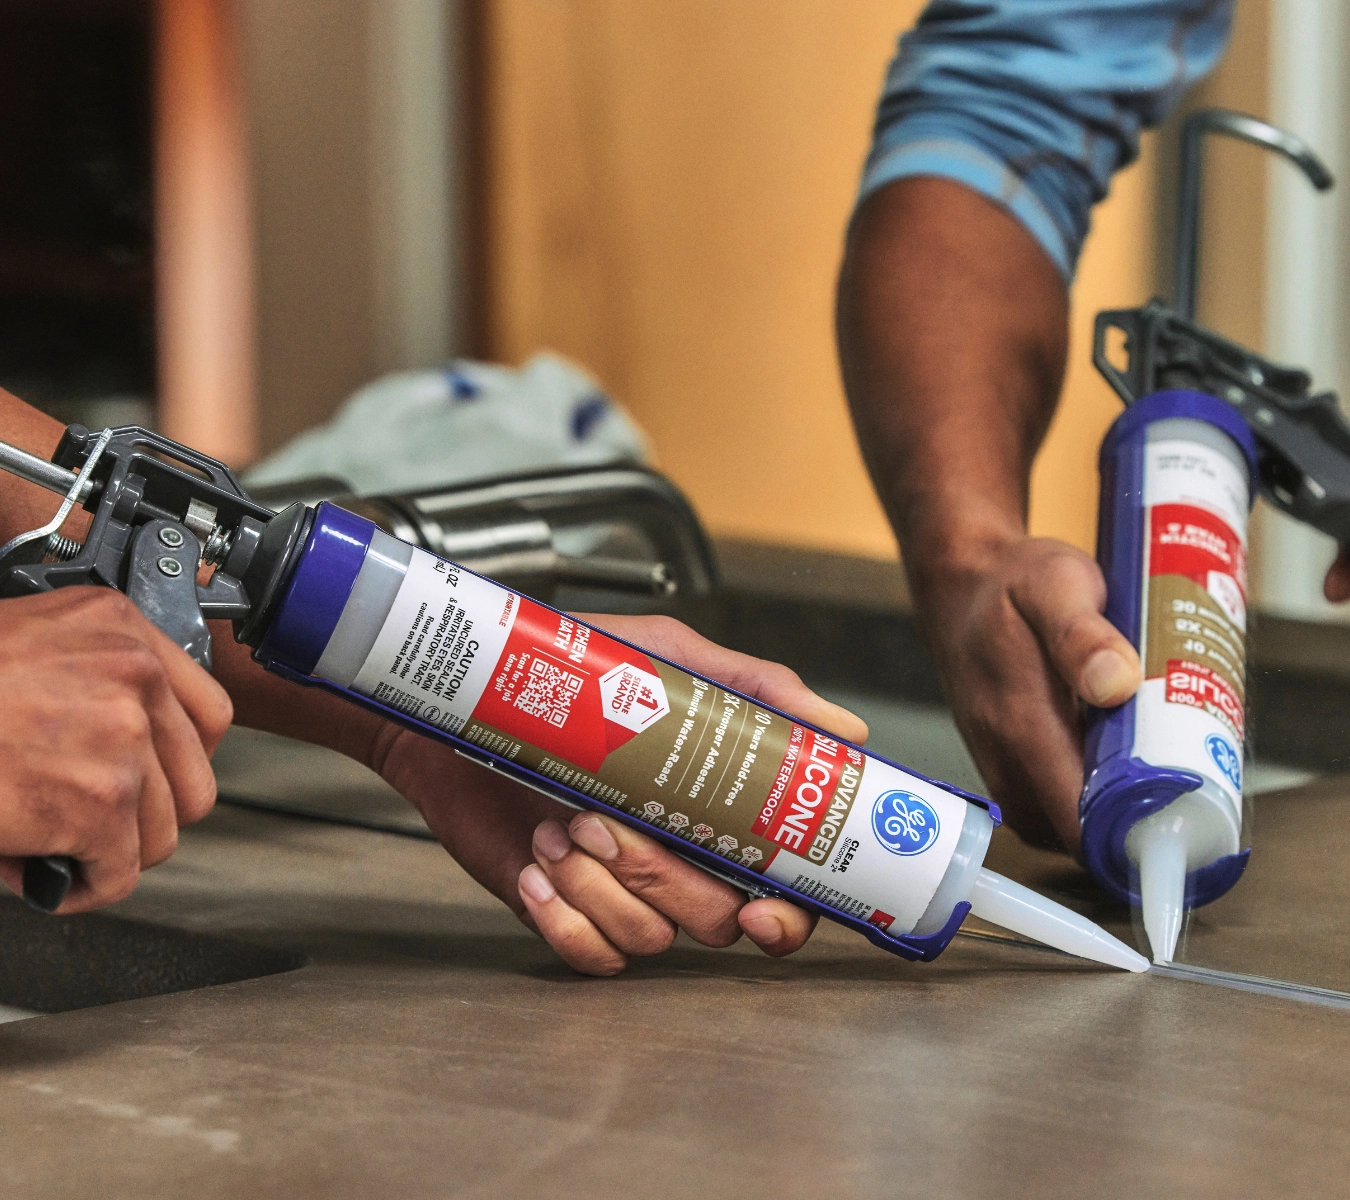
Applying GE Advanced Silicone Kitchen & Bath Sealant along a glass panel base on a tiled floor.

Sequencing for scale: how crews apply faster across units

Pair off your crew to leapfrog rooms: one technician applies the silicone sealant bead, the other tools one to two rooms behind. This pro caulking hack keeps every bead inside its tooling window and maximizes forward momentum.

Log product lot codes, date, and time per unit for warranty traceability. Additionally, stagger the cure windows so tile or paint crews follow 30 minutes behind without the risk of rework.

On well-coordinated jobs, two pros can seal over 30 tubs in a single shift.

Post-install checks and cleanup

Before your crew rolls out, take one last walk-through and inspect every joint. Confirm a continuous bead.

If you spot smears or ridges, wipe them immediately with a dry lint-free cloth or one lightly moistened with mineral spirits. If needed, retool with the GE Smoothing Tool while the bead is still open.

Always pull masking tape on a wet bead to leave sharp, tear-free edges. A flawless finish here eliminates callbacks.

Common speed-killers when applying silicone sealant and how to avoid them

Even seasoned crews lose time to avoidable missteps. Here are the top culprits on fast-turn jobs:

  • Cold cartridges: Store tubes in an insulated box or inside the cab. Cold silicone flows slower and wrecks bead control.
  • Over-extrusion waste: Refine your trigger rhythm. Excess sealant means more tooling and cleanup.
  • Unclean guns: Dried sealant in the barrel spring causes stop-start ridges. For silicones or hybrid SMPs, wipe guns with a mineral spirits rag (spot-test plastics first).
  • Skipped deglossing: Glossy cultured marble kills adhesion. Always prep the glossy surface with isopropyl alcohol or a light mechanical abrasion.
  • Cured nozzle plugs: Trim off 1/2 inch of the nozzle and purge to clear partially cured silicone.
  • Wrong air pressure: Start pneumatic guns at 70 psi to 80 psi, then test the flow. Too much pressure causes bubbles. Too little stalls the bead.
  • Poor lighting: Clamp a 2,000-lumen task light to your work area to catch skips before they cure.
  • Unlabeled cartridges: Tape the shoulders of white and clear tubes to prevent mid-job mix-ups.
  • Bad bead sequence: Map your route to avoid crossing fresh beads. Maintain a consistent clockwise or counterclockwise path.

These small tweaks result in big time savings, and each one ensures quality while you apply silicone sealant at pace.

You don’t have to choose between speed and quality. With organized prep, the right sealant tools for pros, and GE’s silicone sealants, you can get the job done fast without risking callbacks.

Find GE Sealants near you in the U.S. or Canada.
Better prep and better technique make silicone sealant jobs last longer Top 6 silicone sealant mistakes DIYers are guilty of

Note: This DIY article is provided as a general guide only and is not intended to take the place of product-specific installation procedures; always follow applicable manufacturers’ instructions. Depending on your home’s age and condition, location within the home, and other potential factors, repairs and/or upgrades or other services may be necessary prior to the beginning and/or completion of your project that may involve the services of a home improvement professional. This article does not include advice pertaining to local building codes and/or any related inspections.

Silicone sealant mistakes are one of the most common causes of messy, unsatisfactory DIY sealing work. Many homeowners assume the product alone will do the hard work, but good results usually depend on application factors like surface prep, bead control, product selection, and cure time just as much as the sealant itself. However, with the right silicone sealant techniques, a few practical silicone sealant tips, and the right GE product for the application, it is much easier to get a cleaner, longer-lasting finish.

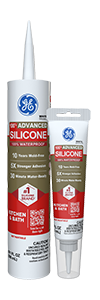
For kitchen and bathroom sealing, use GE Advanced Silicone Kitchen & Bath. It’s designed for wet, high-moisture areas requiring a durable waterproof seal. For projects where paintability and flexibility are both more at issue, such as specific trim transitions or mixed-material joints, GE Pro Seal Max Kitchen & Bath may be the better fit.

Why silicone sealant mistakes are so easy to make

Silicone sealant mistakes happen so often because the job tends to look easier than it really is. Many DIYers focus on squeezing out a neat-looking bead, but the result depends just as much on what happens before and after application. 

Dirty surfaces, leftover residue, excess moisture, and the wrong product can all weaken adhesion before the sealant even begins to cure. DIYers are also likely to apply too much material, smooth it too many times, or use the area again before the sealant has fully set. In most cases, early failure comes from rushed prep, poor technique, or simply ignoring the product instructions.

Top 6 silicone sealant mistakes

These are the most common and easily avoidable mistakes DIYers are prone to making when working with silicone sealant:

  1. Skipping surface prep and sealing over residue

    One of the most common silicone sealant mistakes is applying fresh sealant over surface materials like: 

    • Dirt
    • Soap film
    • Mildew
    • Traces of old caulk

    Silicone needs a clean, dry surface to bond well, so even a smooth-looking joint can fail early if residue is left behind. This is especially common around tubs, showers, sinks, and backsplashes, where moisture and product buildup collect over time. 

    Before applying the new sealant, remove the old bead completely and clean the area thoroughly. Use the GE Sealant Remover Tool or a putty knife to lift away old material, making prep easier. Let the joint dry fully before resealing. Good prep may take extra time, but it will usually make the difference between a temporary fix and a job well done.

  2. Using the wrong sealant for the job

    If you tend to default to what is already in the garage instead of what the project actually needs, you should probably expect suboptimal results. Different areas around the home expose sealant to different conditions, such as:

    • Water
    • Humidity
    • Temperature swings
    • Movement
    • Cleaning products
    A photo of GE Advanced Silicone Kitchen & Bath
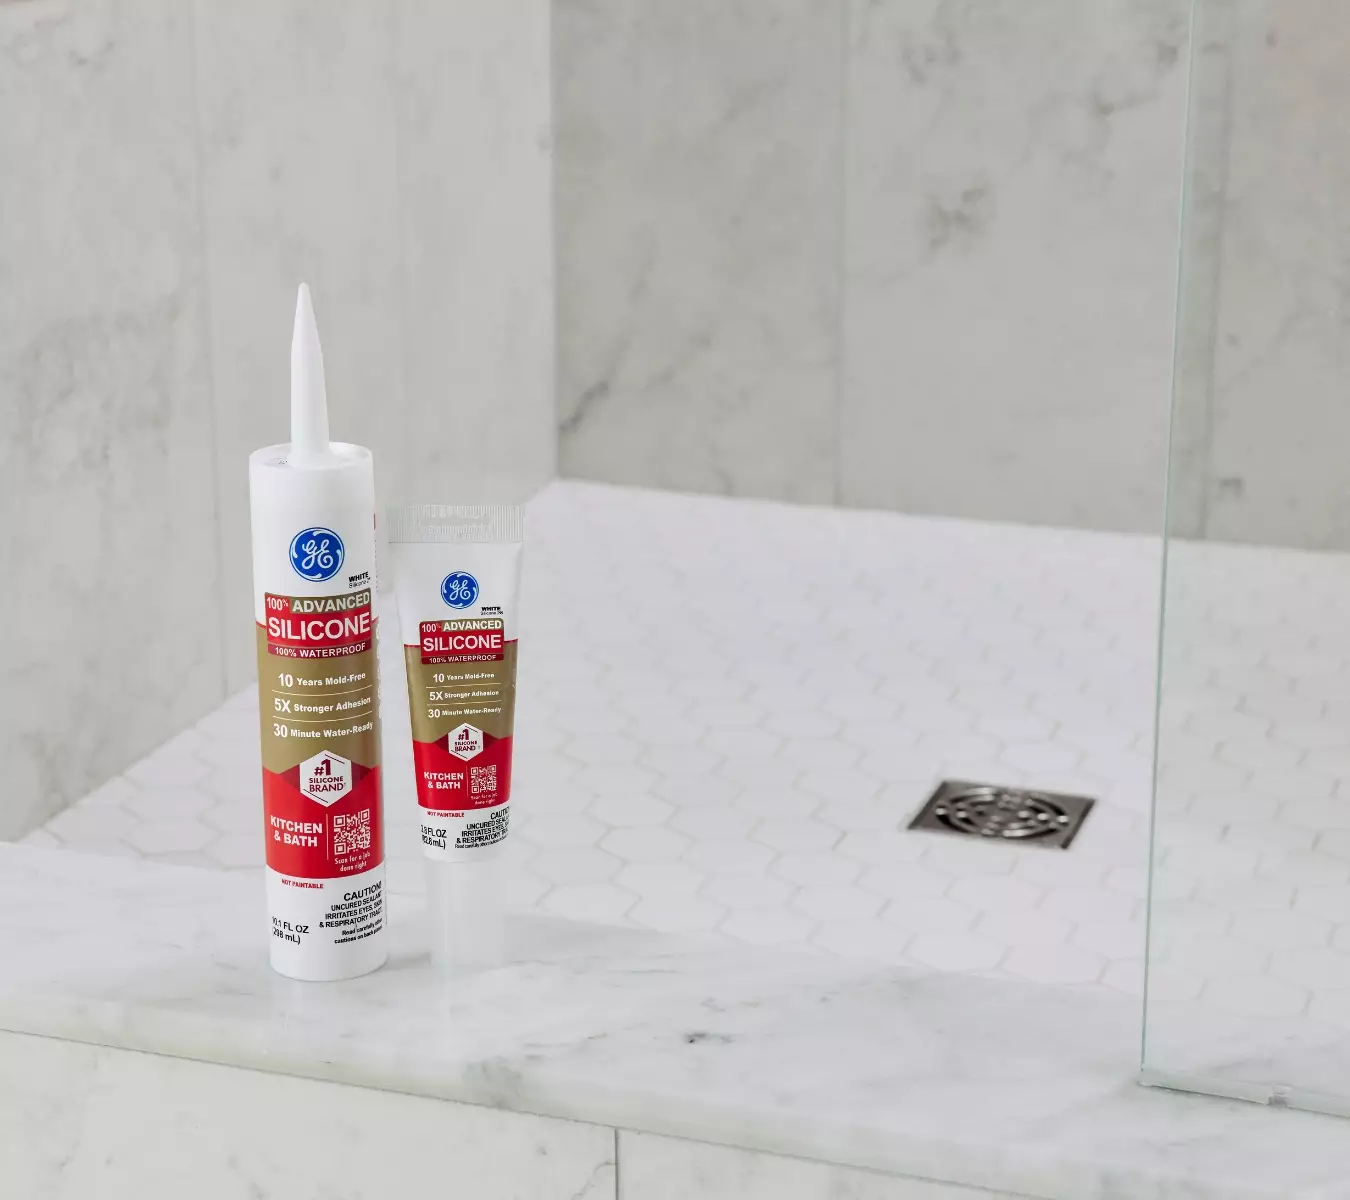
    GE Advanced Silicone Kitchen & Bath

    For kitchen and bathroom sealing, use GE Advanced Silicone Kitchen & Bath. It’s designed for wet, high-moisture areas requiring a durable waterproof seal. For projects where paintability and flexibility are both more at issue, such as specific trim transitions or mixed-material joints, GE Pro Seal Max Kitchen & Bath may be the better fit. 

  3. Cutting the nozzle too large and applying too much at once

    A photo of a homeowner tooling sealant with GE’s Sealant Smoothing Tool.
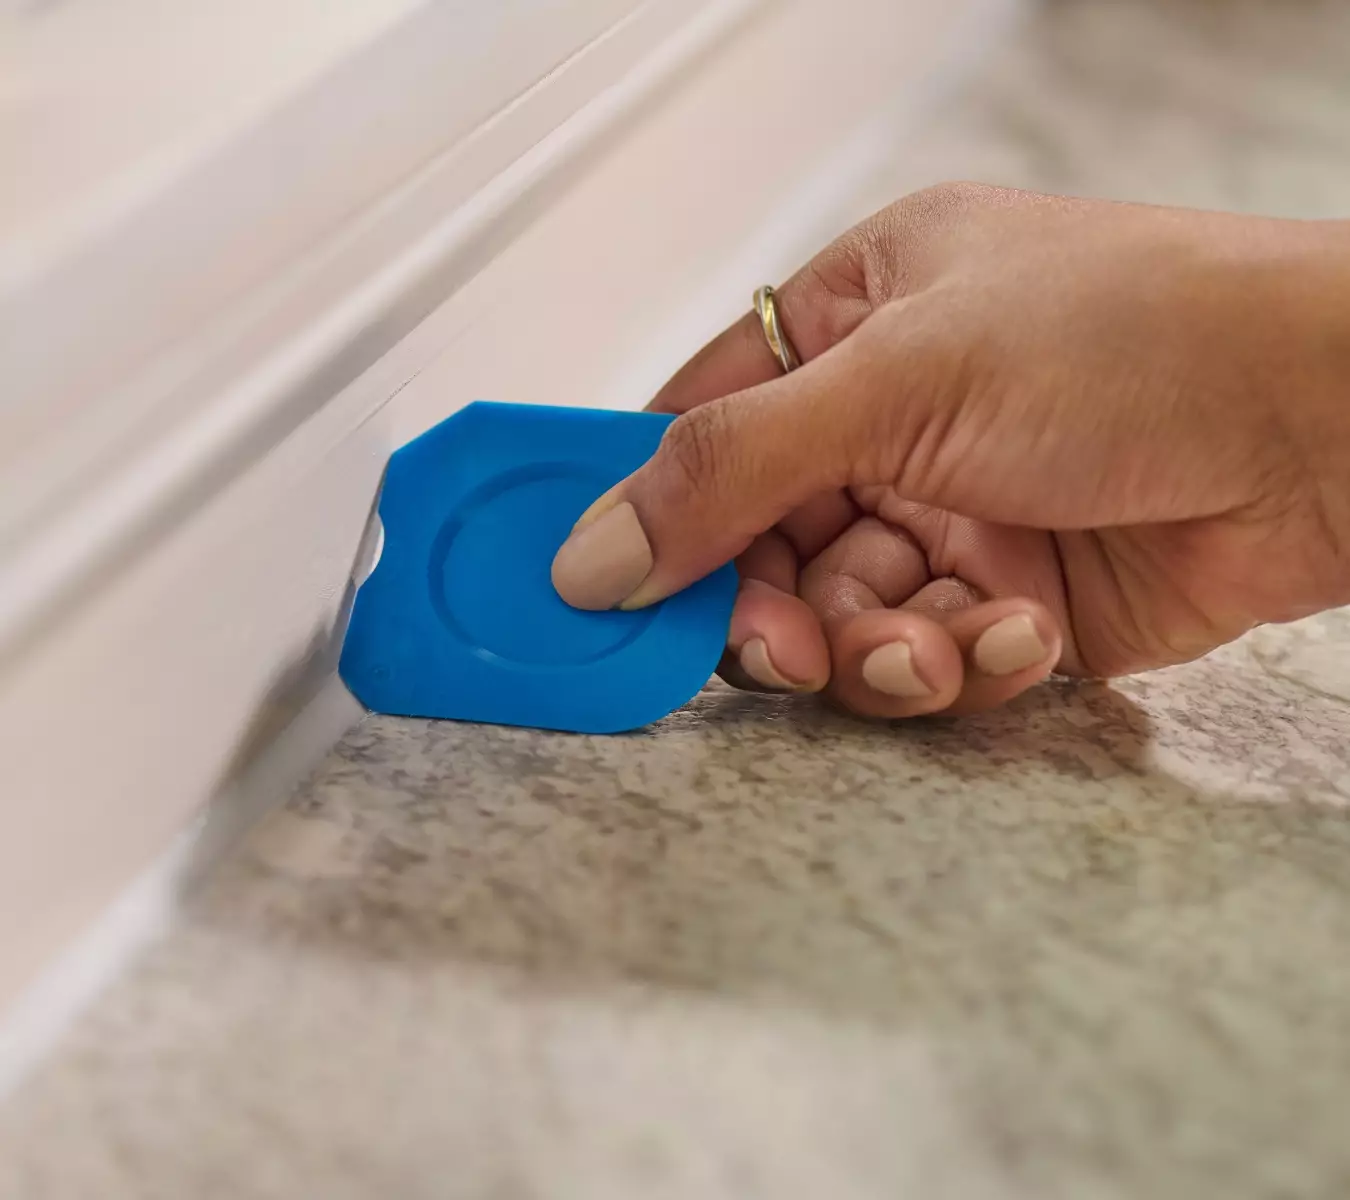
    A homeowner tooling sealant with GE’s Sealant Smoothing Tool.

    Many DIYers make the mistake of cutting the nozzle too wide, which releases more sealant than the joint actually needs. This will get you a heavy bead that is harder to control, harder to smooth, and more likely to smear onto nearby surfaces. In most cases, it is better to start with a smaller opening and apply a narrower bead that matches the size of the gap. This gives you more control and makes it easier to build a clean line without waste. A dedicated finishing tool like GE’s Sealant Smoothing Tool can also help shape the bead more evenly. 

  4. Overworking the bead after application

    It’s easy to assume more smoothing will improve the final look, but overworking the bead usually has the opposite effect. Going back over fresh silicone again and again can drag sealant out of the joint, spread it onto surrounding surfaces, and leave an uneven finish. It can also weaken the seal by thinning out spots that need full coverage. One of the most useful silicone sealant techniques is to apply the bead with steady pressure, then smooth it once in a controlled pass. Work slowly but avoid repeated touch-ups while the sealant is still fresh. In most cases, you’ll get a cleaner finish from less handling, not more.

  5. Ignoring joint size and depth

    Silicone sealant works best when the joint is sized properly. If a gap is too wide or too deep, simply filling it with more sealant can lead to poor adhesion, uneven curing, or wasted product. In larger joints, a backer rod can help control depth and support a better seal. This is one of the most overlooked silicone sealant tips because the problem often stays hidden until the bead starts to pull away or fail.

  6. Applying sealant in the wrong conditions

    Even the right sealant will underperform if you apply it in poor conditions. Silicone should not go onto a surface that is still damp, dusty, or too cold for proper adhesion and curing. DIYers also run into trouble when they seal showers, sinks, or exterior joints right before the area will be exposed to water. Checking the label instructions first helps avoid one of the most preventable silicone sealant mistakes.

Simple silicone sealant tips for a cleaner DIY finish

A cleaner finish usually comes down to mastering a few basic habits and techniques:

  • Start by removing old material fully and cleaning the surface well before you apply anything new
  • Choose a sealant appropriate for the location, especially in wet areas such as kitchens and bathrooms
  • Cut the nozzle small
  • Apply steady pressure
  • Match the bead size to the joint instead of overfilling it
  • Smooth the bead once, not repeatedly
  • Give the sealant enough time to cure before exposing it to water or regular use 

These silicone sealant tips can also help DIYers understand how to prevent and fix caulking mistakes before a messy bead turns into a failed seal.

To get GE Sealants’ products for your home improvement project, visit these fine retailers in the U.S. or Canada.

 

Because better painting starts with better prep, learn how to seal smart and paint clean Should you seal or paint first? Here’s what DIYers need to know

Note: This DIY article is provided as a general guide only and is not intended to take the place of product-specific installation procedures; always follow applicable manufacturers’ instructions. Depending on your home’s age and condition, location within the home, and other potential factors, repairs and/or upgrades or other services may be necessary prior to the beginning and/or completion of your project that may involve the services of a home improvement professional. This article does not include advice pertaining to local building codes and/or any related inspections.

If you’re getting ready to paint, you might be wondering whether to seal or paint first. In most cases, sealing gaps and joints before painting gives you a cleaner, longer-lasting finish. With the right prep and a paintable sealant, your project will not only look better but also stand up to wear and moisture over time.

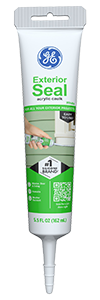
For outdoor projects, GE Exterior Seal Acrylic Caulk is a reliable choice. This acrylic caulk is paintable, weather-resistant, and ideal for sealing gaps in siding, trim, and around windows or doors.

For indoor work, Seal & Fill Multi-Purpose Kitchen & Bath Caulk is designed specifically for painting prep, as it is low odor, easy to apply, and paint-ready quickly.

Should you caulk before painting?

When it comes to painting prep, sealing should almost always come first. Applying caulk or sealant before painting helps fill gaps, smooth transitions, and block out moisture, all of which lead to a cleaner finish and better adhesion.

If you paint first and then try to apply sealant, you’ll likely end up with uneven lines, visible seams, or cracking where materials move. Sealing also helps prevent air leaks and moisture intrusion around joints and trim, especially in areas like baseboards, window frames, and exterior siding.

Once sealed, paint can cover both surfaces in a single, seamless layer. However, it’s important to use a sealant that’s labeled paintable and to let it cure fully before picking up a brush. Non-paintable products like 100% silicone won’t bond well with paint and can cause flaking or discoloration. When in doubt, check the label for compatibility and dry times to avoid peeling or uneven coverage.

Read our article on kitchen-specific sealing and painting tips if you want to learn more.

What to seal before painting?

Before you start painting, take time to inspect the surfaces for gaps, seams, or joints that need sealing. Common areas include:

  • Corners where trim meets walls
  • Baseboards
  • Window frames
  • Door frames
  • Nail holes in molding

On exterior surfaces, check for cracks in siding, gaps around utility penetrations, and seams between boards or panels. Sealing these areas creates a smoother appearance and prevents air or moisture from seeping behind the surface.

You can use the light test, which involves shining a flashlight along edges, or run your finger along seams to feel for gaps that might not be obvious at a glance. Make sure the surface is clean, dry, and stable before applying any sealant. Avoid sealing over loose paint, soft wood, or damp areas, as this can lead to poor adhesion and early failure.

Painting prep tips: choosing the right paintable sealant

A photo of GE Exterior Seal Acrylic Caulk.
GE Exterior Seal Acrylic Caulk.

For outdoor projects, GE Exterior Seal Acrylic Caulk is a reliable choice. This acrylic caulk is paintable, weather-resistant, and ideal for sealing gaps in siding, trim, and around windows or doors. It adheres well to common exterior materials and holds up against seasonal changes.

Check out our article on exterior home maintenance to learn more.

For indoor work, Seal & Fill Multi-Purpose Kitchen & Bath Caulk is designed specifically for painting prep. It’s low odor, easy to apply, and paint-ready quickly, making it a go-to option for sealing interior trim, baseboards, and wall gaps.

In any case, always check the product label to confirm that the sealant is labeled as paintable and to understand the required cure time before applying paint. Avoid using non-paintable sealants like 100% silicone in paintable areas, as paint will not adhere properly. Using the correct product helps prevent peeling, cracking, or discoloration and will give your final coat a cleaner, more uniform appearance.

How to seal before painting: step-by-step

Sealing before painting helps ensure a smooth, professional-looking finish. Follow these steps to get clean results and long-lasting performance from your paintable sealant.

A photo of a homeowner removing old sealant with GE’s Sealant Remover Tool.
A homeowner removes old sealant with GE’s Sealant Remover Tool.
  1. Clean the surface Remove dust, dirt, and any old or cracked sealant from the area using a damp cloth and utility knife or GE’s Sealant Remover Tool. Let the surface dry completely before moving on.
  2. Select the right sealant Use a paintable sealant suited to your project. GE Exterior Seal is ideal for outdoor use, while Seal & Fill Multi-Purpose Kitchen & Bath Caulk works well for interior jobs.
  3. Cut the nozzle Trim the tip of the sealant tube at a 45-degree angle to match the size of the gap. For products with a foil seal, puncture it using a nail or similar tool.
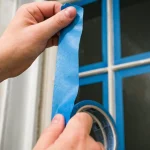
  4. Apply painter’s tape Mask both sides of the gap if you’re sealing along finished surfaces or trim. This helps keep lines neat and prevents excess caulk on visible surfaces.
  5. Apply the sealant Squeeze a steady, even bead of sealant into the gap. Work slowly and keep the angle consistent to avoid skips or bubbles.
  6. Tool the bead Smooth the sealant immediately using a gloved finger or GE’s Sealant Smoothing Tool. Press it into the joint for a tight seal and a clean finish.
  7. Remove the tape and let it cure Pull the painter’s tape away while the sealant is still wet. Allow the sealant to cure fully according to the label before applying paint. This process usually takes a few hours to a full day.

Common mistakes to avoid

Before you start your sealing project, beware of these common sealing mistakes:

  • Avoid painting over sealant that hasn’t fully cured. This can lead to bubbling, cracking, or poor adhesion.
  • Always check the product label for proper cure times and paint compatibility.
  • Don’t use interior caulk on exterior surfaces, as it won’t withstand weather exposure.
  • Overfilling gaps or skipping the smoothing step can leave behind messy lines or weak seals.
  • Never seal over damp, dirty, or unstable surfaces, as this can prevent the sealant from bonding properly.

To get GE Sealants’ products for your home improvement project, visit these fine retailers in the U.S. or Canada.
Sealing your counters now prevents rot, mold, and warped wood later How to seal kitchen counters for a lasting finish

Note: This DIY article is provided as a general guide only and is not intended to take the place of product-specific installation procedures; always follow applicable manufacturers’ instructions. Depending on your home’s age and condition, location within the home, and other potential factors, repairs and/or upgrades or other services may be necessary prior to the beginning and/or completion of your project that may involve the services of a home improvement professional. This article does not include advice pertaining to local building codes and/or any related inspections.

Moisture seeps through seams, hides behind sinks, and settles into joints. Sealing your kitchen counters is your first line of defense. Here’s how to do it right with GE silicone sealant for a finish that lasts as long as your counters.

Why sealing kitchen counters matters

When kitchen counters go bad, they rarely start with a cracked tile or warped edge. It starts at the seam.

Moisture from sink splashes, wipe-downs, or even steam finds its way into tiny gaps between countertop sections, behind backsplashes, or at the base of fixtures. Left unsealed, those points become access paths. You may not see the damage until your cabinet wood softens, the laminate lifts, or dark stains bleed through the grout.

Even stone surfaces like granite or quartz (while water-resistant) are vulnerable at the joints. And besides inviting water, every gap traps grime, bacteria, and mold. That’s why sealing is your kitchen’s first barrier against slow, invisible damage that shows up as costly repairs.

Unsealed kitchen seams are the leading cause of countertop substrate damage. GE Supreme Silicone Kitchen & Bath Sealant creates a permanently waterproof, mold-resistant seal in just 30 minutes.

The right sealant makes the difference

If sealing is your kitchen’s first defense, the next question is what you’re defending it with.

Daily exposure to boiling dishwater, oven heat, and constant wipe-downs push ordinary sealants past their limit. The wrong formula cracks, peels, or grows mold, often within months.

For lasting protection, choose a silicone sealant engineered for wet environments. For example, GE Supreme Silicone Kitchen & Bath Sealant is permanently waterproof, resists mold, and becomes water-ready in just 30 minutes. Its ASTM C920 Class 50 rating means it expands and contracts with your kitchen’s temperature shifts, without splitting or pulling away at the edges.

Because silicone can’t be painted, choose a clear or color-matched tube to suit your countertop finish. You can use it to seal granite countertops, quartz, tile, laminate, and other non-porous surfaces.

Avoid acrylic caulks in wet zones. If it cleans up with water, it breaks down with water too.

How to prep your counters before sealing

Even the best sealant for kitchen counters won’t hold if the surface isn’t properly prepared. Rushed or incomplete prep weakens adhesion, causes peeling edges, and leaves gaps for water to get in.

Tools & application checklist

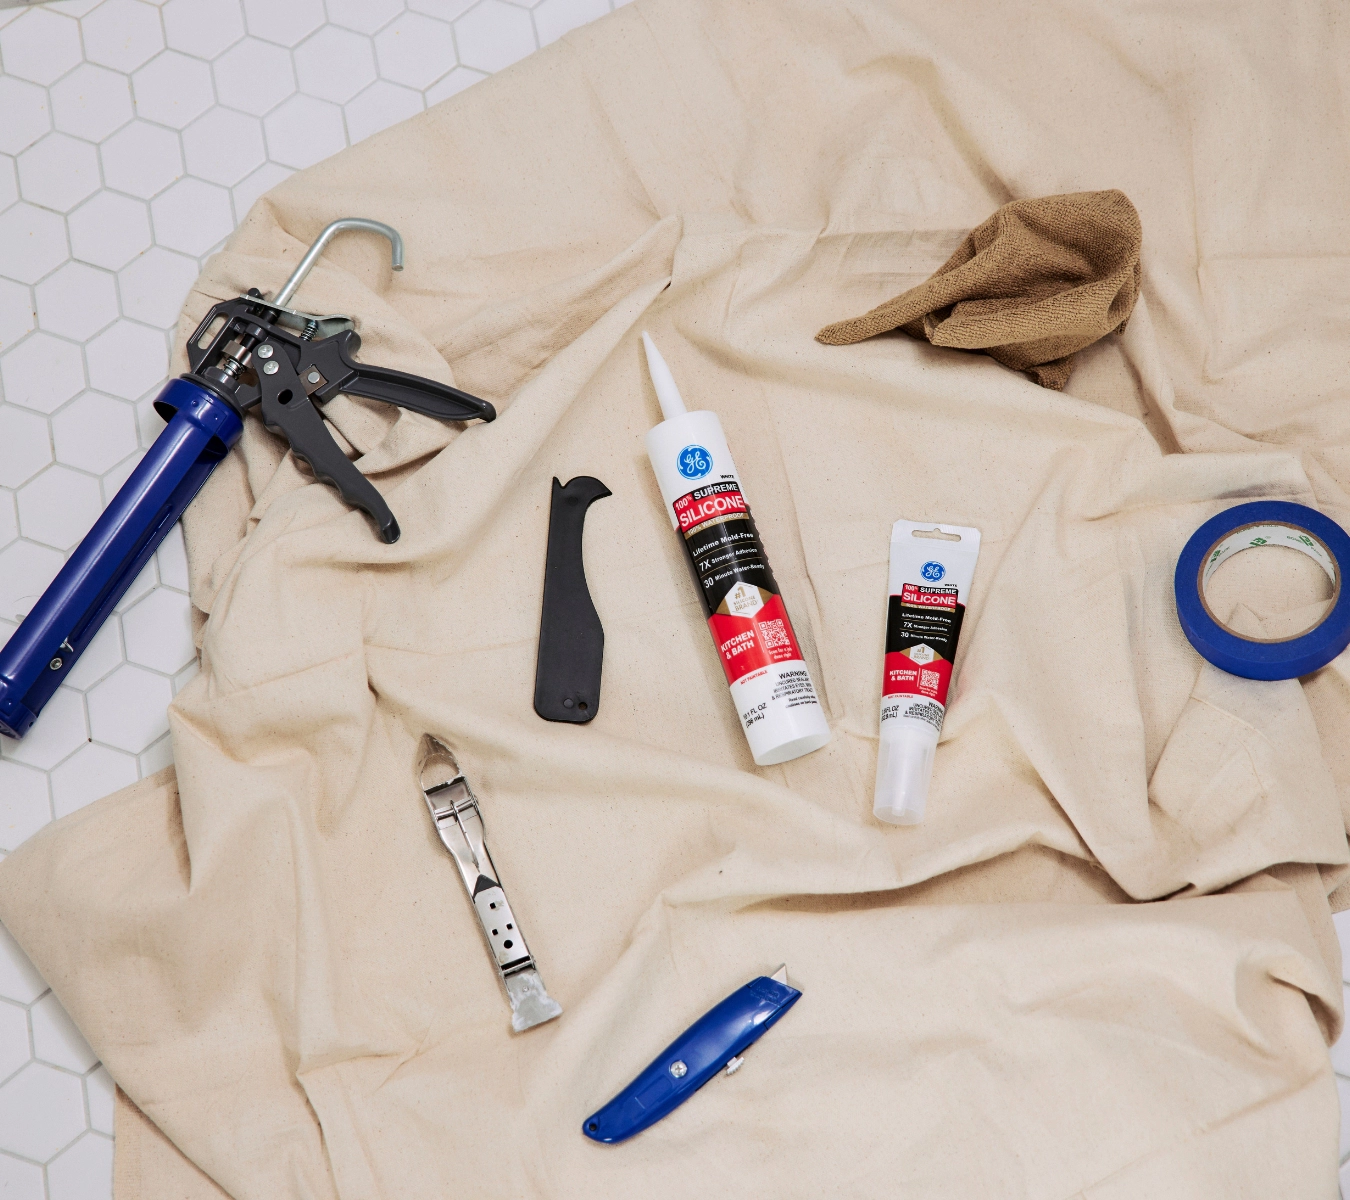
A top-down shot of essential sealing tools arranged on a drop cloth over a tiled floor.
Tools needed to seal kitchen counters with GE Supreme Silicone, including caulk gun, remover tool, and painter’s tape.

For a clean, long-lasting seal, gather your materials before you begin:

  • Caulk gun or squeeze tube (depending on your preferred application method)
  • GE Supreme Silicone Kitchen & Bath Sealant (choose clear, almond, or white)
  • Painter’s tape (for crisp, professional-looking bead lines)
  • Isopropyl alcohol and a lint-free cloth (for residue-free cleaning)
  • GE Sealant Smoothing Tool or a gloved finger (for tooling the bead)
  • Utility knife or GE Sealant Remover Tool (to remove any old sealant)
  • Disposable gloves (to keep your hands clean and improve control)

Follow this critical checklist to ensure long-term hold and waterproof protection:

  • Remove all old caulk using the GE Sealant Remover Tool
  • Clean thoroughly with isopropyl alcohol (never soap-based cleaners) to eliminate residue
  • Dry the entire area completely to avoid trapping moisture under the bead
  • Mask both edges with painter’s tape to maintain clean, professional lines
  • Cut the nozzle at a 45° angle and load it into a caulk gun or use the squeeze tube
  • Apply a steady, even bead, then tool it smooth with a caulk tool (or gloved finger if needed)
  • Peel tape immediately, then allow the sealant to cure undisturbed for 24 hours

Where to seal for maximum protection

Moisture doesn’t need a wide opening to do damage. Here’s where to seal and why it matters.

Around sinks

Undermount and drop-in sinks are splash-prone by design. Water collects at the rim and can seep under if it’s not sealed properly. Apply GE Supreme Silicone Kitchen & Bath Sealant around the full perimeter of the sink to block water from sneaking beneath the surface.

A continuous, flexible bead prevents mold growth, warped wood, and long-term moisture damage. If your sink is undermount, sealing that hidden edge is even more important.

At backsplash joints

The joint between your countertop and backsplash is a straight path to the drywall behind it. Without a clean silicone bead, water from rinsing, washing, or scrubbing can wick into the wall cavity.

Run a steady bead of GE Supreme Silicone Kitchen & Bath Sealant along the seam, tool it smooth, and peel painter’s tape while it’s wet. This creates a barrier against moisture, bacteria, and grime.

Seams and joints

Multi-slab counters (whether granite, quartz, laminate, or tile) create seam lines that you must seal. These gaps are common water traps and crumb collectors.

Use a color-matched silicone for an invisible line of defense that blends. If an exact match isn’t available, opt for a clear GE Supreme Silicone Kitchen & Bath Sealant. It’ll deliver the same protection without drawing attention to the seam.

This is how you create waterproof kitchen counter seams that last through daily use, deep cleaning, and shifting conditions over time.

Fixture bases and cutouts

Every faucet, sprayer, soap dispenser, or filtered tap sits in a cutout that leads directly into your cabinetry. If you skip sealing here, water can trickle down and cause hidden rot, loosened hardware, or warping around the base.

Apply a smooth bead of GE Supreme Silicone at each fixture base to protect the cabinet below and help your hardware stay secure over time.

A man using GE Supreme Silicone Kitchen & Bath Sealant (squeeze tube) to apply a clean bead along the kitchen sink backsplash seam.
DIYer applying GE Supreme Silicone Kitchen & Bath Sealant around kitchen sink backsplash seam.

What to avoid when sealing kitchen counters

These common errors weaken protection, shorten the lifespan of your seal, and leave kitchen counters vulnerable to mold, leaks, and edge damage.

  • Don’t use acrylic caulk in wet zones. It breaks down when exposed to moisture and lacks the mold resistance needed for kitchens. Use a waterproof silicone sealant instead.
  • Don’t paint over silicone. Paint won’t bond to the surface, and any joint movement will cause flaking or cracking.
  • Don’t touch curing silicone. Dust, fibers, or fingerprints can disrupt the bead and weaken the waterproof barrier.
  • Don’t apply too much. Overapplication doesn’t improve strength. Tool a clean, even bead to ensure full adhesion and a crisp finish.

FAQs about sealing kitchen counters

Can I use silicone on granite or stone?

Yes, you can. GE Supreme Silicone is designed to bond securely with non-porous surfaces like granite, quartz, tile, and cultured marble. It’s an ideal choice for sealing granite countertops and other stone installations.

How long before I can use my kitchen after sealing?

GE Supreme Silicone Kitchen & Bath Sealant is water-ready in just 30 minutes, helping you get back to daily use quickly. However, for best results and maximum durability, let it fully cure for 24 hours before cleaning or exposing the bead to moisture.

What color sealant should I use?

Choose clear for an invisible finish or match your countertop with almond or white. GE Supreme Silicone Kitchen & Bath Sealant offers both options to blend with most kitchen surfaces.

Find GE Supreme Silicone Kitchen & Bath Sealant and other sealant tools at a store near you in the U.S. or Canada.