Pest Block Insulating Foam
Interior Seal Silicone Sealant
Exterior Seal Acrylic Caulk
Pro Seal Max Kitchen & Bath
Pro Seal Max Window & Door
Supreme Silicone Window & Door Sealant
Advanced Silicone 2® Window & Door Sealant
All Purpose Silicone 1® Sealant
Paintable Silicone Supreme Window & Door Sealant
Siliconized Advanced Acrylic Window & Door Sealant
Siliconized Multi-Purpose Acrylic Window & Door Caulk
Seal & Fill Multi-Purpose Window & Door Caulk
Supreme Silicone Kitchen & Bath Sealant
Advanced Silicone 2® Kitchen & Bath Sealant
Tub & Tile Silicone 1® Sealant
Paintable Silicone Supreme Kitchen & Bath Sealant
Siliconized Advanced Acrylic Kitchen & Bath Sealant
Siliconized Multi-Purpose Acrylic Kitchen & Bath Caulk
Re-New
Painter’s Pro Quick Dry Siliconized Acrylic
Painter’s Pro Siliconized Acrylic Caulk
Painter’s Caulk
Gutter Silicone 2® Sealant
Concrete Silicone 2® Sealant
Metal Silicone 2® Sealant
Project Filter
  • location
    Insulating Foam
    Kitchen & Bath
    Paint Projects
    Specialty
    Windows, Doors, Siding & Trim
  • project-type
    All
    Window & Door
    Kitchen & Bath
    Seal & Paint
    Insulating Foam
    Specialty
  • color
    Almond
    Black
    Brown
    Clear
    Light Gray
    Metallic Gray
    White
  • formulas
    Acrylic
    Insulating Foams
    Paintable Silicone
    Silicone
    Siliconized Acrylic
  • performance
    Not Paintable
    Paintable
  • product-type
    Adhesives
    Caulks & Sealants
    Specialty Products
  • application
    Can
    Cartridge
    Pen
    Squeeze Tube
  • gap_width
    Gaps 1"-3"
    Gaps less than 1"
    Window & Door
  • humidity-level
    Extensive Humidity
    Normal Humidity
  • product_finder
    Pathway 1
    Pathway 2
    Pathway 3
    Pathway 4
    Pathway 5
    Pathway 6
    Pathway 7

Contact Form

A few minutes of sealing can save years of kitchen and bath fixture damage How to seal and protect kitchen and bath fixtures from water damage

Note: This DIY article is provided as a general guide only and is not intended to take the place of product-specific installation procedures; always follow applicable manufacturers’ instructions. Depending on your home’s age and condition, location within the home, and other potential factors, repairs and/or upgrades or other services may be necessary prior to the beginning and/or completion of your project that may involve the services of a home improvement professional. This article does not include advice pertaining to local building codes and/or any related inspections.

Kitchen and bath fixtures are exposed to water every day, making them common points for leaks, mold, and corrosion. Without proper sealing, moisture can seep beneath faucets, drains, and trim, leading to expensive damages. This guide shows you how to seal and maintain your fixtures to help prevent water intrusion and extend their lifespan.

Why you should seal kitchen and bath fixtures

Sealing around kitchen and bath fixtures is a small step with a payoff of major protection. Faucets, drains, and trim are in constant contact with water from daily use, and without proper sealing, moisture can seep underneath or behind the fixture. Over time, this leads to corrosion, mold growth, and softening or warping of surrounding materials like wood, laminate, or drywall. Even small unnoticed leaks or water splashes can cause long-term damage beneath sinks or behind tubs.

A properly sealed fixture keeps water where it belongs—on the surface—and helps prevent costly repairs or fixture replacements. It also improves the fixture’s stability, reducing movement that can lead to further leaks. In bathrooms especially, where humidity is high and water exposure is constant, sealing is critical for maintaining a clean, hygienic space. Whether you’re installing new hardware or maintaining existing ones, using the right sealant ensures your kitchen and bath remain dry and helps you prevent leaky fixtures.

Where to seal around kitchen and bath fixtures

To protect your kitchen and bath fixtures from water damage, start by sealing the areas most prone to leaks and splashing. Around sinks, apply sealant at the base of faucet stems where they meet the countertop or sink surface. This will prevent water from seeping into the cabinet below. In bathrooms, seal the edges of escutcheons—the trim plates around shower handles and tub spouts—to block water from getting behind tile or wallboard.

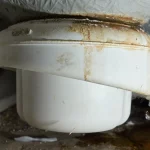
Sink and tub drains are another high-risk area. Apply sealant around the flange where the drain meets the basin to create a watertight barrier between metal or plastic and porcelain or fiberglass. For undermount sinks, seal the seam where the sink contacts the countertop underside to stop moisture from collecting and weakening the adhesive.

Learn more about sealing undermount sinks.

Don’t overlook backsplashes or tiled walls where fixtures are mounted—these seams should also be sealed to prevent water from running behind the tile. Targeting these specific areas helps prevent mold, mildew, and fixture loosening.

Best GE sealants for kitchen and bath fixtures

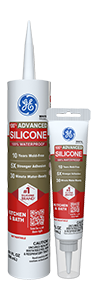
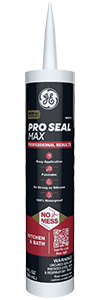
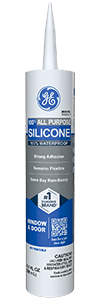
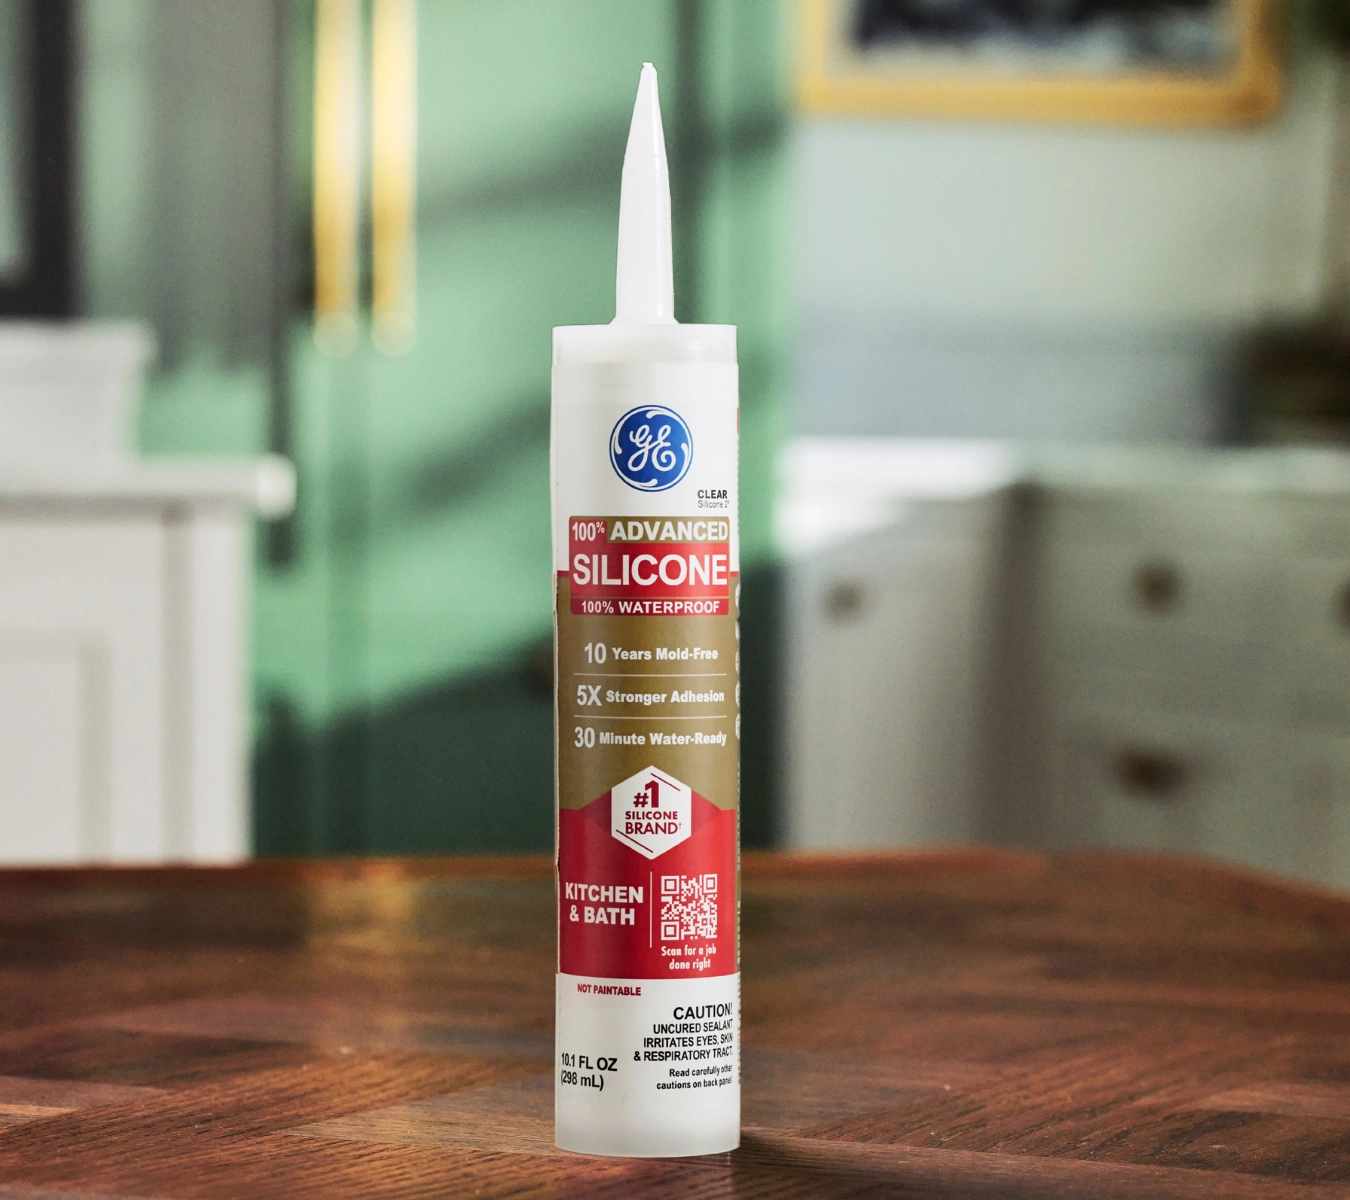
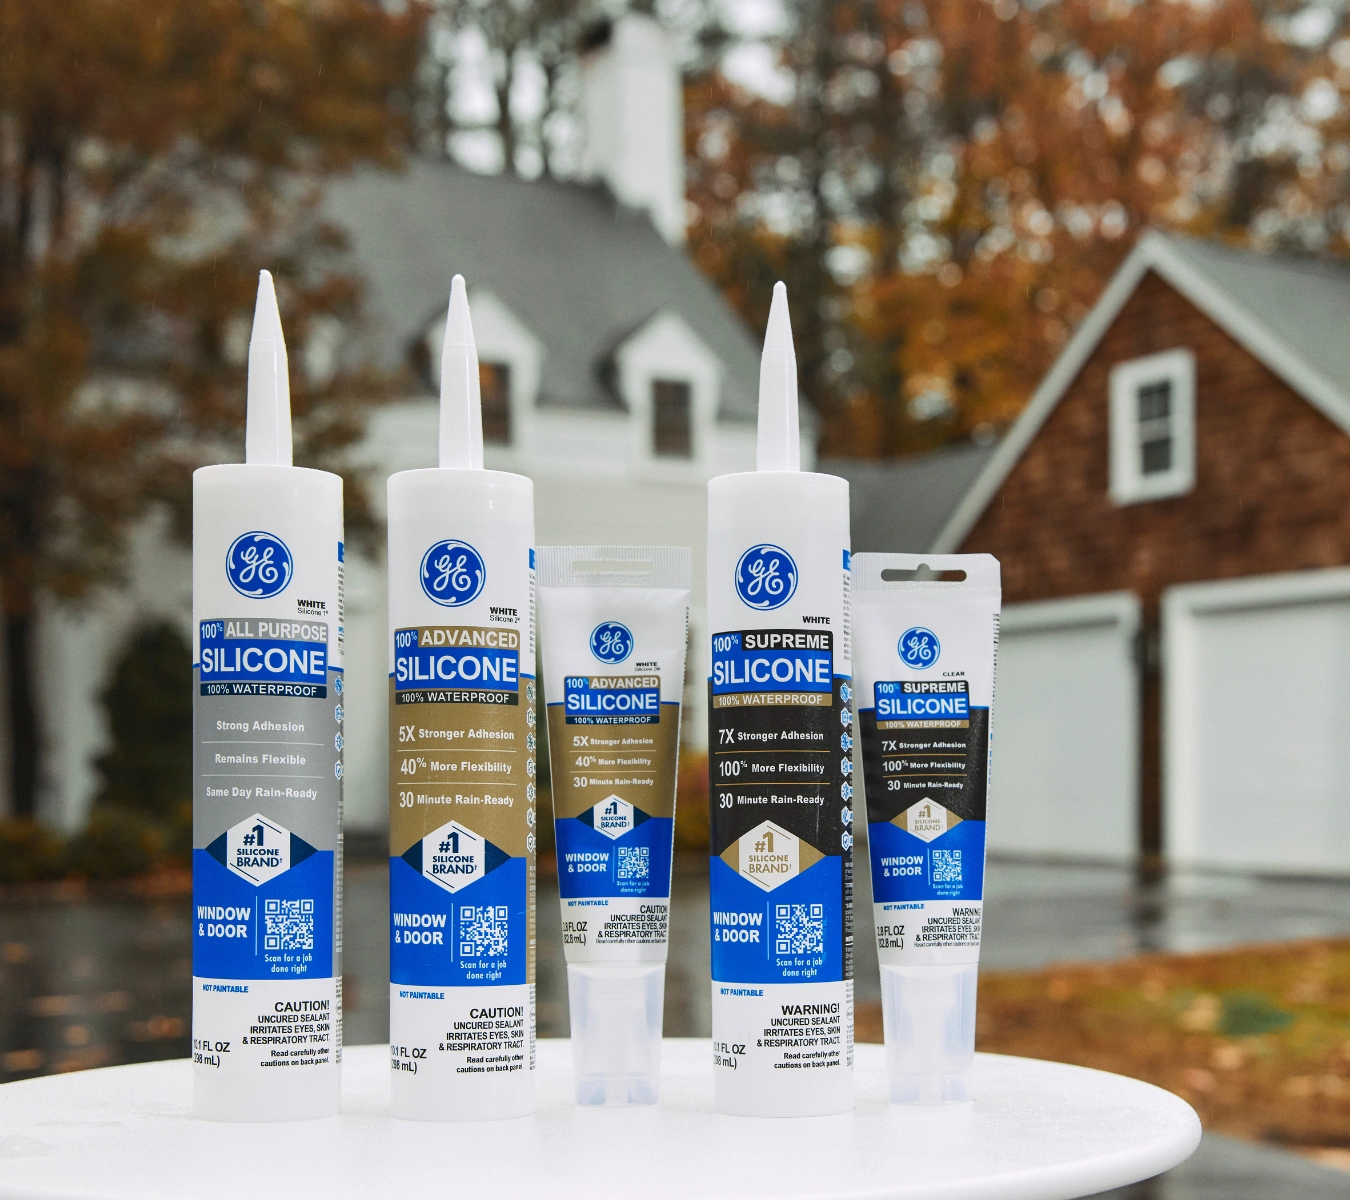
Waterproofing around kitchen and bath fixtures prevents leaky faucets and other costly water damage. Use a 100% silicone sealant like GE Pro Seal Max Kitchen & Bath or GE Advanced Silicone Kitchen & Bath Sealant to protect against moisture, mold, and daily wear. These products are permanently flexible and ideal for sealing around faucets, drains, and trim—keeping fixtures watertight and your surfaces protected.

When sealing around kitchen and bath fixtures, using the right product makes all the difference in long-term protection and ease of application. GE offers two top-tier silicone sealants specifically designed for these high-moisture environments:

GE Advanced Silicone Kitchen & Bath Sealant.
A photo of GE Advanced Silicone Kitchen & Bath Sealant.
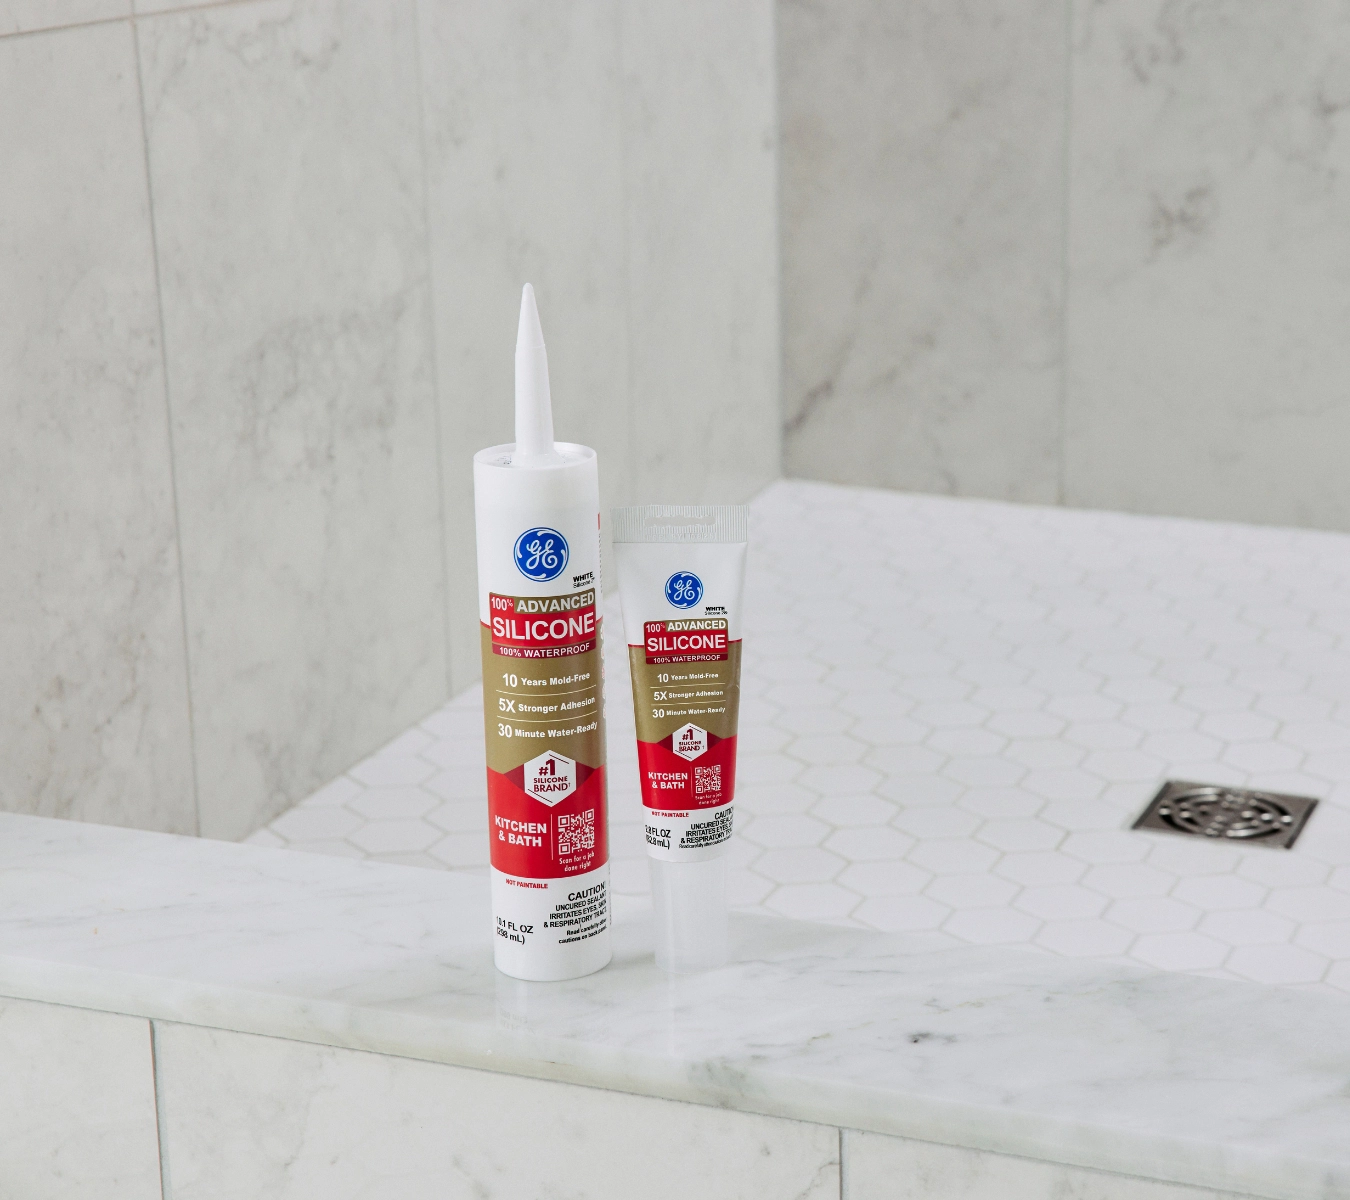
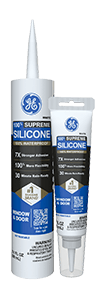
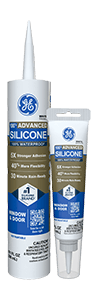
  • GE Pro Seal Max Kitchen & Bath is an advanced formula engineered for lasting performance. It delivers Class 50 flexibility—meaning it can expand and contract up to 50% of the joint width without cracking. This flexibility is ideal for areas with frequent temperature and humidity changes. It’s water-ready in just 30 minutes and offers lifetime mold-free product protection, making it perfect for faucet bases, drains, trim plates, and high-use wet zones. Available in clear and white, Pro Seal Max Kitchen & Bath blends easily with most fixture and surface finishes.
  • GE Advanced Silicone Kitchen & Bath Sealant is another excellent choice for preventing leaky fixtures and maintaining waterproof faucets. This 100% silicone sealant is waterproof and mold-resistant for up to 10 years. It adheres strongly to nonporous surfaces such as porcelain, glass, laminate, tile, and metal—making it ideal for use around sink flanges, escutcheons, and undermount sink seams. Like Pro Seal Max, it’s permanently flexible and won’t shrink, crack, or degrade under daily exposure to moisture and cleaning.

Both products are low odor, easy to apply, and deliver professional-grade results for homeowners and contractors. Whether you’re installing new hardware or replacing old sealant, GE silicone sealants provide the durability and waterproof protection your kitchen and bath fixtures need to stay clean, secure, and leak-free.

Learn more about the superior durability of silicone sealants for a wide range of DIY home uses in our guide.

How to seal fixtures like a pro

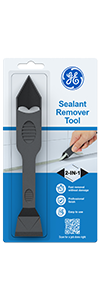
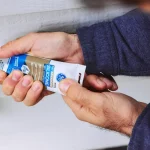
Sealing kitchen and bath fixtures is a pretty straightforward project when you follow the right steps and use quality materials. Start by removing any old sealant using a utility knife or the GE Sealant Remover Tool, taking care not to scratch the surrounding surfaces. Once removed, clean the area thoroughly with soap and water to eliminate dirt, grease, or mildew, and allow the surface to dry completely.

Cutting the nozzle of a GE silicone sealant tube at a 45-degree angle before sealing a bathroom fixture.
A homeowner cutting the nozzle of a silicone sealant tube in a bathroom, preparing for application.

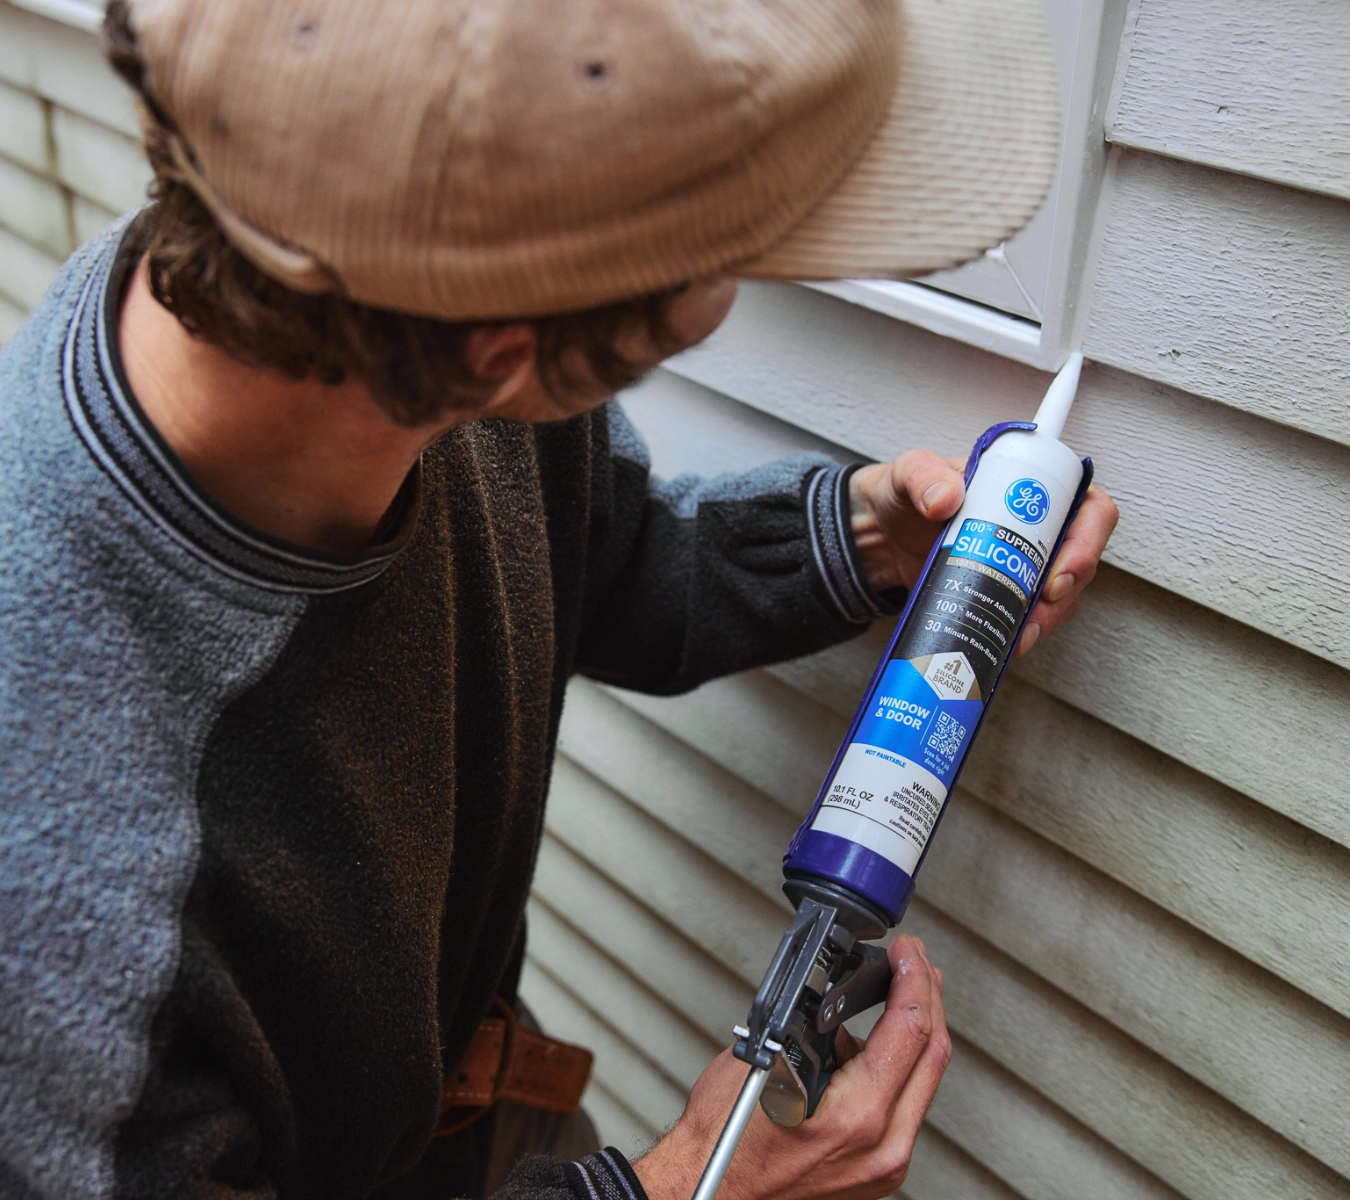
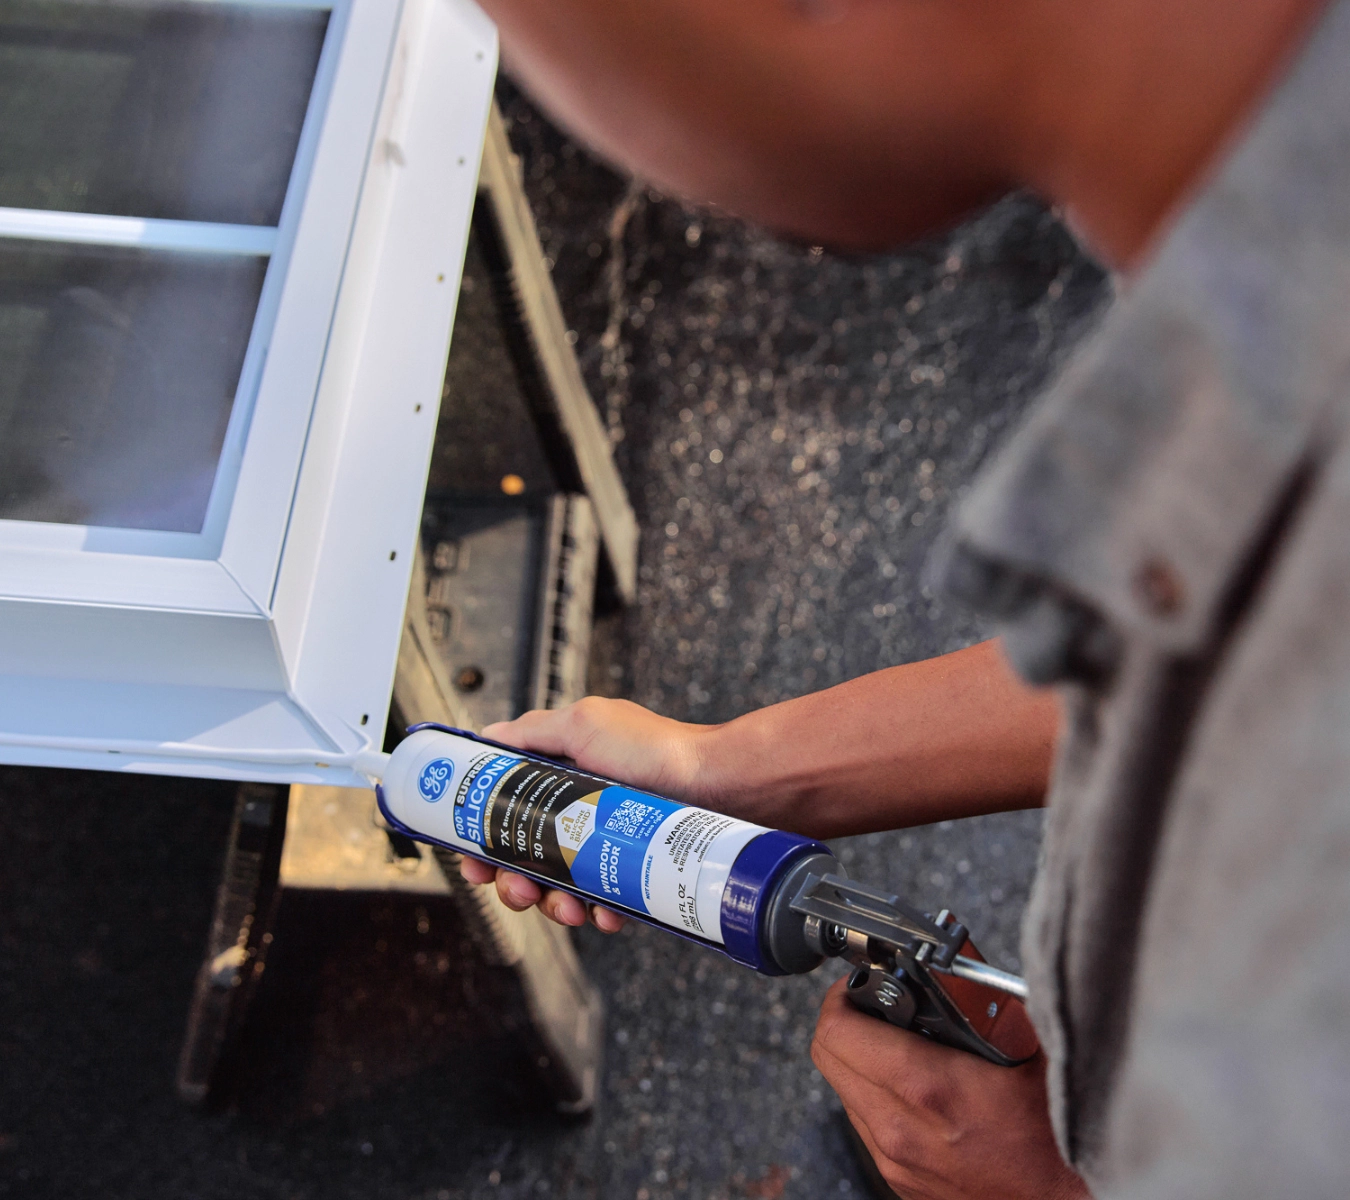
Apply painter’s tape on both sides of the joint to create clean lines and minimize mess. Cut the nozzle of your GE silicone sealant at a 45-degree angle, and puncture the inner seal. Load the cartridge into a standard caulk gun and apply a smooth, even bead around the fixture base or seam. Work in short sections to maintain control and avoid excess buildup.

Immediately smooth the bead with a gloved finger or GE’s Sealant Smoothing Tool to ensure full contact with both surfaces and eliminate air gaps. Remove the painter’s tape while the sealant is still wet to preserve clean edges. Allow the sealant to cure per product instructions—most GE products are water-ready in 30 minutes but require 24 hours for full curing.

To get GE Sealants’ products for your home improvement project, visit these fine retailers in the U.S. or Canada.

Contact Form

Paintable Silicone Supreme Window & Door Sealant

Contact Form

Get rid of cold drafts by sealing electrical outlets around the home How to air-seal electrical outlets and wiring for energy efficiency

Note: This DIY article is provided as a general guide only and is not intended to take the place of product-specific installation procedures; always follow applicable manufacturers’ instructions. Depending on your home’s age and condition, location within the home, and other potential factors, repairs and/or upgrades or other services may be necessary prior to the beginning and/or completion of your project that may involve the services of a home improvement professional. This article does not include advice pertaining to local building codes and/or any related inspections.

If your home feels drafty in certain areas or your energy bills spike during the colder months, your electrical outlets could be part of the problem. Many homeowners don’t realize how much energy can escape through small gaps and cracks around outlets, switch plates, and wiring penetrations. In this guide, you’ll learn how to air-seal electrical outlets and why this is a critical DIY project around your home.

Sealing outlets isn’t just about saving money but protecting your home.

Why it’s important to air-seal electrical outlets

When you think about energy loss in your home, you probably picture drafty windows or poorly insulated attics. However, every outlet on an exterior wall is another potential leak point where conditioned air escapes and outside air sneaks in. Multiply that by the number of outlets throughout your home, and you will have a serious energy efficiency issue.

Air leakage around outlets doesn’t just affect heating and cooling, though. It can also allow moisture and even pests to enter your walls. That means sealing outlets isn’t just about saving money; it’s about protecting your home.

Some of the key benefits of sealing electrical outlets include:

  • Lower energy bills by preventing heat loss in the winter and keeping cool air in during the summer
  • Increased comfort with fewer cold spots and drafts
  • Improved indoor air quality by minimizing outdoor air infiltration and dust
  • Pest prevention, especially in older homes where small gaps allow bugs and rodents inside

How to air-seal electrical outlets: step-by-step

Sealing electrical outlets is a simple DIY project that can significantly impact your home. To get started, you’ll need a few key materials. Here’s what professionals recommend:

  • Foam gaskets for outlet and switch plate covers
  • Child-proof safety plugs or sealable outlet inserts
  • A high-quality expanding insulating foam sealant
  • Utility knife or scissors
  • Screwdriver
  • Safety gloves and goggles

We recommend using insulating foam designed specifically for use around electrical outlets and wiring penetrations, such as our Gaps & Cracks foam. It’s ideal for this kind of project as it expands to fill gaps and cracks up to one inch, just enough to fill those tough-to-reach spaces without damaging surrounding materials.

Once you have all your materials, you can get started by following these steps.

1. Turn off the power

Before doing any work near electrical outlets, turn off the power at the circuit breaker to avoid shock.

2. Remove the outlet cover plate

Put on safety gloves and goggles for added protection during the next few steps. Use a screwdriver to remove the cover plate and set it aside. This will expose the space between the outlet box and the drywall.

3. Install foam gaskets

Foam gaskets are precut to fit behind outlet or switch covers. They help block airflow through the outlet’s face. Place the gasket over the outlet box, then reattach the cover plate.

4. Seal gaps around the box

Use our Gaps & Cracks insulating foam to fill any visible gaps between the electrical box and the wall or drywall. Insert the nozzle into the crevice and gently apply a bead of foam. Be careful not to overfill, as it will expand as it cures. Try to fill the openings about 1/3 of the way to allow room for expansion.

Let the foam cure according to the instructions. If using our Gaps & Cracks insulating foam, you should allow 24 hours for curing. Once fully set, you can trim any excess using a utility knife or scissors.

5. Seal any wiring penetrations

If your wiring runs through exterior walls or from attics/basements into outlets, inspect those penetrations as well. Gaps around wires are a major source of air leakage. Apply the same insulating foam to block airflow in these areas.

Child-proof safety plug placed inside an electrical outlet showing how to air-seal electrical outlets.
A photo of an electrical outlet with a child-proof safety plug.

6. Use outlet seals or safety plugs

Finally, consider installing child-proof plugs or sealable outlet inserts in rarely used outlets to prevent air from sneaking through the socket.

Don’t forget to seal outdoor electrical outlets, too

Indoor outlets aren’t the only source of energy leaks. Outdoor electrical outlets can also let in cold air, moisture, and even pests if they aren’t properly sealed. These exterior penetrations often have larger gaps where the electrical box meets the siding or wall structure, making them a critical area to address when sealing electrical outlets for energy efficiency.

Here’s how to air-seal outdoor outlets effectively.

1. Inspect the outlet and the surrounding area

Check for visible gaps or cracks around the outlet cover, junction box, and where the box meets the siding or exterior wall. If the outlet isn’t flush with the siding or is missing a proper weatherproof cover, it may be allowing air and water infiltration.

2. Apply expanding foam around the electrical box

Use our Gaps & Cracks insulating foam to fill in the space between the electrical box and the exterior wall or siding. This foam is ideal for outdoor applications because it expands just enough to seal gaps up to one inch wide without putting pressure on surrounding materials. It also helps block out rain, wind, and pests from sneaking through.

3. Use a weatherproof cover

Replace any old or damaged outlet covers with weatherproof covers designed for outdoor use. These covers protect the outlet itself while helping to keep your foam seal intact.

4. Seal around the box with silicone

After the foam has fully cured and the weatherproof cover is in place, seal the edges where the box or cover meets the siding using a flexible, exterior-grade silicone sealant. This extra step helps block out wind, rain, and pests, while also protecting the foam from UV exposure and wear over time.

Sealing outdoor electrical outlets is just as important as sealing indoor ones, especially in regions with extreme temperatures or wet conditions. By addressing both, you’re taking a more complete approach to sealing outlets and boosting your home’s overall energy efficiency.

Promote energy efficiency throughout the home

While sealing outlets is a smart move, don’t stop there. One of the best energy efficiency tips is to look for other hidden leaks in your home. Those areas can include:

  • Around window and door frames
  • Where HVAC lines enter the home
  • Attic hatches and pull-down stairs
  • Plumbing penetrations beneath sinks

Our Gaps & Cracks insulating foam also works well for these problem areas. We also offer a Multipurpose Foam that bonds to wood, concrete, brick, and more. These products are versatile solutions for sealing gaps and improving energy efficiency throughout your home.

Insulating foam used to seal gaps and cracks in the home.

Why you should use expanding foam for sealing outlets

You might wonder why expanding foam is the go-to material for this task. Here’s what makes it so effective:

  • Fills gaps up to one inch wide, expanding to fit irregular spaces
  • Blocks air, moisture, and pests from entering your home
  • Durable and long-lasting, unlike temporary solutions like caulk or tape
  • Safe for use around wiring, plumbing, and HVAC systems when applied correctly

Not all foam products are created equal, so it’s essential to choose one that contractors and homeowners trust. Our insulating foam is specially formulated to provide a tight seal without overexpanding or damaging sensitive components.

FAQs

Is it safe to use foam around electrical outlets?

Yes, as long as the foam is non-conductive and rated for use around wiring. Always turn off the power first and follow product instructions carefully.

How do I know if I need to seal my outlets?

Hold your hand near an outlet on an exterior wall. If you feel a draft, it’s time to seal. You can also use a smoke pencil or incense stick to detect airflow.

Can this help with pests?

Absolutely. Sealing outlets and wiring penetrations help keep out insects that may sneak in through tiny openings. Our Pest Block Foam is perfect for providing insulation while keeping pests out.

How long does it take to seal all the outlets in my home?

Most homeowners can tackle this project within a weekend. Each outlet takes about five to 10 minutes, depending on accessibility and the number of gaps.

Do I need to hire a professional?

Not necessarily. This is a great DIY project if you’re comfortable using basic tools. Just be sure to follow safety precautions and manufacturer guidelines.

Learning how to air-seal electrical outlets is a small step that can improve your home’s energy efficiency. It’s one of those smart, inexpensive projects that pay off season after season. Using the right materials, like our Gaps & Cracks insulating foam, will improve comfort and protect your home from moisture and pests.

To find the perfect product for your project, visit a store near you in the U.S. or Canada.

Contact Form

Siliconized Advanced Acrylic Window & Door Sealant

Contact Form

Keep your tile looking like new with proper sealing Backsplash sealing 101: how to keep your kitchen dry and stylish

Note: This DIY article is provided as a general guide only and is not intended to take the place of product-specific installation procedures; always follow applicable manufacturers’ instructions. Depending on your home’s age and condition, location within the home, and other potential factors, repairs and/or upgrades or other services may be necessary prior to the beginning and/or completion of your project that may involve the services of a home improvement professional. This article does not include advice pertaining to local building codes and/or any related inspections.

Your kitchen backsplash does more than add visual interest to your home. It’s your first line of defense against water, grease, and everyday messes. But without proper sealing, even the most beautiful backsplash can fall victim to moisture damage. Whether installing a new backsplash or finishing a renovation, understanding backsplash sealing and knowing which materials to use can make all the difference.

There’s no denying that your kitchen backsplash was an investment. You want to ensure it looks great and will last for years. Sealant is a great way to seal and protect your backsplash.

Why you should seal your backsplash

Grout may seem like enough to keep water out, but it’s porous. That means it can absorb moisture over time, leading to staining, mildew, and even tile damage. Since you likely want your backsplash to look pristine throughout its lifetime, protecting your tile is crucial. This is where sealant comes into play.

Once your grout has fully cured, applying a backsplash sealant creates a waterproof barrier between your tiles and the areas most vulnerable to water, like the space between the kitchen countertop and backsplash, inside corners, and edges near your sink.

The benefits of sealing a kitchen backsplash

There’s no denying that your kitchen backsplash was an investment. You want to ensure it looks great and will last for years. Sealant is a great way to seal and protect your backsplash. Here’s why sealing a kitchen backsplash is a must:

  • Waterproof protection: Stops water from seeping behind the tiles or into grout lines.
  • Flexible and durable: Silicone expands and contracts with temperature changes, making it ideal for kitchen environments, particularly around the range.
  • Mold and mildew resistance: Many silicone sealants are formulated to resist microbial growth.
  • Neat finish: It adds a clean, polished look to your backsplash edges.
A tile backsplash on display in a homeowner’s kitchen.

Backsplash sealing 101: a step-by-step guide

If you’re installing a backsplash for the first time or re-sealing an existing one, follow this step-by-step guide on how to seal a backsplash to get the best result. With these tips, you can save money by doing it yourself instead of hiring a professional.

1. Prepare the surface

Your tiles and grout need to be completely clean and dry before sealing. This ensures the sealant will adhere properly.

  • Let grout cure: Wait at least 24-48 hours after applying grout before sealing.
  • Clean the surface: Use a mild cleaner or a 1:1 vinegar and water solution to remove grease or dust.
  • Dry completely: Moisture can interfere with sealant adhesion, so be sure everything is dry before you begin.

2. Choose the proper silicone sealant

Not all sealants are created equal. For backsplash sealing, use a high-quality, kitchen-grade sealant that’s waterproof, mold-resistant, and formulated for tile and grout.

We recommend our Pro Seal Max Kitchen & Bath sealant. Its hybrid formula is 100% waterproof and is permanently flexible. It’s ideal for interior projects where moisture may be present, making it perfect for countertops, backsplashes, and more. It can be used on various surfaces, including stone/marble, glass, porcelain, and ceramic tile.

3. Apply the sealant

Now, it’s time to seal! Review the manufacturer’s guidelines and instructions on your sealant of choice to get started. Here’s a simple breakdown of the steps you’ll be completing:

  • Cut the nozzle to obtain the desired bead size.
  • Load the sealant tube into a caulking gun.
  • Apply a steady bead along joints where the backsplash meets the countertop, sink, or corners.
  • Smooth it out using a gloved finger or our Smoothing Tool to press the sealant into the gap and create a smooth finish.
  • Wipe away excess sealant immediately with a damp cloth or sponge.
  • When finished, wipe hands and tools off thoroughly before washing.

4. Let it cure

Curing time varies depending on the product, so check manufacturer guidelines first. Generally, it can take between 24 and 48 hours for a silicone sealant to cure. Please avoid using the area or getting it wet during this time so it can be appropriately set.

Caring for a sealed backsplash

Once your backsplash is sealed, proper care will keep it looking its best for years. Here are a few tips to keep in mind:

  • Wipe down regularly with a gentle cleaner to remove grease and mildew.
  • Avoid abrasive scrubbing tools that wear down the sealant or scratch the tile.
  • Re-seal as needed. Check the sealant frequently for wear, cracking, or mold. If it starts to peel or discolor, it’s time for a refresh.

When to reseal your kitchen backsplash

Sealant is tough but not indestructible. Over time, heat, humidity, and everyday use can cause it to break down. Here are a few signs it’s time to reseal:

  • You notice gaps or peeling sealant
  • Mold or mildew is forming despite regular cleaning
  • Water is pooling along backsplash edges or seams

Resealing is a simple maintenance task that can extend the life of your backsplash and kitchen. Not only will it prolong the life of the tile, but exerting that extra care shows you take pride in your home.

FAQs

Do all backsplashes need sealing?

Yes, especially in areas exposed to moisture, like behind sinks and stovetops. Even if your tiles are non-porous, the grout between them can absorb water unless adequately sealed.

How long should I wait after grouting before sealing my backsplash?

Wait at least 24 hours to allow the grout to cure fully. Applying sealant too soon can trap moisture and cause issues later.

Can I use silicone sealant over old sealant?

It’s best to remove old, damaged sealant first. New sealant won’t adhere well to peeling or dirty material. Use a utility knife or sealant remover for best results.

What’s the difference between grout sealer and silicone sealant?

Grout sealer is usually a penetrating liquid applied to grout lines to prevent staining. Silicone sealant is a flexible, waterproof material applied to edges and seams to prevent water from seeping into gaps.

How often should I reseal my backsplash?

Most silicone sealants last several years, but inspect annually. If you notice cracking, peeling, or mildew, it’s time to reseal.

Backsplash sealing is a simple but essential part of any kitchen tile installation. Knowing how to seal a backsplash correctly and using high-quality sealant helps protect your space, keep it clean, and maintain a polished, professional look.

To find the perfect product for your project, visit a store near you in the U.S. or Canada.

Contact Form

Siliconized Multi-Purpose Acrylic Window & Door Caulk

Contact Form

Prevent damage where it starts—seal your kitchen surfaces with confidence! Kitchen waterproofing: valuable tips to protect counters and floors

Note: This DIY article is provided as a general guide only and is not intended to take the place of product-specific installation procedures; always follow applicable manufacturers’ instructions. Depending on your home’s age and condition, location within the home, and other potential factors, repairs and/or upgrades or other services may be necessary prior to the beginning and/or completion of your project that may involve the services of a home improvement professional. This article does not include advice pertaining to local building codes and/or any related inspections.

The kitchen is one of the most water-exposed areas in any home, making waterproofing a critical part of long-term surface protection. Without proper kitchen waterproofing, everyday splashes, spills, and steam can lead to warped floors, swollen cabinets, and mold growth. This guide covers how to seal key areas—and which GE silicone sealants to use—for a cleaner, drier, and more durable kitchen.

Why you need to waterproof your kitchen

Water is a constant in the kitchen—whether from cooking, cleaning, or appliances—and without proper waterproofing, it can quickly cause damage. Moisture that seeps into seams or behind surfaces can lead to swelling, warping, and rot in wood-based materials. Over time, this affects the appearance of your kitchen and can incur costly structural repairs or mold remediation.

Common areas like countertop-to-wall joints, sink rims, and floor edges are particularly vulnerable. If left unsealed, even small, unnoticed leaks can compromise cabinets or cause subfloor damage. In high-use zones like these, waterproofing is far more than just a cosmetic detail.

By proactively sealing kitchen surfaces, you create a barrier that helps defend against everyday wear and tear. It also keeps your kitchen looking clean and finished, even in high-moisture conditions. Whether you’re updating a few seams or sealing after a full remodel, kitchen waterproofing helps preserve the value and integrity of your space.

Where to seal kitchen surfaces

Effective kitchen waterproofing starts with knowing where moisture is most likely to cause problems. Key areas include countertop-to-wall joints, where water from cooking or cleaning can drip down and seep into wall cavities or behind cabinets. Similarly, backsplash seams—especially where tile meets the counter—should be sealed to prevent moisture from soaking into grout or drywall.

Around the sink rim and faucet base, daily use often leads to standing water. These areas are prime spots for mold, mildew, and material breakdown if left unsealed. Sealing around the dishwasher perimeter and cabinet bases adds an extra layer of protection from steam, condensation, or accidental overflows.

Flooring edges, especially with laminate, vinyl plank, or floating systems, are also at risk. Water that seeps into the subfloor can cause warping, buckling, and long-term structural damage. By sealing these transition points and vertical joints, you prevent water from reaching places it shouldn’t.

Don’t let small leaks turn into big problems. Waterproofing your kitchen protects it from daily wear, steam, and spills. Use GE Advanced Silicone Kitchen and Bath Sealant for counters and backsplashes, and GE Supreme Silicone Window and Door Sealant for flooring transitions—both built to resist water, mold, and movement for long-lasting results.

Best GE sealants for waterproofing your kitchen

Choosing the right sealant is key to preventing water damage in the kitchen. Two GE silicone products stand out for their performance, flexibility, and long-term protection.

Advanced Silicone Kitchen and Bath Sealant.
A photo of Advanced Silicone Kitchen and Bath Sealant.

GE Advanced Silicone Kitchen & Bath Sealant is a go-to choice for sealing wet areas like sinks, backsplashes, and countertops. This 100% silicone formula is permanently waterproof and mold-resistant for up to 10 years, making it ideal for kitchens exposed to daily moisture and cleaning. It adheres well to nonporous surfaces like tile, porcelain, glass, and laminate, and it’s water-ready in just 30 minutes—perfect for fast-paced projects or quick repairs.

Recurring leaks around your kitchen sink? Learn how to seal kitchen sinks effectively.

For floor-to-wall joints and cabinet base transitions, GE Supreme Silicone Window & Door Sealant offers the strength and flexibility needed for surfaces that shift or expand. It provides Class 50 flexibility, ensuring a long-lasting seal that won’t shrink or crack under pressure. Its weatherproof design makes it suitable for use near exterior walls or high-traffic areas, where temperature and humidity changes are common.

Both products are available in clear and white finishes to match your kitchen’s design. Whether you’re remodeling or simply resealing problem areas, these GE silicone sealants provide a durable barrier against leaks—and help protect your kitchen from moisture-related damage year-round.

Application tips for kitchen surfaces

Start by removing any old or damaged material using a tool like the GE Sealant Remover Tool. Clean the surface thoroughly to eliminate soap residue, grease, or debris—sealant adheres best to smooth, dry, and clean substrates.

A homeowner removes sealant.
A photo of a homeowner removing sealant in a Kitchen.

Use painter’s tape along both sides of the joint to ensure clean lines, especially in visible areas like countertops and backsplashes. Cut the sealant nozzle at a 45-degree angle for better control, then apply a continuous bead using steady pressure. Smooth the bead immediately with the GE Smoothing Tool or a gloved finger to ensure even coverage and full contact with both surfaces.

Learn more about installing and sealing kitchen backsplashes in our how-to article.

Allow the sealant to cure according to the product’s instructions. For GE Advanced Silicone, surfaces are typically water-ready in 30 minutes, but full cure may take 24 hours. Avoid heavy cleaning or water exposure during this period.

For a clean finish and optimal sealing performance, don’t rush the process. Careful prep and application will help your sealant perform its job.

Maintenance and inspection tips

Inspect sealed joints every 6 to 12 months, especially around sinks, backsplashes, and flooring edges. Look for signs of deterioration such as cracking, peeling, mold, or separation from the surface. If you spot issues, remove the old sealant and reapply. Even though GE silicone sealants are designed for long-term durability, routine checks ensure their performance stays intact. Keeping up with these simple inspections can prevent costly repairs and extend the life of your kitchen’s surfaces and finishes.

To get GE Sealants’ products for your home improvement project, visit these fine retailers in the U.S. or Canada.

Contact Form

Seal & Fill Multi-Purpose Window & Door Caulk

Contact Form

Supreme Silicone Kitchen & Bath Sealant

Contact Form

Protect your home from seasonal extremes with advanced sealing solutions The best weatherproofing techniques to protect your home year-round

Note: This DIY article is provided as a general guide only and is not intended to take the place of product-specific installation procedures; always follow applicable manufacturers’ instructions. Depending on your home’s age and condition, location within the home, and other potential factors, repairs and/or upgrades or other services may be necessary prior to the beginning and/or completion of your project that may involve the services of a home improvement professional. This article does not include advice pertaining to local building codes and/or any related inspections.

Weatherproofing isn’t just a winter job. Heat, rain, wind, and moisture wear down your home year-round. This guide covers the core techniques—sealing, insulating, and reinforcing—that keep your home protected through every season.

Why weatherproofing your home matters year-round

Every season puts different stress on your home. In summer, it’s UV and heat expansion. Winter brings freeze-thaw shifts that turn tiny cracks into bigger problems. Spring and fall push moisture into seams and joints—fueling mold, rust, and rot.

Left alone, those forces wear down your home’s structure, spike your energy use, and break down materials before their time.

The real damage doesn’t start with big failures—it starts at the weak spots. That’s where weatherproofing begins: sealing the joints, gaps, and cutouts that let air and water in. GE weatherproofing sealants help close those entry points for good, blocking moisture, stopping drafts, and easing the load on your HVAC system. Where acrylic caulks shrink and crack, silicone sealants flex, seal, and hold—season after season.

Weather extremes expose your home’s weak spots. Silicone sealants outperform acrylic caulks in flexibility and durability, making them a smarter choice for long-term weatherproofing.

Where your home is most vulnerable—and how to seal it

The weak spots in your home usually aren’t dramatic—they’re quiet gaps that let in water, air, and pests one season at a time. Weatherproofing starts by sealing those problem zones with the right material, in the right place. Here’s where to look and what to use.

Applying weatherproofing sealant to an exterior window frame, targeting a high-risk zone for moisture and air leaks.
Focused action shot of sealing trim around a window

Windows and doors

This is where most air leaks and water intrusion start. Check the frames and trim outside—especially where the old sealant is cracked or missing. For these joints, a weatherproofing sealant like GE’s Advanced Silicone Window & Door Sealant holds strong. It’s 100% waterproof, rain-ready in 30 minutes, and stays mold-resistant for a decade.

Foundation cracks and siding gaps

Cold weather expands these cracks. Moisture makes them worse. Use GE’s Supreme Silicone Sealant—a high-performance silicone sealant that sticks to masonry, brick, and concrete without shrinking or pulling away. Its Class 50 joint movement rating means it flexes as your home shifts.

Attics and basements

These spots leak energy fast—and that drives up heating and cooling costs. Look for open cavities, rim joists, or cracks around ductwork. Fill them with GE’s Big Gaps & Cracks Insulating Foam. It expands to fit uneven gaps and helps boost your insulation from the inside.

Roof flashing, vents, and chimneys

These high-movement areas involve metal, tile, and mixed surfaces. GE’s Supreme Silicone—or a GE Specialty Silicone Sealant—is built to handle high-movement joints and harsh exposure. These sealants flex with temperature swings and UV stress, creating long-term weatherproof seals that hold up overhead.

How to apply weatherproofing sealants for lasting protection

You’ve identified the trouble spots. Now it’s about getting the seal right. Here’s how to apply a weatherproofing sealant that stays put—and does its job season after season.

  1. Prep the surface The old sealant has to be removed. Use a Sealant Remover Tool or utility knife to clear the joint, then clean it with isopropyl alcohol. Let the surface dry fully before sealing.

    A homeowner using a caulking gun to apply GE silicone sealant to a vertical trim joint along siding.
    A close-up showing the correct caulking grip, nozzle positioning, and tool use.
  2. Choose the right material Not all joints behave the same. For smooth exterior frames, GE’s Advanced Silicone goes on clean and stays flexible. For masonry, siding, and tougher joints, go with GE’s Supreme Silicone Sealant. Avoid using acrylic caulks anywhere that sees stress, moisture, or movement.
  3. Apply with control Cut the nozzle at a 45° angle for better control along corners and seams. Pull the bead in a smooth line with even pressure. For deeper gaps, a backer rod helps fill the void before sealing.
  4. Tool it properly Use a Smoothing Tool, or a gloved finger, to press the bead into place. The seal needs full contact with both sides of the joint to stay tight.
  5. Let it cure Most GE silicone sealants are rain-ready in 30 minutes but give them 24 hours to fully cure. Avoid touching or wiping the bead, and protect it from standing water or abrasion during that time.

What you gain by weatherproofing your home

GE silicone sealants displayed outdoors.
A group of GE sealants in an exterior setting

A good seal does more than keep the rain out. It protects the parts of your home you don’t always see—behind the trim, under the siding, between what’s inside and what’s trying to get in. Weatherproofing helps you stay ahead of the damage that adds up over time.

Save energy

Small gaps around windows, doors, and joints let air slip through year-round. Sealing them with a high-quality weatherproofing sealant keeps warm air in during winter and cool air in during summer—and helps your HVAC system work less.

Prevent water damage

Moisture is quite destructive. When rain or humidity gets into cracks, it can rot wood, grow mold, and weaken insulation. A continuous silicone sealant barrier helps keep that out of the equation.

Protect structural integrity 

Temperature swings make materials expand and contract. A flexible sealant moves with them—so joints stay tight and cracks don’t start.

You repair less, and less often

When things are sealed right, they last longer. That means fewer patch jobs, fewer replacements, and less time spent fixing the same spots every season.

Unlike acrylic caulks that dry out and break down, GE’s 100% silicone sealants flex, hold, and stay sealed—no matter the season.

Additional upgrades to improve your home’s weather resilience

Weatherproofing sealant is one part of the equation, but it works even better when paired with other upgrades that reinforce your home’s defenses:

  • Add storm shutters to exposed windows to reduce wind damage and block flying debris.
  • Upgrade attic insulation to reduce heat loss and moisture buildup under the roofline.
  • Install roof coatings or sealants on flat or aging roofs to protect against standing water and sun exposure.
  • Weatherstrip garage and utility doors to stop air leaks in less-insulated parts of the home.

Sealing is the first layer. These upgrades support it—so your home can take on more, and bounce back faster.

FAQs

When’s the best time to weatherproof my home?

Spring or fall. Temps are milder, and you’re sealing ahead of the roughest seasons.

Can I apply silicone in cold weather?

Yes, as long as the surface is clean and dry. GE silicones are rated for subzero installs, so winter’s not a dealbreaker.

Is there a difference between waterproof and weatherproof?

Yes. Waterproof stops water. Weatherproof stops water, air, UV, and temperature swings. It’s what you want on the outside.

Need the right sealants for your next project? Find GE weatherproofing products at a store near you in the U.S. or Canada.