Note: This DIY article is provided as a general guide only and is not intended to take the place of product-specific installation procedures; always follow applicable manufacturers’ instructions. Depending on your home’s age and condition, location within the home, and other potential factors, repairs and/or upgrades or other services may be necessary prior to the beginning and/or completion of your project that may involve the services of a home improvement professional. This article does not include advice pertaining to local building codes and/or any related inspections.
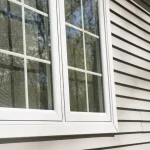
If stains or drips point to a leaking skylight, failed sealant is often to blame. This guide shows you how to verify the leak, remove the old sealant bead, and reseal so moisture stays out for good.
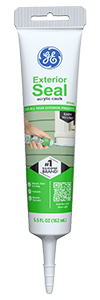
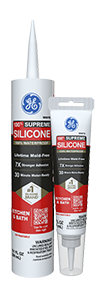
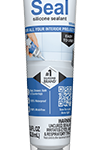
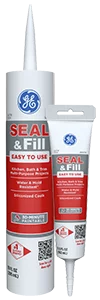
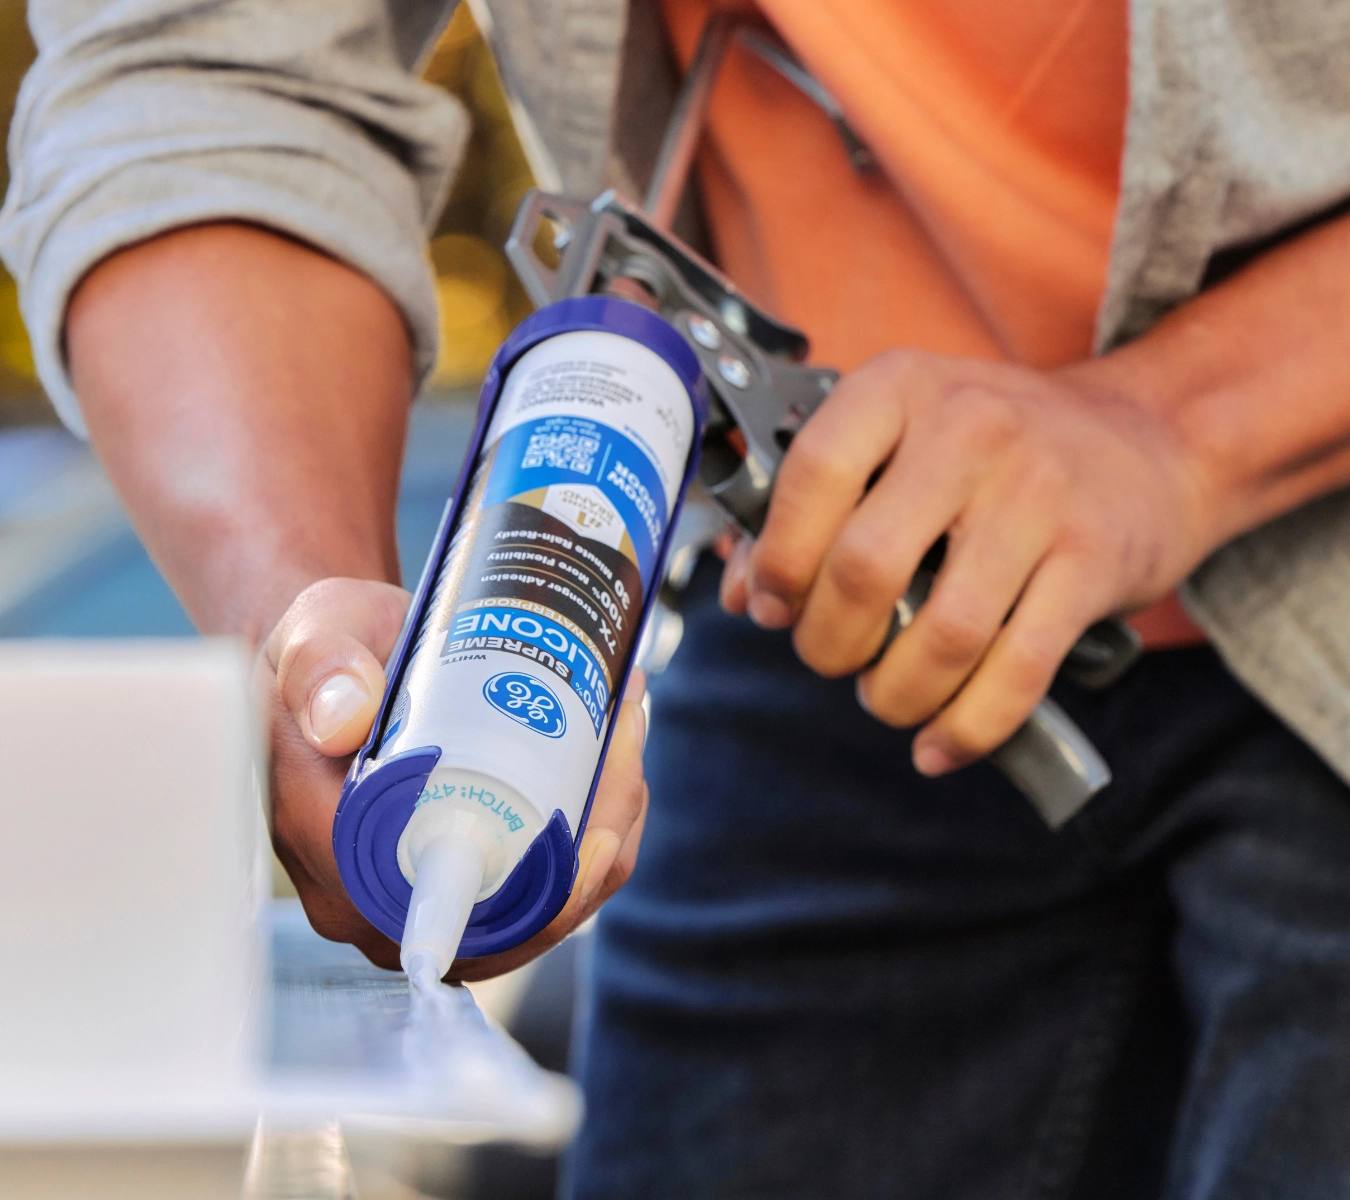
GE Supreme Silicone Window & Door Sealant delivers a 100 % waterproof, Class 50 flexible seal that keeps skylights watertight and rain-ready in 30 minutes.
How to spot the signs of a leaking skylight
Not every stain or draft means you have a leaking skylight, but when water makes its way inside, it leaves clear clues. Start by inspecting from below—look up at the ceiling—then, if safe, move to the roof for a closer look.
Here’s what to look for:
- Brown rings or peeling paint near the skylight
- Musty odors or mildew along the drywall edges
- Repeating condensation in the same spot
- Soft or sagging ceiling material
- Rusted screws or moisture inside the skylight frame
- Light seeping in around the frame where it shouldn’t
In many cases, leaks stem from degraded sealant or flashing, not cracked glass. Learning to properly seal around a skylight prevents small drips from becoming major repairs.
Condensation or true leak?
Moisture around your skylight doesn’t always mean sealant failure. Before you climb onto the roof, rule out interior condensation, which is common in kitchens, bathrooms, or humid climates.
Condensation appears as fog or droplets on the inner pane when warm, humid air meets cool glass. To test:
- Check for evenly spaced moisture beads across the glass
- Ventilate the room and watch if the moisture clears
- Clear any blockage in weep holes
If the moisture disappears with airflow or only shows up during temperature swings, it’s condensation. But if you see staining or drip trails after a storm, it’s time to learn how to reseal a skylight properly.
Choosing the best sealant for your skylight and gathering essential tools
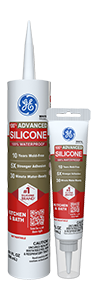
When sealing around a skylight, ordinary caulk won’t cut it. You need a sealant that stays watertight through UV, wind, and rain, while bonding to wood, glass, metal, and roofing materials. GE offers 100% silicone and hybrid options perfect for skylight resealing.
Best sealant for skylight projects:
Good
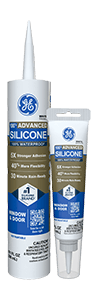
Advanced Silicone Window & Door Sealant: A reliable, Class 35 sealant suited for rigid curb mount skylights in mild climates. It cures slower than other options but works well for touch-ups on non-painted surfaces.
Better
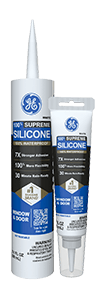
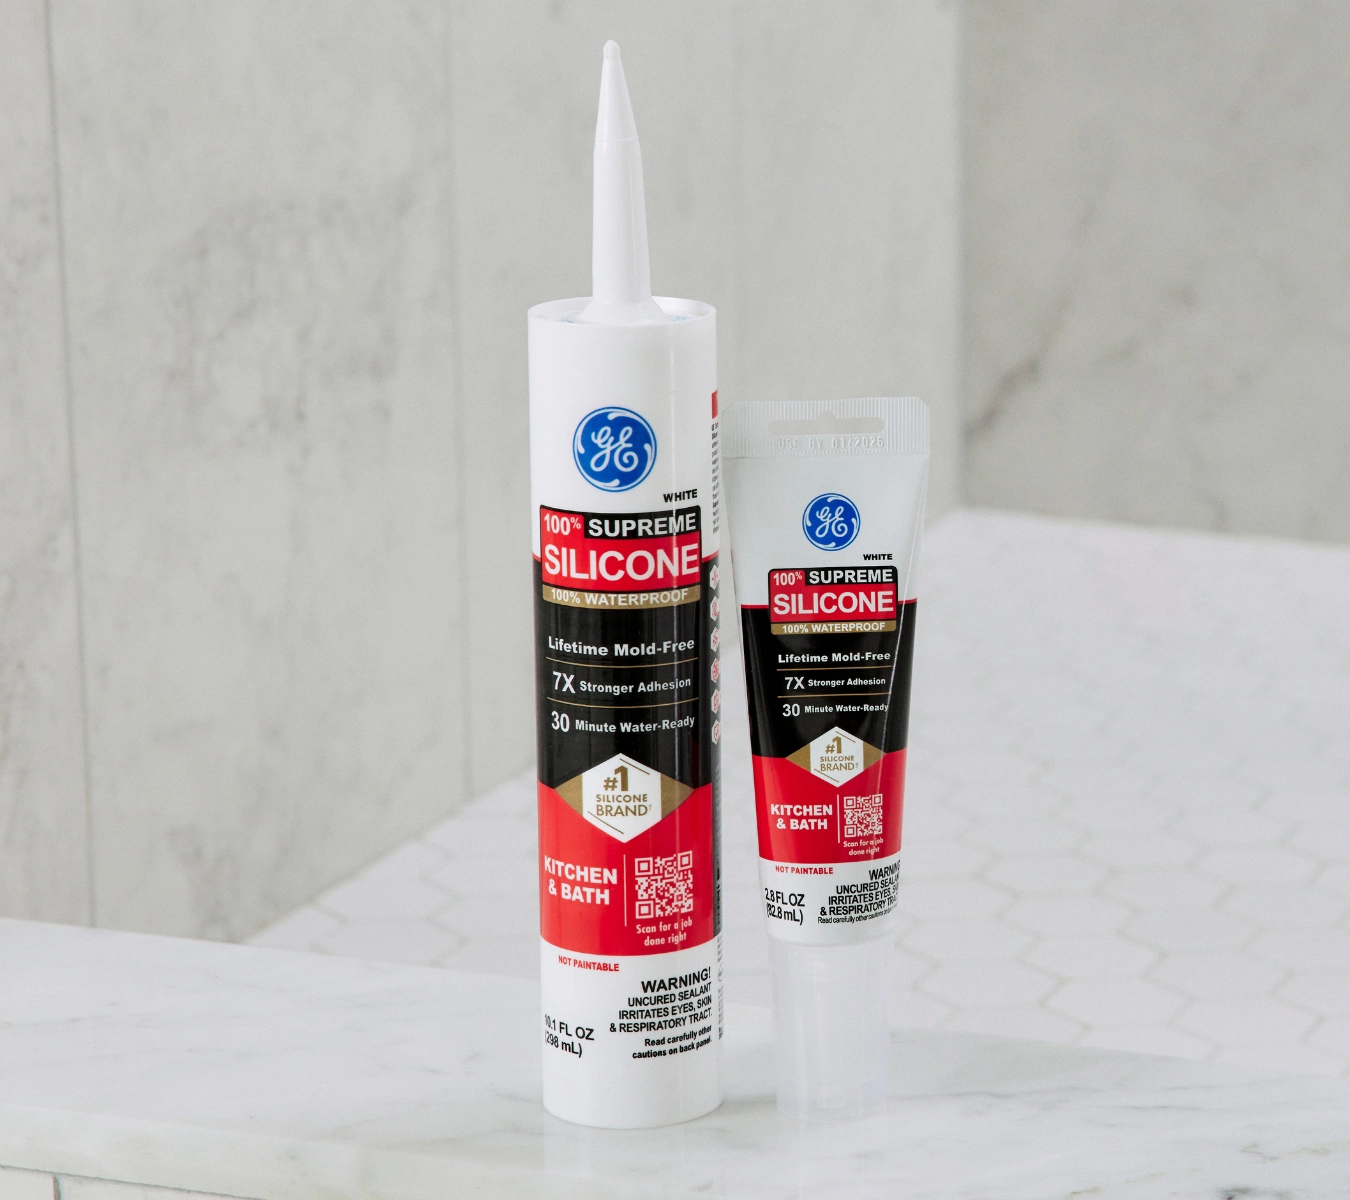
Supreme Silicone Window & Door Sealant: Our go-to for most resealing jobs. It flexes to Class 50 standards, holds up through freeze-thaw cycles, and is rain-ready in 30 minutes. Great for exposed curbs or wood frames.
Best
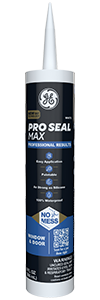
Pro Seal Max Window & Door Sealant: A hybrid formula that delivers waterproof protection plus paintability. Ideal when you need a color match on interior trim or flashing. Lightly sand glossy aluminum surfaces before application for better adhesion.
Gather these tools before you start:
- Utility knife
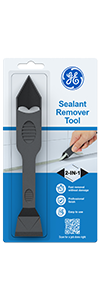
- GE Sealant Remover Tool (for cleanly pulling old beads)
- Backer rod (for any gap wider than 1/4 inch)
- Mineral-spirits rag for final cleanup
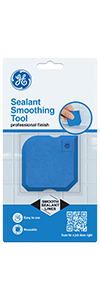
- GE Cartridge Opener & Smoothing Tool
- Caulking gun
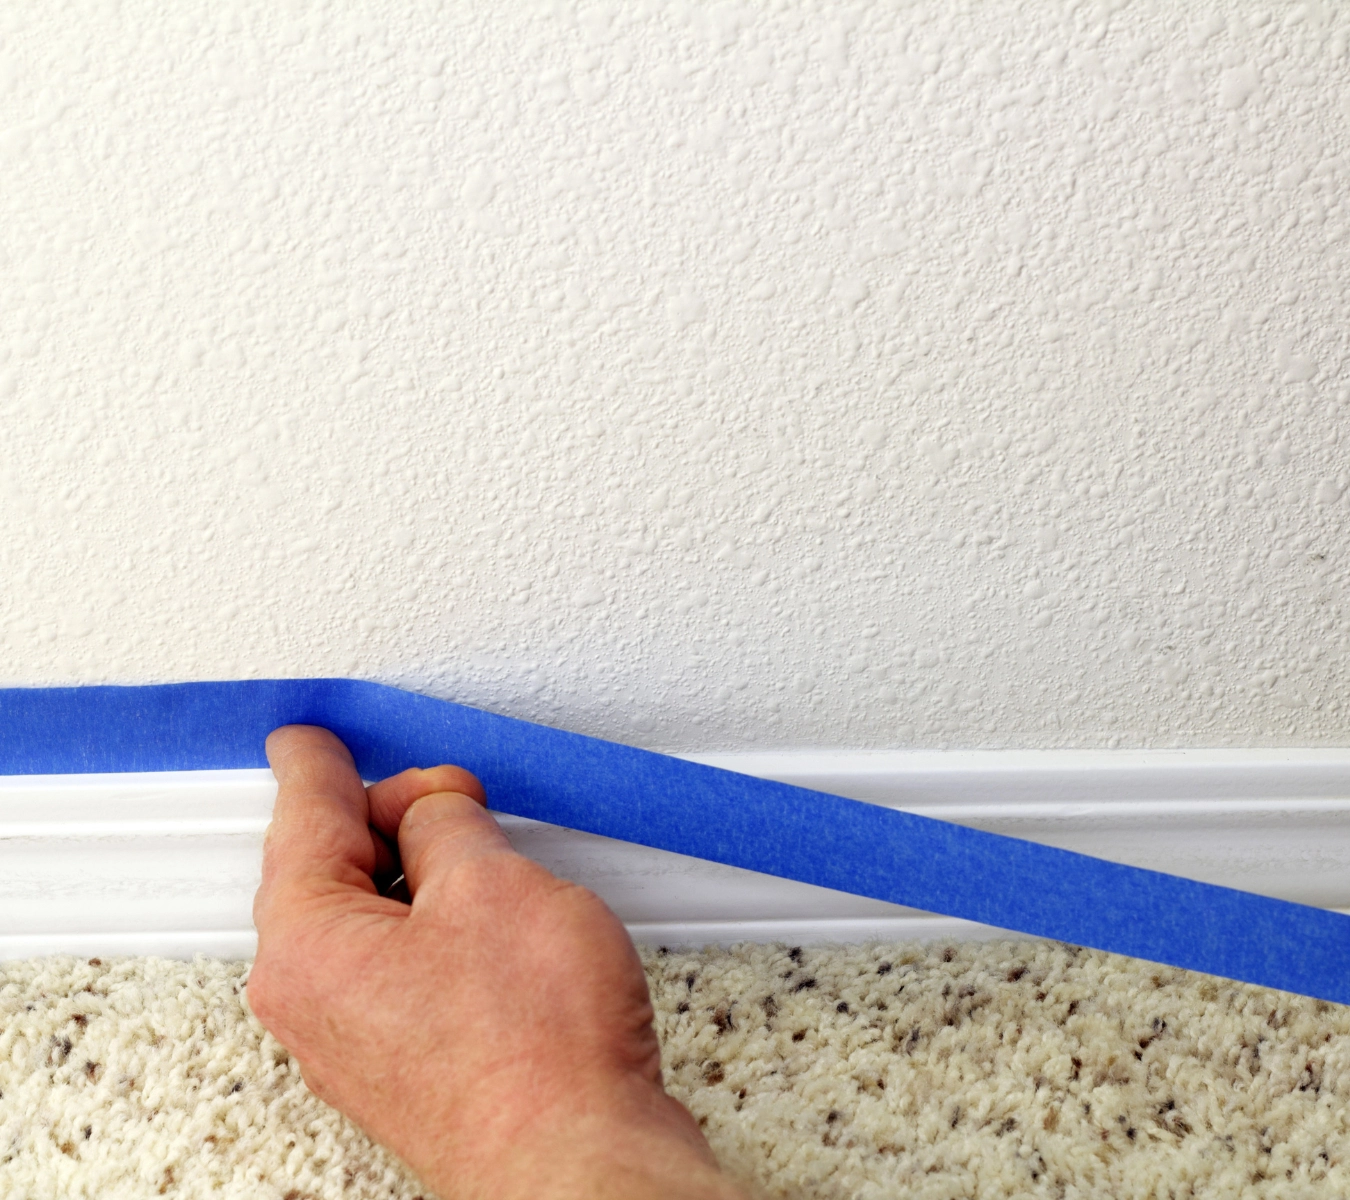
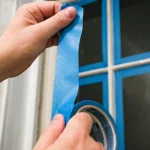
- Painter’s tape (optional for clean bead lines)
- A drop cloth or tarp to protect the shingles
Keep all tools within arm’s reach to minimize trips down the ladder. It’s the fastest way to seal around a skylight cleanly and safely.
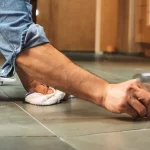
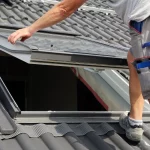
Roof-safety checklist
Sealing a skylight means working at height. Before stepping onto the roof, take these precautions to protect yourself and your home:
- Position your ladder on firm, level ground at a 4:1 angle (one foot out for every four feet up).
- Maintain three points of contact at all times, such as two hands and one foot, or vice versa.
- Clip your harness to a secure roof anchor before leaving the ladder.
- Do not step on the skylight glass or frame. Stay on the roof decking only.
- Wear rubber-soled boots for grip and move slowly to avoid slipping.
- Only work in dry, daylight conditions when winds are calm.
- Confirm the air and roof temperature is between 40°F and 100°F and that no rain is forecast for 24 hours.
If you are unsure at any point, have someone on the ground for backup. A safe setup is the foundation for every successful seal.
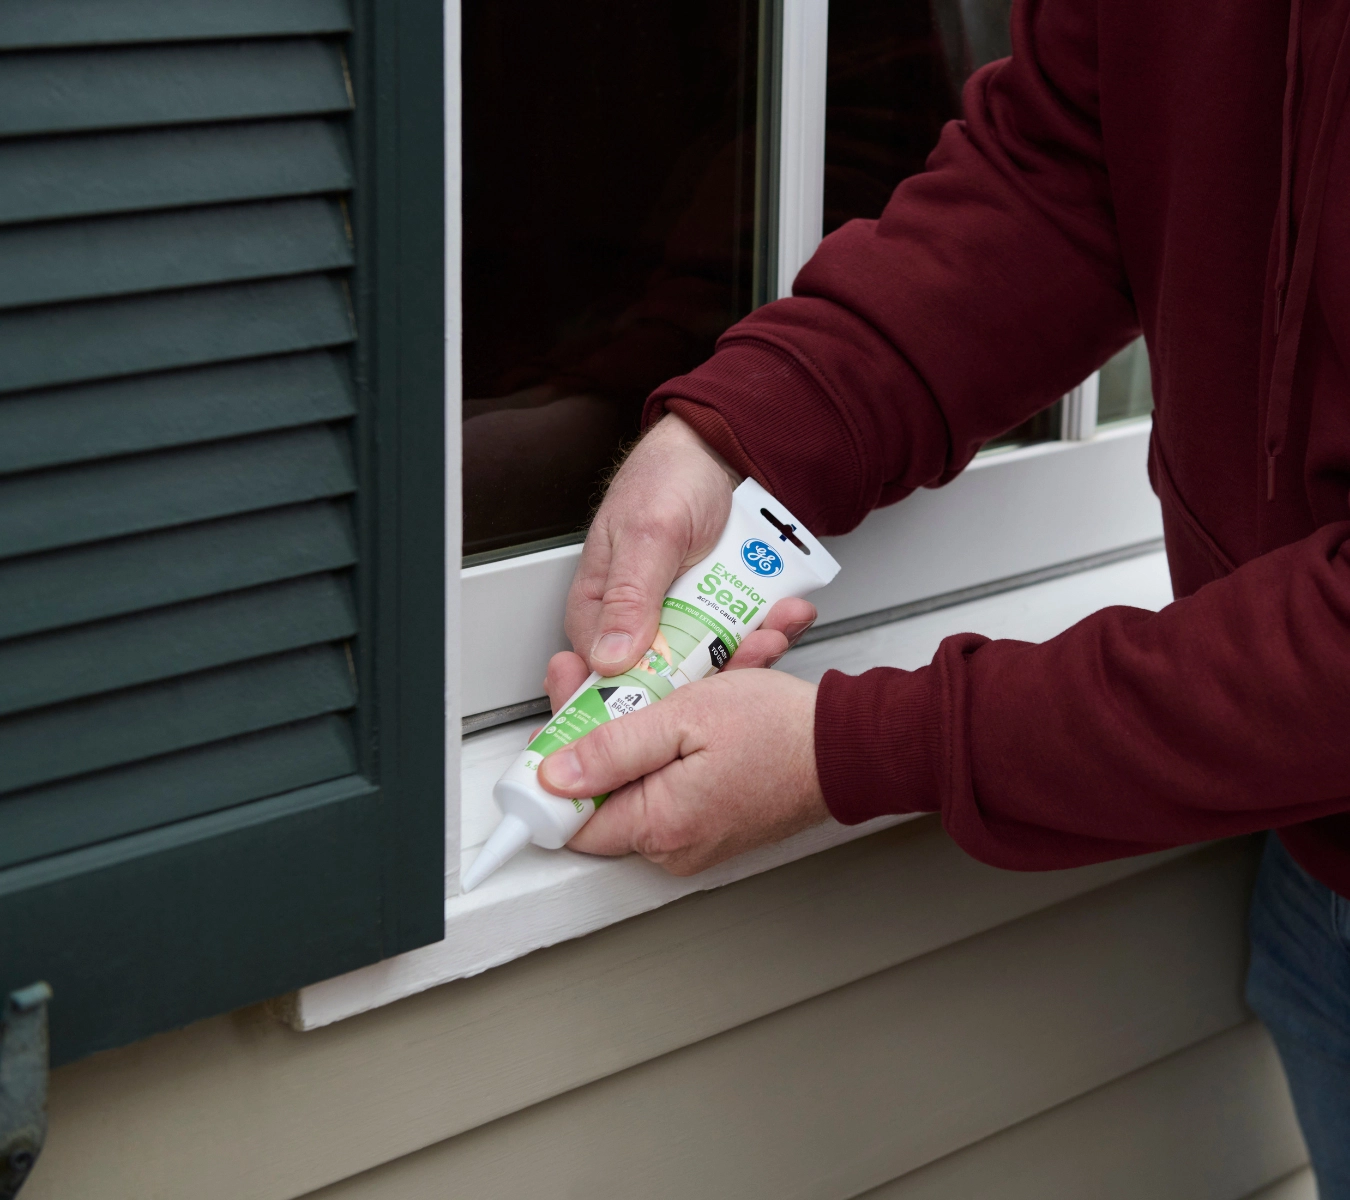
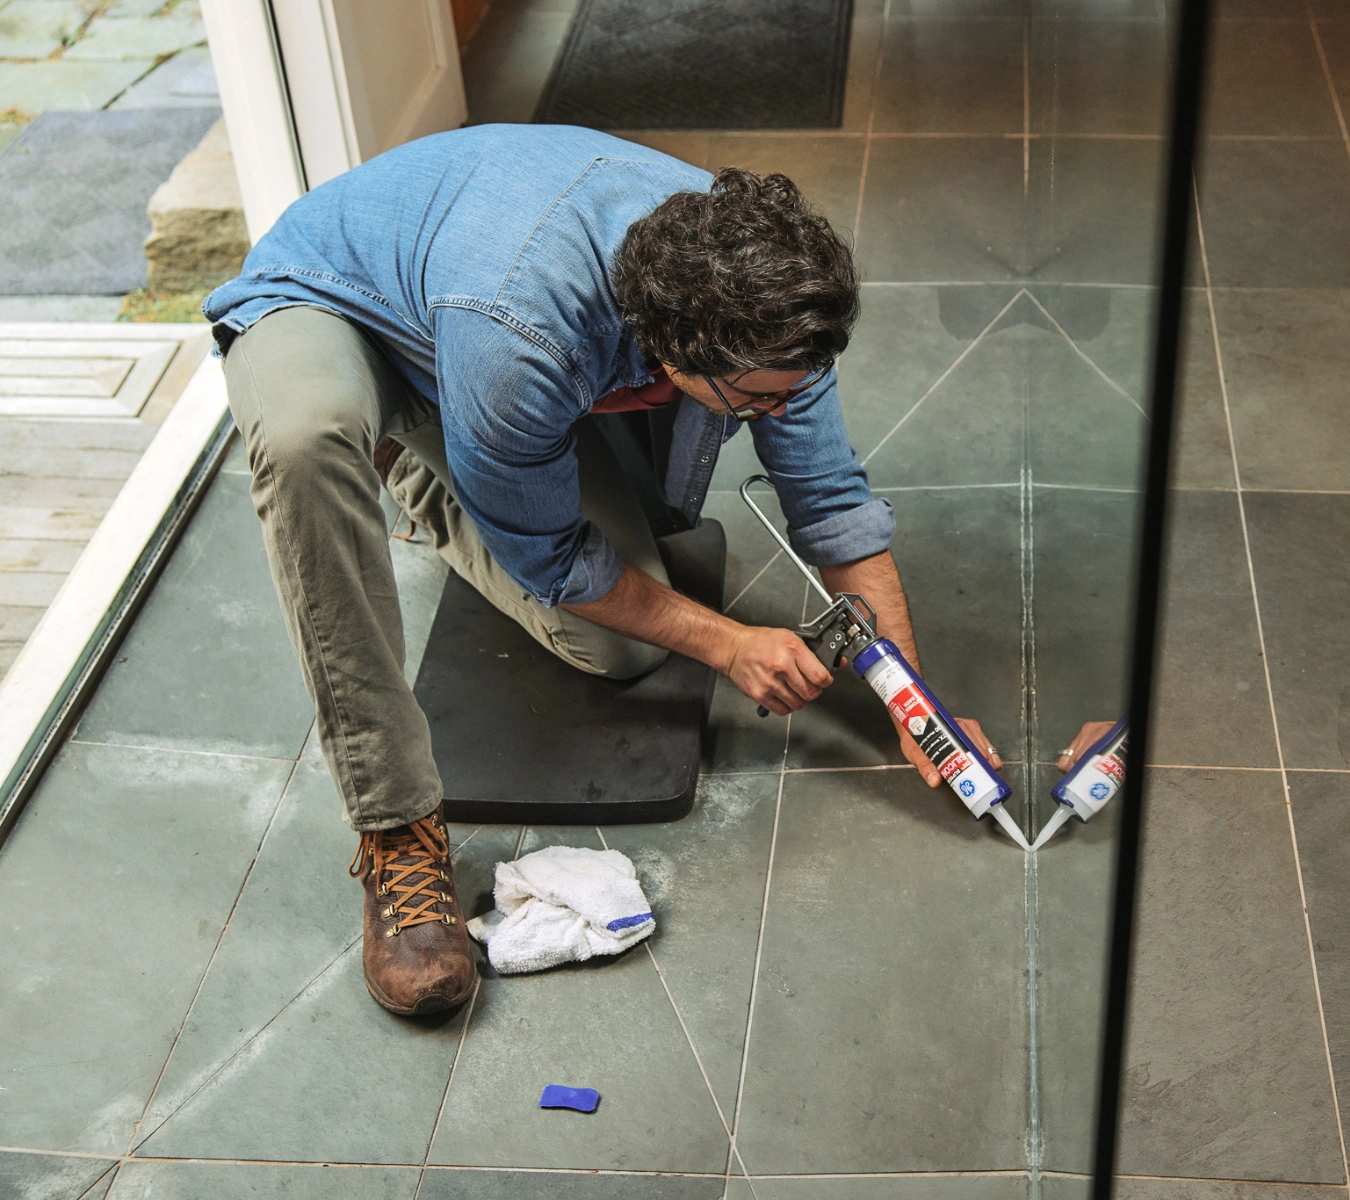
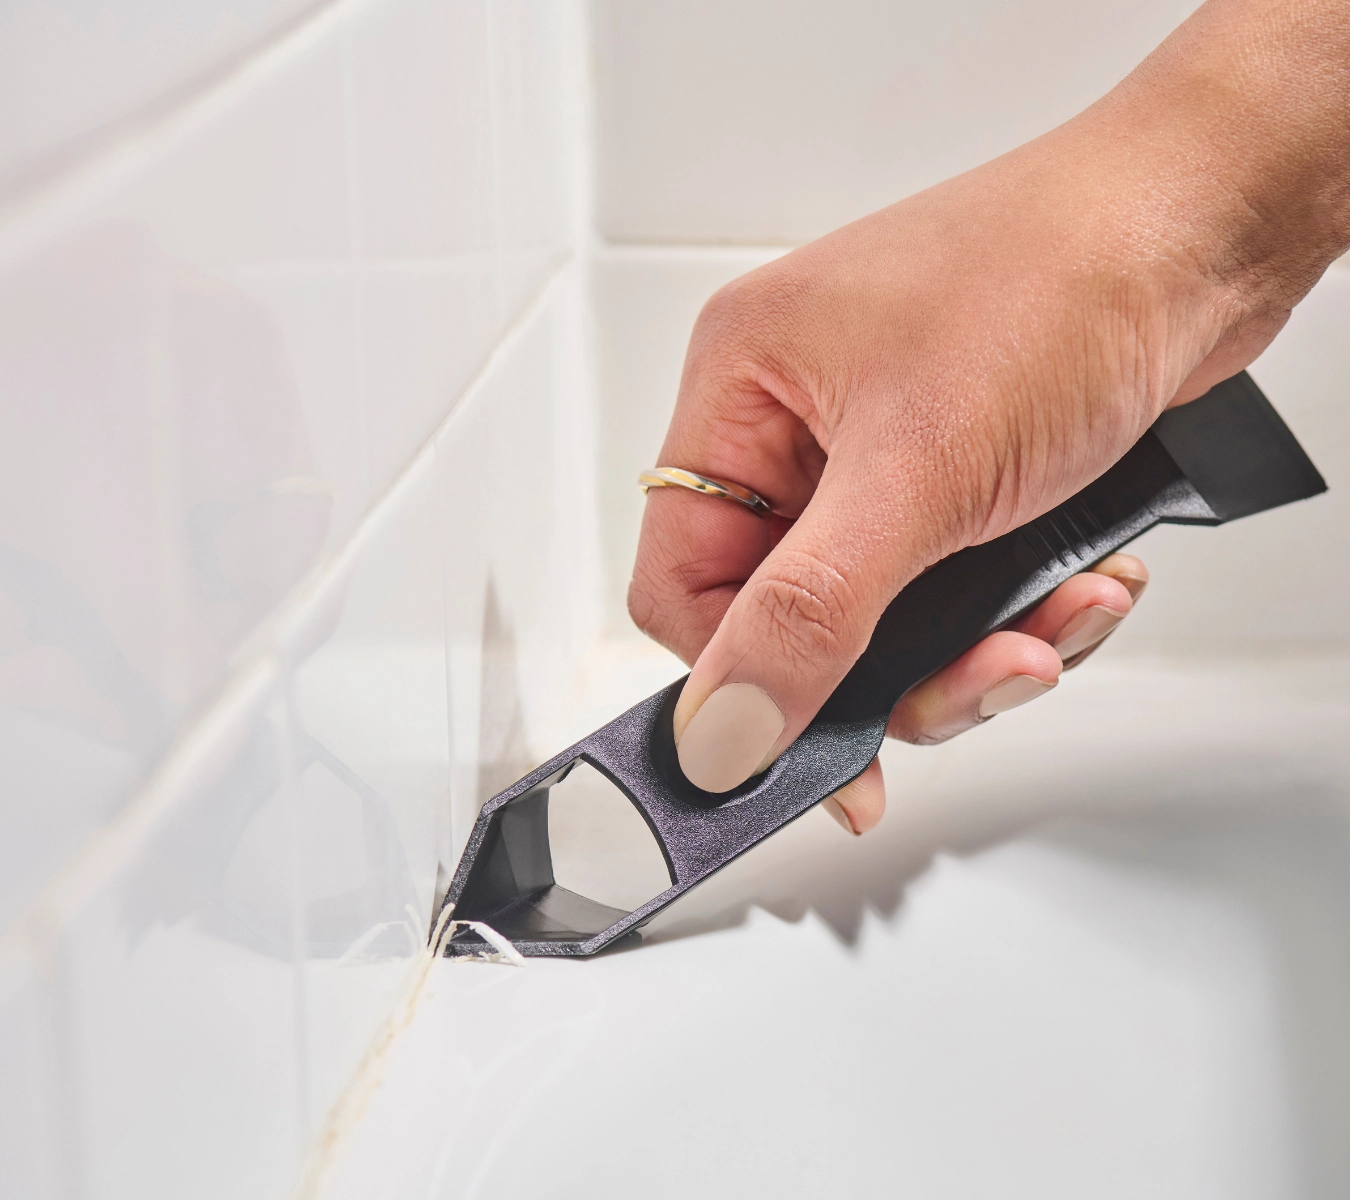
Remove old sealant and prepare the joint
Before you can reseal a leaking skylight, remove all old sealant and debris. New silicone won’t bond to cured material or dirt. Follow these steps to clean a joint for a watertight reseal.

- Gently lift the shingle tab around the skylight. Use a flat bar or gloved fingers to expose the flashing without tearing shingles.
- Score and remove the old sealant. Run a utility knife along both sides of the bead, then pull the strip away in sections using the GE Sealant Remover Tool.
- Clean the flashing. Wipe the joint with a rag dampened with mineral spirits. Let it dry for at least 15 minutes for a bone-dry surface.
- Insert a backer rod if needed. If the gap is wider than 1/4 inch, push in a backer rod to control sealant depth and avoid three-sided adhesion.
Proper prep ensures your new bead sticks where it needs to, stopping a leaking skylight for good.
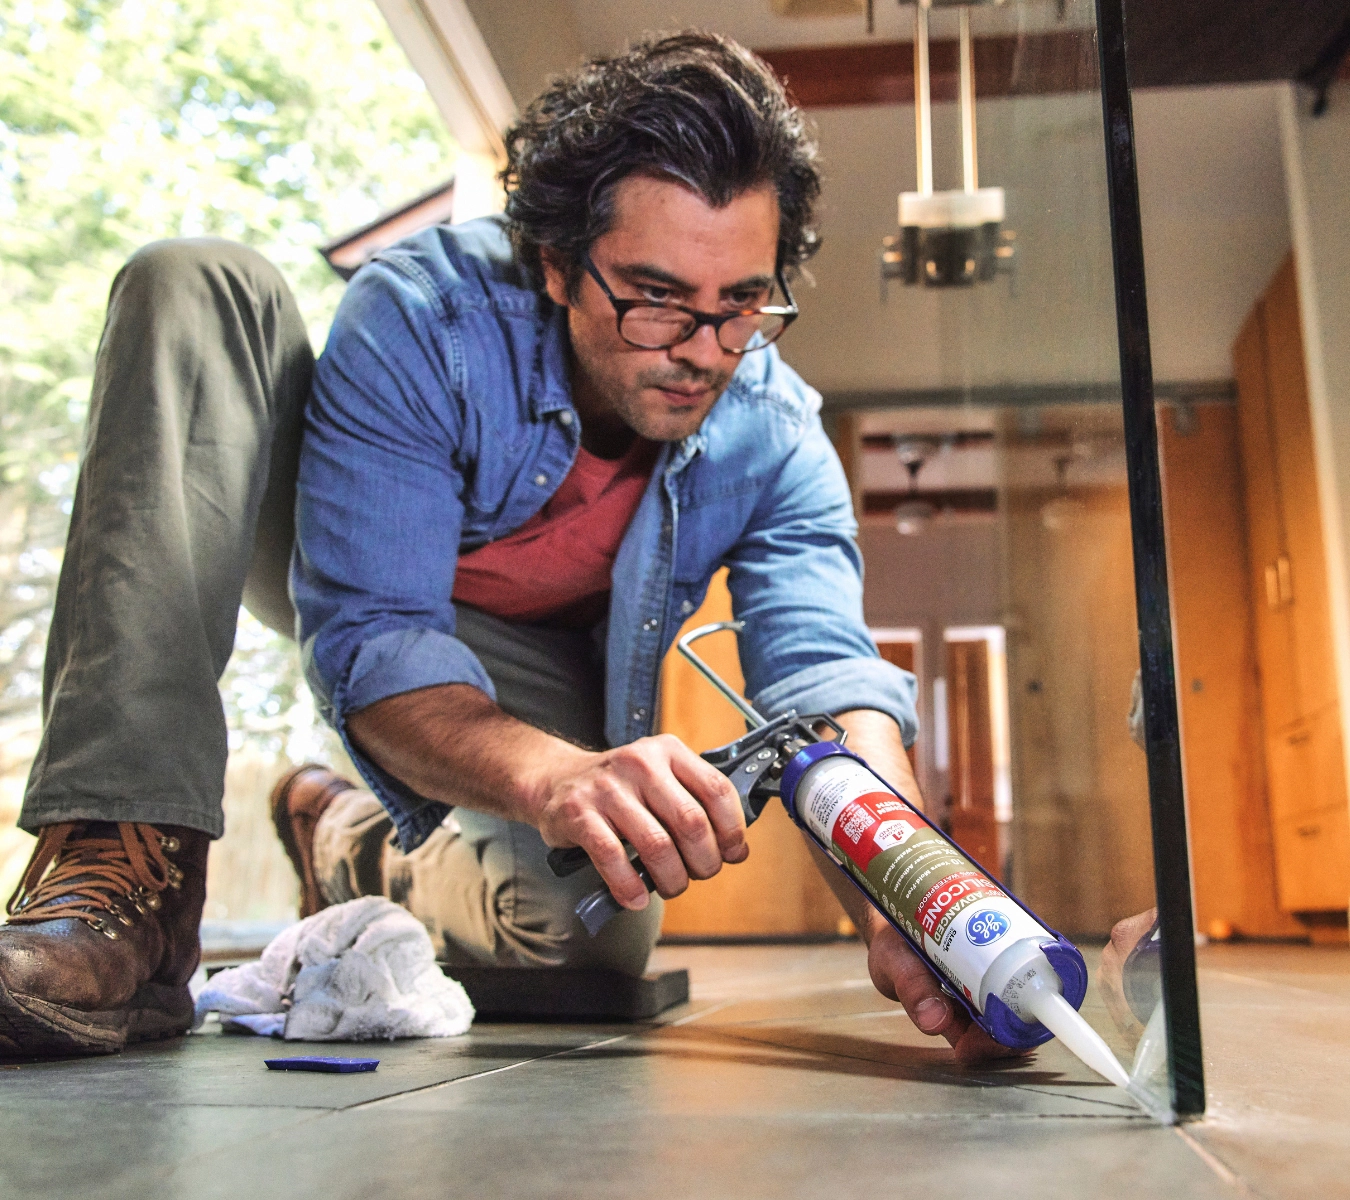
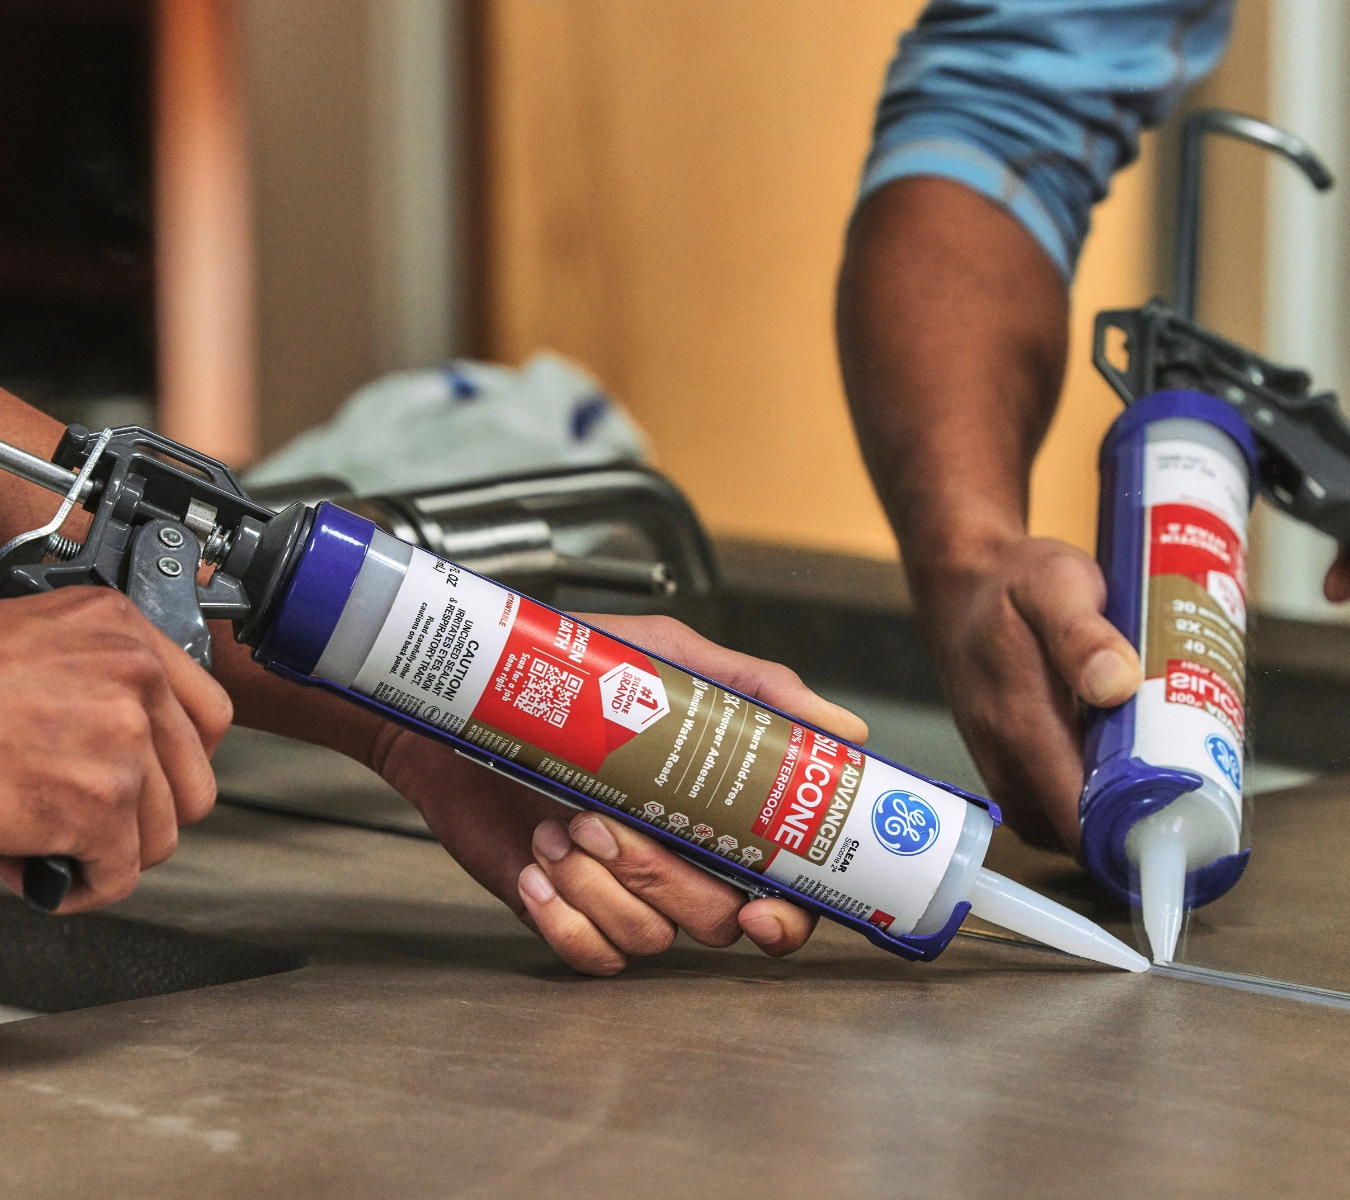
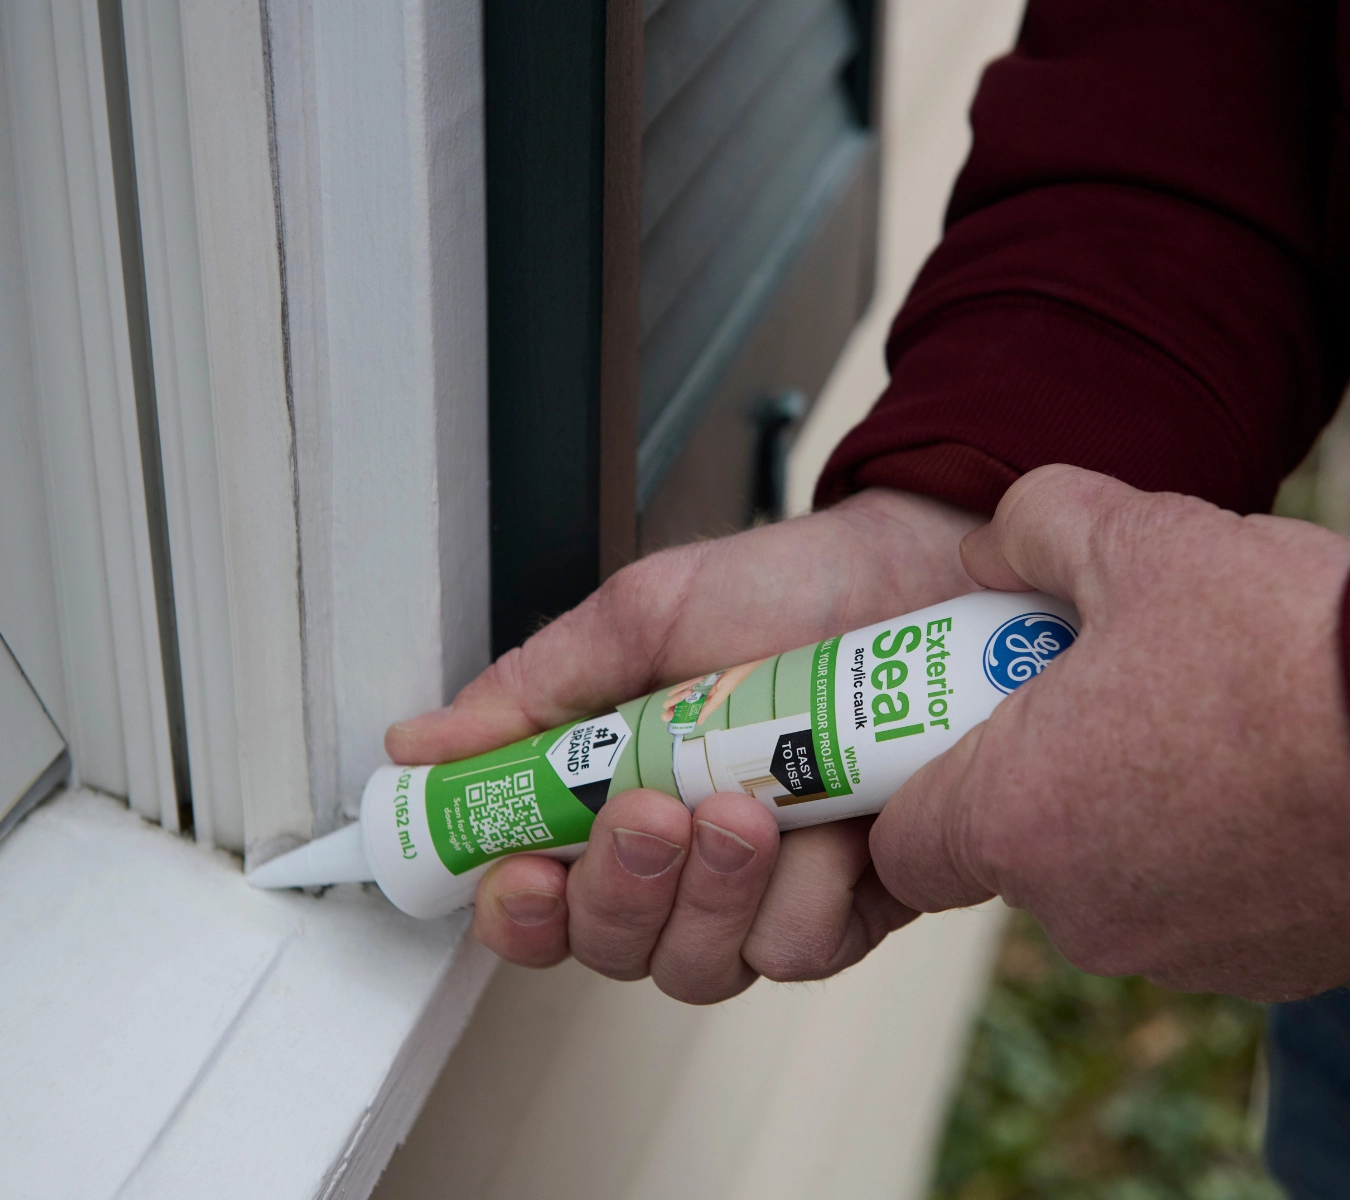
Apply an even, watertight bead
With the joint clean and dry, you’re ready to apply your chosen GE sealant. A smooth, continuous bead keeps water out for the long haul.
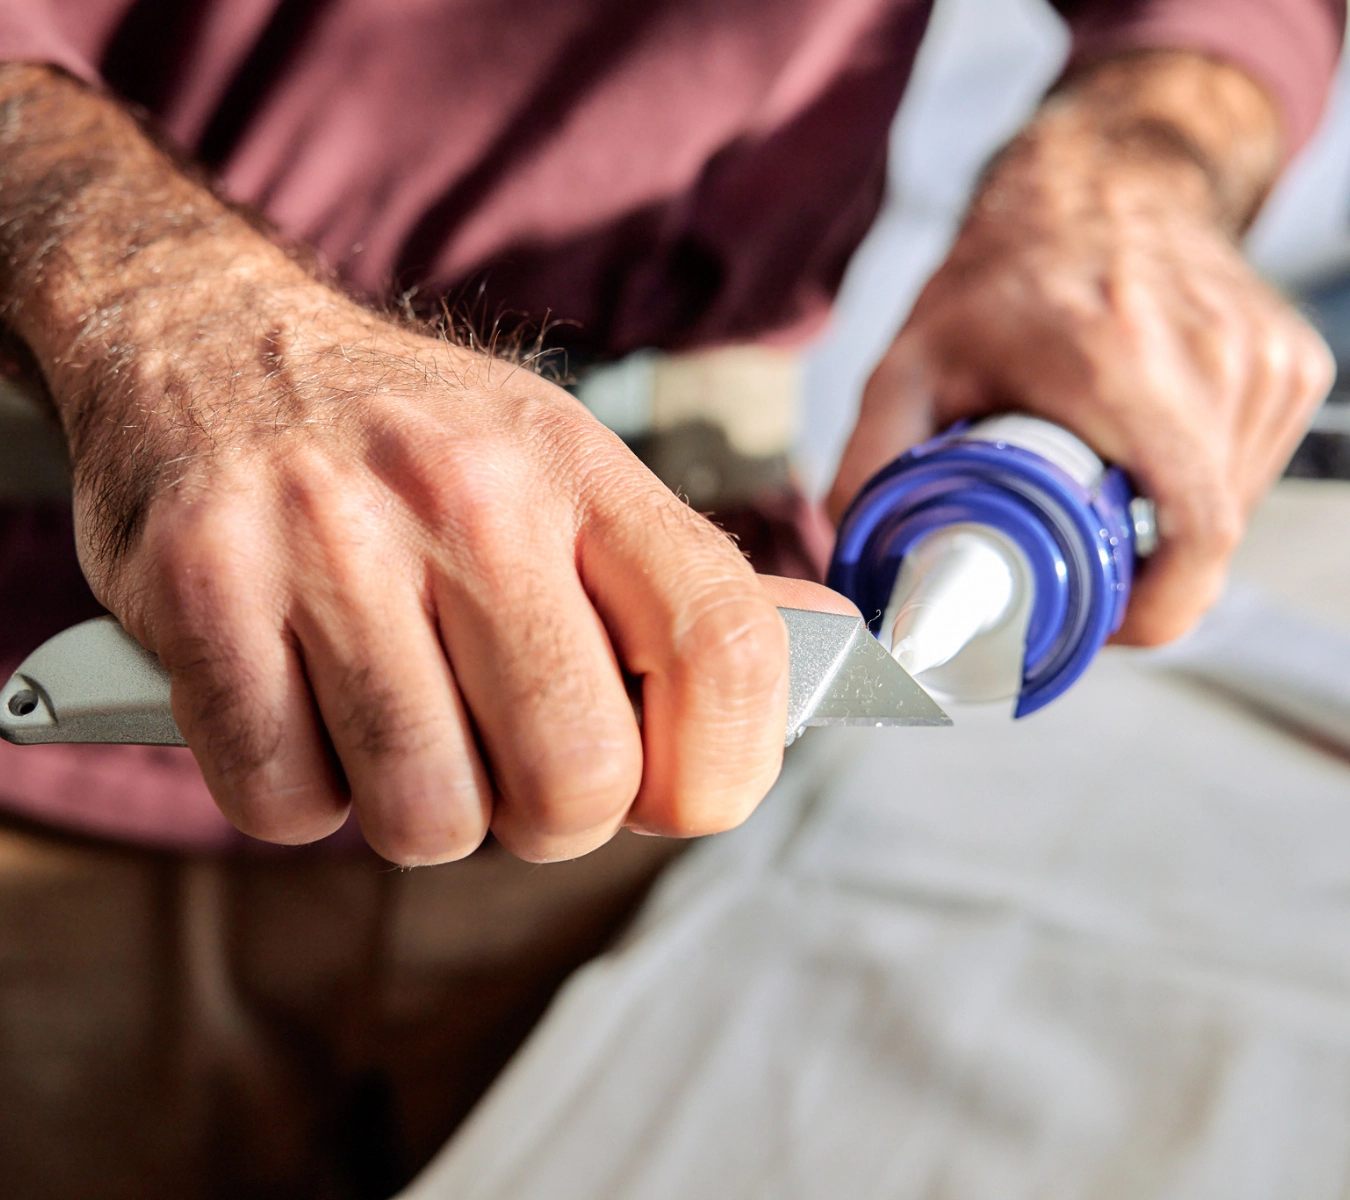
- Use the GE Cartridge Opener to cut the nozzle at a 45-degree angle, matching the joint width.
- Load the cartridge into your caulking gun and puncture the inner seal with the same GE tool you used in step 1. Squeeze a test bead onto scrap material to confirm smooth flow.
- Run a continuous bead along the gap between the skylight and flashing. Apply steady pressure and a consistent angle, working in one uninterrupted motion from corner to corner.
- Tool the bead immediately with the GE Smoothing Tool or a gloved finger. Press sealant into the joint, remove air pockets, and shape a clean finish. If you used painter’s tape for edge control, peel it off before the bead skins over.
Allow the appropriate cure window before exposing to moisture or painting.
Monitor for leaks and recheck your work
Once the sealant has cured, verify that your leaking skylight repair holds:
- Inspect the bead after 24 hours for cracks, gaps, or areas where the sealant didn’t adhere.
- If possible, spray-test the frame with a low-pressure garden hose for several minutes. Check inside for drips.
- Pay close attention to corners and curved sections prone to shrinkage stress.
- Re-tool only if needed. If a section fails, repeat the prep and sealing steps on that spot.
- Schedule an annual spring inspection to catch sealant wear before winter weather.
Record the repair date, sealant product, and cure time to inform future maintenance and stay ahead of water intrusion.
When to call a pro
Not every leaking skylight can be fixed with sealant alone. If resealing doesn’t stop the drip or if the damage is structural, hire a licensed roofing contractor or skylight specialist.
Call a pro when you see:
- Rotting wood around the curb or framing
- Cracked, fogged, or broken glazing
- Flashing that’s loose or too corroded to hold sealant
- Leaks that return after resealing
- Water spots that extend beyond the skylight area
Consider professional help for steep or high roofs, or when local codes require an inspection for skylight retrofits.
GE sealants deliver advanced waterproofing performance, but they work best on solid structures. When in doubt, hire a pro.