QRCODE - Sealant Smoothing ToolQRCODE - Sealant Remover ToolQRCODE - Grout Whitener PenQRCODE Cartridge Opener Smoothing ToolQRCODE - Interior SealQRCODE - Interior FillQRCODE - Exterior SealGE AccessoriesFrequently Asked QuestionsQRcode Pro Seal Max K&BQRcode Pro Seal Max W&DSealed For Good Insulating FoamPRO / DIY QR Code Landing Page - Advanced Silicone 2 WDPRO / DIY QR Code Landing Page - Advanced Silicone 2 Kitchen & BathPRO / DIY QR Code Landing Page - Supreme Silicone WDPRO / DIY QR Code Landing Page - Supreme Silicone KBPRO / DIY QR Code Landing Page - All PurposePRO / DIY QR Code Landing Page - Tub and TileWeatherizationPro Market SweepstakesConfirmationSilicone SealantSealed For Good Window & DoorSealed for Good Kitchen & BathtestingSkills USA 2023 - Post EventJC TestAcrylic Caulks & SealantsPaintable SealantsSilicone SealantsReNew - ShoppableAdvanced Acrylic - LowesFoam - ShoppableSustainabilitySkills USAWarrantyRe-NewRe-New ProRe-NewThank you for getting in touch with GE SealantsSupreme SiliconeSupreme Silicone at Lowe'sSupreme Silicone At Home DepotRepair and PrepareInstagramCA Privacy NoticeFill In the GapsKitchen & BathInsulating FoamGE-Branded Insulating Foams at WalmartGE-Branded Silicone Sealants at The Home DepotGE-Branded Silicone Sealants at Lowe's Home ImprovementGE-Branded Acrylic SealantsGE-Branded Silicone SealantsGE-Branded Hybrid SealantsSealants for Window & Door ProjectsCaulks and Sealants for Kitchen & Bath ProjectsCaulks and Sealants for Seal & Paint Projects404Product Disclaimers & GuaranteesHomeContact UsNewsroomPress ReleasesAll ProductsOur ProductsWindow & DoorKitchen & BathSeal & PaintInsulating FoamPrivacy PolicySpecialtyProjects & How-To'sTerms and ConditionsTrademarks and Legal NoticesWhere to Buy GE Products
Pest Block Insulating Foam
Interior Seal Silicone Sealant
Exterior Seal Acrylic Caulk
Pro Seal Max Kitchen & Bath
Pro Seal Max Window & Door
Supreme Silicone Window & Door Sealant
Advanced Silicone 2® Window & Door Sealant
All Purpose Silicone 1® Sealant
Paintable Silicone Supreme Window & Door Sealant
Siliconized Advanced Acrylic Window & Door Sealant
Siliconized Multi-Purpose Acrylic Window & Door Caulk
Seal & Fill Multi-Purpose Window & Door Caulk
Supreme Silicone Kitchen & Bath Sealant
Advanced Silicone 2® Kitchen & Bath Sealant
Tub & Tile Silicone 1® Sealant
Paintable Silicone Supreme Kitchen & Bath Sealant
Siliconized Advanced Acrylic Kitchen & Bath Sealant
Siliconized Multi-Purpose Acrylic Kitchen & Bath Caulk
Re-New
Painter’s Pro Quick Dry Siliconized Acrylic
Painter’s Pro Siliconized Acrylic Caulk
Painter’s Caulk
Gutter Silicone 2® Sealant
Concrete Silicone 2® Sealant
Metal Silicone 2® Sealant
Project Filter
  • location
    Insulating Foam
    Kitchen & Bath
    Paint Projects
    Specialty
    Windows, Doors, Siding & Trim
  • project-type
    All
    Window & Door
    Kitchen & Bath
    Seal & Paint
    Insulating Foam
    Specialty
  • color
    Almond
    Black
    Brown
    Clear
    Light Gray
    Metallic Gray
    White
  • formulas
    Acrylic
    Insulating Foams
    Paintable Silicone
    Silicone
    Siliconized Acrylic
  • performance
    Not Paintable
    Paintable
  • product-type
    Adhesives
    Caulks & Sealants
    Specialty Products
  • application
    Can
    Cartridge
    Pen
    Squeeze Tube
  • gap_width
    Gaps 1"-3"
    Gaps less than 1"
    Window & Door
  • humidity-level
    Extensive Humidity
    Normal Humidity
  • product_finder
    Pathway 1
    Pathway 2
    Pathway 3
    Pathway 4
    Pathway 5
    Pathway 6
    Pathway 7

Contact Form

Contact Form

Get permanent waterproofing and mold resistance where it matters most The best waterproof sealant for remodeling your kitchen and bath

Note: This DIY article is provided as a general guide only and is not intended to take the place of product-specific installation procedures; always follow applicable manufacturers’ instructions. Depending on your home’s age and condition, location within the home, and other potential factors, repairs and/or upgrades or other services may be necessary prior to the beginning and/or completion of your project that may involve the services of a home improvement professional. This article does not include advice pertaining to local building codes and/or any related inspections.

Moisture is one of the biggest challenges in any kitchen or bath remodel. Choosing a high-quality waterproof sealant is a must for protecting surfaces exposed to water, steam, and frequent cleaning. This guide explains why Pro Seal Max Kitchen & Bath is the top choice for long-lasting, mold-resistant results.

Why do you need waterproof sealant for kitchen and bath remodels?

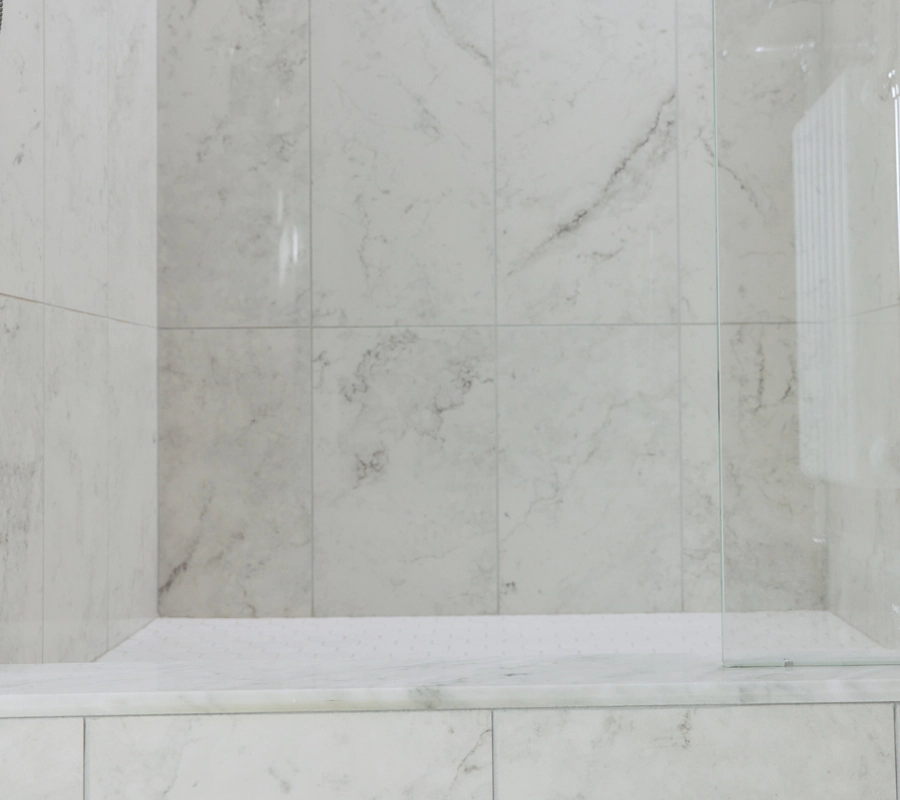
Kitchens and bathrooms are the most moisture-prone areas in any home, making proper sealing a necessary step in every remodel. From sink perimeters to tub surrounds and backsplashes, these spaces are constantly exposed to water, steam, and frequent cleaning—conditions that quickly degrade low-quality sealants. Without a reliable waterproof barrier, water can seep into joints and gaps, leading to mold growth, damaged materials, and even structural issues.

That’s why selecting a waterproof sealant is non-negotiable for professional-grade, lasting results. Acrylic-based products may seem convenient, but they are water-based and break down with prolonged exposure to moisture. For lasting results, a 100% silicone sealant is the only solution that stays both permanently waterproof and permanently flexible.

In this article, learn more about the differences between silicone sealant and acrylic caulks.

A sealed countertop-wall transition in a bathroom.
A photo of a pro applying GE Pro Seal Max with a caulk gun to seal the edge of a glass shower stall.

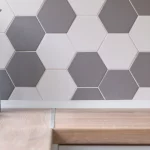
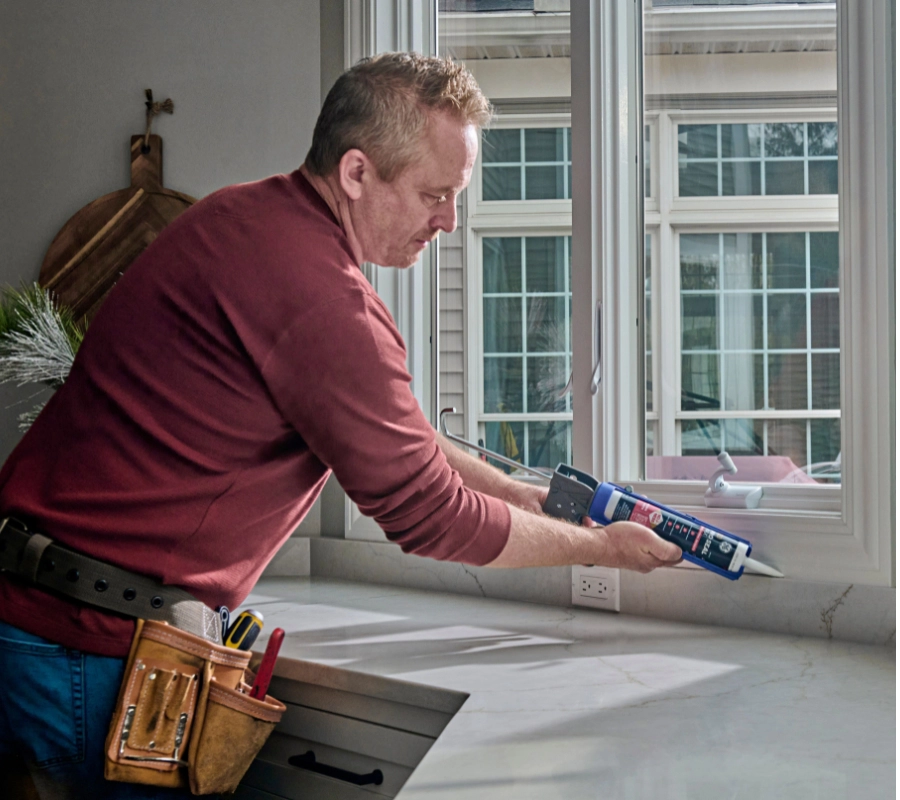
Waterproof sealants are especially important in transition areas—like where countertops meet walls, or tiles meet tubs—where even small gaps can cause big problems. Choosing the right product from the start helps prevent callbacks, protects your client’s investment, and guarantees your remodel will hold up under daily use. For professionals, using a proven waterproof solution is the mark of a job done right.

Learn more about sealing kitchen counters in this tutorial.

Common types of sealants—and what to avoid

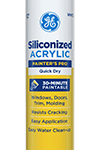
Not all sealants are designed for wet environments. While many products are labeled for kitchen and bath use, the chemistry behind them makes a big difference in performance. Acrylic sealants are often paintable and easy to clean up with water, but they’re water-based—meaning they can break down over time with exposure to moisture and steam. As such, they’re typically best suited for low-humidity areas.

Polyurethane sealants offer decent adhesion and flexibility but tend to degrade with UV exposure and frequent water contact. Hybrid formulas can offer improved performance but often lack the long-term durability of pure silicone.

Want to know more about hybrid formula sealants?

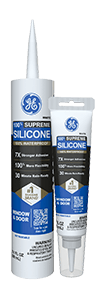
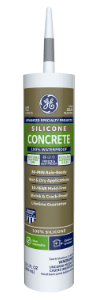
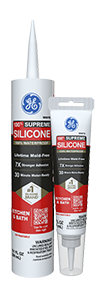
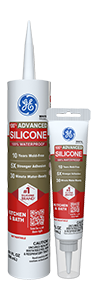
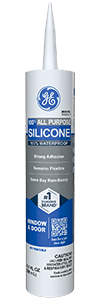
For kitchens and bathrooms, avoid any sealant labeled “water-cleanup” or those that rely on latex chemistry. These may be convenient but won’t hold up in wet, high-use areas. A premium 100% silicone sealant—like Pro Seal Max Kitchen & Bath or Advanced Silicone Kitchen & Bath Sealant—is the only type that delivers permanent waterproofing and flexibility, making it the most reliable choice for long-lasting kitchen and bath protection.

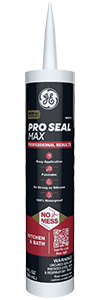
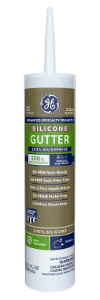
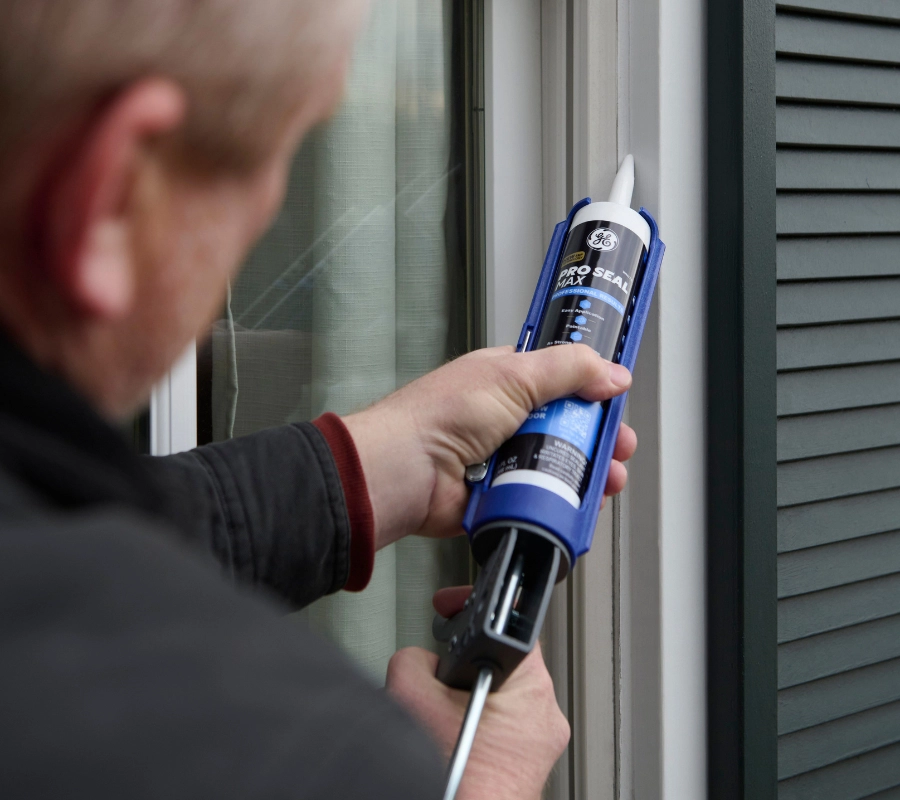
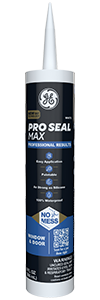
Why choose Pro Seal Max Kitchen & Bath? It’s engineered for wet environments. With Class 50 flexibility, 7X stronger adhesion, and lifetime mold-free protection, Pro Seal Max delivers permanent waterproofing where it counts—so your kitchen and bath remodels stay sealed, clean, and code-ready.

What makes Pro Seal Max Kitchen & Bath the superior choice?

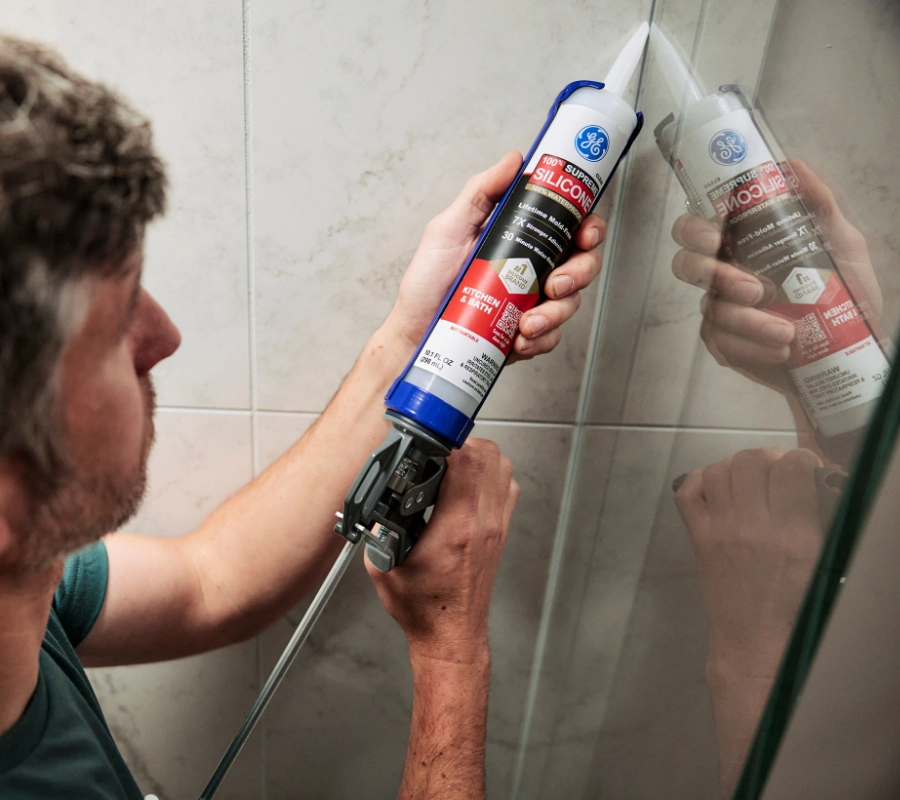
When it comes to sealing high-moisture areas like kitchens and bathrooms, Pro Seal Max Kitchen & Bath is engineered for performance where it matters most. This 100% premium silicone sealant delivers permanent waterproof protection, preventing leaks and moisture damage even in the most demanding environments.

A pro uses a caulk gun to apply sealant along a kitchen backsplash.
A photo of a Pro sealing the edge of a kitchen backsplash with a caulk gun and cartridge.

What sets Pro Seal Max apart is its combination of 7X stronger adhesion and 100% shrink- and crack-proof durability. It bonds securely to a wide range of materials—including tile, glass, metal, and countertops—without yellowing or deteriorating over time. It’s water-ready in just 30 minutes, speeding up job timelines without compromising cure strength.

The product’s neutral cure formula produces a low odor and is safe for use around sensitive finishes like chrome, bronze, and nickel. It also delivers lifetime mold-free product protection, resisting both mold and mildew growth for a cleaner, longer-lasting finish. For professionals who want confidence in every seal, Pro Seal Max Kitchen & Bath is the clear choice.

Technical features for the pros

Professional results rely on more than just waterproofing—they depend on performance under pressure. Pro Seal Max Kitchen & Bath is rated ASTM C920 Class 50, meaning it accommodates extreme joint movement without losing adhesion or integrity. This level of flexibility ensures long-term sealing, even in areas that expand and contract with temperature changes or regular use.

The sealant also resists UV, heat, cold, and continuous moisture, making it ideal for both interior kitchens and high-humidity bathrooms. Unlike acrylics or hybrids that shrink or degrade over time, Pro Seal Max maintains its seal without cracking, splitting, or discoloration.

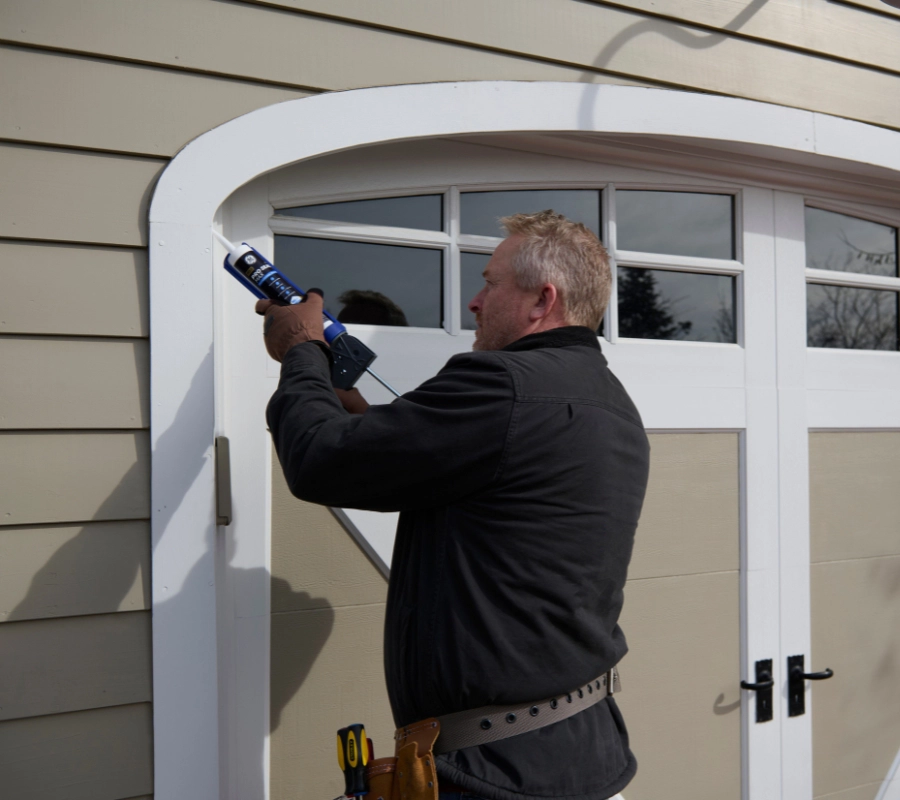
Application tips for best results

GE’s Sealant Remover Tool.
A photo of GE’s Sealant Remover Tool.

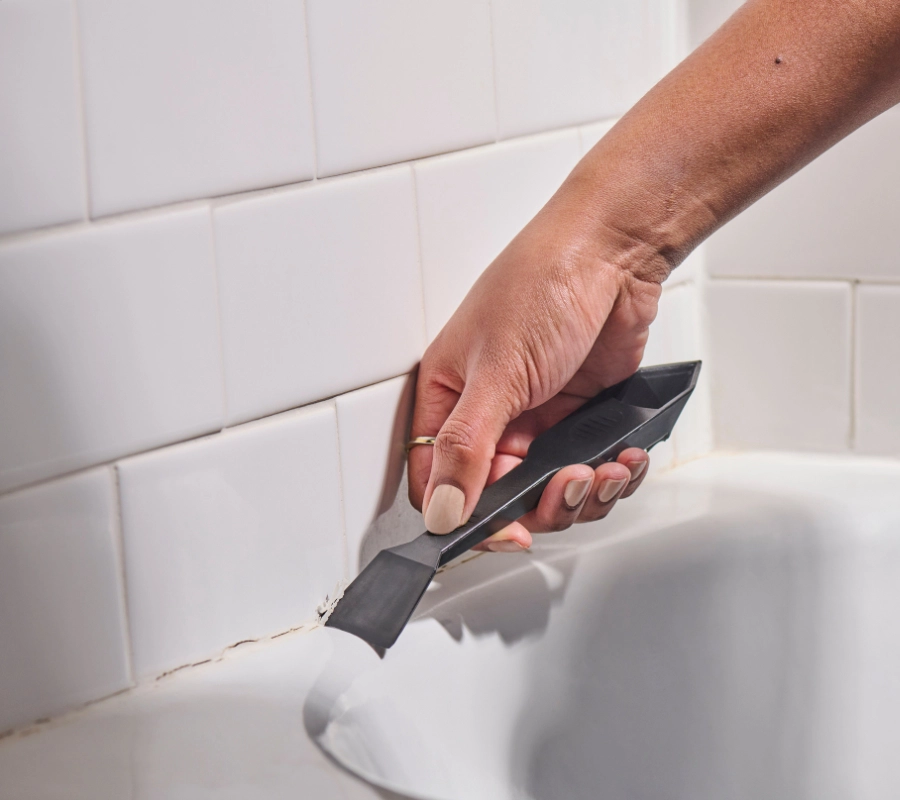
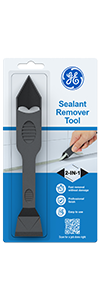
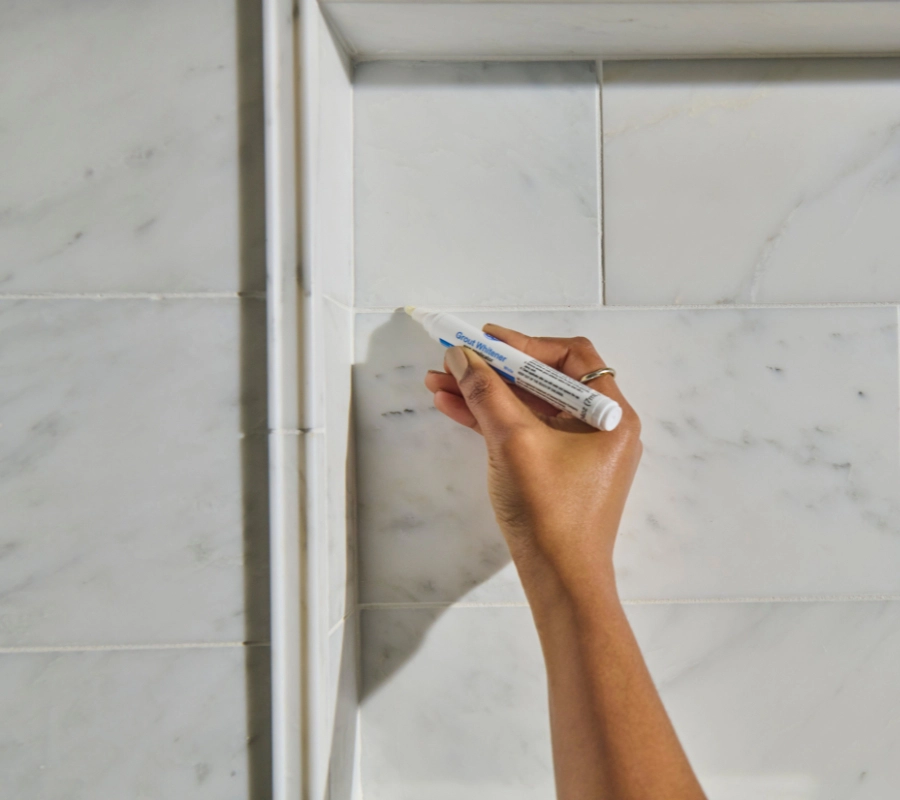
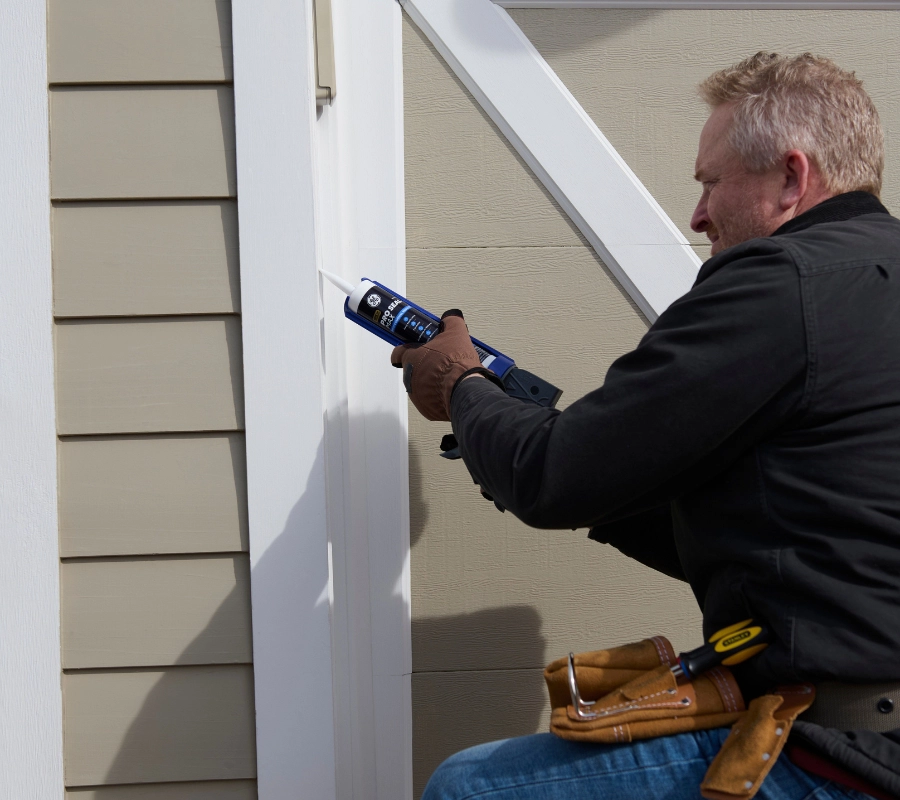
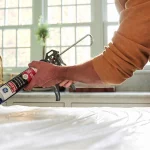
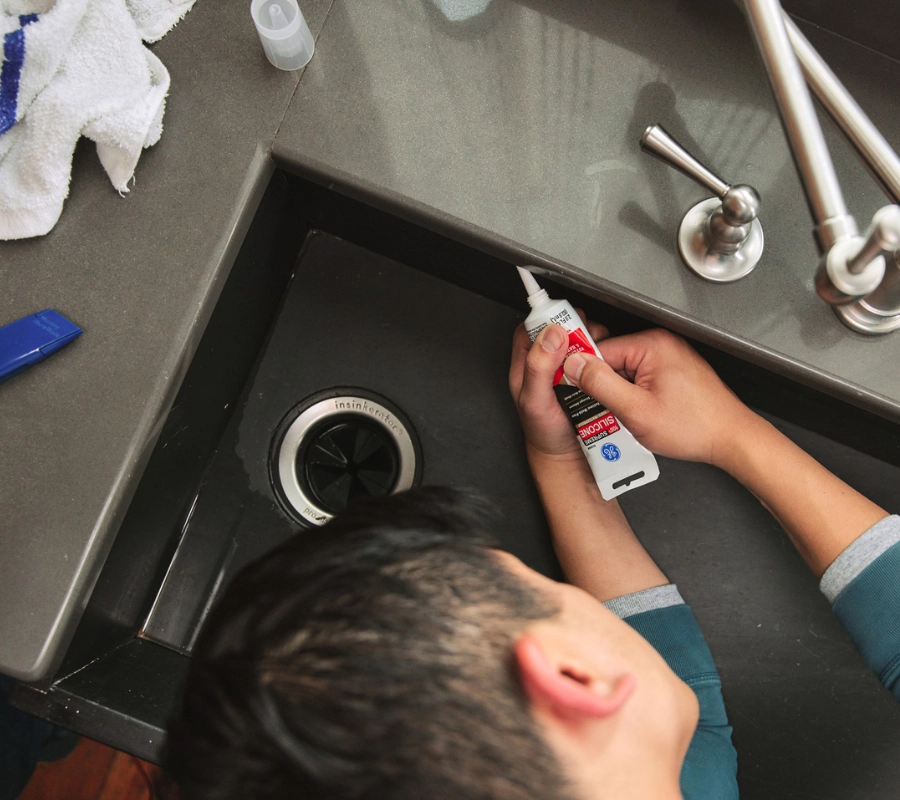
Proper application is key to maximizing the performance of any waterproof sealant. Start by removing all old caulk or sealant using a tool like the GE Sealant Remover Tool. Clean the area thoroughly to eliminate soap scum, dust, and residue. While Pro Seal Max Kitchen & Bath bonds well to both wet and dry surfaces, a clean substrate ensures the best adhesion.

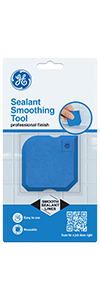
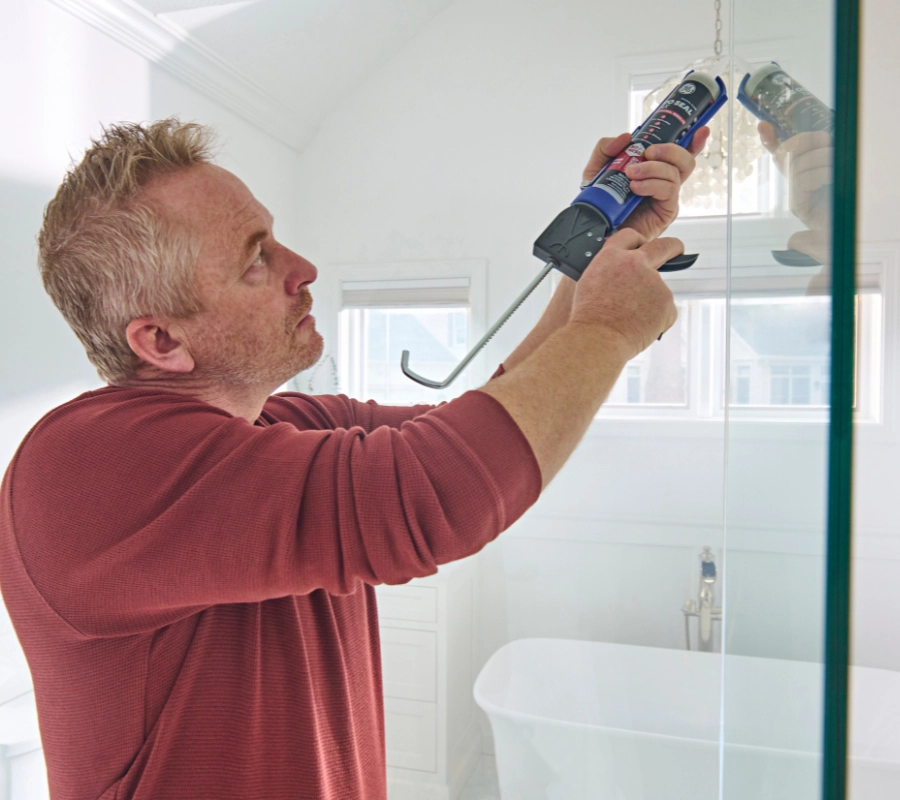
Apply painter’s tape along both sides of the joint to maintain clean lines. Dispense a steady, even bead, then immediately smooth it with your GE Smoothing Tool or a gloved finger. Remove the tape while the sealant is still wet. Allow the product to fully cure before exposing it to continuous water, even though it’s water-ready in just 30 minutes.

Invest in quality for long-term protection

Cutting corners with sealant can lead to water damage, mold growth, and repeat work—all of which cost time and money. Investing in a high-performance product like Pro Seal Max Kitchen & Bath ensures your projects stay protected long after the job is done. With permanent waterproofing, mold resistance, and industry-leading flexibility, it’s built to meet the demands of professional remodelers. Whether you’re sealing a backsplash, tub, or sink, using the right product makes all the difference.

To get GE Sealants’ products for your home improvement project, visit these fine retailers in the U.S. or Canada.

Contact Form

Painter’s Pro Quick Dry Siliconized Acrylic

Contact Form

Refresh dingy tile grout in your kitchen and bathroom How to refresh tile grout in your kitchen and bathroom

Note: This DIY article is provided as a general guide only and is not intended to take the place of product-specific installation procedures; always follow applicable manufacturers’ instructions. Depending on your home’s age and condition, location within the home, and other potential factors, repairs and/or upgrades or other services may be necessary prior to the beginning and/or completion of your project that may involve the services of a home improvement professional. This article does not include advice pertaining to local building codes and/or any related inspections.

Over time, even the most beautiful tile installation can lose its shine, not because of the tile itself, but because of dingy, stained grout. Grout lines attract dirt, discoloration, and mildew, especially in moisture-prone areas like kitchens and bathrooms. In this guide, we’ll share simple, effective methods to clean, whiten, and refresh tile grout for fast, long-lasting results.

The Grout Whitener Pen is a game-changer for anyone looking for a quick, long-lasting grout refresh without hiring a pro.

Why tile grout needs regular refreshing

Grout is a porous material, which means it naturally absorbs liquids, oils, and debris over time. In the kitchen, that might include food splatter and grease. In bathrooms, soap scum, and moisture can lead to mold and mildew. Even light-colored grout can turn yellow or brown without proper care, distracting from your otherwise spotless tile.

Regular grout maintenance helps prevent these issues, and a good grout refresh can dramatically improve the overall appearance of your kitchen or bathroom without breaking the bank.

How to refresh tile grout: a step-by-step guide

If your tile grout looks dingy, it’s time to get to work refreshing your space. Luckily, you don’t need a complete renovation to bring your tile surfaces back to life. Follow this step-by-step guide to clean and whiten grout in no time at all.

Step 1: deep clean your tile grout

While reaching for a grout whitening pen for a quick and easy fix might be tempting, you should start with a deep clean. This helps remove any surface grime and prepares grout for whitening products. Here’s what you’ll need:

  • Baking soda
  • White vinegar or hydrogen peroxide
  • A toothbrush or grout brush
  • A spray bottle
  • Warm water

Once you have all the essentials, follow these steps:

  1. Make a paste of baking soda and water.
  2. Apply the paste directly to the grout lines.
  3. Fill a spray bottle with vinegar (or hydrogen peroxide) and spritz over the baking soda paste. Let it bubble for a few minutes.
  4. Scrub the grout using a toothbrush or grout brush.
  5. Wipe clean with warm water and a soft cloth.

This method effectively removes stubborn stains and prepares the surface for a grout whitening upgrade. It also eliminates dirt and grime, providing the whitening pen a better chance to adhere to your grout.

Clean, white grout lines surrounding tile.
A close-up image showing white grout lines on a tile wall

Step 2: use a grout whitener pen for instant results

Once your grout is clean and dry, it’s time for the real magic: the grout whitener pen. This tool is a game-changer for anyone looking for a quick, long-lasting grout refresh without hiring a pro. Here are a few reasons why a grout pen is a must-have for homes with tile:

  • Instant visual improvement
  • Easy to apply with precision
  • Dries quickly for fast results
  • Long-lasting formula resists stains and moisture

To use a grout whitener pen, follow these steps:

  1. Shake the pen and press the tip down to release the whitening formula.
  2. Run the pen along each grout line, applying even pressure.
  3. Let it dry completely before walking on or using the surface.

Our Grout Whitener Pen is specially formulated to adhere to grout and resist moisture and stains. This makes it ideal for use in the kitchen and bathroom. It’s perfect for restoring white grout lines or covering stubborn discoloration that cleaning alone can’t fix.

Step 3: maintain your freshly whitened grout

Once your grout is clean and white, you’ll want to keep it that way. Here are a few tile maintenance tips to extend the life of your refresh:

  • Wipe down surfaces regularly to prevent soap scum and residue buildup.
  • Avoid harsh chemical cleaners that can degrade grout over time.
  • Check to see if the seal is still holding every one to two years.
  • Use a daily shower spray in bathrooms to minimize moisture exposure.

With proper upkeep, your grout refresh can last for months. You’ll enjoy a cleaner, brighter space every time you walk into the room, and your guests will be sure to take notice, too!

Where to use a grout whitener pen

If you’ve never whitened your grout before, you might wonder which spaces benefit most from a grout pen. Here are a few ways you can use one in your home:

  • Kitchen backsplashes: These areas are prone to food stains and grease.
  • Bathroom floors and walls: Constant moisture can lead to discoloration.
  • Shower stalls: Whiten grout to create a spa-like feel.
  • Around sinks: Keep things clean and crisp in high-use areas.

Any tile surface with visible grout lines can benefit from a quick and effective grout whitening treatment. Once you notice your grout yellowing or darkening, a good cleaning and a whitener will bring your space back to life.

A decorative tile wall in a bathroom.
A close-up image showing white grout lines on a tile wall with GE Grout Whitening Pen.

FAQs

How long do results from a grout pen last?

Most grout pens’ results last several months to a year, depending on usage and exposure to moisture. However, high-traffic or high-moisture areas may require occasional touch-ups.

Can I use a grout pen over dirty grout?

No. For the best results, always clean your grout thoroughly and let it dry before applying the pen. This ensures better adhesion and longer-lasting whitening.

Is a grout pen waterproof?

While grout pens help seal and whiten grout, they do not replace a complete waterproof sealant. Use the grout pen first for areas with heavy water exposure, then seal with a waterproof grout sealer.

Do I need to reapply the grout pen regularly?

Not necessarily. With proper tile maintenance, the effects of a grout pen can last a long time. However, high-use areas may benefit from a quick touch-up every six to 12 months.

Grout doesn’t have to ruin your tile aesthetic. With a little effort and the right tools, especially a high-quality grout pen, you can refresh your tile grout and give your kitchen or bathroom an instant facelift. Whether preparing your home for guests or just treating yourself to a cleaner space, a grout refresh is one of the easiest upgrades you can make.

To find the perfect product for your project, visit a store near you in the U.S. or Canada.

Contact Form

Painter’s Pro Siliconized Acrylic Caulk

Contact Form

A small gap might go unnoticed in spring, but a summer storm will find it fast The best ways to protect your home from summer storm damage

Note: This DIY article is provided as a general guide only and is not intended to take the place of product-specific installation procedures; always follow applicable manufacturers’ instructions. Depending on your home’s age and condition, location within the home, and other potential factors, repairs and/or upgrades or other services may be necessary prior to the beginning and/or completion of your project that may involve the services of a home improvement professional. This article does not include advice pertaining to local building codes and/or any related inspections.

Before summer storm season hits, seal the spots that take the worst of it: flashing seams, gutter joints, window trim, and foundation edges. One small gap—one big risk. That’s how summer storm damage begins. This guide shows you what to seal, where to check, and which GE products hold up when it matters most.

What summer storm damage really looks like

Summer storm damage rarely announces itself. It shows up after the fact: in ceiling stains that spread overnight, baseboards that feel soft underfoot, or trim that swells and pulls away from the wall.

You might not notice it right away. But by the time it’s visible, the water’s already soaked insulation, fed mold behind drywall, and crept into wood framing.

What looks like a surface fix often starts with a missed seam, a cracked joint, or a gap no one thought needed sealing. These are the weak spots water finds first.

Four zones to seal before the season turns

Summer storms test your home one seam at a time. And it doesn’t take much—just one unsealed joint, worn bead, or overlooked edge.

To protect your home from storm damage, focus on the four zones that take the brunt of wind, rain, and runoff: roof flashing, gutters and downspouts, windows and doors, and foundation edges.

Start at the top and work your way down—just like water.

Roof flashing

Stormwater often damages the flashing first—the last place most people check. Wind-driven rain pushes under lifted ridge caps, seeps through aging sealant around vents, or follows a seam near skylights straight into your attic. If flashing seams aren’t sealed right, that’s how storm damage begins—and spreads fast.

For exposed roof joints like these, use GE Supreme Silicone Window & Door Sealant—a go-to option when sealing for storms. It’s built to hold up in the most exposed spots—rated Class 50 under ASTM C920 for high joint movement and long-term durability in extreme temperatures.

Pro tip: For gaps wider than 1/4 inch insert a backer rod first. Then use the GE Smoothing Tool to finish the sealant in one clean pass—no air pockets, no mess.

Gutters & downspouts

Gutters don’t just carry water—they protect everything below them. If seams leak or brackets pull away, runoff can spill behind the siding, soak fascia boards, or flood the soil around your foundation. That’s how minor gaps turn into major repairs—and why you should seal your gutters to protect your home from storm damage.

To seal these gutter joints properly, use GE Gutter Silicone Sealant. Even in standing water, it won’t peel, shrink, or create mildew—and it bonds to metal, vinyl, and painted surfaces. Just scrape away any loose material, let the surface dry fully, and apply a clean bead. Tool it flat with the GE Smoothing Tool.

For a deeper dive into how to assess and seal common gutter issues, check out this guide to gutter repair using sealant.

Water doesn’t just run off your home—it finds a way in. Usually around the frames.

Someone using GE Pro Seal Max Window & Door to seal exterior trim before rain.
Close-up of GE Pro Seal Max being applied along a door frame.

Windows & doors

When wind-driven rain hits your home, it hits the frames first—windows, doors, and the seams around them. If trim joints or sill corners aren’t sealed tight, you lose the first line of defense in waterproofing your home. Water slips behind the siding or seeps into wall cavities. Most damage starts with a slow drip—nothing dramatic.

Seal these joints with GE Pro Seal Max Window & Door. Here’s why it works:

  • Rain-ready in 30 minutes
  • High joint movement (35%), Class 35 under ASTM C920
  • Excellent adhesion—wet or dry, on wood, vinyl, metal, or fiber cement
  • Won’t yellow or crack under sun, rain, or freeze
  • Paint-ready in 60 minutes and is low odor
  • Backed by a lifetime guarantee

GE Pro Seal Max: Built to flex with your home—not against it. C920 Class 35 performance means it expands and contracts without cracking or pulling away.

Unsealed sill edges wick water like a sponge—and drip behind drywall. Even if you seal top to bottom, don’t ignore what rests against the ground.

Foundation edges

The lower your sealant line, the easier it is to miss—and the more it matters. Gaps where siding meets concrete or brick let in splashback, pooled runoff, and wicking soil moisture. That’s how water finds its way behind siding and into basement walls.

Seal those seams with GE Silicone Concrete. It’s designed for masonry, stays flexible after cure, and bonds strong to concrete, brick, and stone. Just remove loose debris, clean and dry the surface, and apply a bead. For crisp edges, use masking tape when sealing against rough materials.

It’s a small step with serious weight in total home weatherproofing.

If there’s a gap between your slab and your siding, that’s not ventilation—it’s an open invitation.

Sealing siding-to-foundation joint with GE Silicone Concrete to block stormwater.
Apply silicone where the siding meets the concrete slab.

Final storm sealing checklist

Follow this storm sealing checklist before and after every seal:

  • Use a GE Sealant Remover Tool to lift out cracked or peeling sealant before you start
  • Scrape out old sealant or debris
  • Clean with isopropyl alcohol
  • Let surfaces dry fully
  • Use a caulk gun with smooth pressure
  • Apply GE product by zone
  • Tool the bead with the GE Smoothing Tool or a gloved finger
  • Let cure for 24–48 hours (don’t rush it!)
  • Recheck seasonally

A clean line and full cure are the real anchors of home weatherproofing.

FAQs

What’s the best sealant if rain is coming soon?
Use GE Pro Seal Max Window & Door. It’s rain-ready in just 30 minutes, so you can seal and stay ahead of the weather.

Can I paint over these sealants?
Yes—GE Pro Seal Max is paintable after about an hour.

Should I seal the inside and outside of my home?
Always start outside. If you only seal indoors, moisture can still get into the wall, but it won’t have a way out. That’s how hidden damage begins.

Ready to seal your home before the next storm? Find GE sealants at a retailer near you in the U.S. or Canada.

Contact Form

Painter’s Caulk

Contact Form

Learn how to apply sealant like the professionals Perfecting your sealant application for a professional finish

Note: This DIY article is provided as a general guide only and is not intended to take the place of product-specific installation procedures; always follow applicable manufacturers’ instructions. Depending on your home’s age and condition, location within the home, and other potential factors, repairs and/or upgrades or other services may be necessary prior to the beginning and/or completion of your project that may involve the services of a home improvement professional. This article does not include advice pertaining to local building codes and/or any related inspections.

Whether you’re sealing a bathroom, kitchen backsplash, or outdoor fixture, a clean and consistent finish makes all the difference between a DIY job and a professional result. Mastering the art of sealant application not only boosts the visual appeal of your space but also enhances durability and performance by preventing water damage, mold growth, and other costly issues. This guide will walk you through essential sealing techniques, including achieving a smooth, polished finish using the right tools and products.

Silicone sealant is a top choice for kitchens and bathrooms because of its water-resistant properties, flexibility, and ability to adhere to a wide range of surfaces, such as tile, glass, metal, and plastic.

Why smooth sealant matters

A clean bead of sealant does more than look good. An even, continuous line of sealant ensures a waterproof and airtight bond, especially in moisture-prone areas like kitchens and bathrooms. Uneven sealant lines or gaps can compromise the seal, leading to potential water ingress, mold, and premature cracking. You can consistently achieve that flawless finish with the proper sealing techniques and tools.

A person applying silicone sealant around a sink.
A photo of someone applying silicone sealant around a sink.

How to perfect your sealant application step-by-step

If you’ve never applied silicone sealant before, it might seem like an intimidating task. However, you don’t need to call pros to take care of it. Instead, follow the steps below to seal any space with ease.

Choose the proper sealant

The first step to perfecting your sealant application is selecting the correct type of sealant for your project. Silicone sealant is a top choice for kitchens and bathrooms because of its water-resistant properties, flexibility, and ability to adhere to a wide range of surfaces, such as tile, glass, metal, and plastic.

Make sure the silicone sealant you choose is:

  • Mold and mildew-resistant: Ideal for high-moisture areas like bathrooms, kitchens, and laundry rooms to prevent discoloration and surface damage over time.
  • Flexible: Designed to handle movement and temperature changes without cracking, making it perfect for joints around sinks, countertops, windows, and doors.
  • Surface-specific: Formulated for the material you’re working with, whether it’s glass, metal, or natural stone. Using the right product helps ensure proper adhesion and a longer-lasting seal.
  • UV and weather-resistant: For outdoor projects, look for a sealant that can withstand sun exposure and temperature fluctuations without breaking down.

Prep your surface

Surface prep is essential before applying any sealant. Dirt, dust, and old sealant can interfere with adhesion and compromise the seal. Follow these steps for clean prep:

  • Remove old sealant using a utility knife or caulk remover tool.
  • Clean the surface thoroughly with rubbing alcohol or a surface-safe cleaner to eliminate any oils or soap scum.
  • Dry the area thoroughly before applying the new sealant.

Pro tip: Use painter’s tape along the edges where you’ll apply the sealant to help guide your line and prevent smudging on surrounding surfaces.

Apply a consistent bead

Now it’s time for the main event: sealant application. Before diving in, do a test run on a piece of cardboard or scrap material so you can get used to working with the sealant. Once you feel comfortable, you can move on to applying the sealant in your desired location.

Using the caulking gun, apply a smooth, even bead of sealant along the joint or edge you’re sealing. Here’s where it pays to take your time:

  • Hold the gun at a 45-degree angle to the joint.
  • Apply steady pressure to maintain a consistent flow.
  • Avoid overapplying. A thinner, controlled bead is easier to smooth and less messy.

Once you’ve applied the bead, you can smooth it with a wet gloved finger.

Use the right tool for a flawless finish

You need a dedicated smoothing tool to get that smooth, professional finish. Our Sealant Smoothing Tool is a game-changer for sealing jobs in kitchens, bathrooms, and beyond.

This reusable tool is thoughtfully designed to work with all types of sealants, including silicone, and allows you to shape a clean, consistent seal every time.

Here’s how to use our Sealant Smoothing Tool:

  1. Apply a bead of sealant to the desired area. Do not overapply; you want a neat, manageable line.
  2. Select the desired profile on the Sealant Smoothing Tool. Multiple edge profiles let you customize the finish based on the space and project.
  3. Place the tool at the start of the sealant bead, with the angled surface pointing toward your direction of travel.
  4. Press down firmly and glide the tool along the bead uniformly. Consistency is key, so don’t stop and start.
  5. Remove excess sealant from the tool immediately after use with a dry cloth to keep it in top shape.

This tool not only gives your sealant a smooth, pro-level look but also saves time and reduces waste. It’s reusable and easy to clean.

Let it cure

After you’ve achieved your perfect finish, allow the sealant to fully cure before exposing it to water or moisture. Check the manufacturer’s instructions, many silicone sealants require 24 hours to cure completely.

A person using a silicone sealant to seal a shower stall.
A photo of someone sealing a shower.

Sealant tips for kitchens and bathrooms

Here are some additional caulking tips to keep in mind, especially for kitchens and bathrooms:

  • Seal when it’s dry. Avoid sealing on humid or wet days to ensure proper curing.
  • Ventilate the area. Good airflow speeds up the drying process and reduces fumes from silicone sealants.
  • Keep a steady hand. If you’re nervous about wobbly lines, practice on cardboard first.
  • Pull, don’t push. When applying sealant with a gun, pulling the gun gives you more control than pushing.

Don’t forget the clean-up

Even when using a smoothing tool, a little clean-up may be necessary. Keep a dry cloth or paper towel on hand to:

  • Wipe away excess sealant from the smoothing tool.
  • Remove smudges or overflow before the sealant cures.
  • Tidy up the edges if needed (especially if you’ve used painter’s tape; remove it while the sealant is still wet for the cleanest line).

FAQs

What’s the best way to apply sealant without making a mess?

Start with a clean, dry surface and apply a steady, even bead of sealant using a caulking gun. Avoid overapplying, as less is more. Then, use our Sealant Smoothing Tool to shape the bead for a professional finish without the mess.

Can I use the Sealant Smoothing Tool with any silicone sealant?

Yes. Our Sealant Smoothing Tool is compatible with all types of silicone sealant. It’s designed for versatility and long-term use.

How do I clean the Sealant Smoothing Tool after use?

Wipe off any excess sealant with a dry cloth immediately after use. For tougher clean-up, you can also use rubbing alcohol. Keeping the tool clean helps preserve its performance and longevity.

Do I really need a smoothing tool? Can’t I use my finger?

While you can use a wet gloved finger to smooth sealant, a dedicated smoothing tool ensures a more precise and hygienic result. It also helps you shape a consistent bead every time, reducing the risks of gaps or uneven edges.

Perfecting your sealant application takes practice, but you can quickly get pro-level results with the proper sealing techniques, quality materials, and a reliable smoothing tool. Whether revamping your bathroom or refreshing your kitchen, a clean seal adds the finishing touch and protects your hard work for years.

To find the perfect product for your project, visit a store near you in the U.S. or Canada.

Contact Form

Gutter Silicone 2® Sealant

Contact Form

Preserve your exterior with sealants built to stand up to the elements Expert exterior maintenance: protecting and sealing outdoor surfaces

Note: This DIY article is provided as a general guide only and is not intended to take the place of product-specific installation procedures; always follow applicable manufacturers’ instructions. Depending on your home’s age and condition, location within the home, and other potential factors, repairs and/or upgrades or other services may be necessary prior to the beginning and/or completion of your project that may involve the services of a home improvement professional. This article does not include advice pertaining to local building codes and/or any related inspections.

If you’re weighing spring cleaning projects this year, you might consider sealing your outdoor surfaces before rain, heat, and humidity take a toll on your home. Sealing outdoor surfaces helps prevent moisture intrusion, cracking, and material wear—especially in high-exposure areas like trim, patios, and foundation gaps. This guide highlights where to seal and which GE products to use for long-lasting protection.

Why spring is the right time for exterior maintenance

Spring offers the perfect conditions for sealing outdoor surfaces. After months of winter weather, many exterior materials show signs of wear—cracks, gaps, or loose sealant that can let in moisture. Early spring is a great time to address these issues before the rainy season sets in. Temperatures are typically moderate, which helps sealants cure properly and encourages better long-term adhesion.

Sealing in the spring also prepares your home for the heat and UV exposure of summer, which can accelerate material breakdown if gaps are left exposed. By acting now, you protect wood, concrete, and trim from water intrusion, pest entry, and sun damage. It’s a smart way to extend the life of exterior surfaces and minimize costly repairs down the line.

What to look for when inspecting outdoor surfaces

Before applying any sealant, thoroughly inspect your exterior surfaces. Look for visible signs of wear such as cracked or peeling sealant, gaps between materials, loose trim, or discoloration around joints. Common trouble spots include:

  • Edges of windows and doors
  • Siding seams
  • Deck board joints
  • Patio cracks
  • Areas where pipes or vents penetrate the wall or foundation

Pay close attention to any material that has shifted, expanded, or contracted over the winter. Even small gaps can allow water infiltration, which leads to rot, mold, or pest intrusion if left unsealed. Check for soft wood, separation at corners, and old sealant or caulk shrinking or pulling away from the surface.

Where to seal and what products to use

Spring is the season to seal. Sealing outdoor surfaces early helps prevent water damage, pest intrusion, and UV wear. Use Pro Seal Max Window & Door, GE Concrete Silicone 2®, and GE Multipurpose Foam Sealant to protect wood, masonry, and foundation gaps—all season long. Built for the elements, trusted by the pros.

Targeting the right areas with the proper products is key to long-lasting exterior protection. Here are three high-exposure zones to seal this spring—and the GE sealants built for the job.

  1. Exterior trim, siding seams, and windows
    Pro Seal Max Window & Door Sealant.
    A photo of Pro Seal Max Window & Door Sealant used to seal a window.

    Trim and siding seams are prone to movement and water exposure. Use Pro Seal Max Window & Door Sealant—a 100% silicone sealant engineered for exterior applications. It offers Class 50 flexibility, resists shrinking and cracking, and becomes water-ready in just 30 minutes. Its strong adhesion works on wood, vinyl, fiber cement, and metal—ideal for windows, door frames, and joints that shift with temperature changes.

  2. Concrete patios and walkwaysOver time, concrete develops small cracks that allow water to penetrate and freeze, leading to further damage. GE Concrete Silicone Sealant is a durable, weatherproof option designed to bond directly to concrete, brick, and masonry. It offers permanent flexibility and resists UV, moisture, and extreme temperatures.

    GE Concrete Silicone Sealant applied to seal a crack in exterior concrete.
    A photo of GE Concrete Silicone Sealant being applied to a crack in an outdoor concrete surface.
  3. Foundation gaps, vents, and penetrationsOpenings around pipes, vents, and siding transitions are common entry points for moisture and pests. GE Multipurpose Foam Sealant expands to fill irregular gaps in wood, concrete, metal, stone, brick, and PVC. It cures into a weather-resistant, airtight barrier that helps improve energy efficiency while protecting against water intrusion.Unfamiliar with insulating foams? Learn what you need to know.

    GE Multipurpose Foam Sealant fills a gap around an exterior pipe in a foundation wall.
    A photo of GE Multipurpose Foam Sealant being applied around an exterior pipe penetration in a foundation wall.

Application tips for outdoor sealants

Start by removing any old or damaged sealant using a tool like the GE Sealant Remover Tool. Clean the area thoroughly to eliminate dirt, mildew, and debris. For best adhesion, surfaces should be dry—though Pro Seal Max and GE Multipurpose Foam Sealant also bond to damp conditions if needed.

When applying silicone sealant, use painter’s tape along both sides of the joint for clean lines. Cut the nozzle at a 45-degree angle and apply a steady bead, pressing firmly into the joint. Immediately smooth the bead using your GE Smoothing Tool or a gloved finger, then remove the tape while the sealant is still wet.

GE Pro Seal Max window and door sealing seams in house siding.
A photo of GE Pro Seal Max Window and Door sealing exterior seams in house siding.

For foam sealant, shake the can well and apply in short bursts—the foam expands more than you might think. Fill only 50% of the gap and wait. After curing, trim any excess.

Benefits of regular exterior maintenance

Consistent exterior maintenance is one of the most effective ways to protect your home from long-term damage. Sealing outdoor surfaces helps block moisture, prevent rot, and stop pests from entering through gaps and cracks. When properly maintained, trim, concrete, and siding last longer and require fewer costly repairs over time.

Well-sealed exterior joints also improve energy efficiency by reducing air leaks around windows, doors, and foundation gaps. This helps keep conditioned air inside and outdoor elements out, contributing to lower utility bills year-round.

Learn more about sealing and insulating your home to reduce energy costs.

Beyond protection, sealing enhances your home’s appearance. Clean, finished joints give trim and masonry a polished look. Whether you’re a homeowner or a contractor, regular exterior sealing is a simple, proactive step in delivering long-term value.

To get GE Sealants’ products for your home improvement project, visit these fine retailers in the U.S. or Canada.